Machine Knitting: sleeves!
This post will be part of a series, as I join KnitFactoryImpl's knitalong of a set in sleeve crew neck sweater for channel members. KnitFactoryImpl (aka Carson)'s videos have been a huge help and source of inspiration on my short knitting journey so far, so it's really fun to get to join in and participate!
I got serious about learning machine knitting just this year, and only just finished my first sweater (which I need to post about!), so I think I barely qualify to do this project. It uses a combination of techniques that I have used in isolation, like increases, decreases, and short rows, but all together. I recently got an attachment for doing ribbing, which I've barely learned to use, but I want to do ribbed hems.
Adding to the challenge, I didn't quite know what sweater I actually wanted to make! Thankfully, producer Amy saw some promise in our yarn stash and made a request of a 4-color striped sweater made from some cotton yarn in sorta-trans-pride-flag colors.
Always be swatching
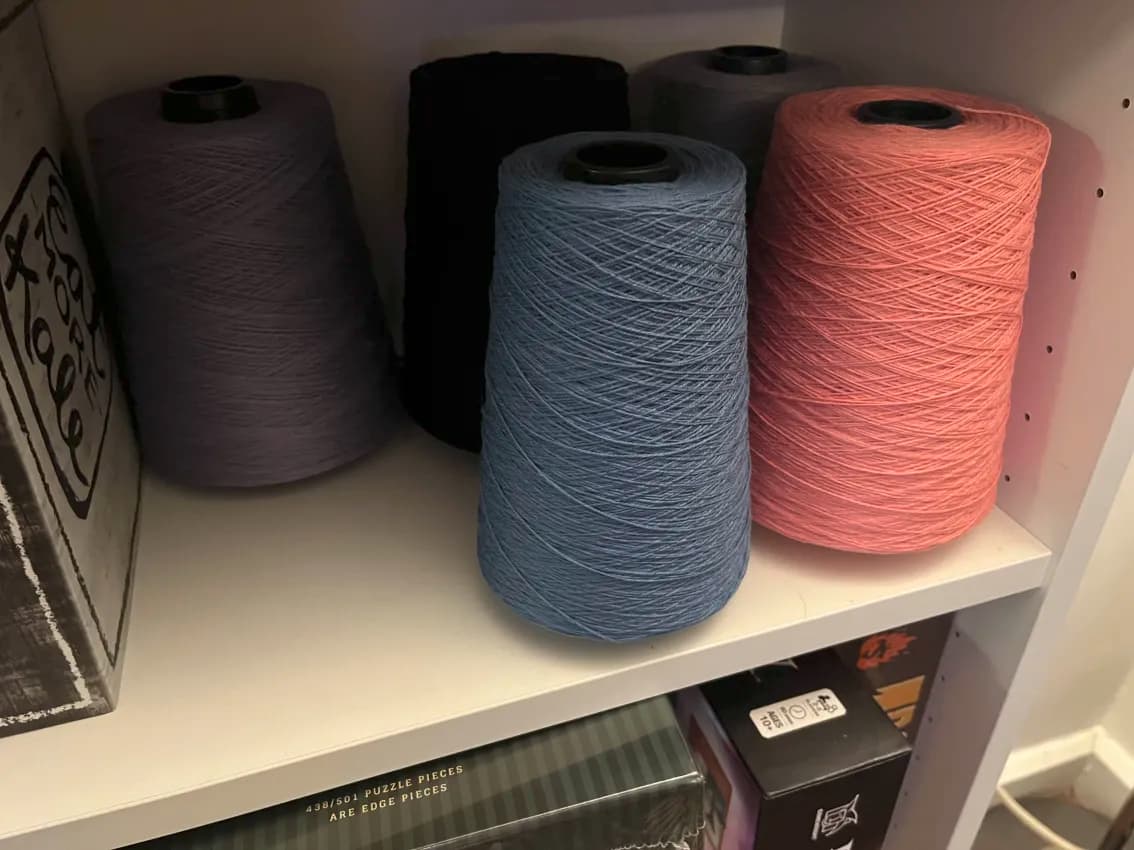
Following the instructions for the knitalong, and Carson's evergreen advice, I made gauge swatches for the body, with a couple of different striping options, as well as a sample swatch of ribbing. I used a tension that I've been pretty comfortable working with this yarn so far. We plan to machine wash and dry the finished sweater, so we treated the swatches the same way to see how the fabric turned out.

We were both pleased with how the swatches came out! I think the finished sweater will look nice based on these. More importantly, during swatching I learned that I absolutely do not have it in me to do a 4-color striped knit at the point in my knitting journey! 😅 Until I am able to invest in a color changer, I am going to focus on fewer colors, so we agreed on a pattern of black and purple stripes, evenly spaced at 12 rows each.
Sensing a pattern
With gauge swatches in hand, it was time to visit the pattern generator for the set in sleeve crew neck sweater and punch in my gauge measurements, as well as producer Amy's measurements for how she wants the final sweater to fit.
The resulting pattern is a set of written instructions for each part of the sweater: front and back panels that are worked the same from the bottom but differ as you approach the top, sleeves worked up from the cuffs, and the neckline which is worked as you combine the pieces.
Carson recommends starting with a sleeve, for many reasons, and that's the topic of her first video for the knitalong, so that's where I started!
One does not simply knit a sleeve
Each sleeve is a journey, starting with a cuff (25 rows of ribbing, in my case), then switching to stockinette ("regular") knitting for the long body of the sleeve, with regular increases as you widen the sleeve from the hand to the arm hole. At the maximum width, we're not quite done. We bind off some stitches for the underarm, then do a few different sequences of gradual decreases, and finally some round shaping with short rows, before finishing the piece to remove it from the bed.
For this sweater, color stripes would add extra complexity. No matter what else was happening in the pattern, I would need to stop every 12 rows to switch out one color for the other. In theory, the mechanics of each is not difficult - my machine has a little notch at the ends to park one yarn while the other works. But I would have to make a color switch every 12 rows while also following the rest of the pattern, such as increasing every 10 rows. In a way, I would be working two sets of instructions at once. Thankfully, I once again followed Carson's advice and printed the pattern on paper. After much fidgeting and scrunching of my face, I was able to scribble out number sequences until I was pretty sure it would work.
Sleeve time let's go!
With pattern in hand, I set up the machine and got to work. I followed my machine manual instructions for casting on 1x1 ribbing at the required number of stitches and knit the cuff. I transferred all stitches to the main bed for the body of the sleeve and knit my first 10 rows to an increase. Two more and it was time to switch colors. Increase again at the next multiple of 10. Then another color change at 24 rows and oh god-


I believe I improperly set the yarn in the feeder after changing colors. With the incoming yarn failing to feed, the machine promptly dropped switches from their needles. I was most of the way across the bed before I realized this.
In theory, it was possible to save this piece. I used my transfer tools to pick up a few stitches, but between the weights on the work and my clumsy fingers I was going to have to rework a lot of stitches. I decided to cut my losses, unravel everything so far, and call it a day.
Sleeve time, let's carefully go
The next day I started again, this time taking extra care to check that the yarn was properly ready to feed whenever I changed colors. Keeping track of all the changes was challenging, and at times during the decreases and short rowing I ended up off by a stitch here or there. But I made it through!

At this point I took a break, cast my ballot in early voting, and enjoyed my afternoon.
What's another sleeve?
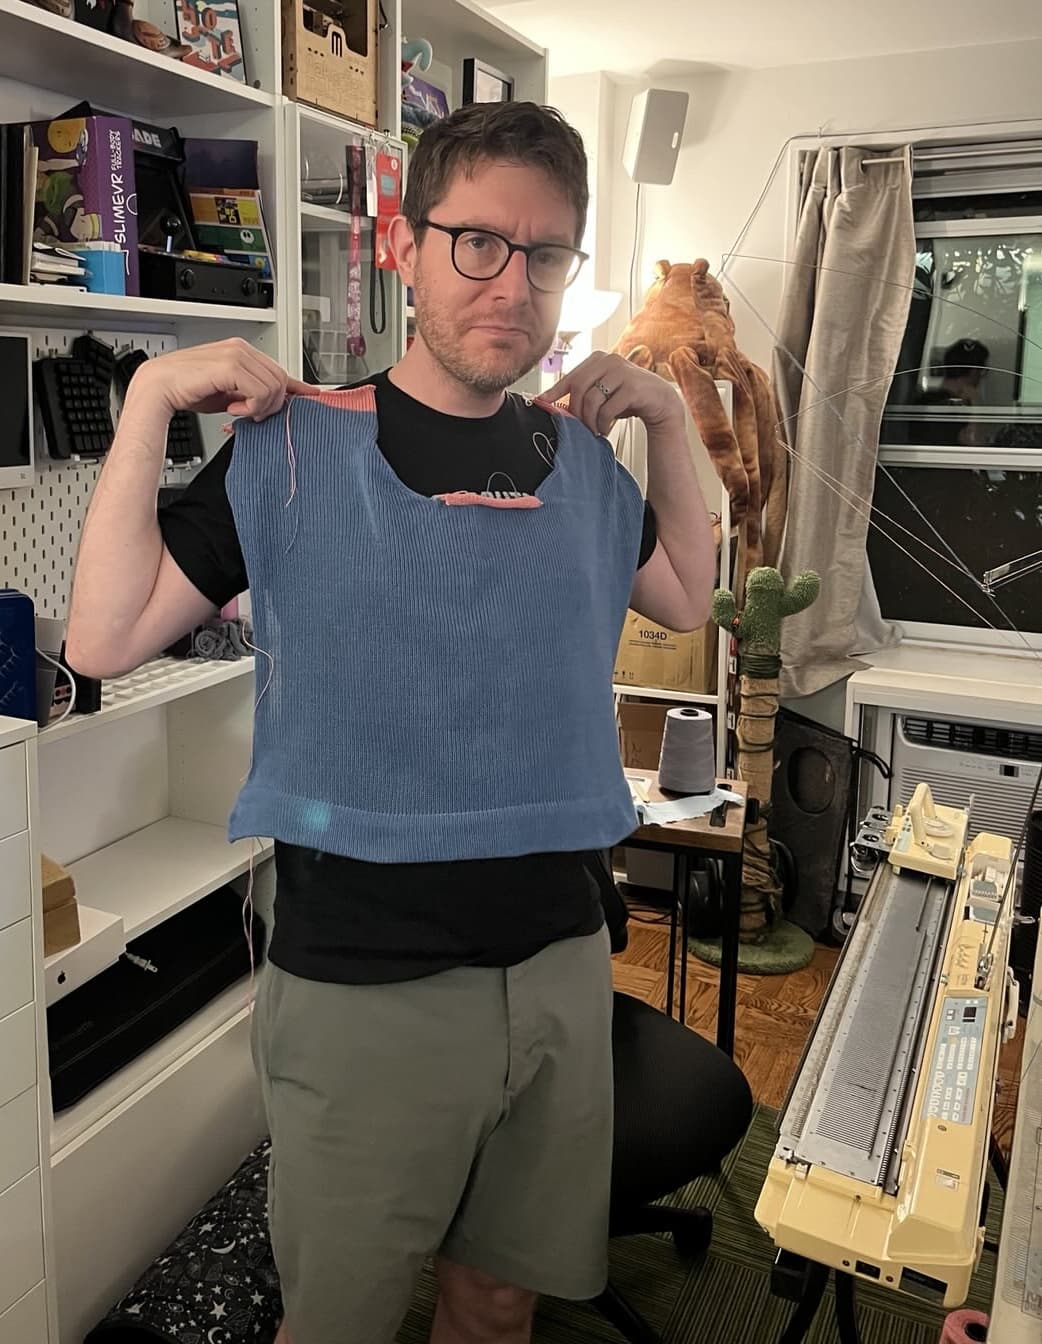
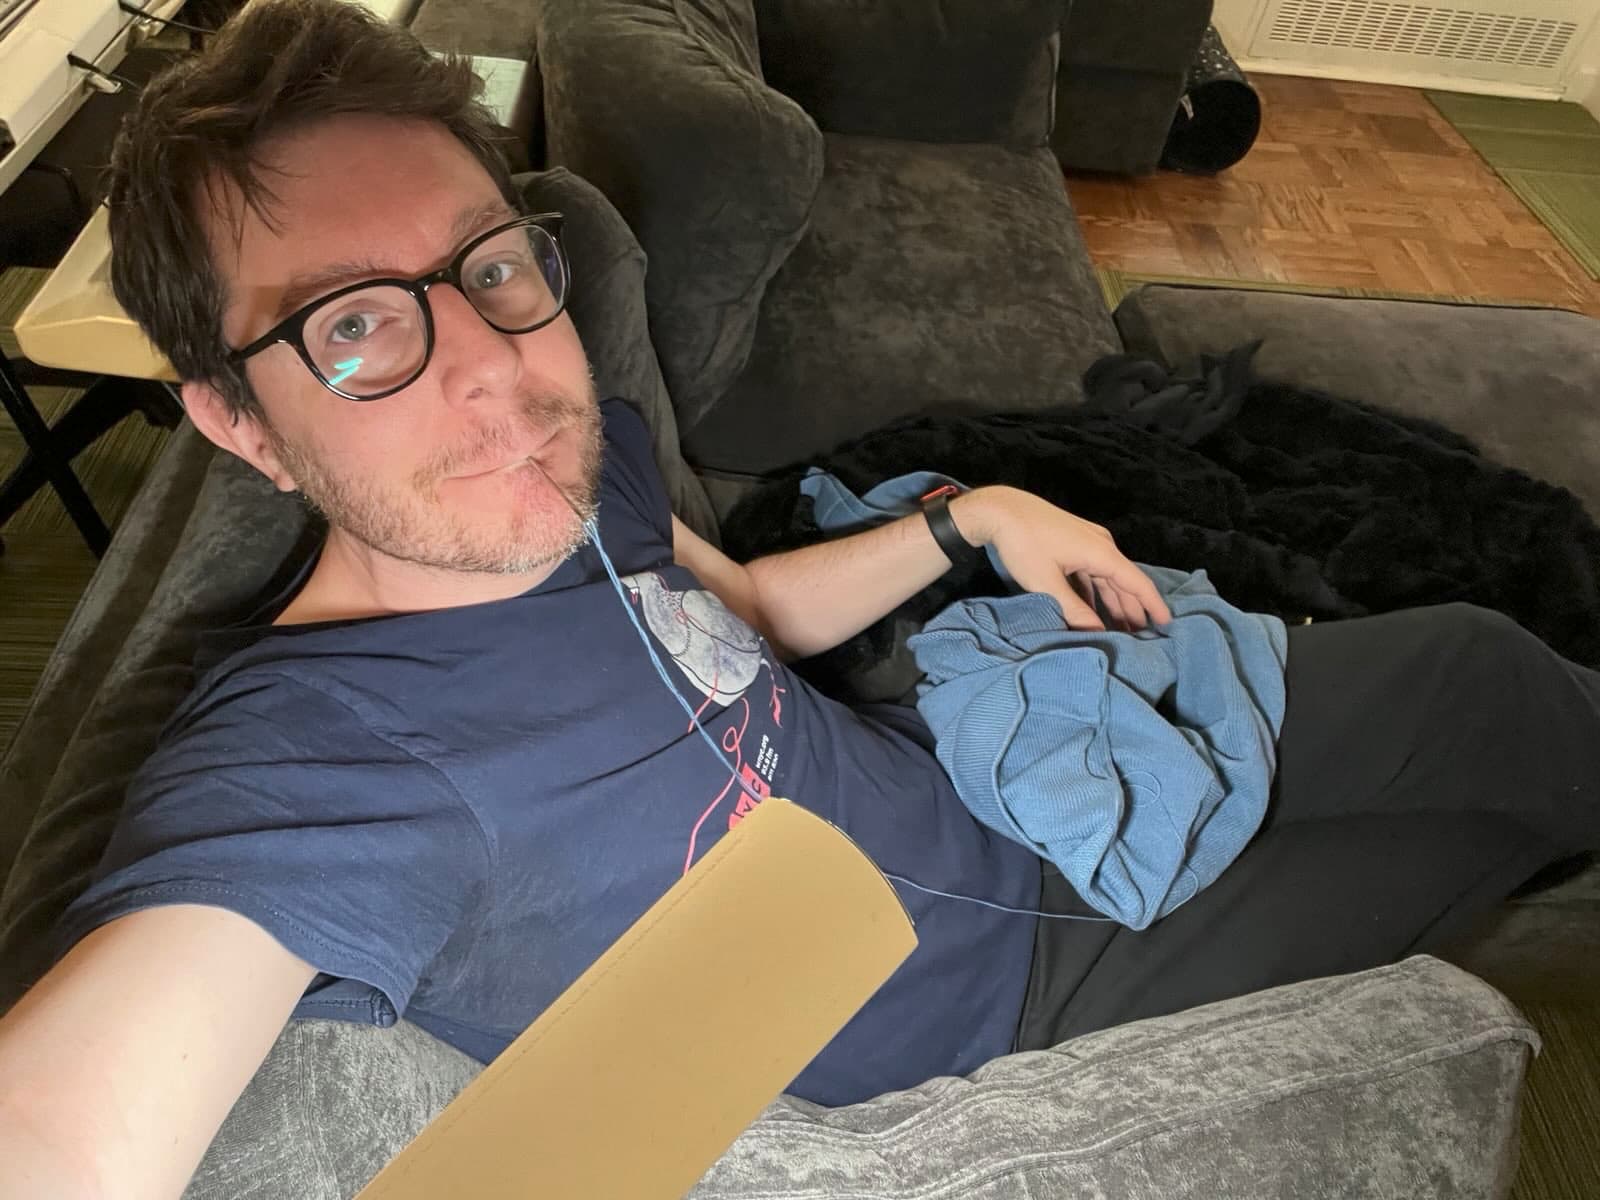
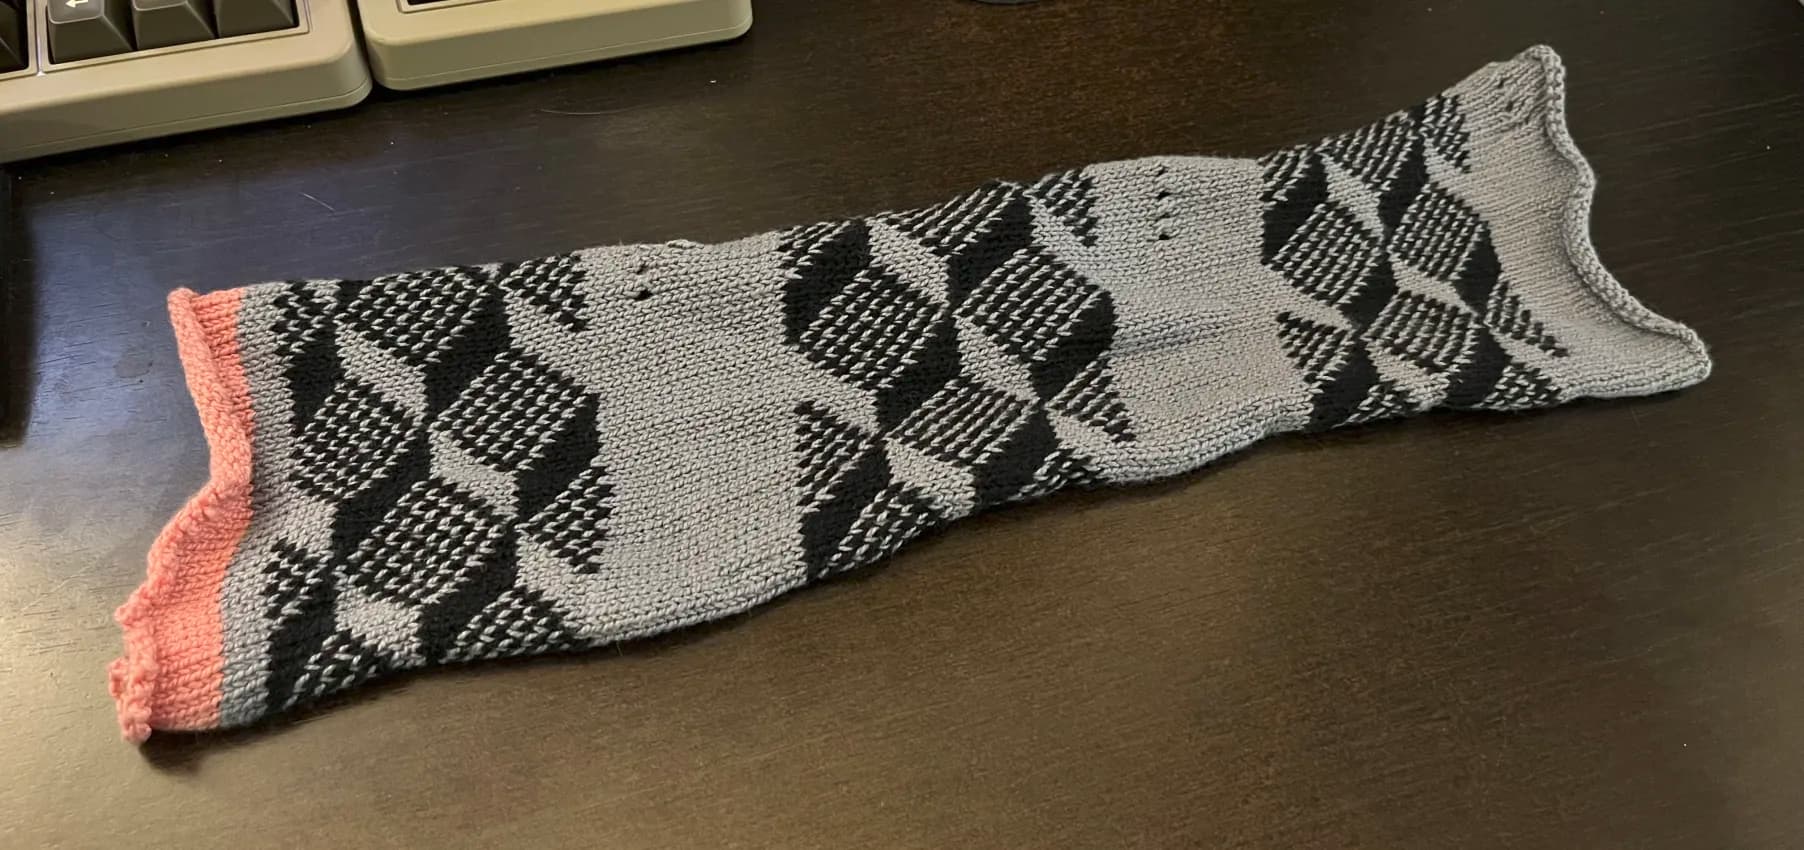
With one sleeve done, the second was sure to go faster. I felt much more confident in the rhythm of the changes and techniques. I even stopped to take a progress photo!

This photo was taken after the long sequence of increases, which end with binding off some stitches on either end to make a "shelf" for the under arm. Completely by coincidence, I took this photo right before I made a horrible mistake.
After the bind-off for the underarm shelf comes a sequence of decreases, at difference cadences. Starting from this photo, I was meant to knit 12 rows, decreasing a stitch on each side each row, followed by a couple of sequences which involved decreases only every third row.
I got mixed up and did 12 rows at the slower cadence of decreases. 😭
I'm not skilled at it, but I was able to "unknit" a couple of rows, pulling the previous stitches back onto their needles. I suspected this would become confusing or problematic when I got to the rows where I had decreased, requiring complex moves to "un-decrease". However, before I got to that point, the unknitting process was causing stitches to fall off needles entirely, multiple at a time.
At this point I needed a new strategy. Thankfully, another of Carson's videos, where she makes this absurdly wonderful wolf sweater, had the answer.
I removed the weights from the piece and carefully removed the piece from the needles. Then, I found the stitches from the row in the photo above, just after completing the bind-off for the underarm shelf. I carefully re-hung that row of stitches across the number of needles from that row of the pattern.

Then I tucked the knitting back in, added weights, and restarted the pattern as if I had not completely goofed it.
And... this worked out totally fine! After finishing the piece I went back and unraveled the "teratoma" from my miscounted piece. The anomalous row is barely visible, and I think the only side-effect is that I'll have a couple of extra ends to work end during assembly. Whew!

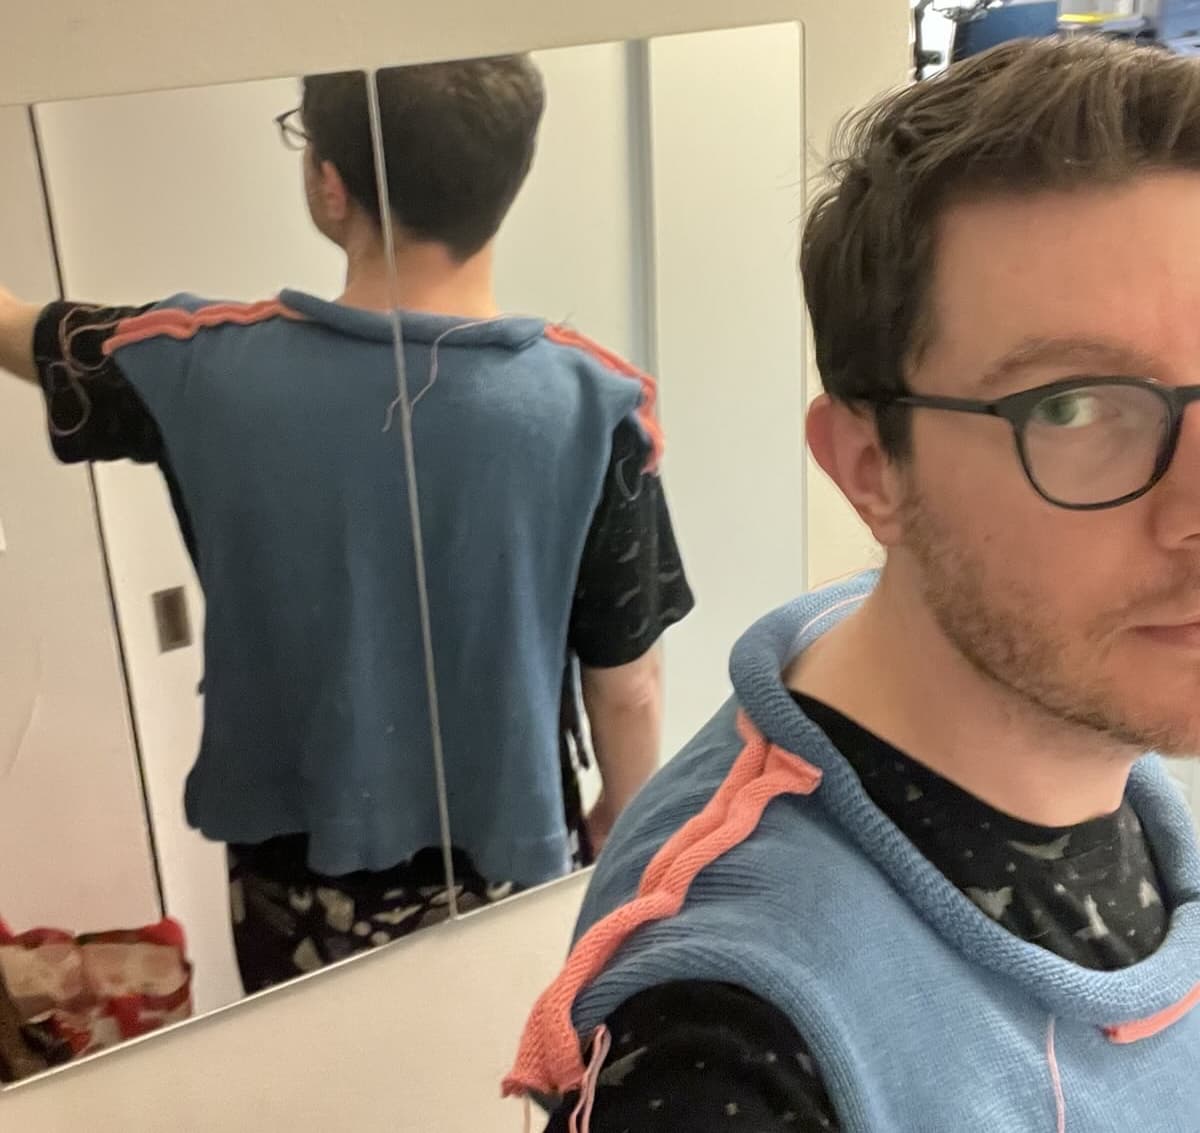
With two sleeves completed, I could not resist asking producer Amy to help me complete a familiar shot from Carson's videos.
Next time...
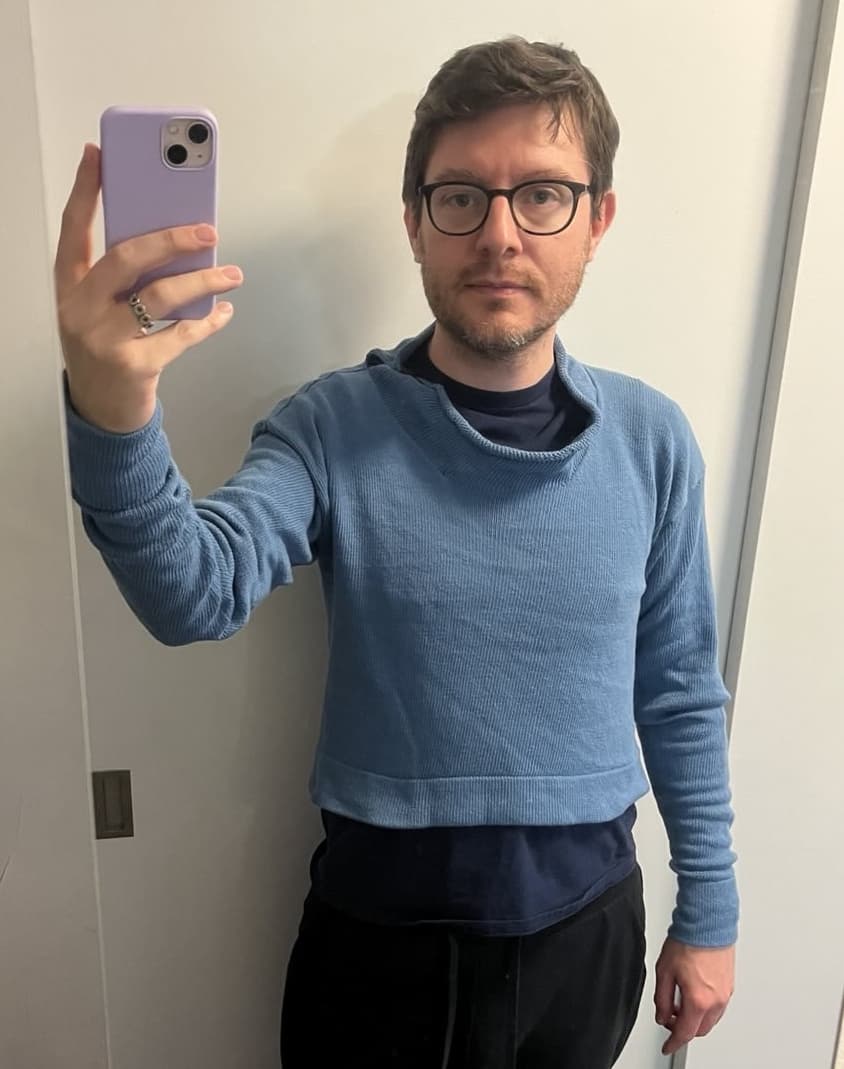
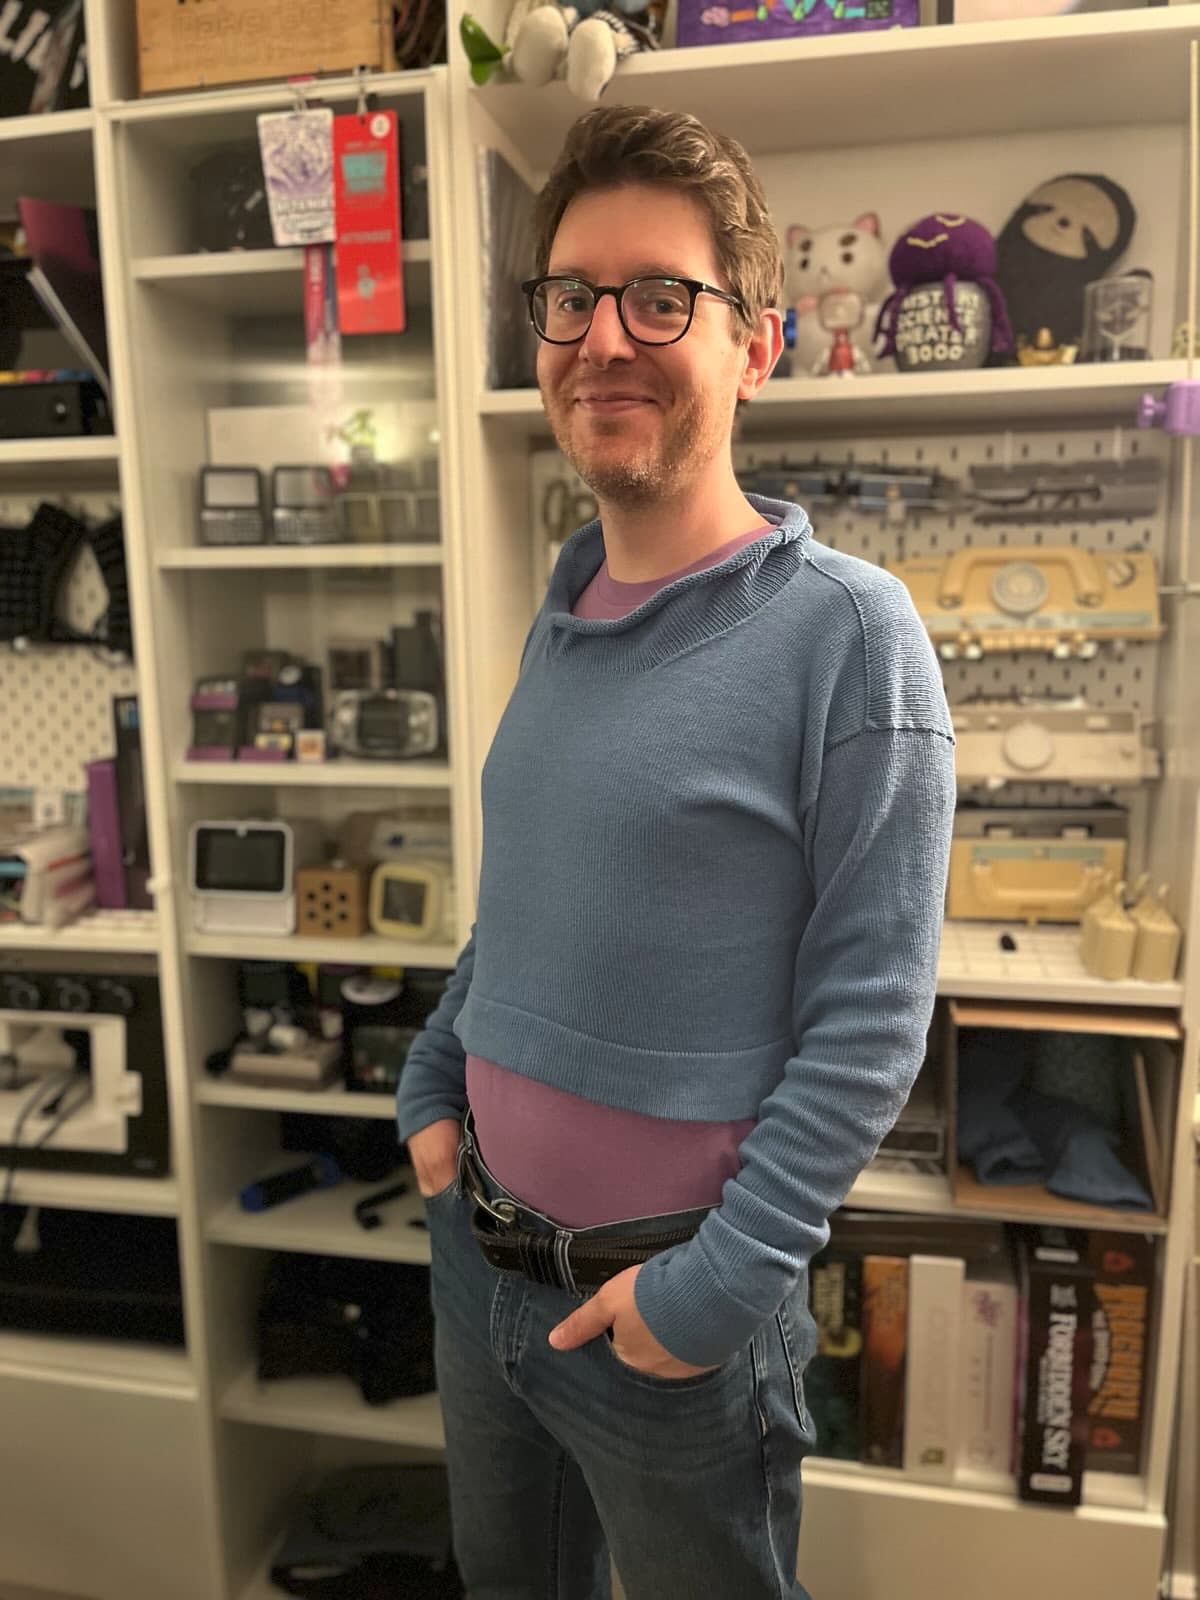
Neither of these sleeves is perfect, but I think overall they look really nice, and the little imperfections will be hidden in seams as it all comes together. Producer Amy is really loving the look so far, and we're both looking forward to how it shapes up after washing and assembly.
The body panels are expected as the next pieces in the knitalong. However, I'm not going to have much time to knit in the next couple of weeks! 😅
I look forward to checking out other folks' progress and a (careful, controlled, certainly not rushed) busy weekend of catching up when I get a chance.
Thanks to everyone involved in making this knitalong possible! I am grateful to be learning so much and feeling like part of a community of folks doing the same!