2025 in machine knits
This is a retro-post. Jump scare!
I sure have read a lot of 2025-in-review posts recently! I am impressed by all that you have accomplished.
Here's my 2025 wrapped (in yarn), in 20 photos about my machine knitting this year!
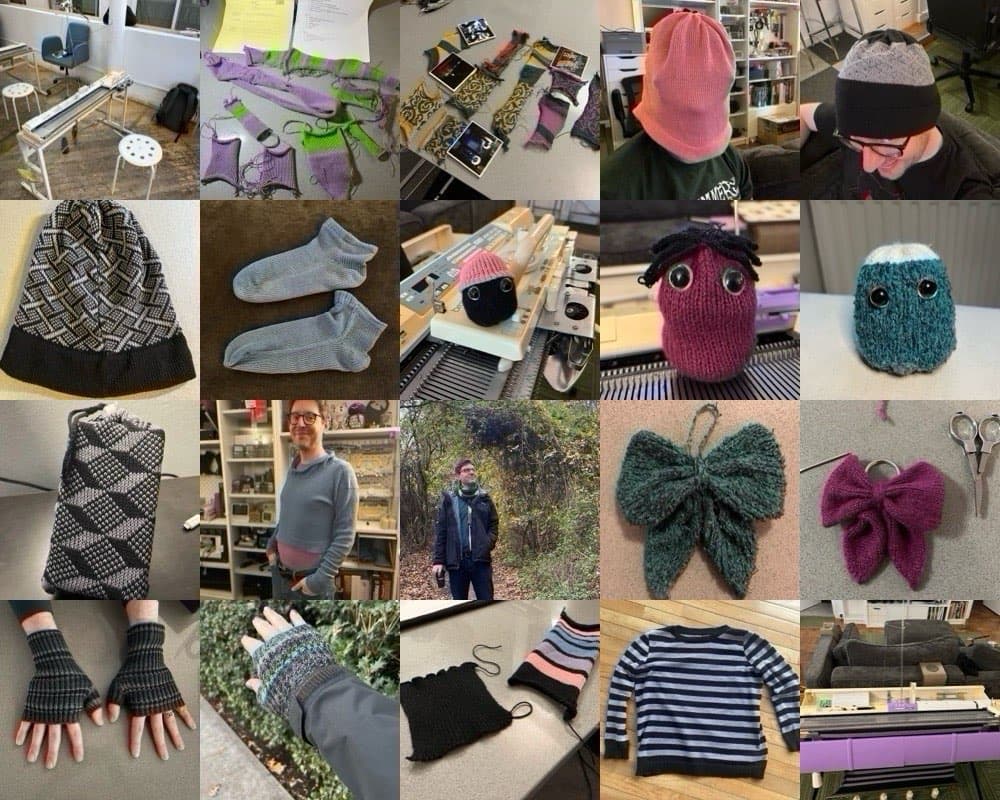
- 1, 2, and 3: my machine and samples from my first workshop at the Brooklyn Textile Arts Center (TAC). Workshop day 1. Workshop day 2.
- 4 and 5: my first hats.
- 6: a Fair Isle patterned hat, made after disassembling and cleaning my machine carriage.
- 7: socks with hems too tight to wear
- 8, 9, and 10: three little guys! First little guy, second little guy, third little guy.
- 11: A bag for a power brick I made for a friend.
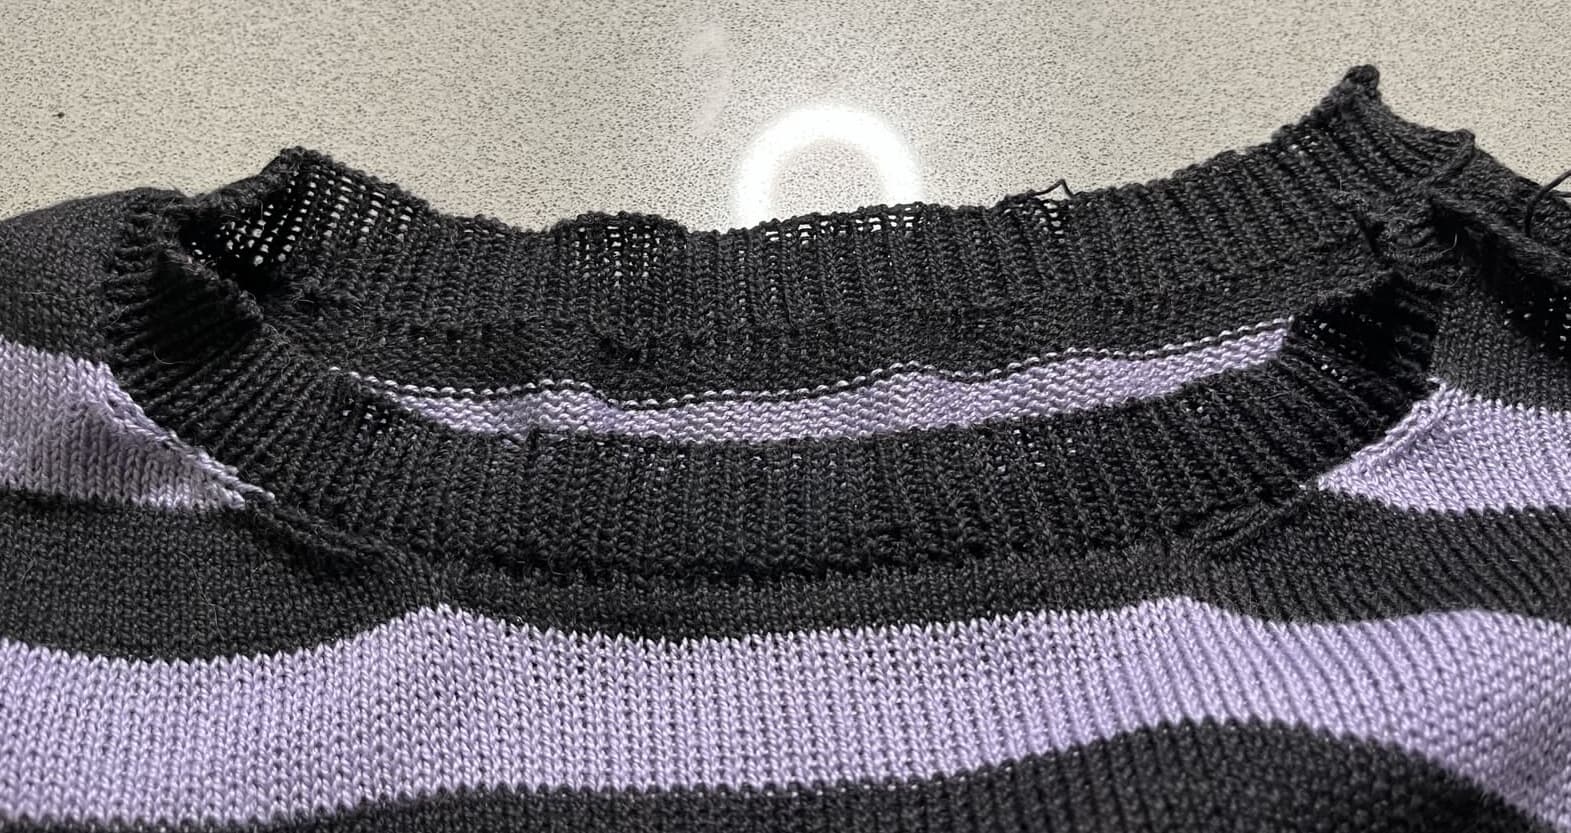
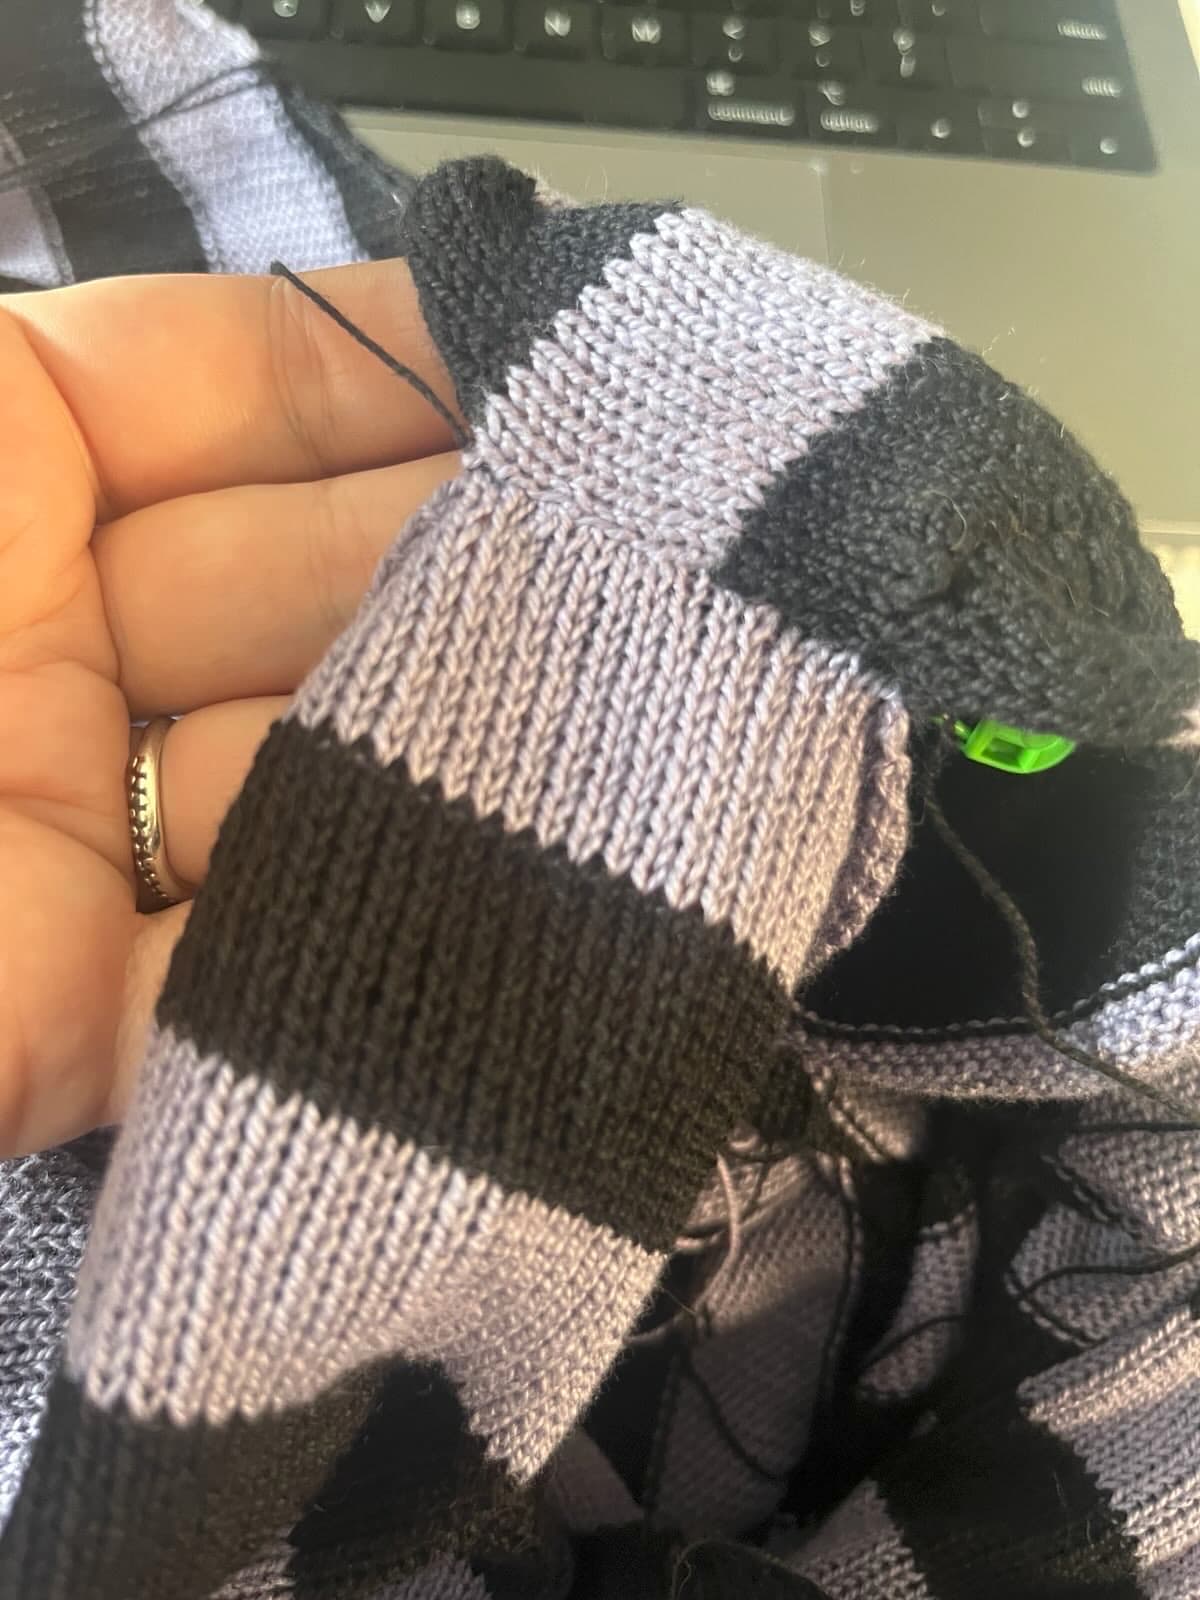
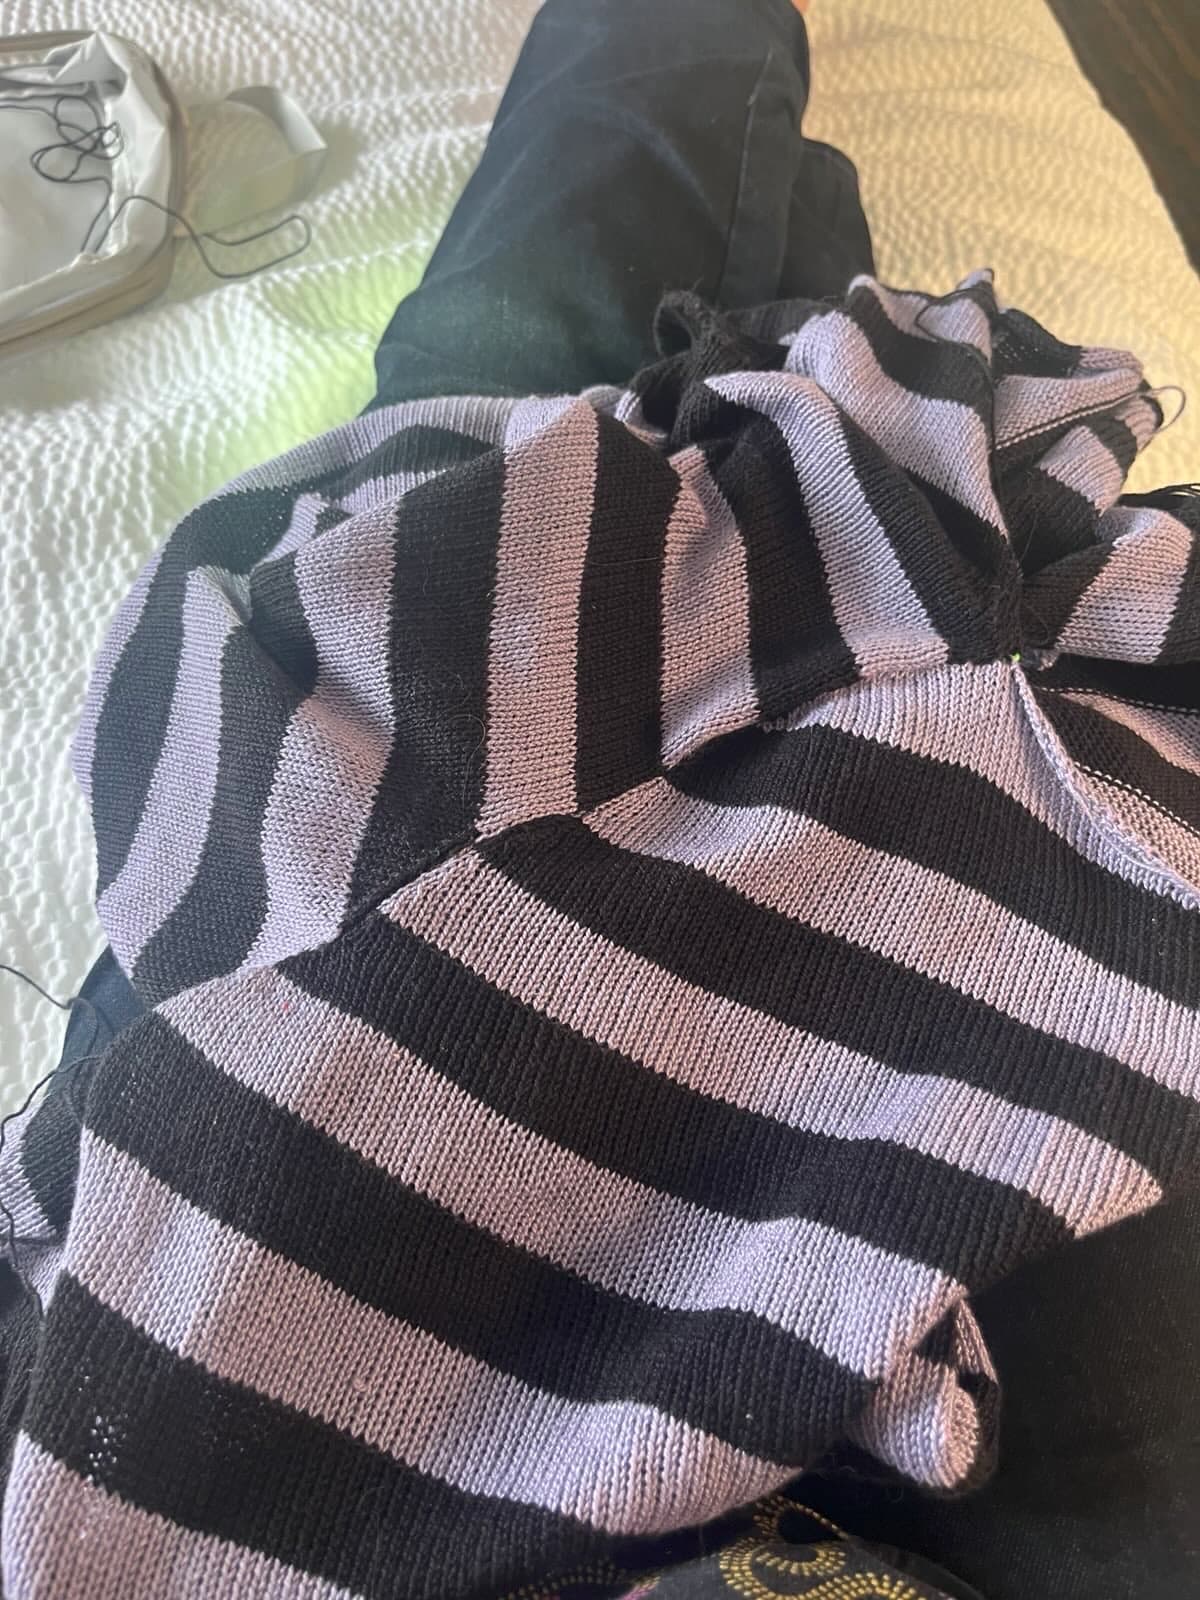
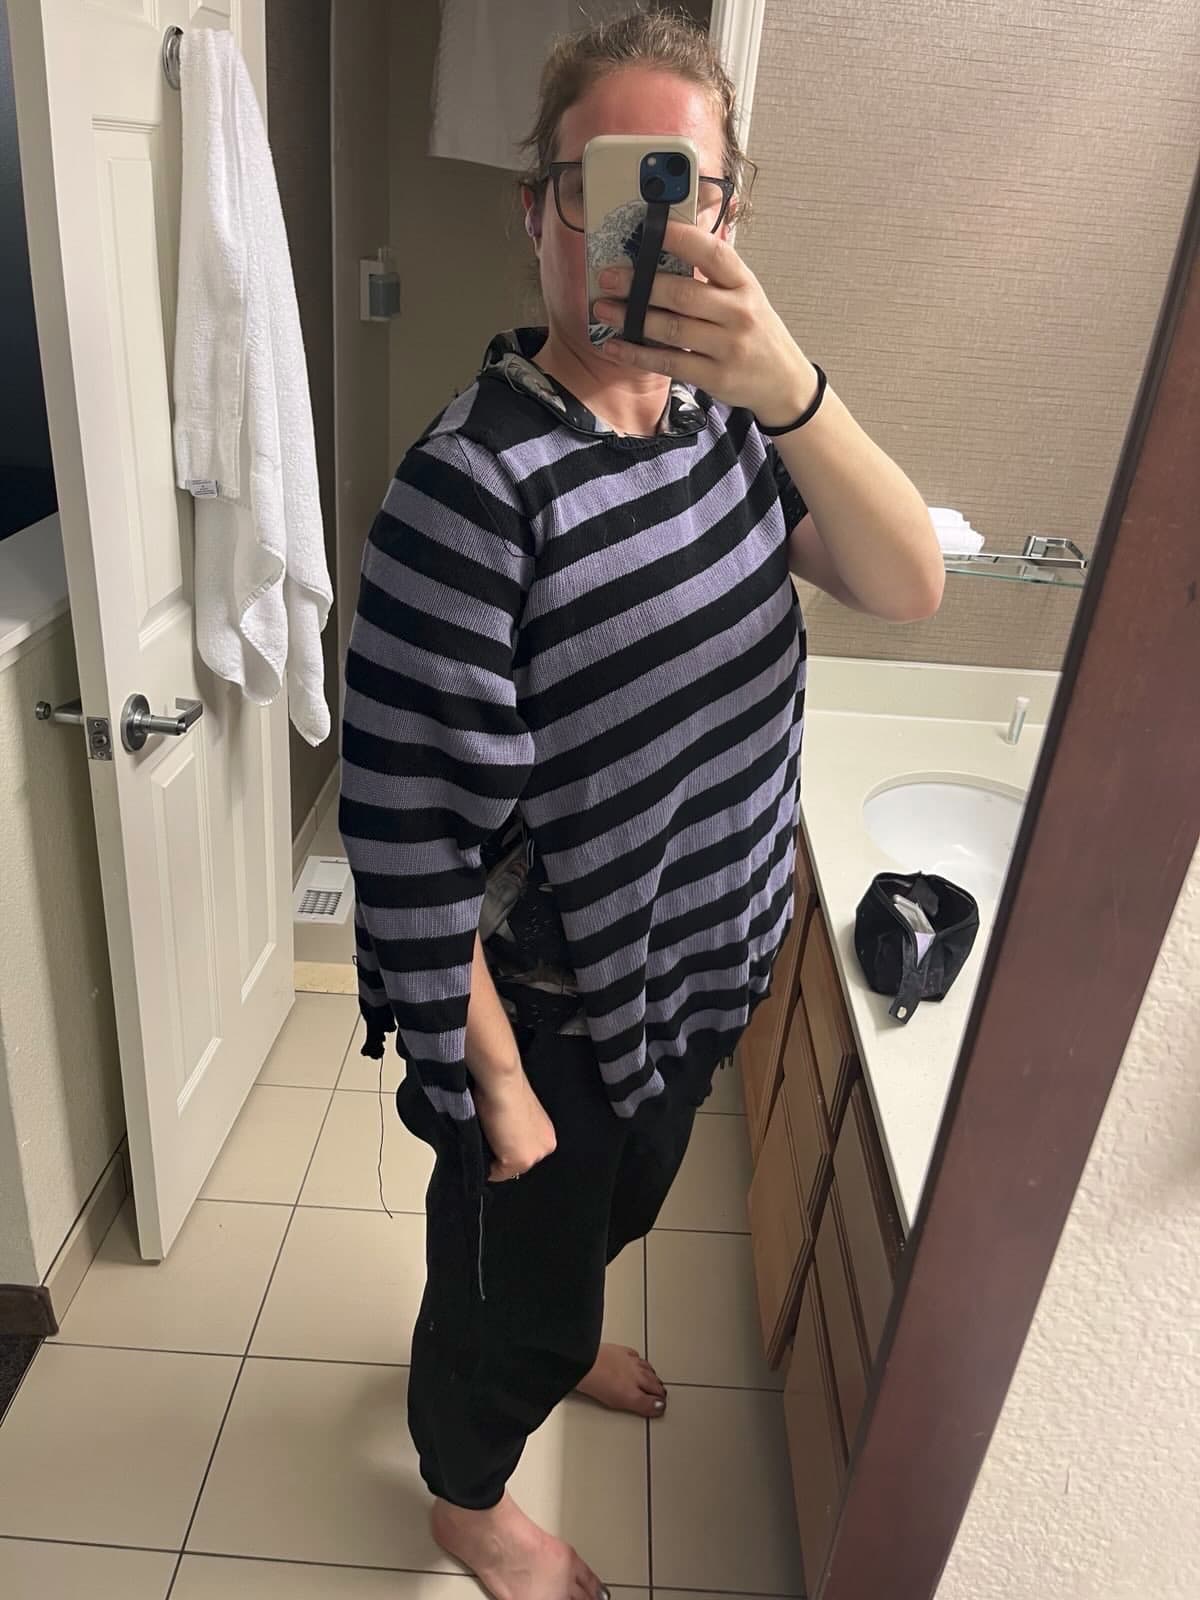
- 12: (Not-so-) secret first sweater.
- 13: A scarf from my workshop day in Berlin.
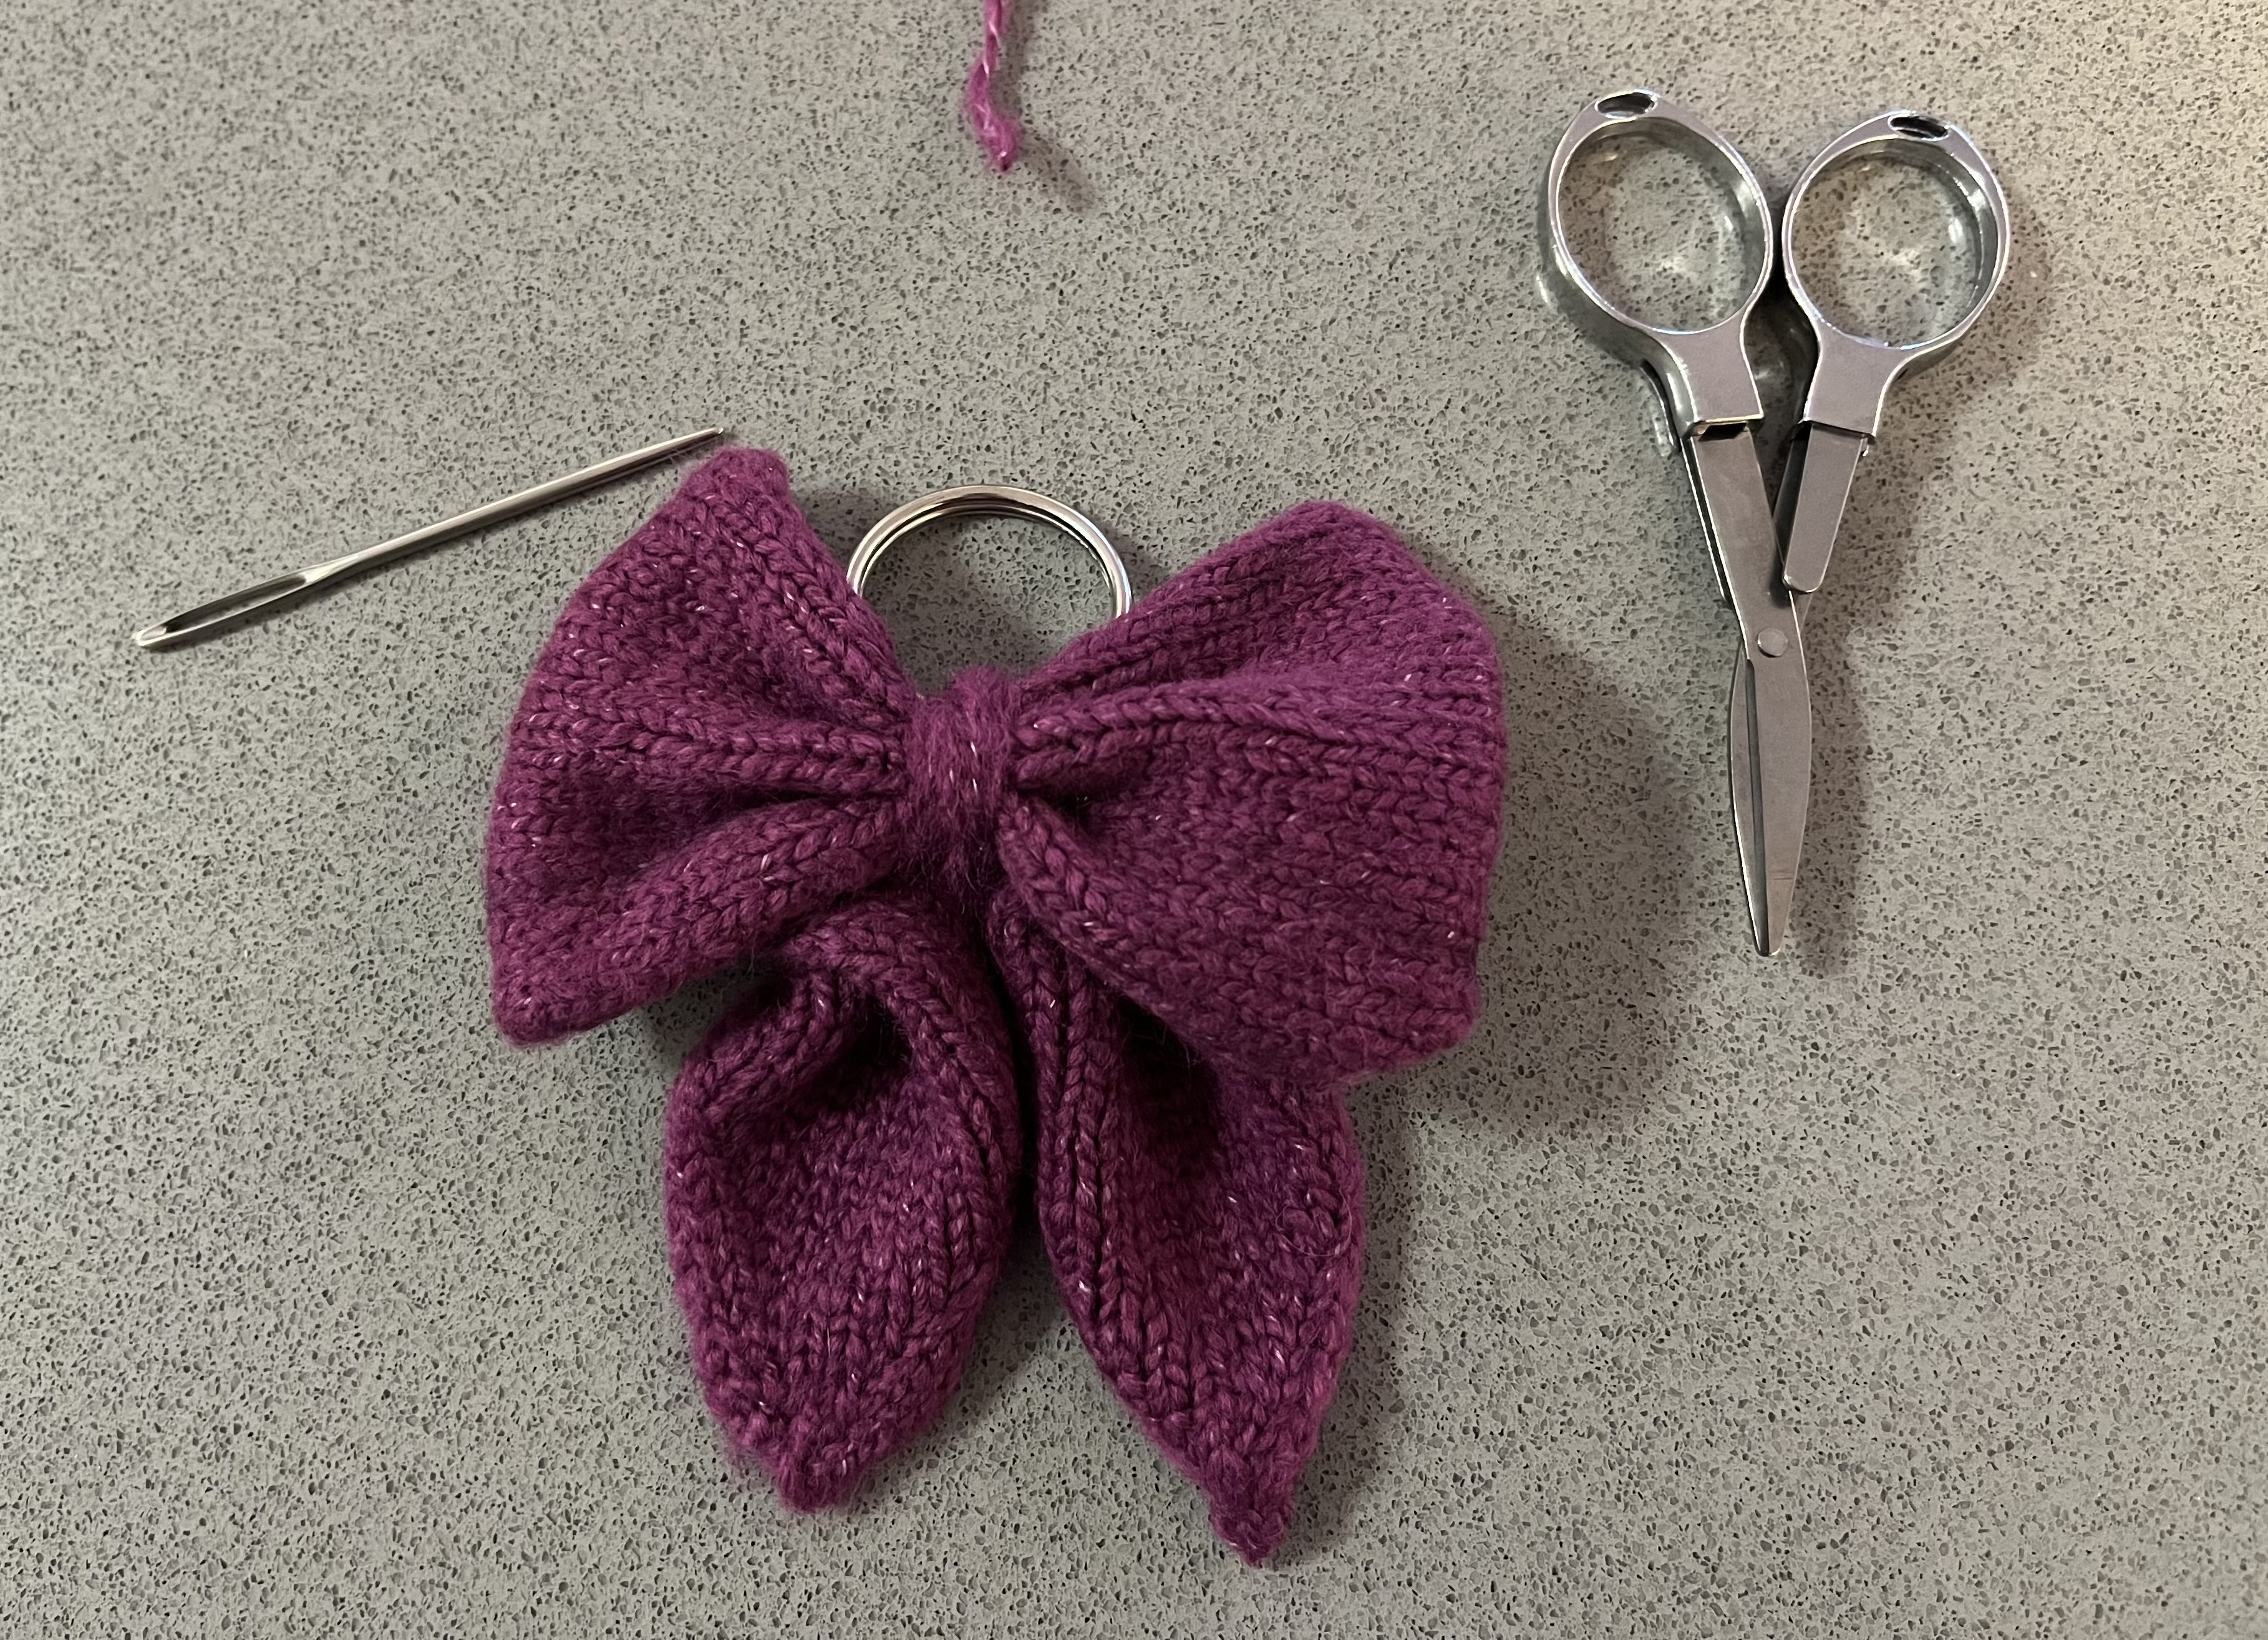
- 14 and 15: little green bow, little red bow.
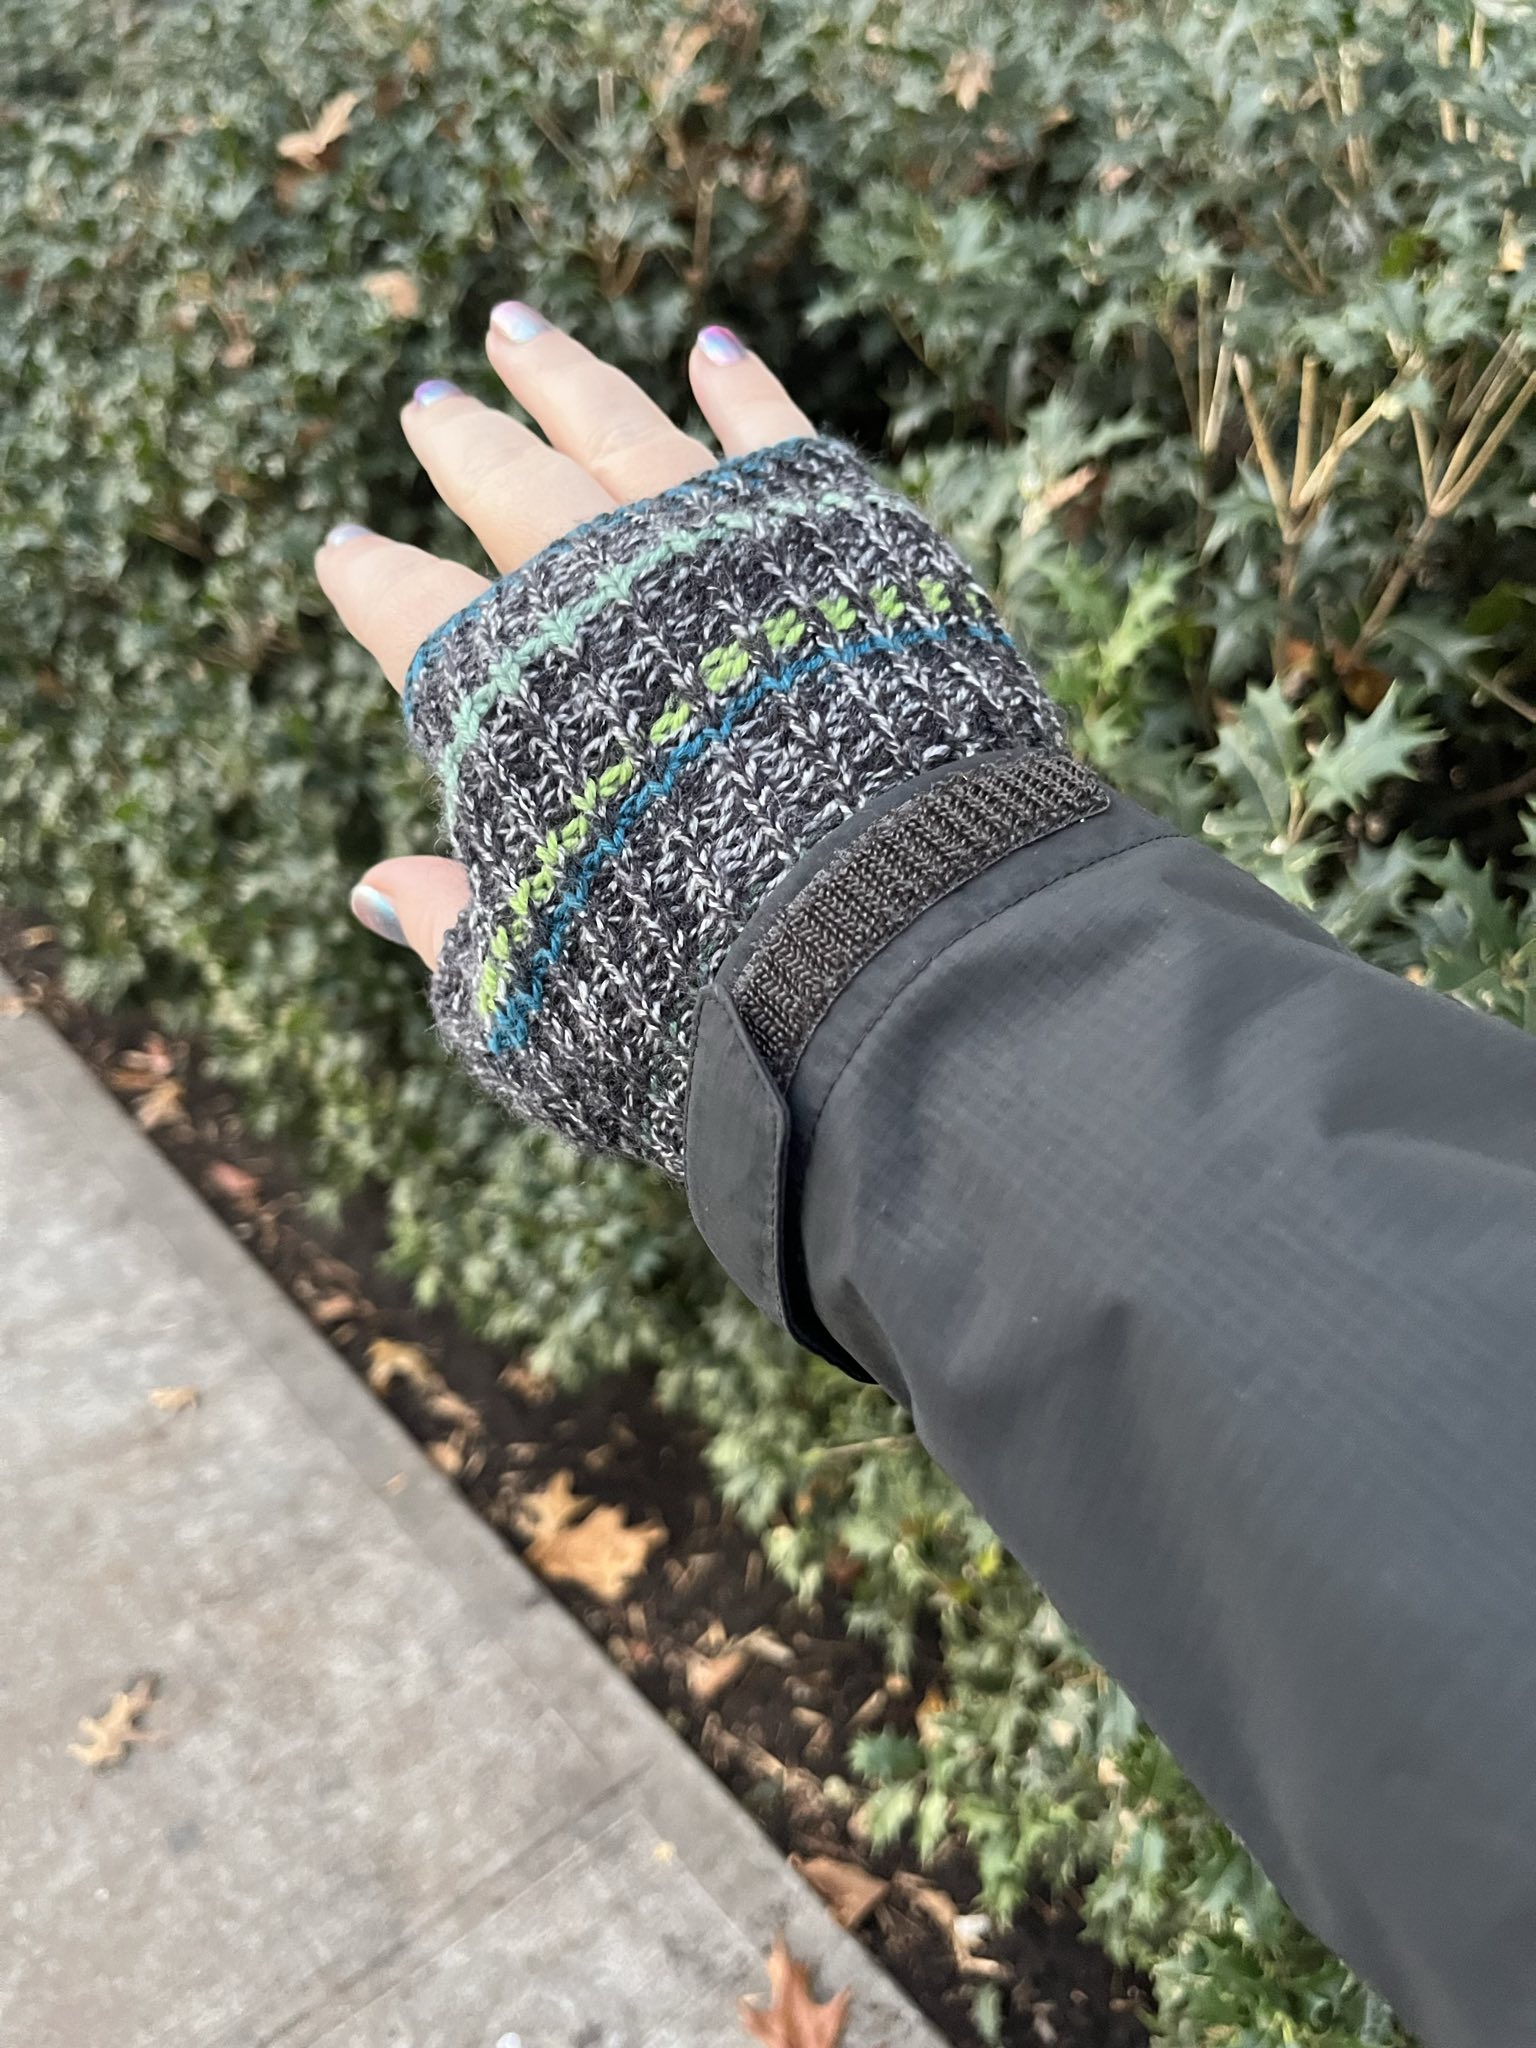
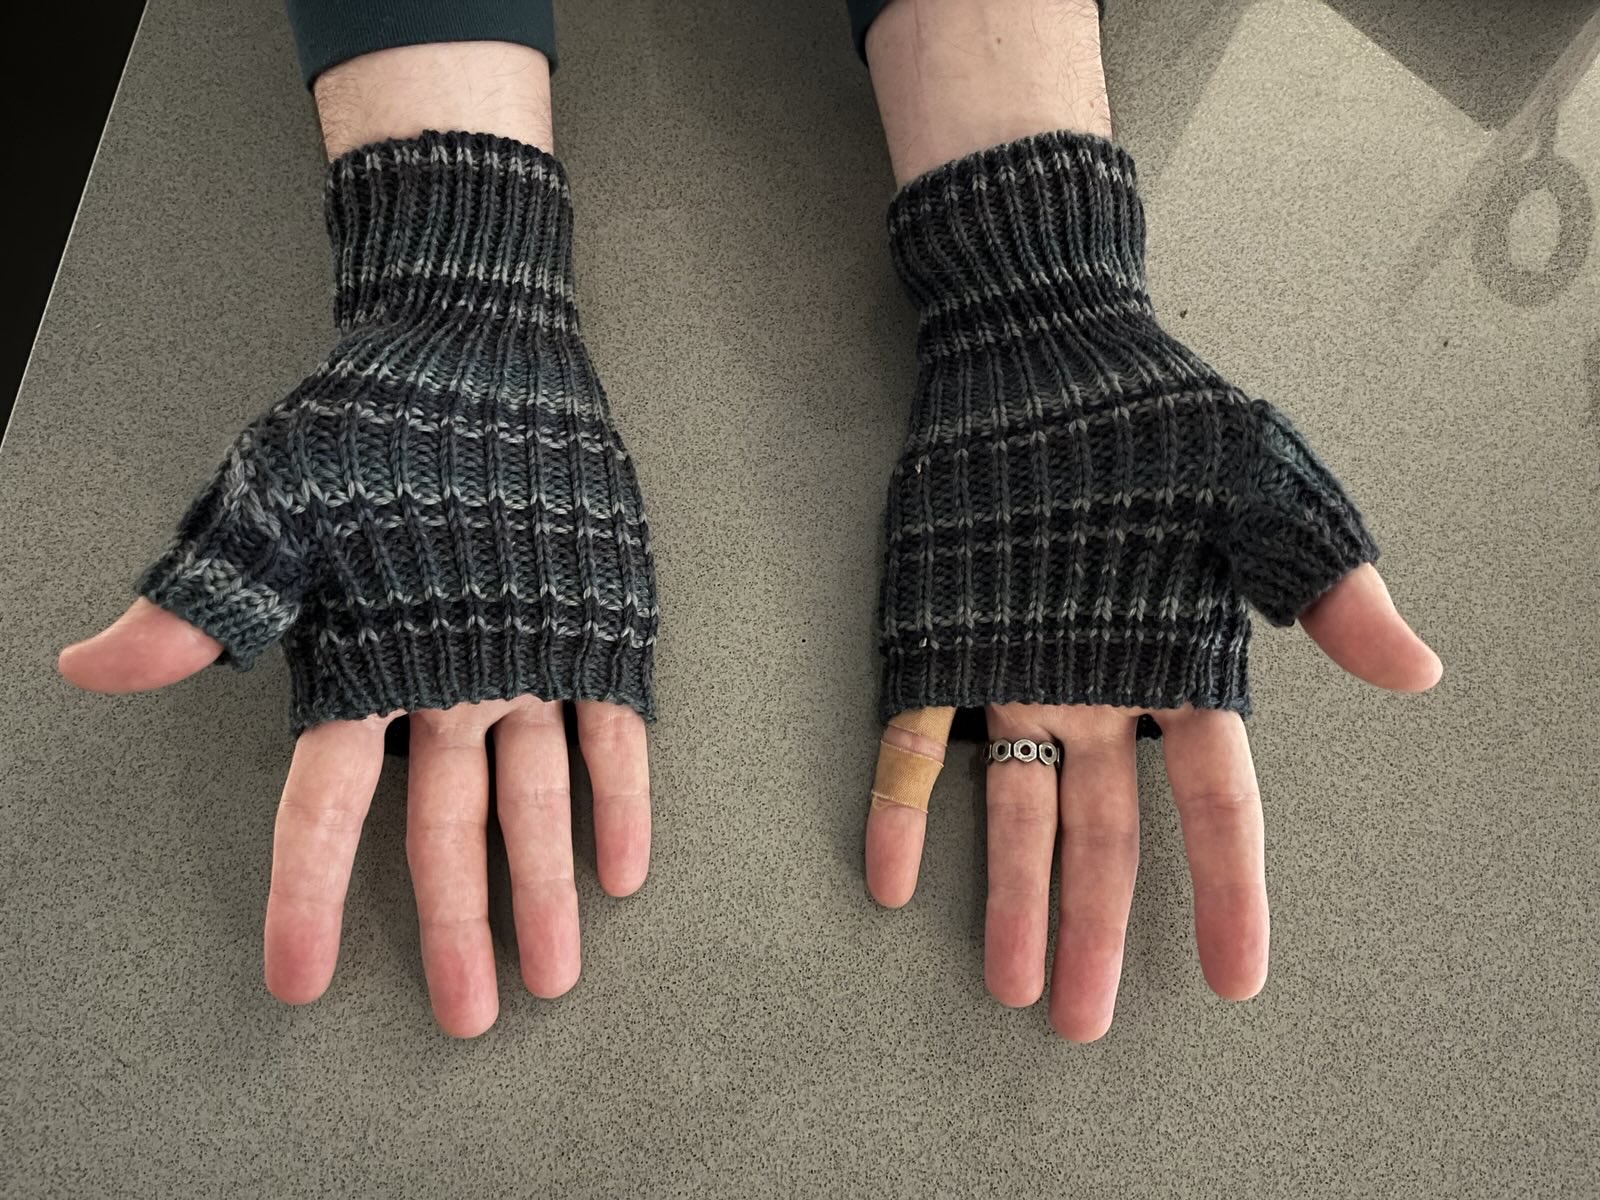
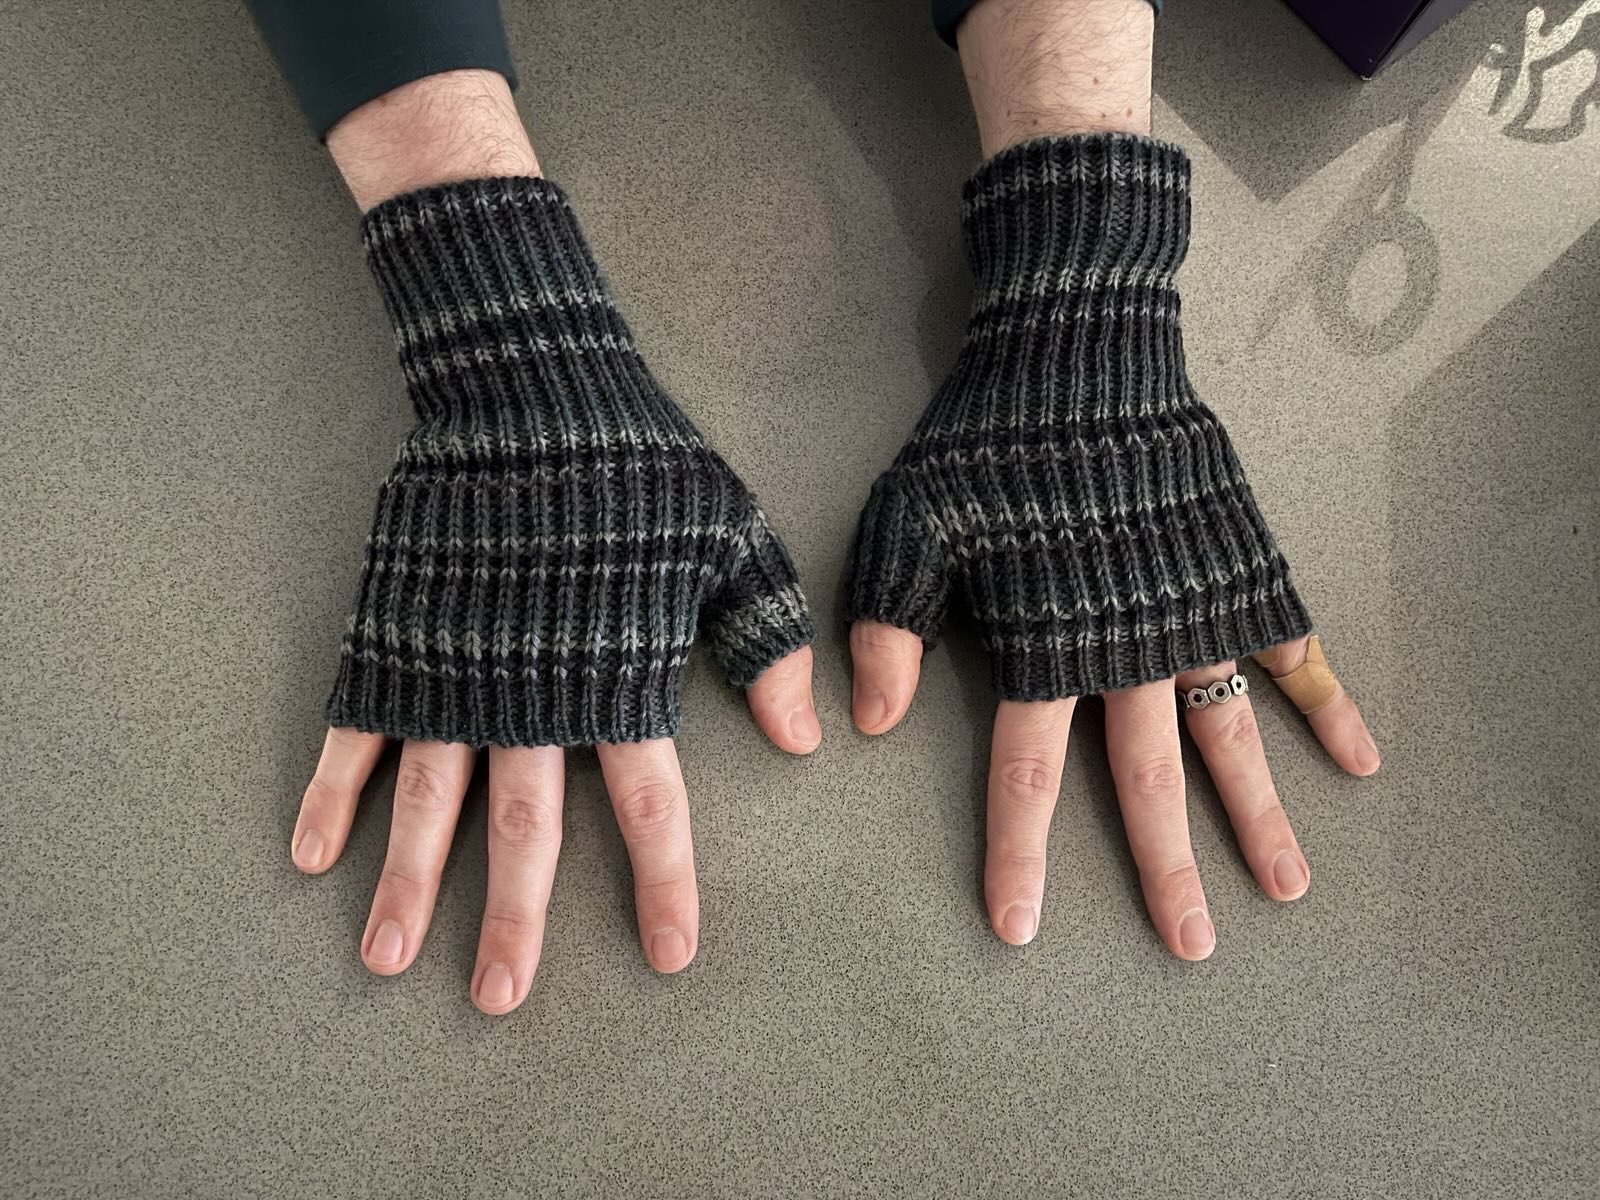
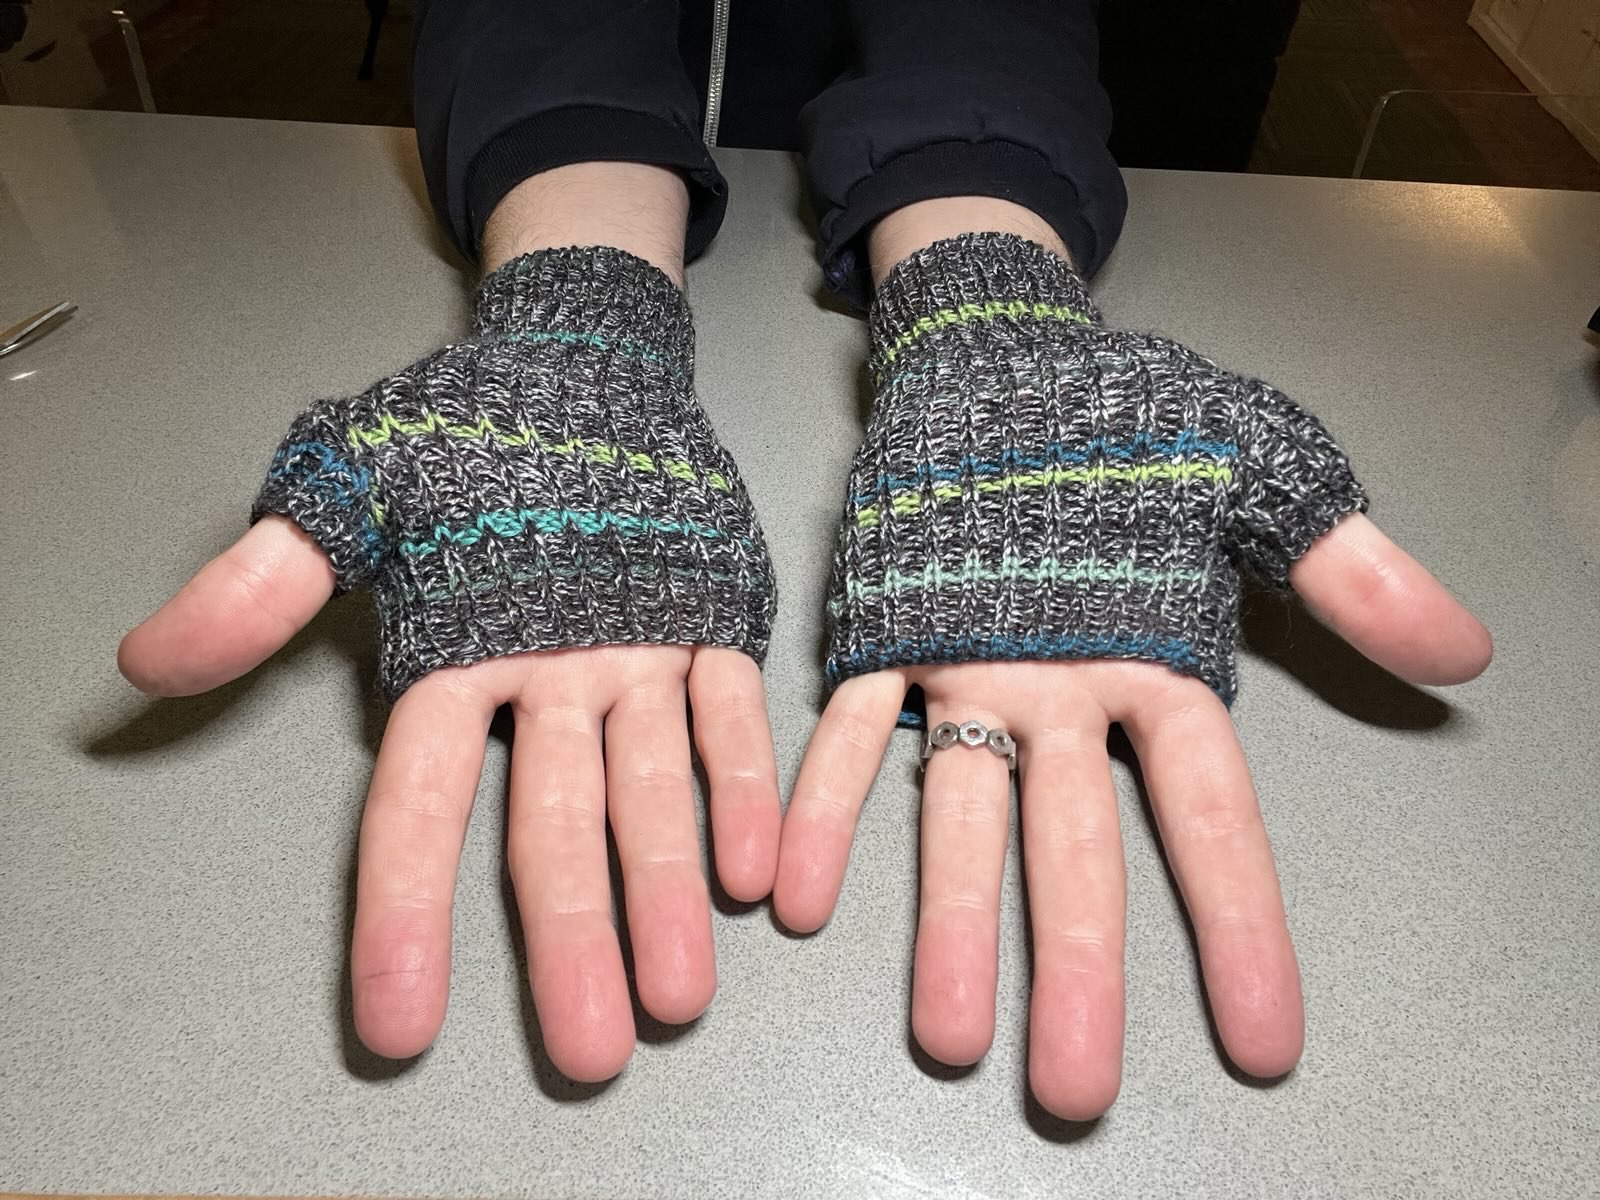
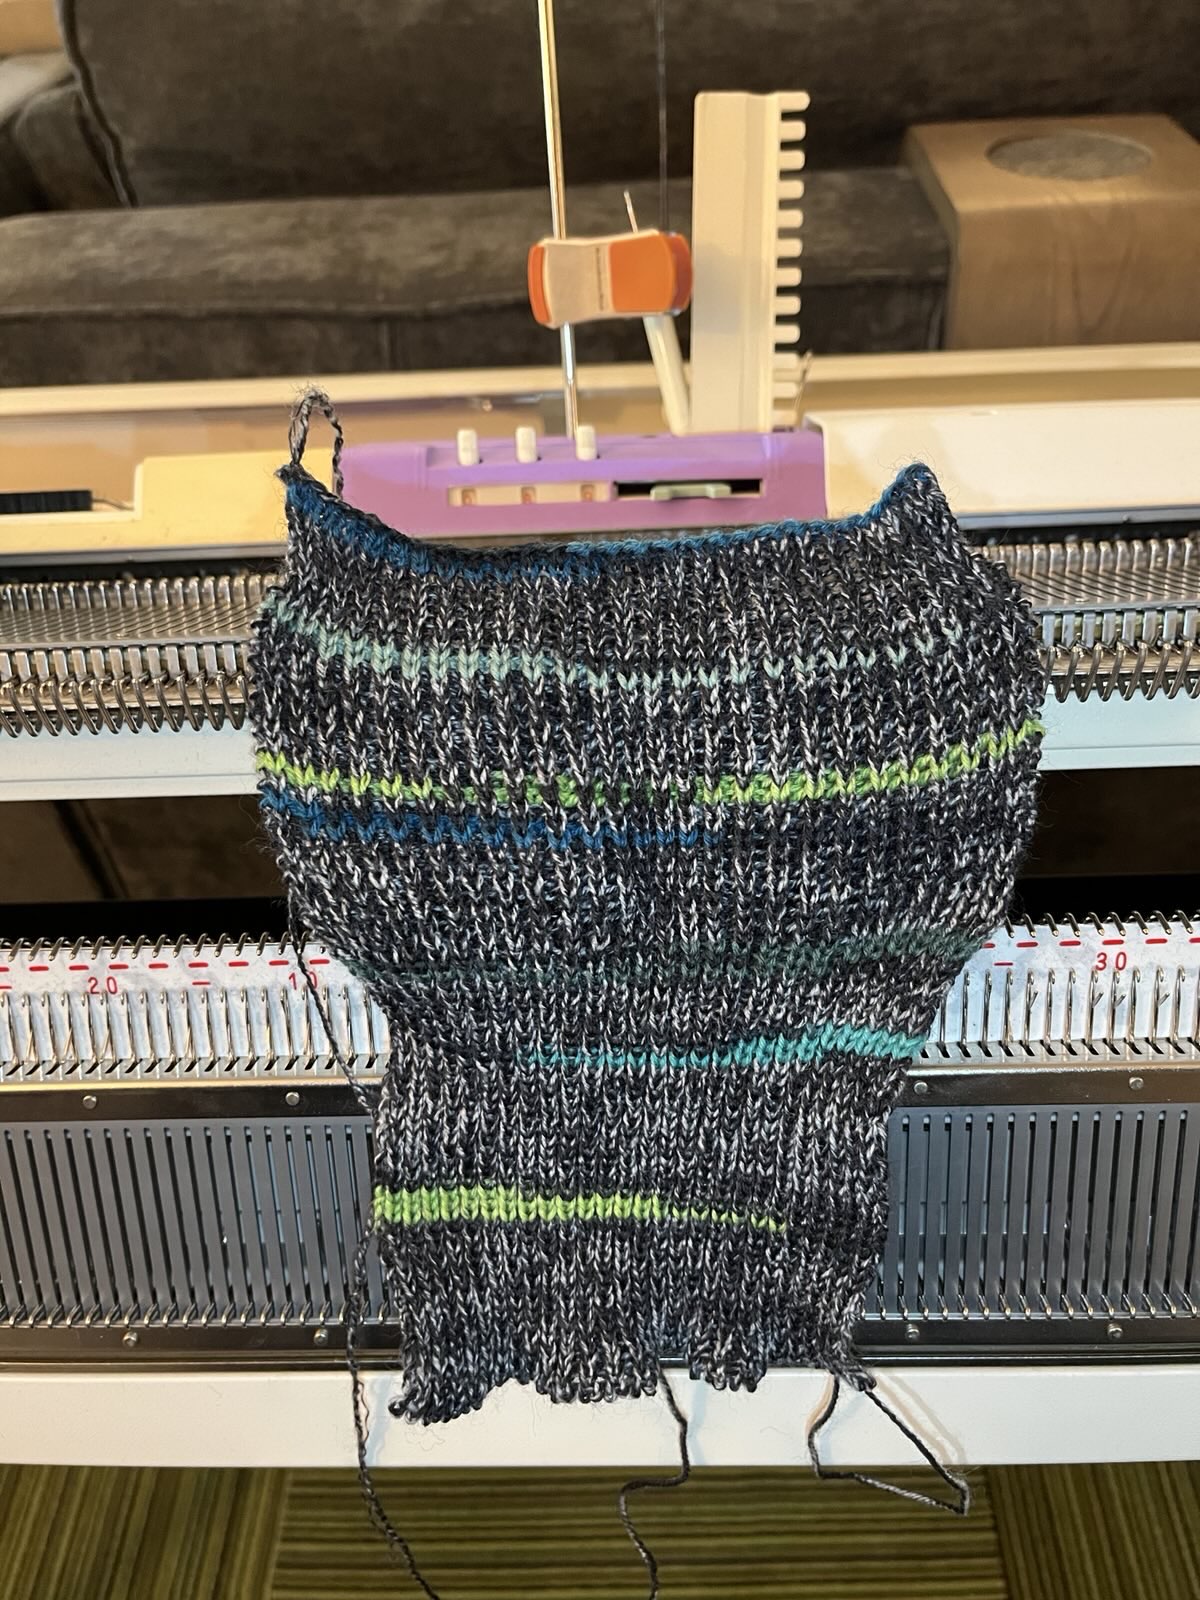
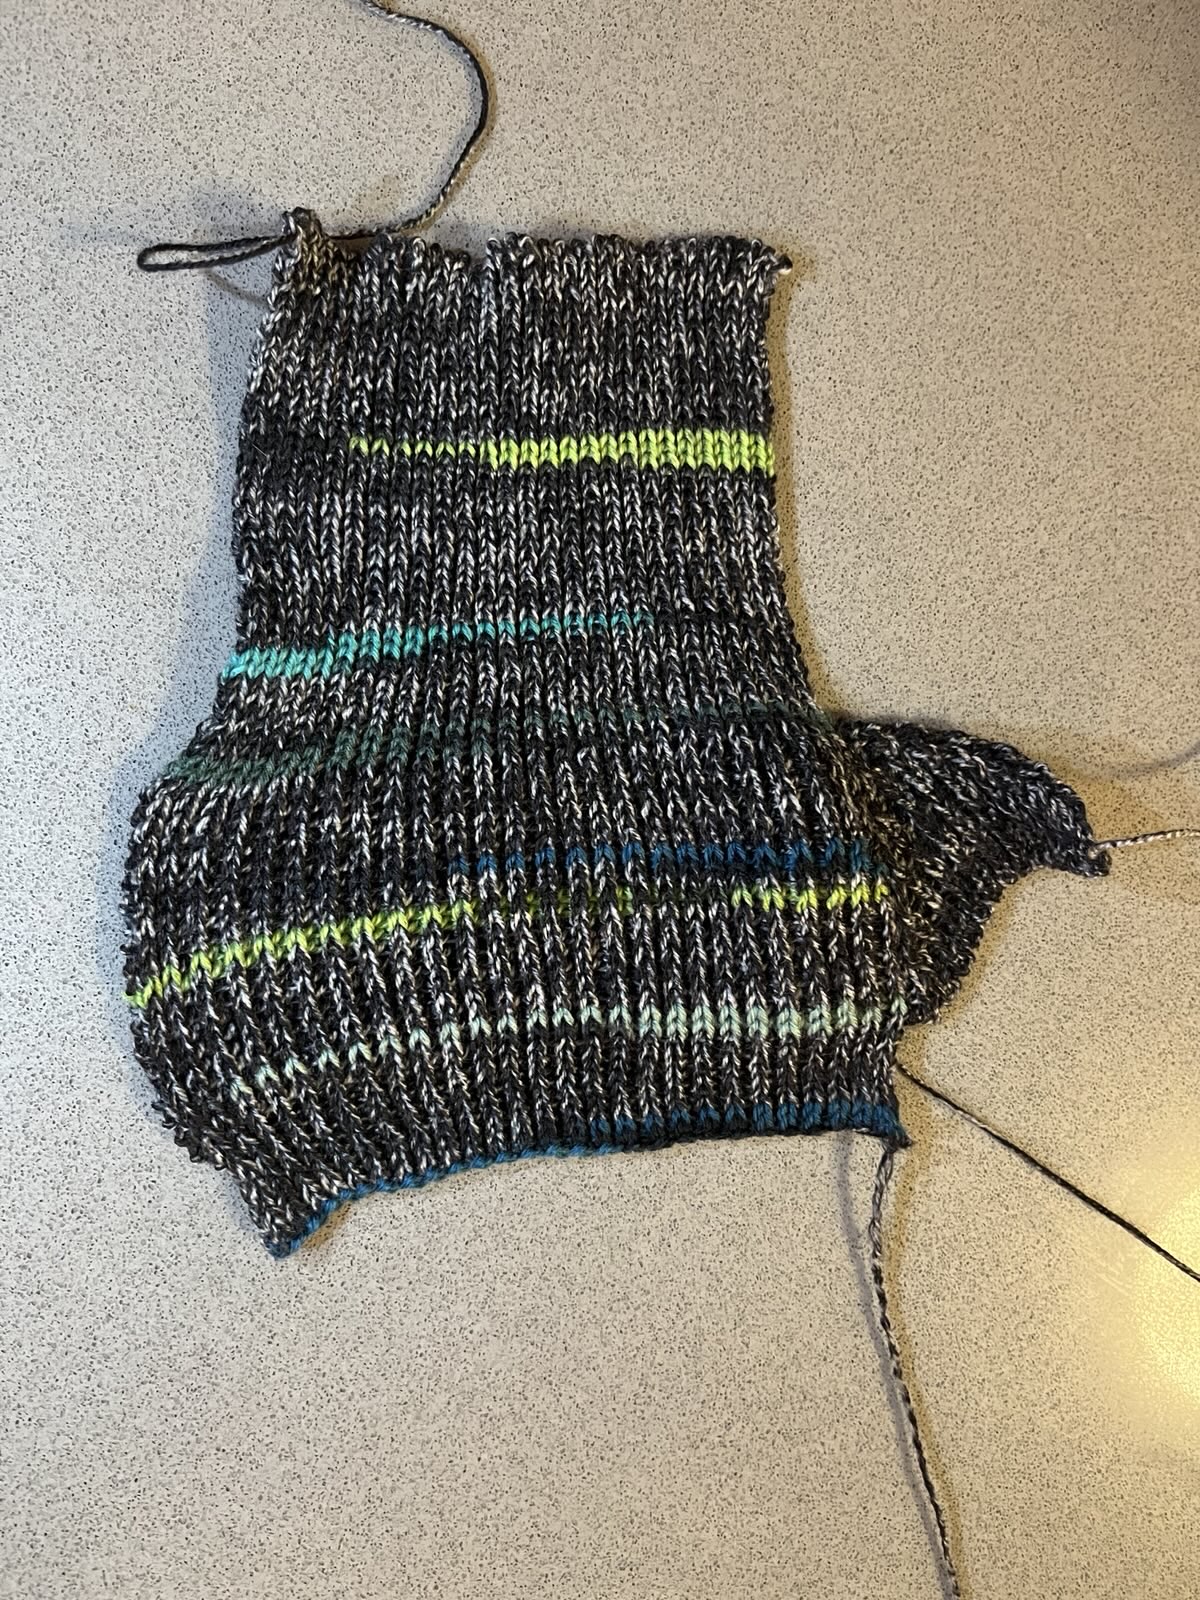
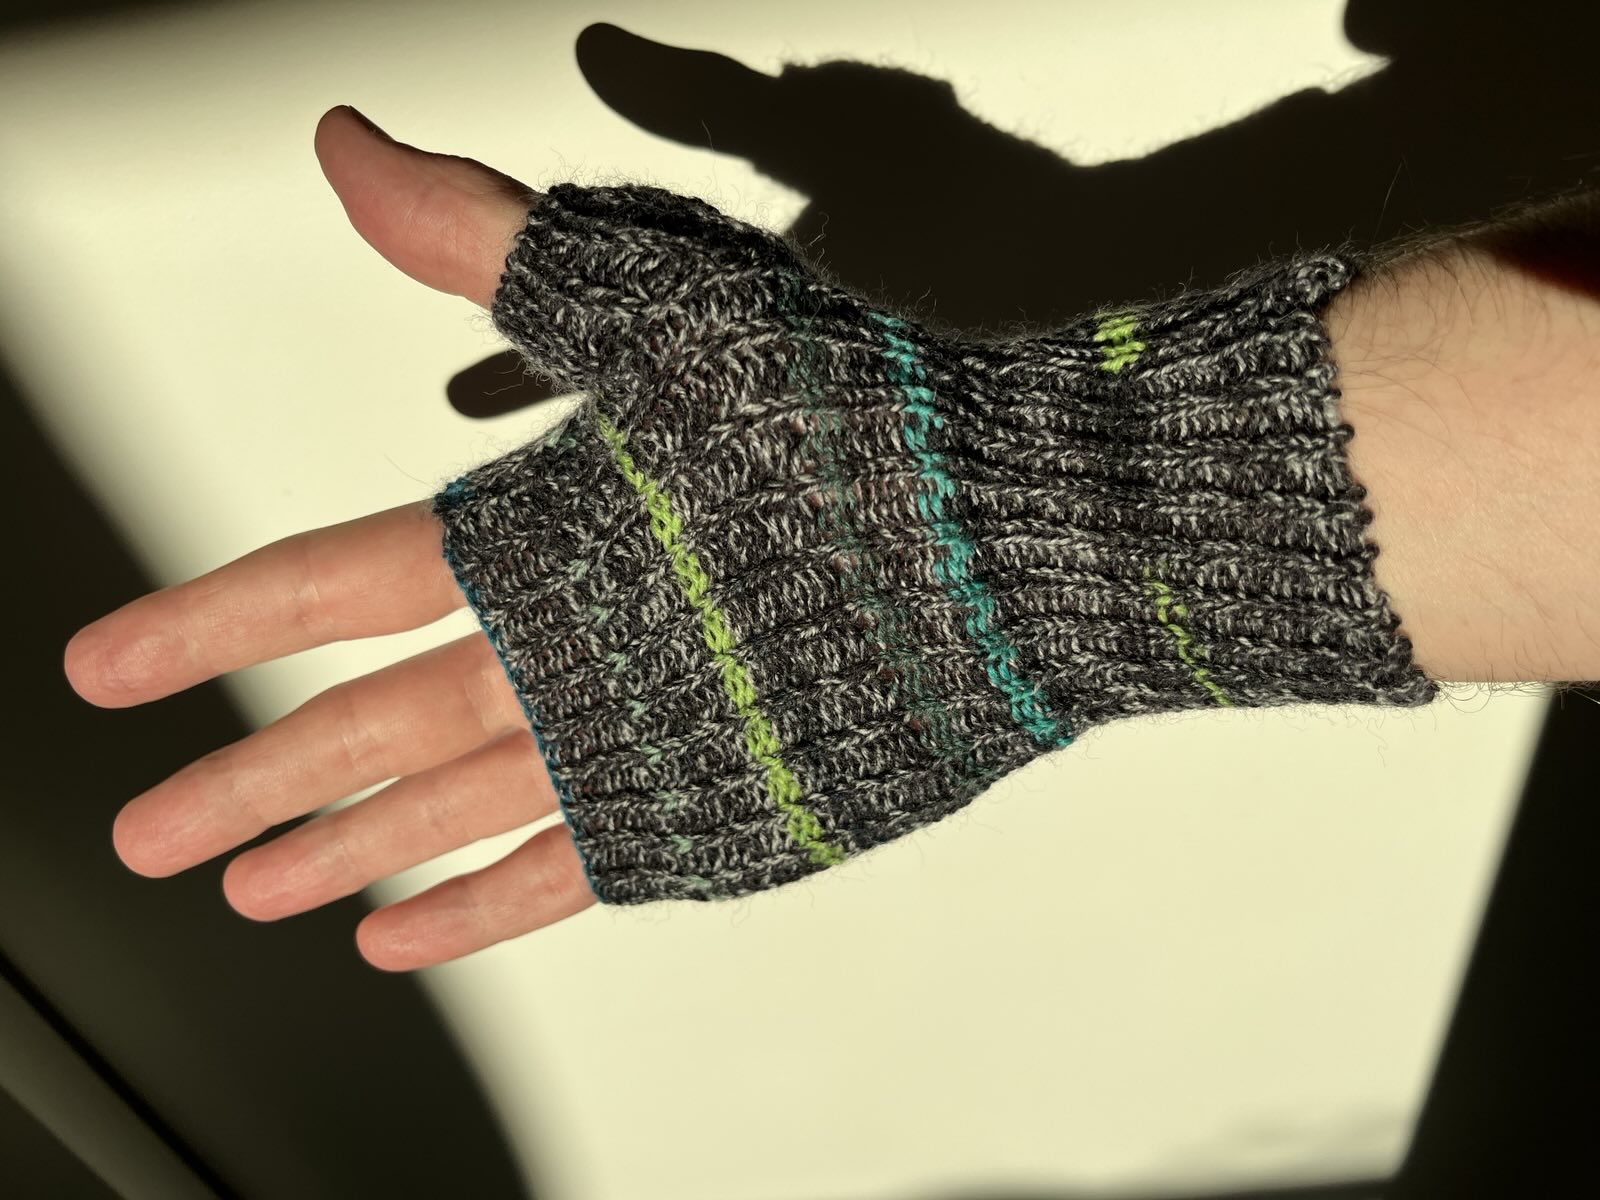
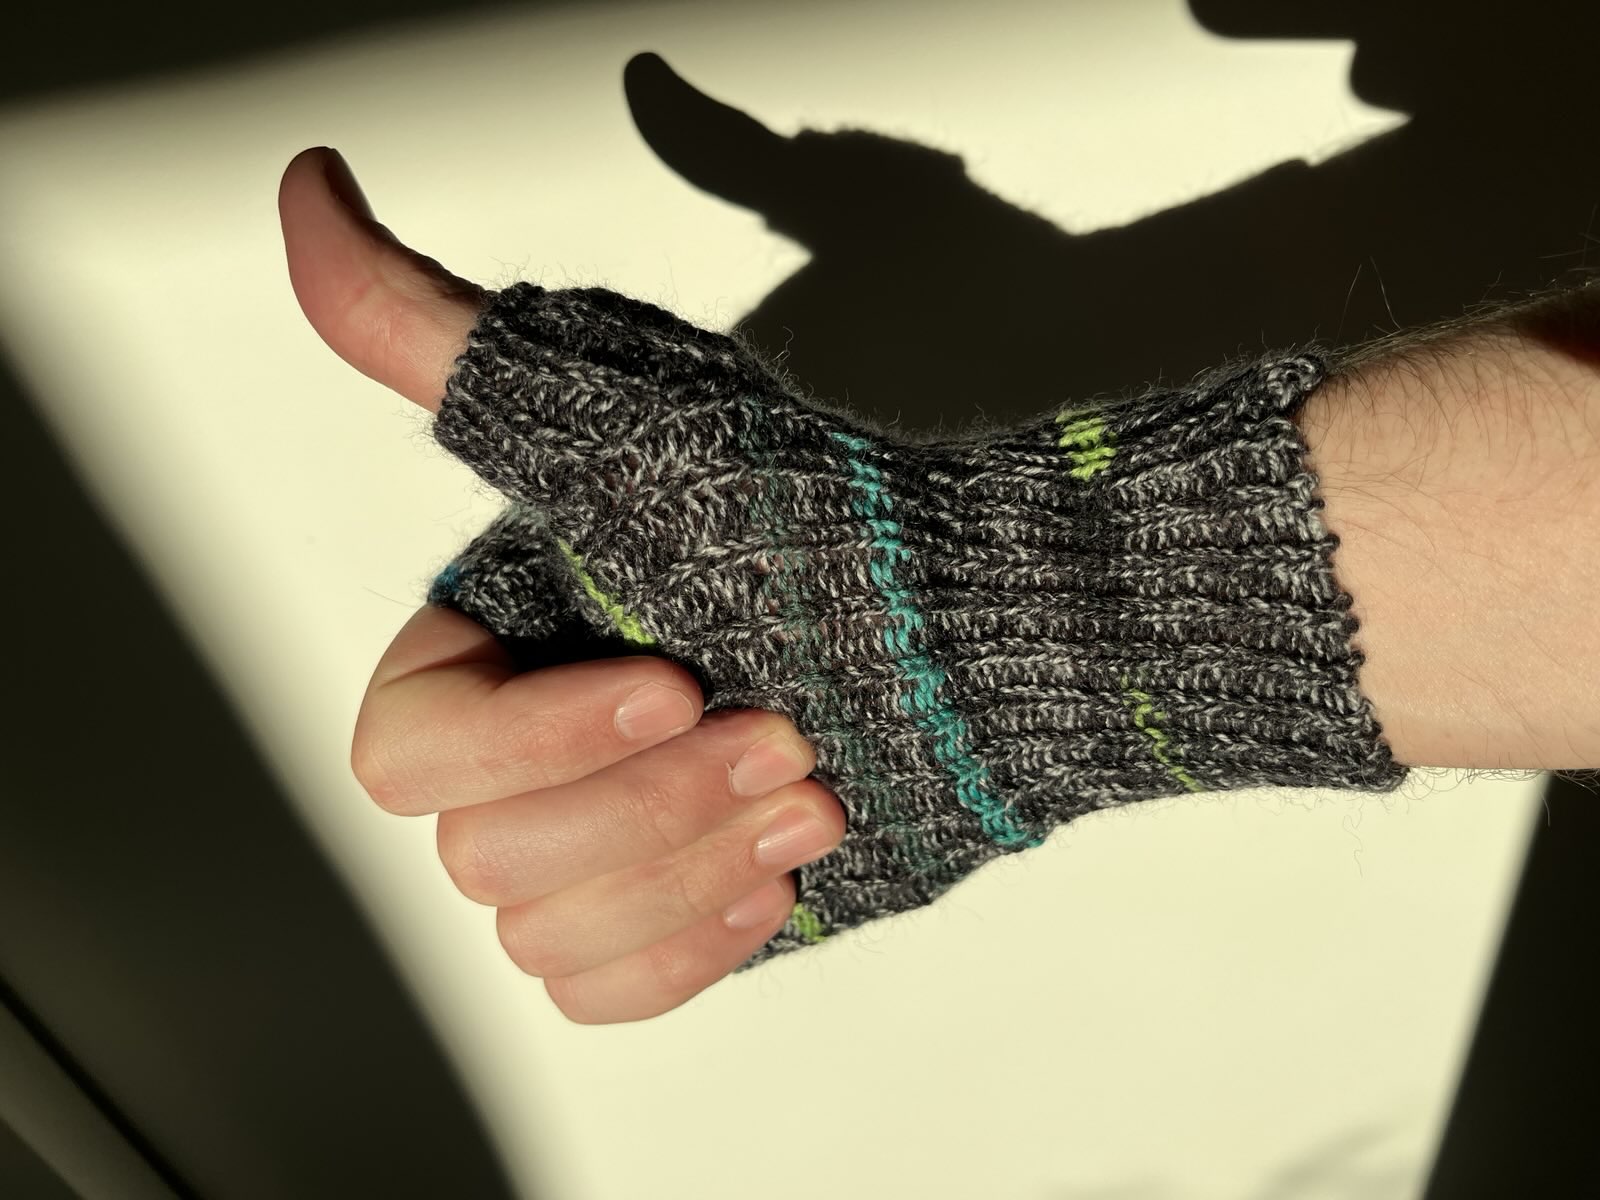
- 16 and 17: my ribbed hand warmers, producer Amy's ribbed hand warmers.
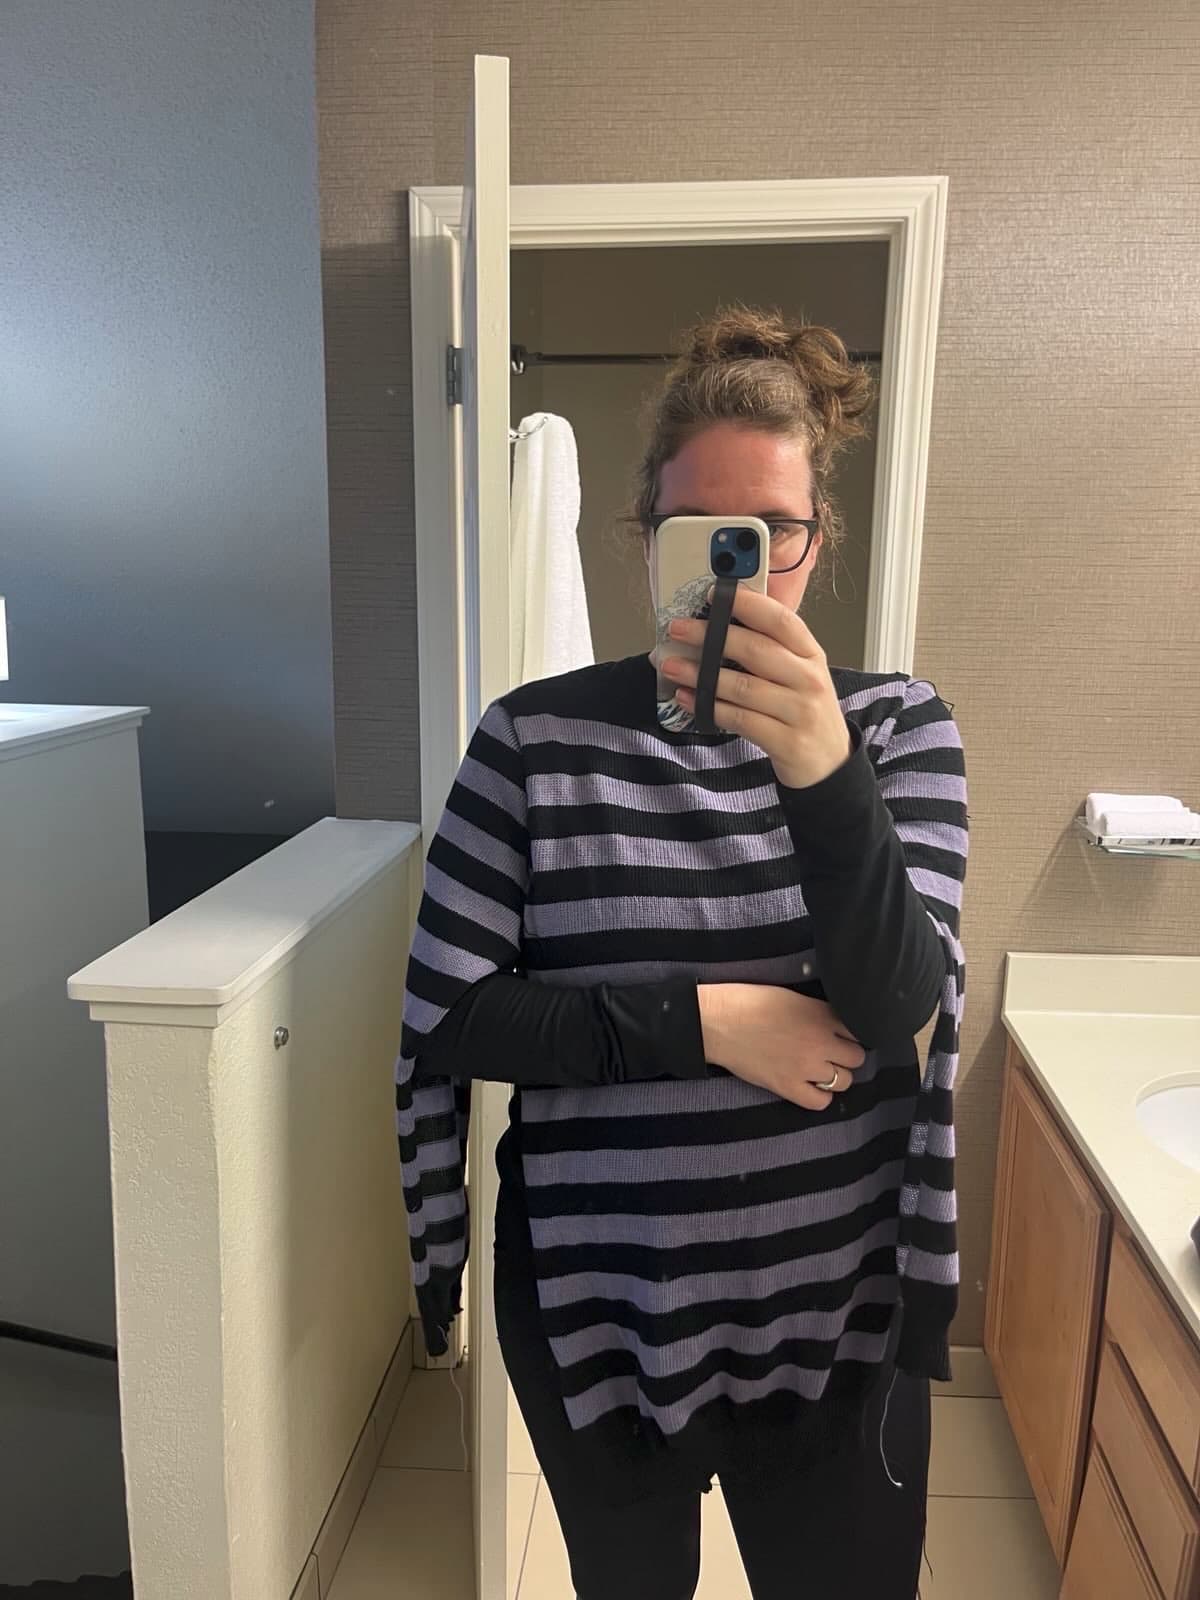
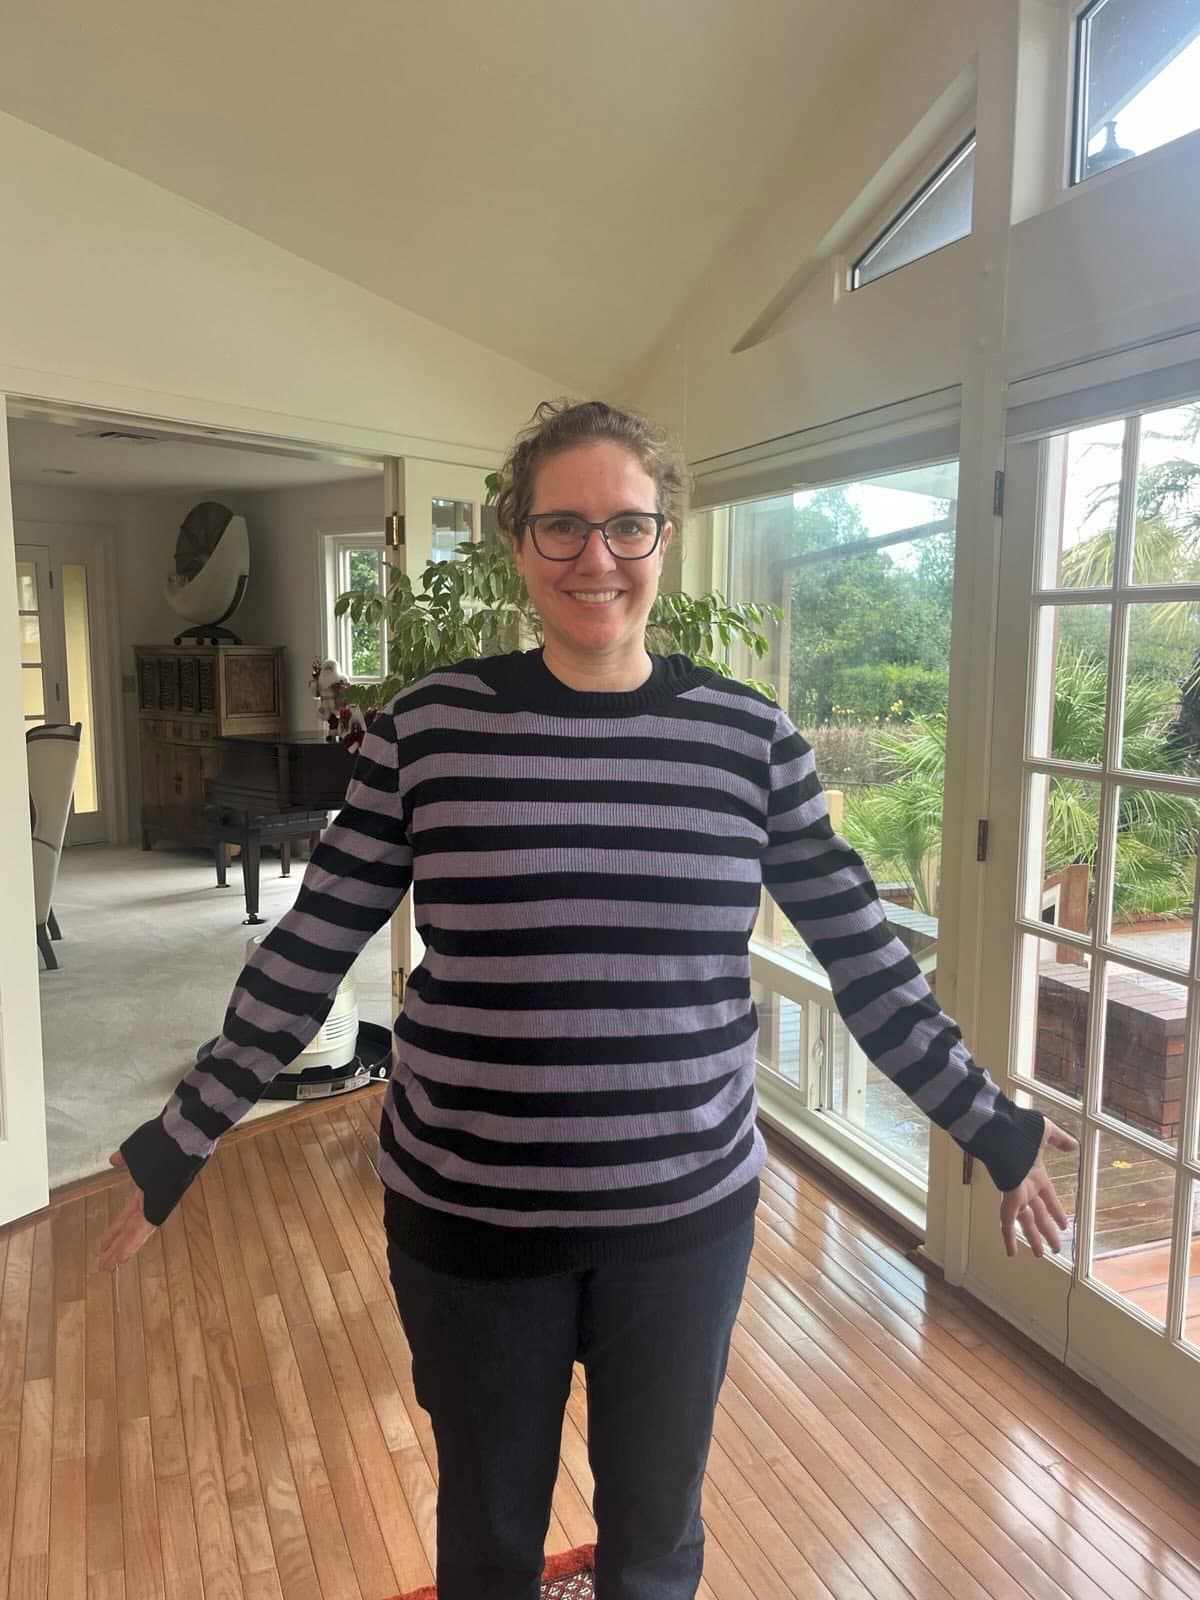
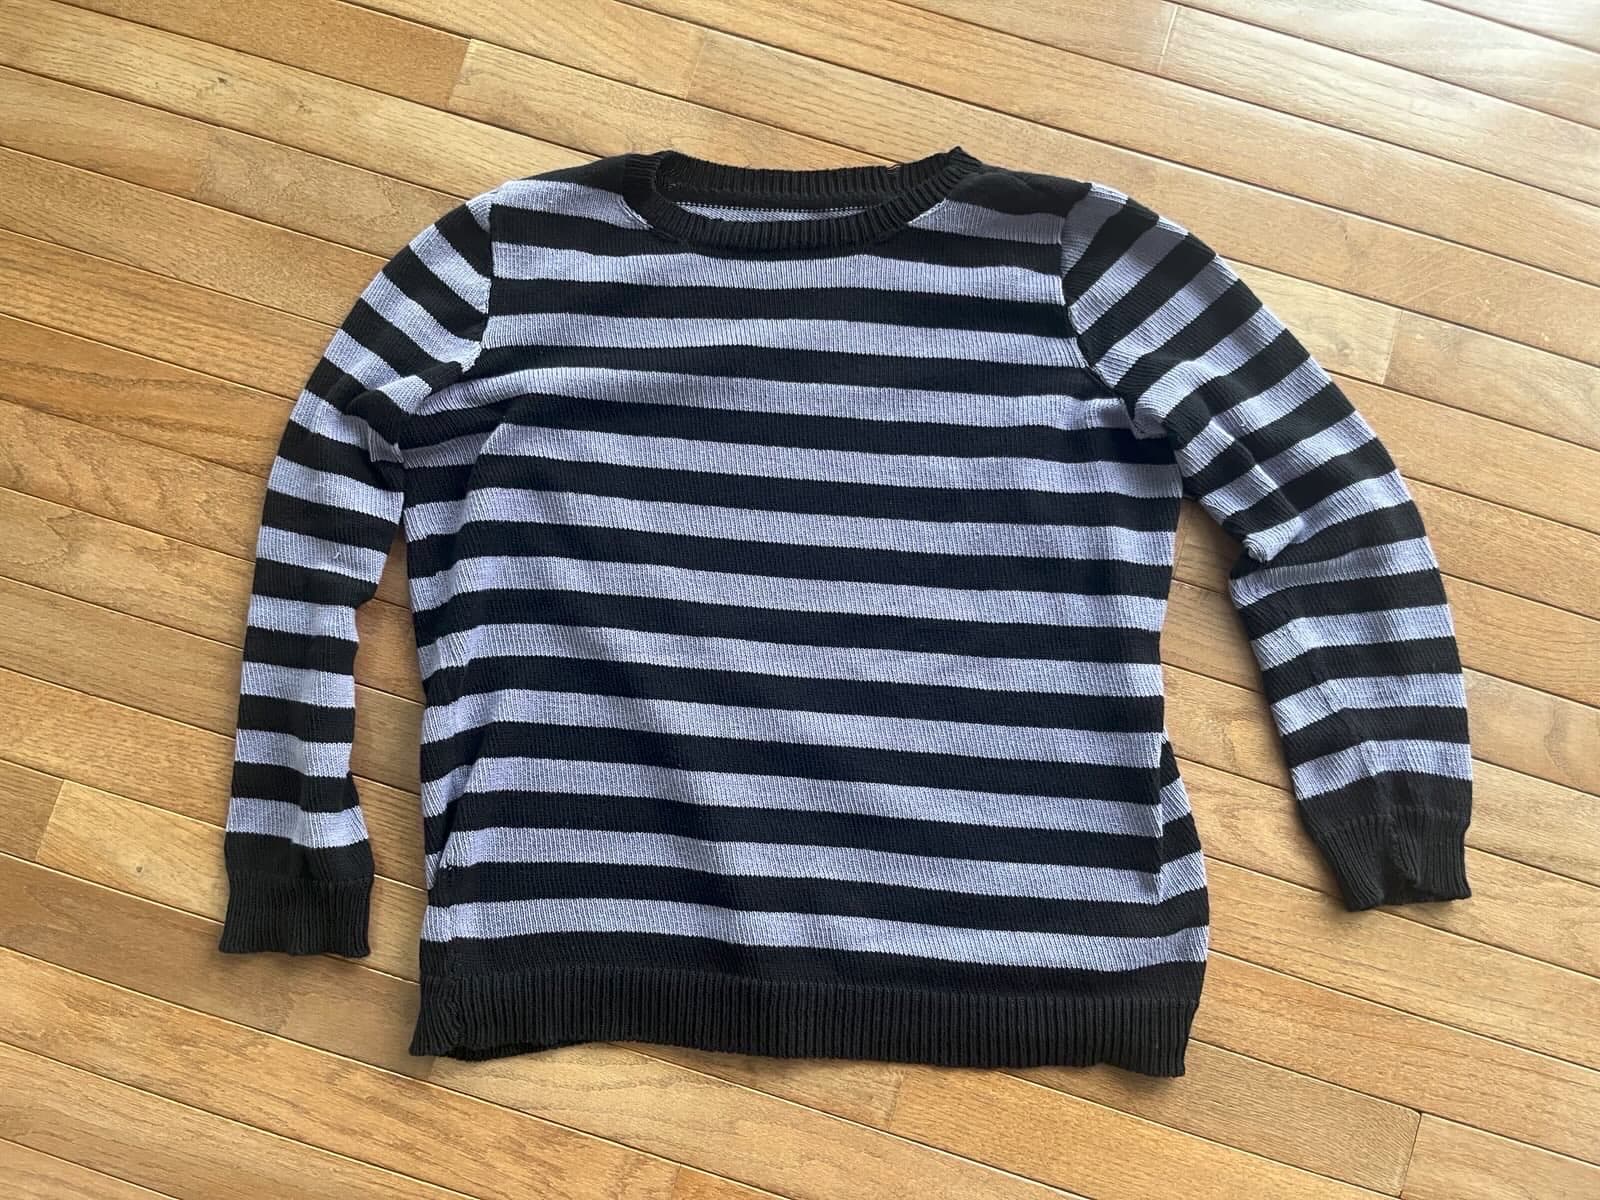
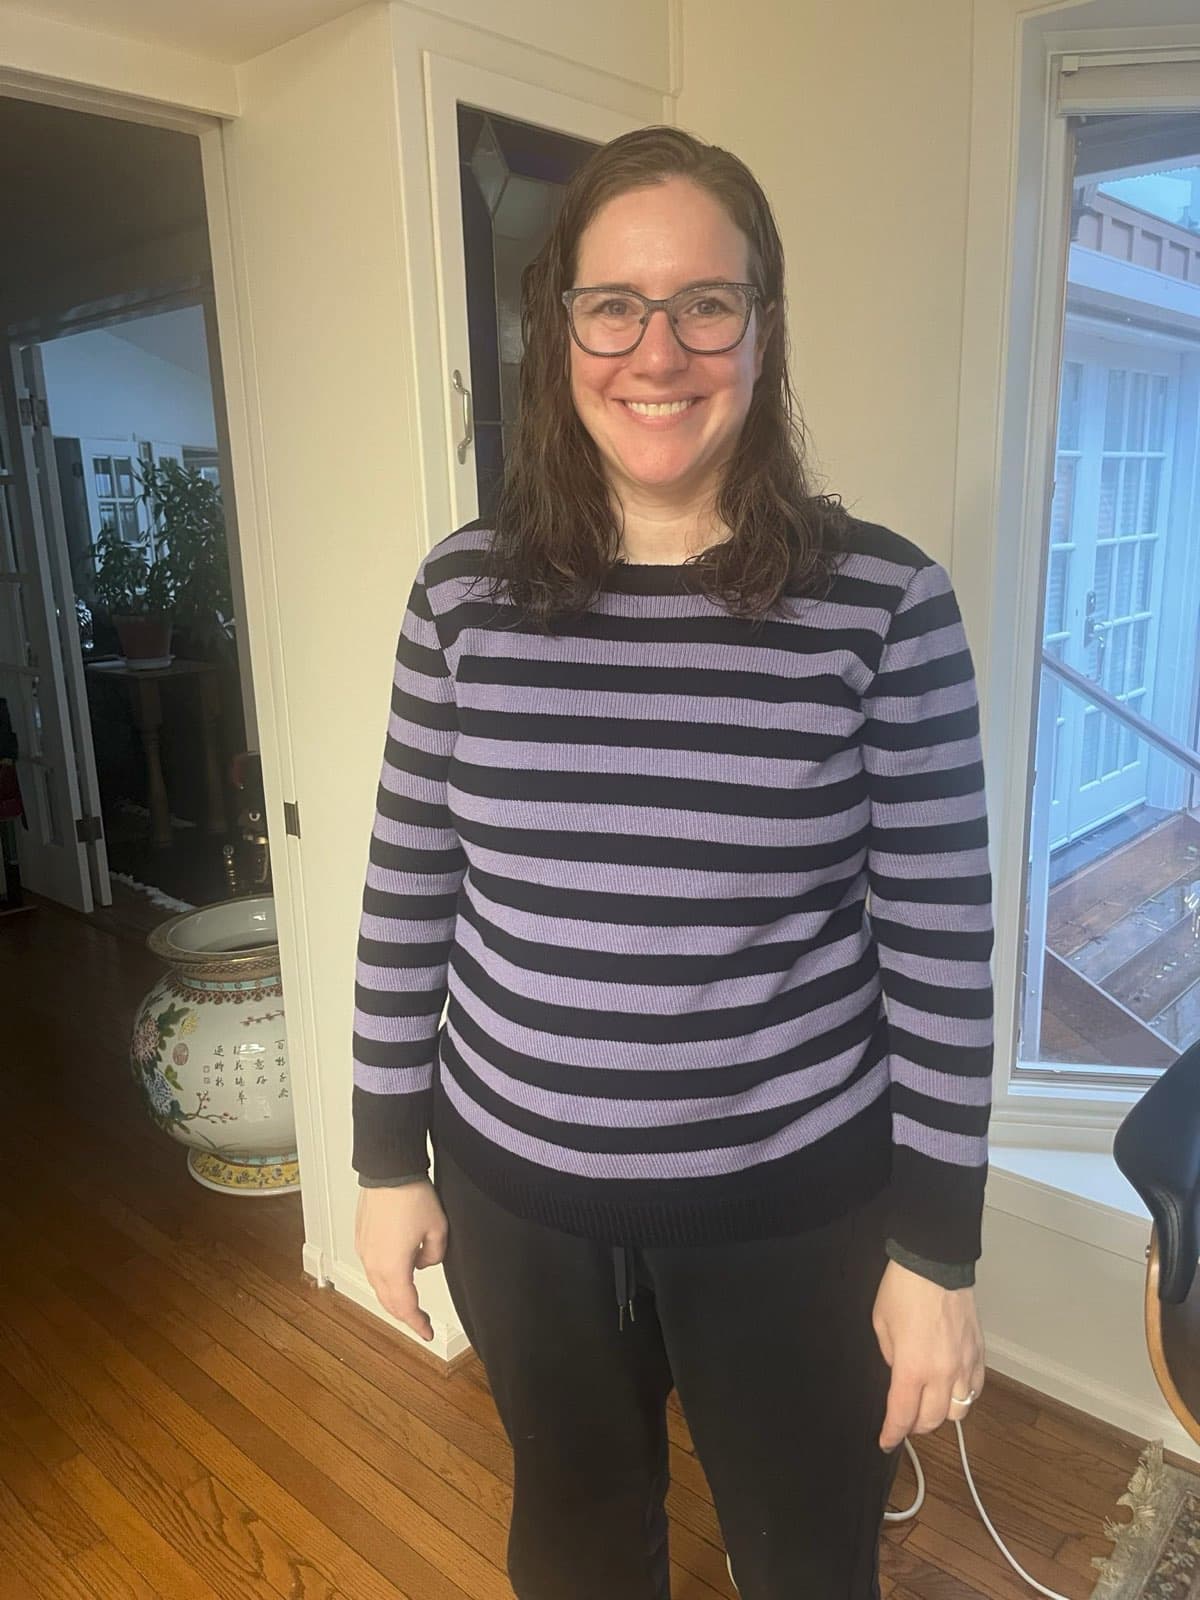
- 18: A swatch for the knitalong sweater.
- 19: Finished knitalong sweater.
- 20: My current machine setup, with added ribber, 3D printed parts for the ribber cover and to cover the new AYAB electronics. Photo from this WIP sweater knitalong post.
I feel like I should be knitting more and, sure, I should. But this is also a lovely set of accomplishments from August to the end of the year.
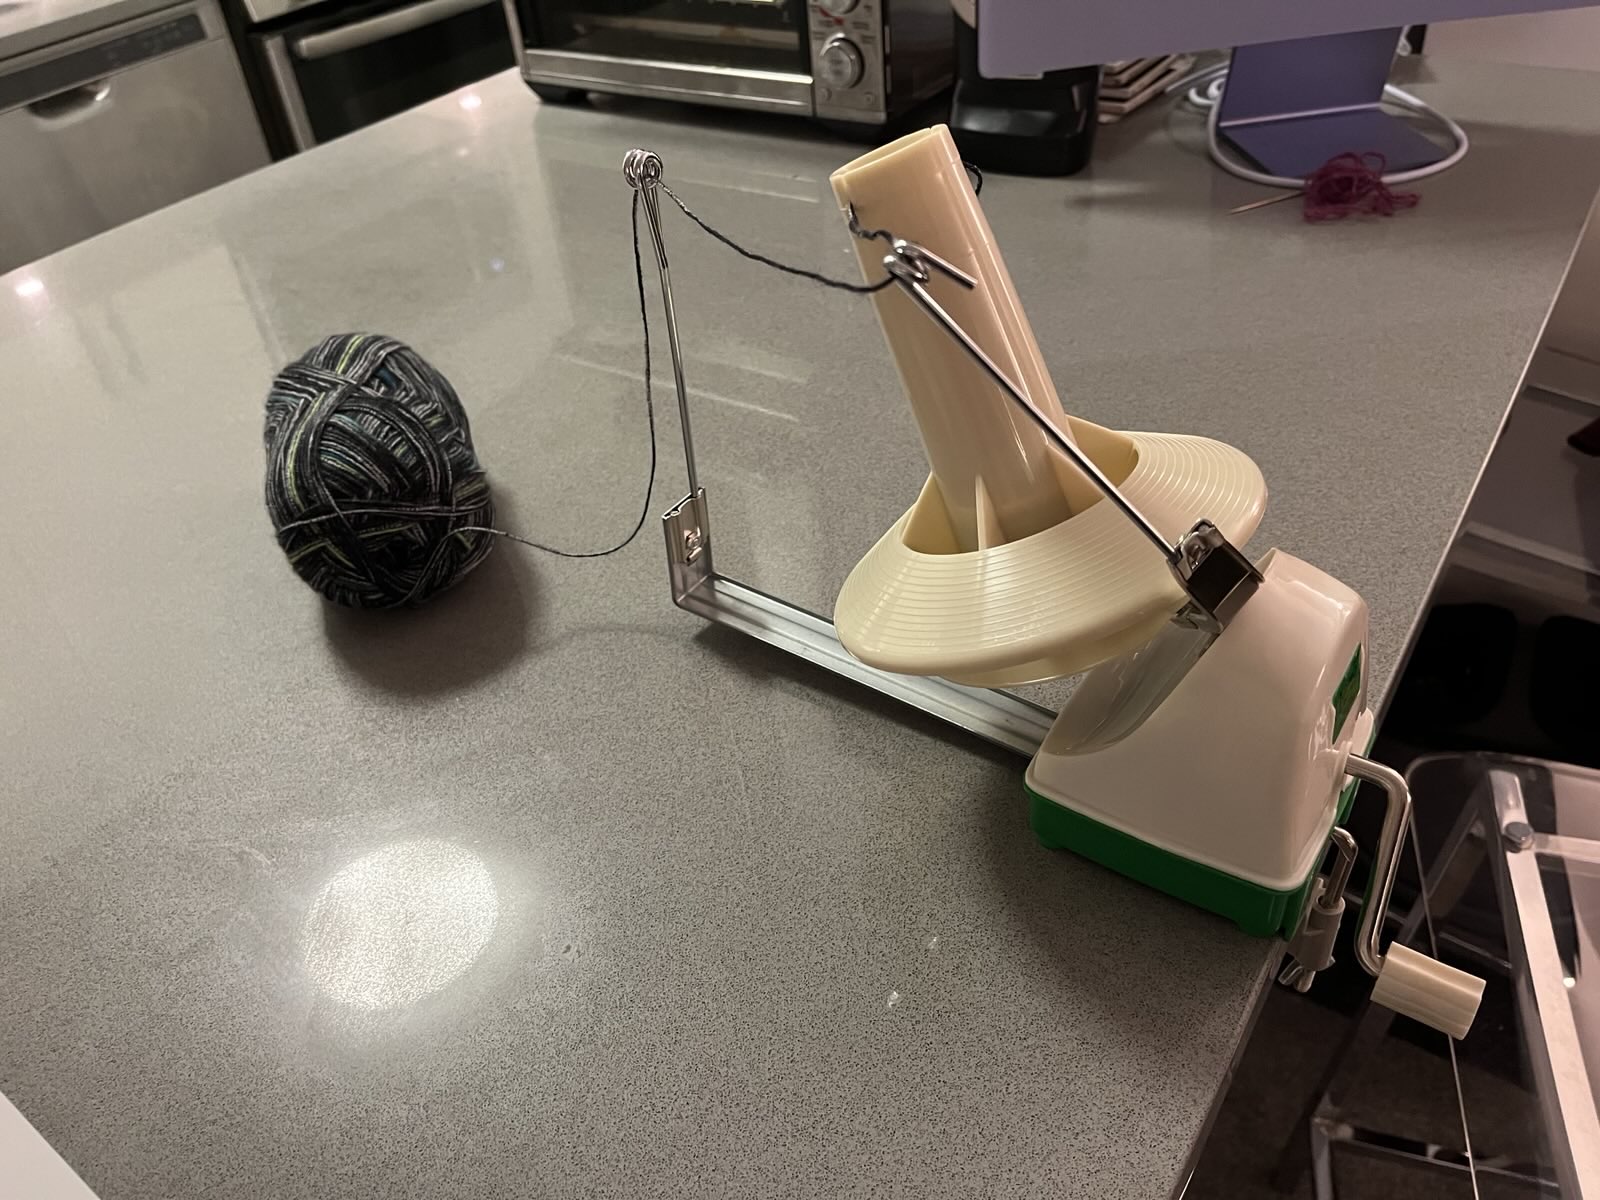
This is reflected, a bit, in the growth of my knitting setup.
- I got a knitting machine stand, so Amy and I don't have to fight over counter space for our fiber arts projects.
- At long last, I replaced the electronics with an AYAB interface board and spent an incredible undocumented-on-my-blog amount of time making some badly designed 3D parts to replace the cover. These hold the row counter and AYAB board as well as keeping stuff and cats out of the machine.
- I found a new-ish-in-box KR-850 ribbing attachment on the electronic bay. The box was damaged in shipping, and it was missing its plastic cover, but I was able to 3D print a replacement ribber cover just fine. And now I can do ribbing!
I'm looking forward to a lot more in 2026! Here are some ideas so far:
- I have acquired, but not yet used, a KRC-830 color changer. I'm excited to tinker with multicolor designs!
- I love Saga's sweater in Alan Wake 2, and there's a pattern for making it. I don't know about making the whole sweater, but I think it'd be fun to make something like a hat using the fair Isle design bits.
- I want to make a cardigan for myself of some kind. I don't yet know what kind! That's hard.
- I want to keep up with the folks in the machineknit.community, who are planning a whole 12-month set of online classes and meetups to skill-up and level-up.
See you in 2026. Happy knitting!!