This post used to be on Posterous. I rescued my posts before Posterous shut down and am now sharing them here.
I spent some time this weekend making this plugin and today went through the process of releasing it via GitHub and posting it to Thingiverse: http://www.thingiverse.com/thing:5986
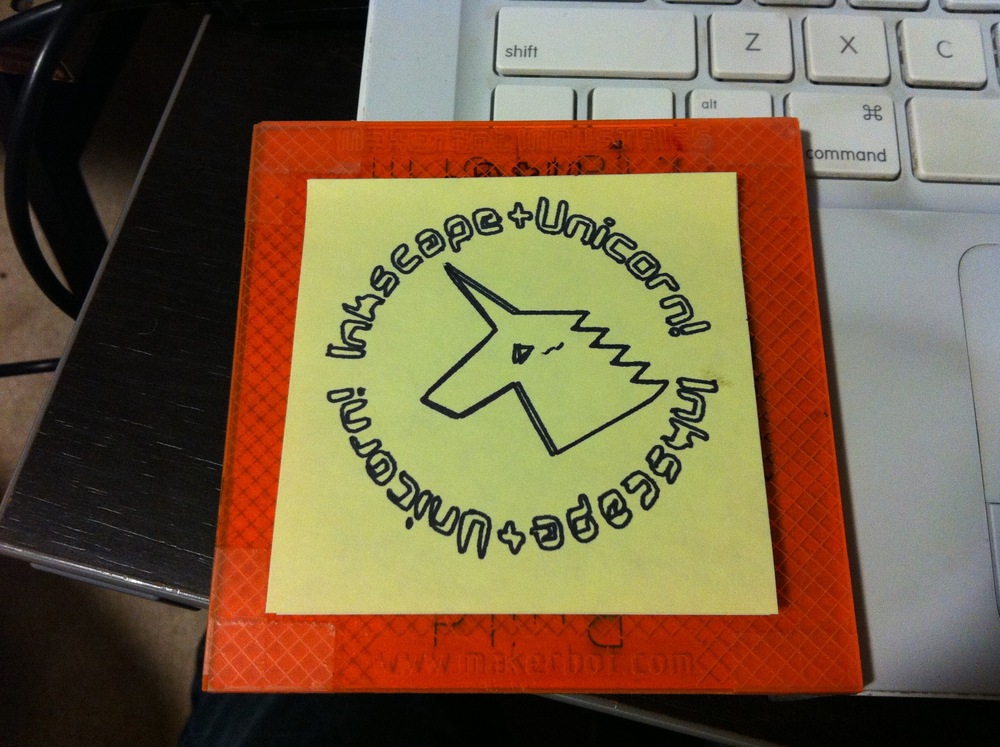
One problem that has often plagued users of the MakerBot Unicorn is the long and confusing chain of tools required to go from a nice vector drawing to a G-Code file that can be plotted from ReplicatorG.
mifga did an awesome tutorial that made it possible to understand the steps needed to work all of these tools, but it was obvious that something better was needed.
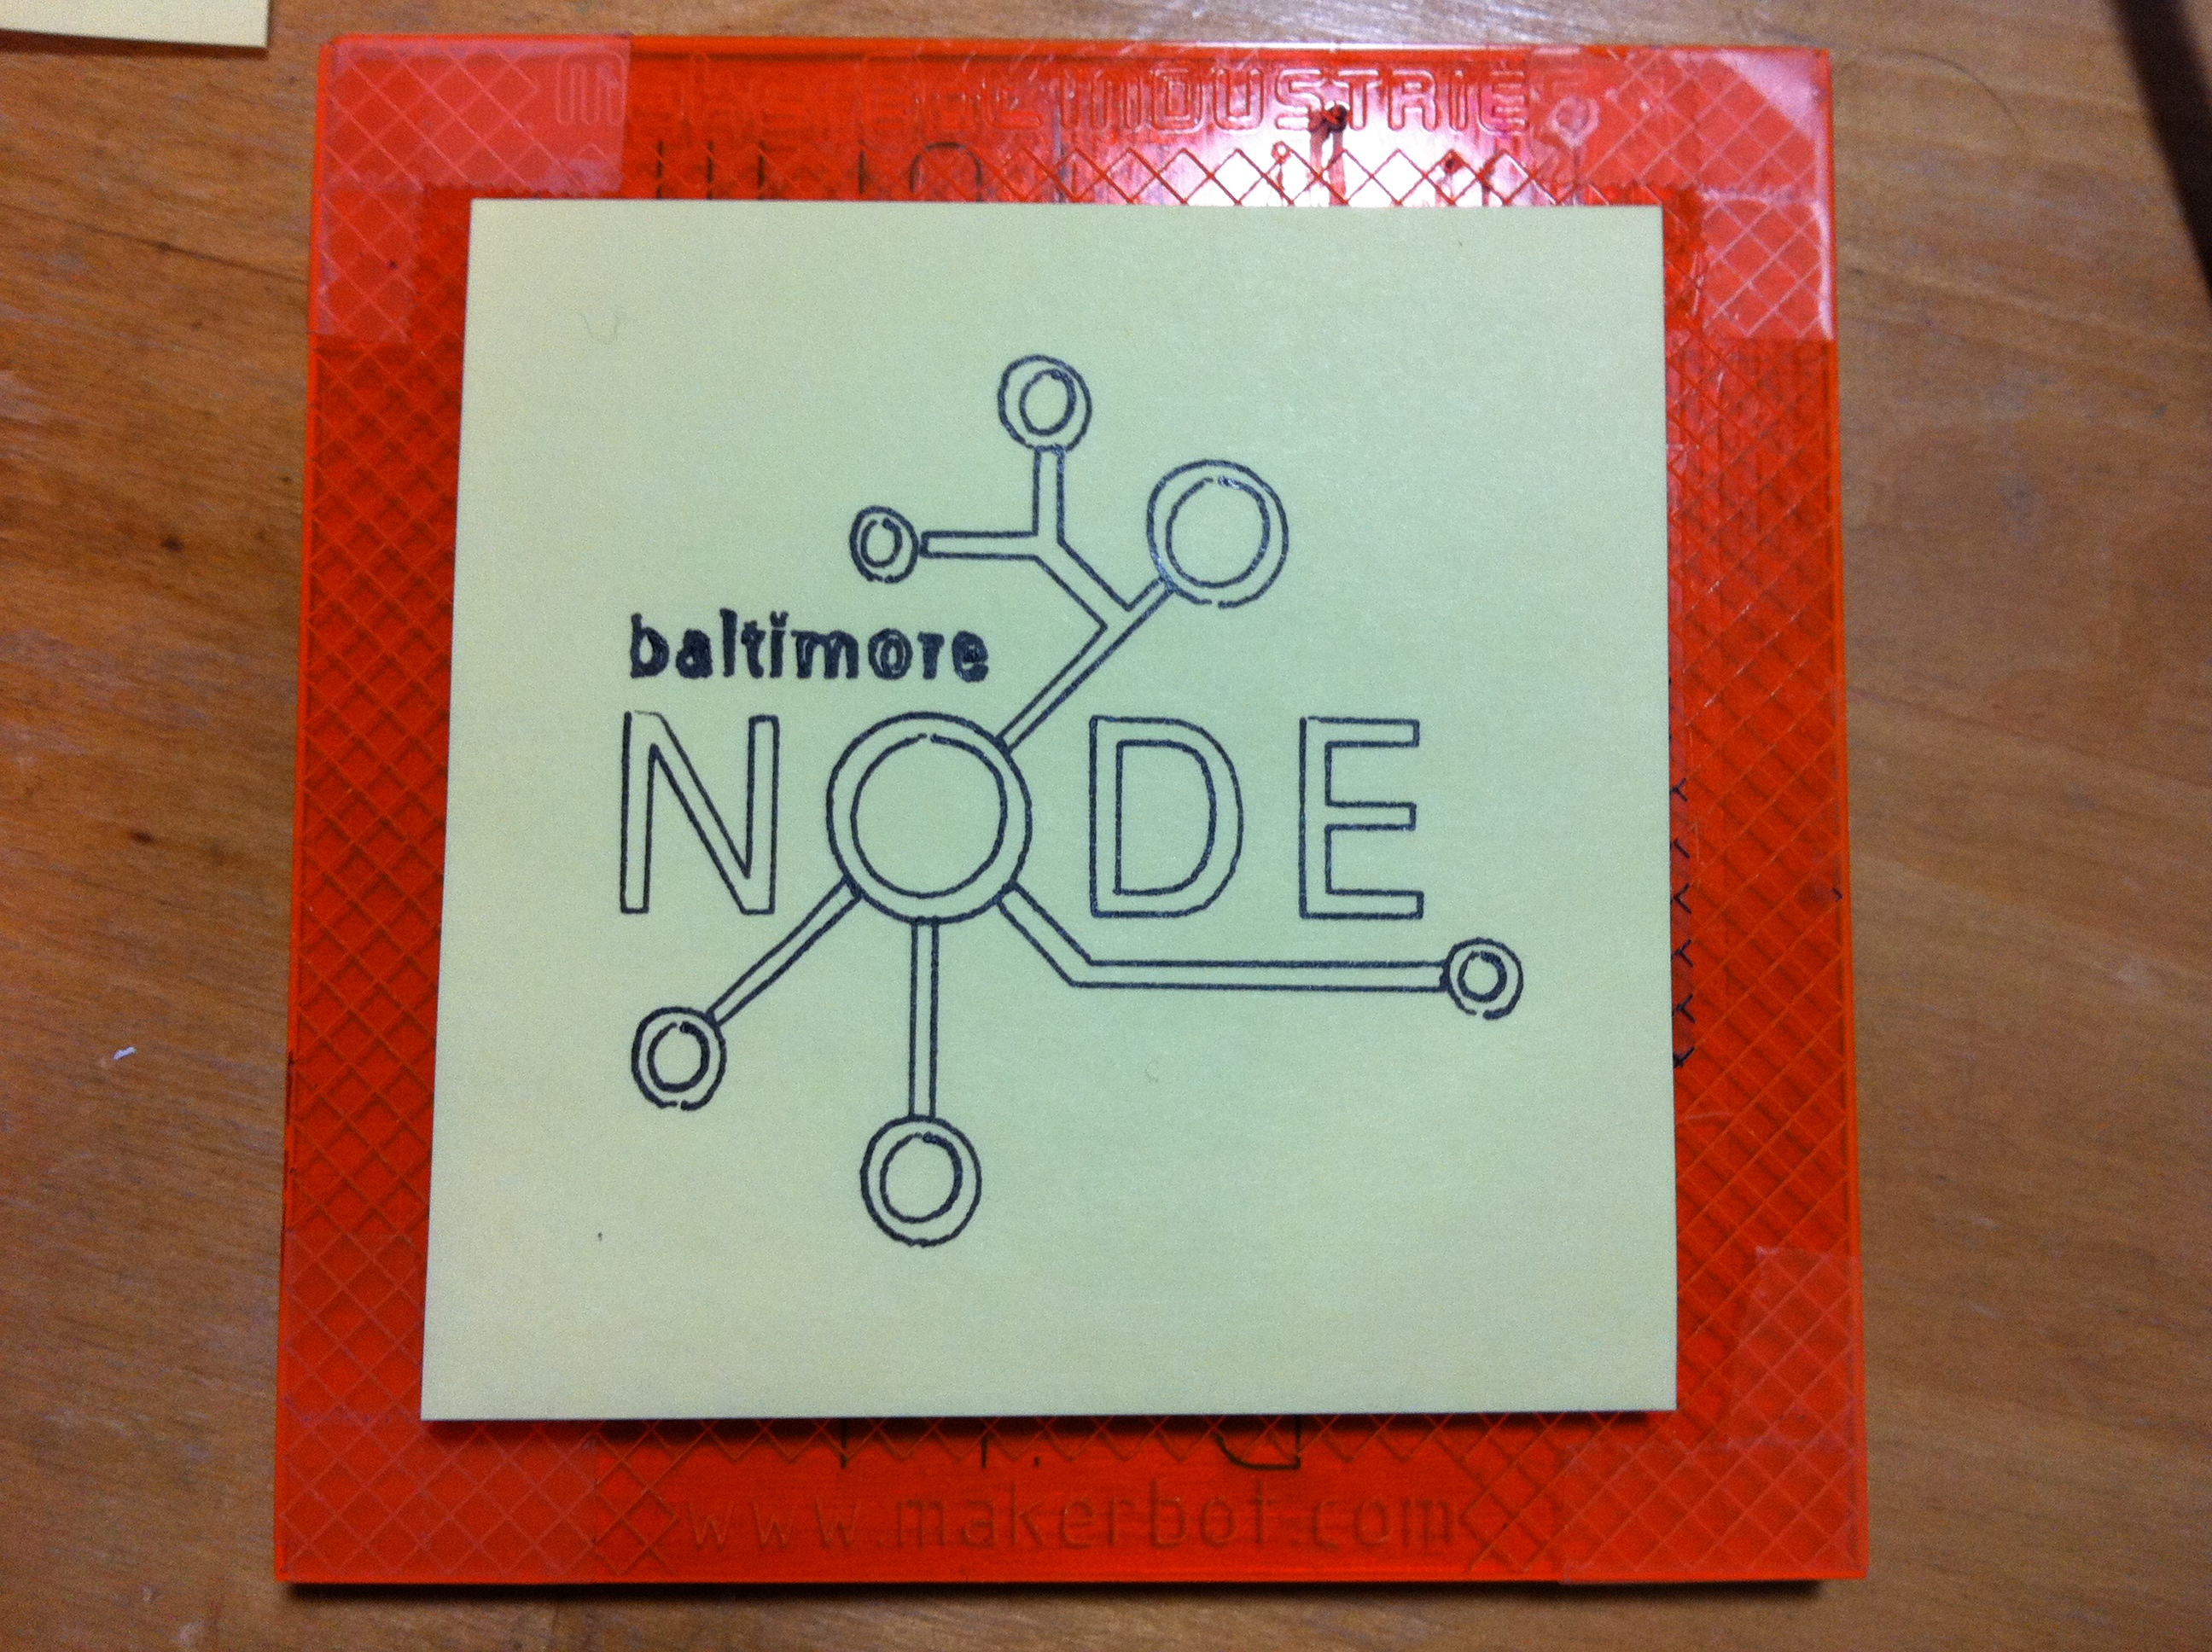
I felt that it was about time Baltimore Node had a Unicorn-plottable logo! You can learn more about this awesome hackerspace at baltimorenode.org.
I’ve attached all the files I used to create the G-Code for this thing, which tells the story of how you can make your own:
node_logo.svg - Start with the SVG logo available from the Node wiki.
node_logo.eps - Use Inkscape to export an EPS file, making sure to convert text to paths.
node_logo.dxf - Use pstoedit as described on Tony’s 2D-to-3D post - tonybuser.com/2d-to-3d - to create a DXF, with simple line approximations of curves. I also ended up using some scaling:
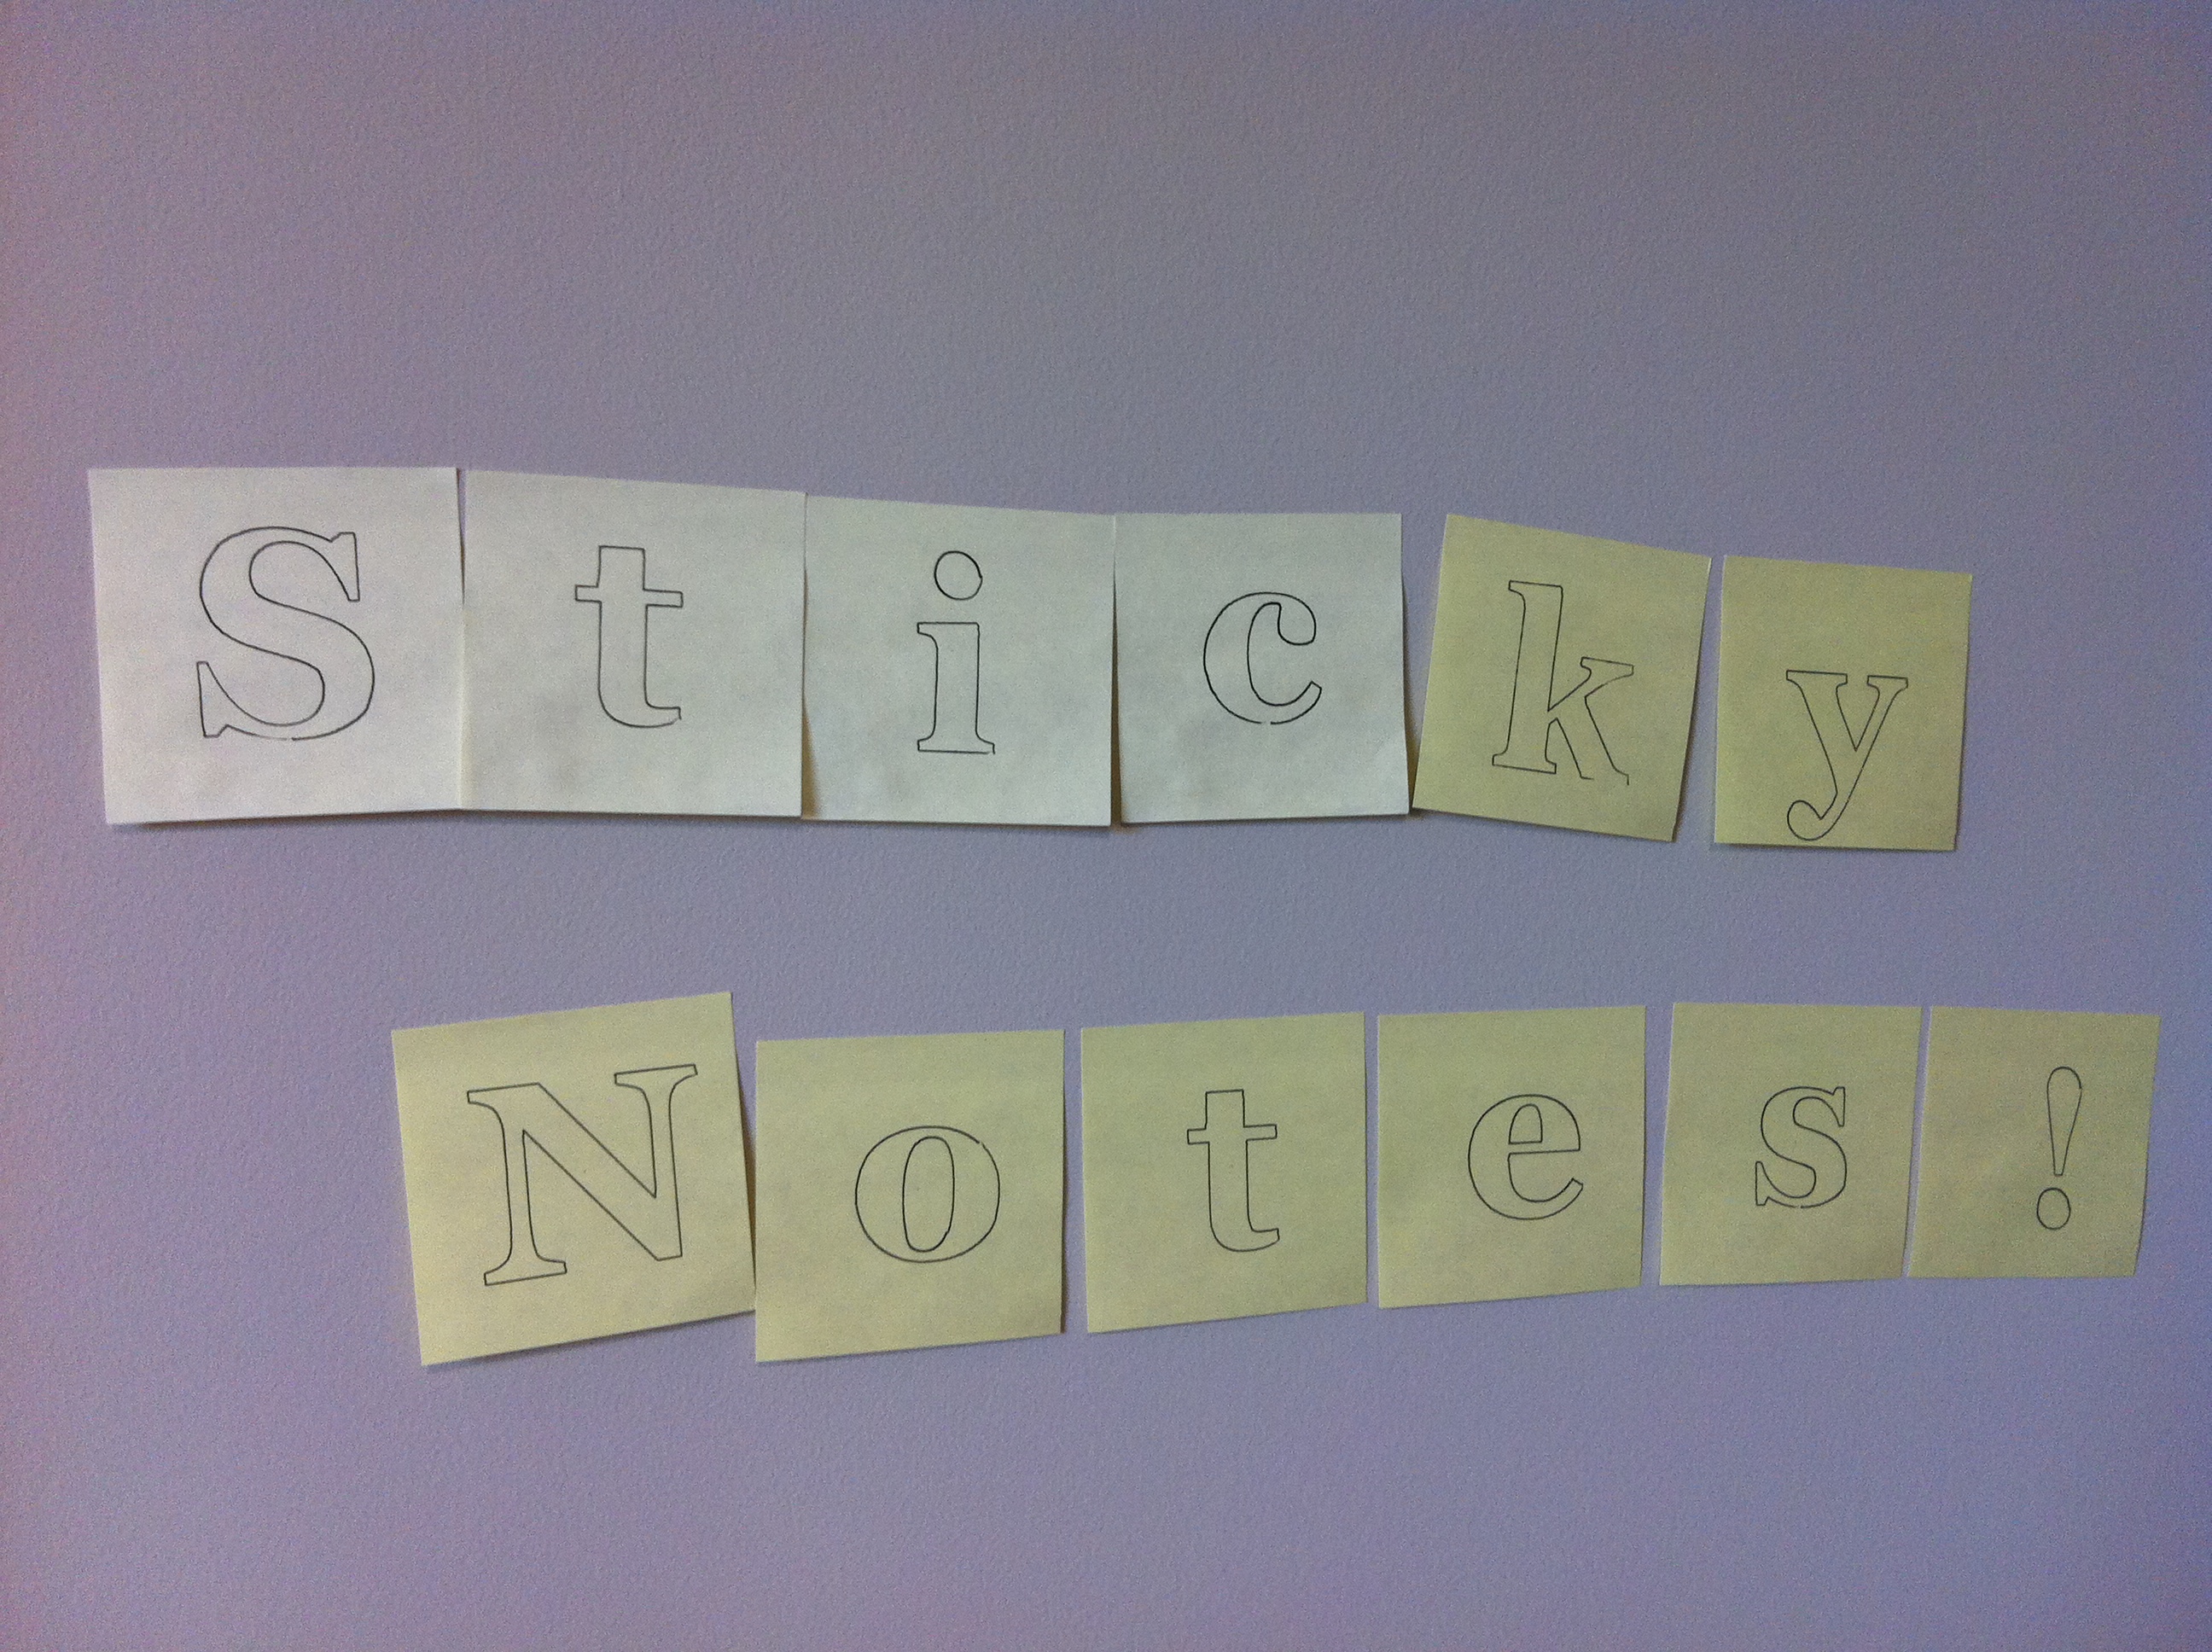
This Python script takes your message and turns it into G-Code which prints one character on each page of a pad of sticky notes. It makes use of mifga’s tricks for pen registration and page-changing.
There are configuration options at the top of the file, so tweak them to make things work best for your bot and your needs.
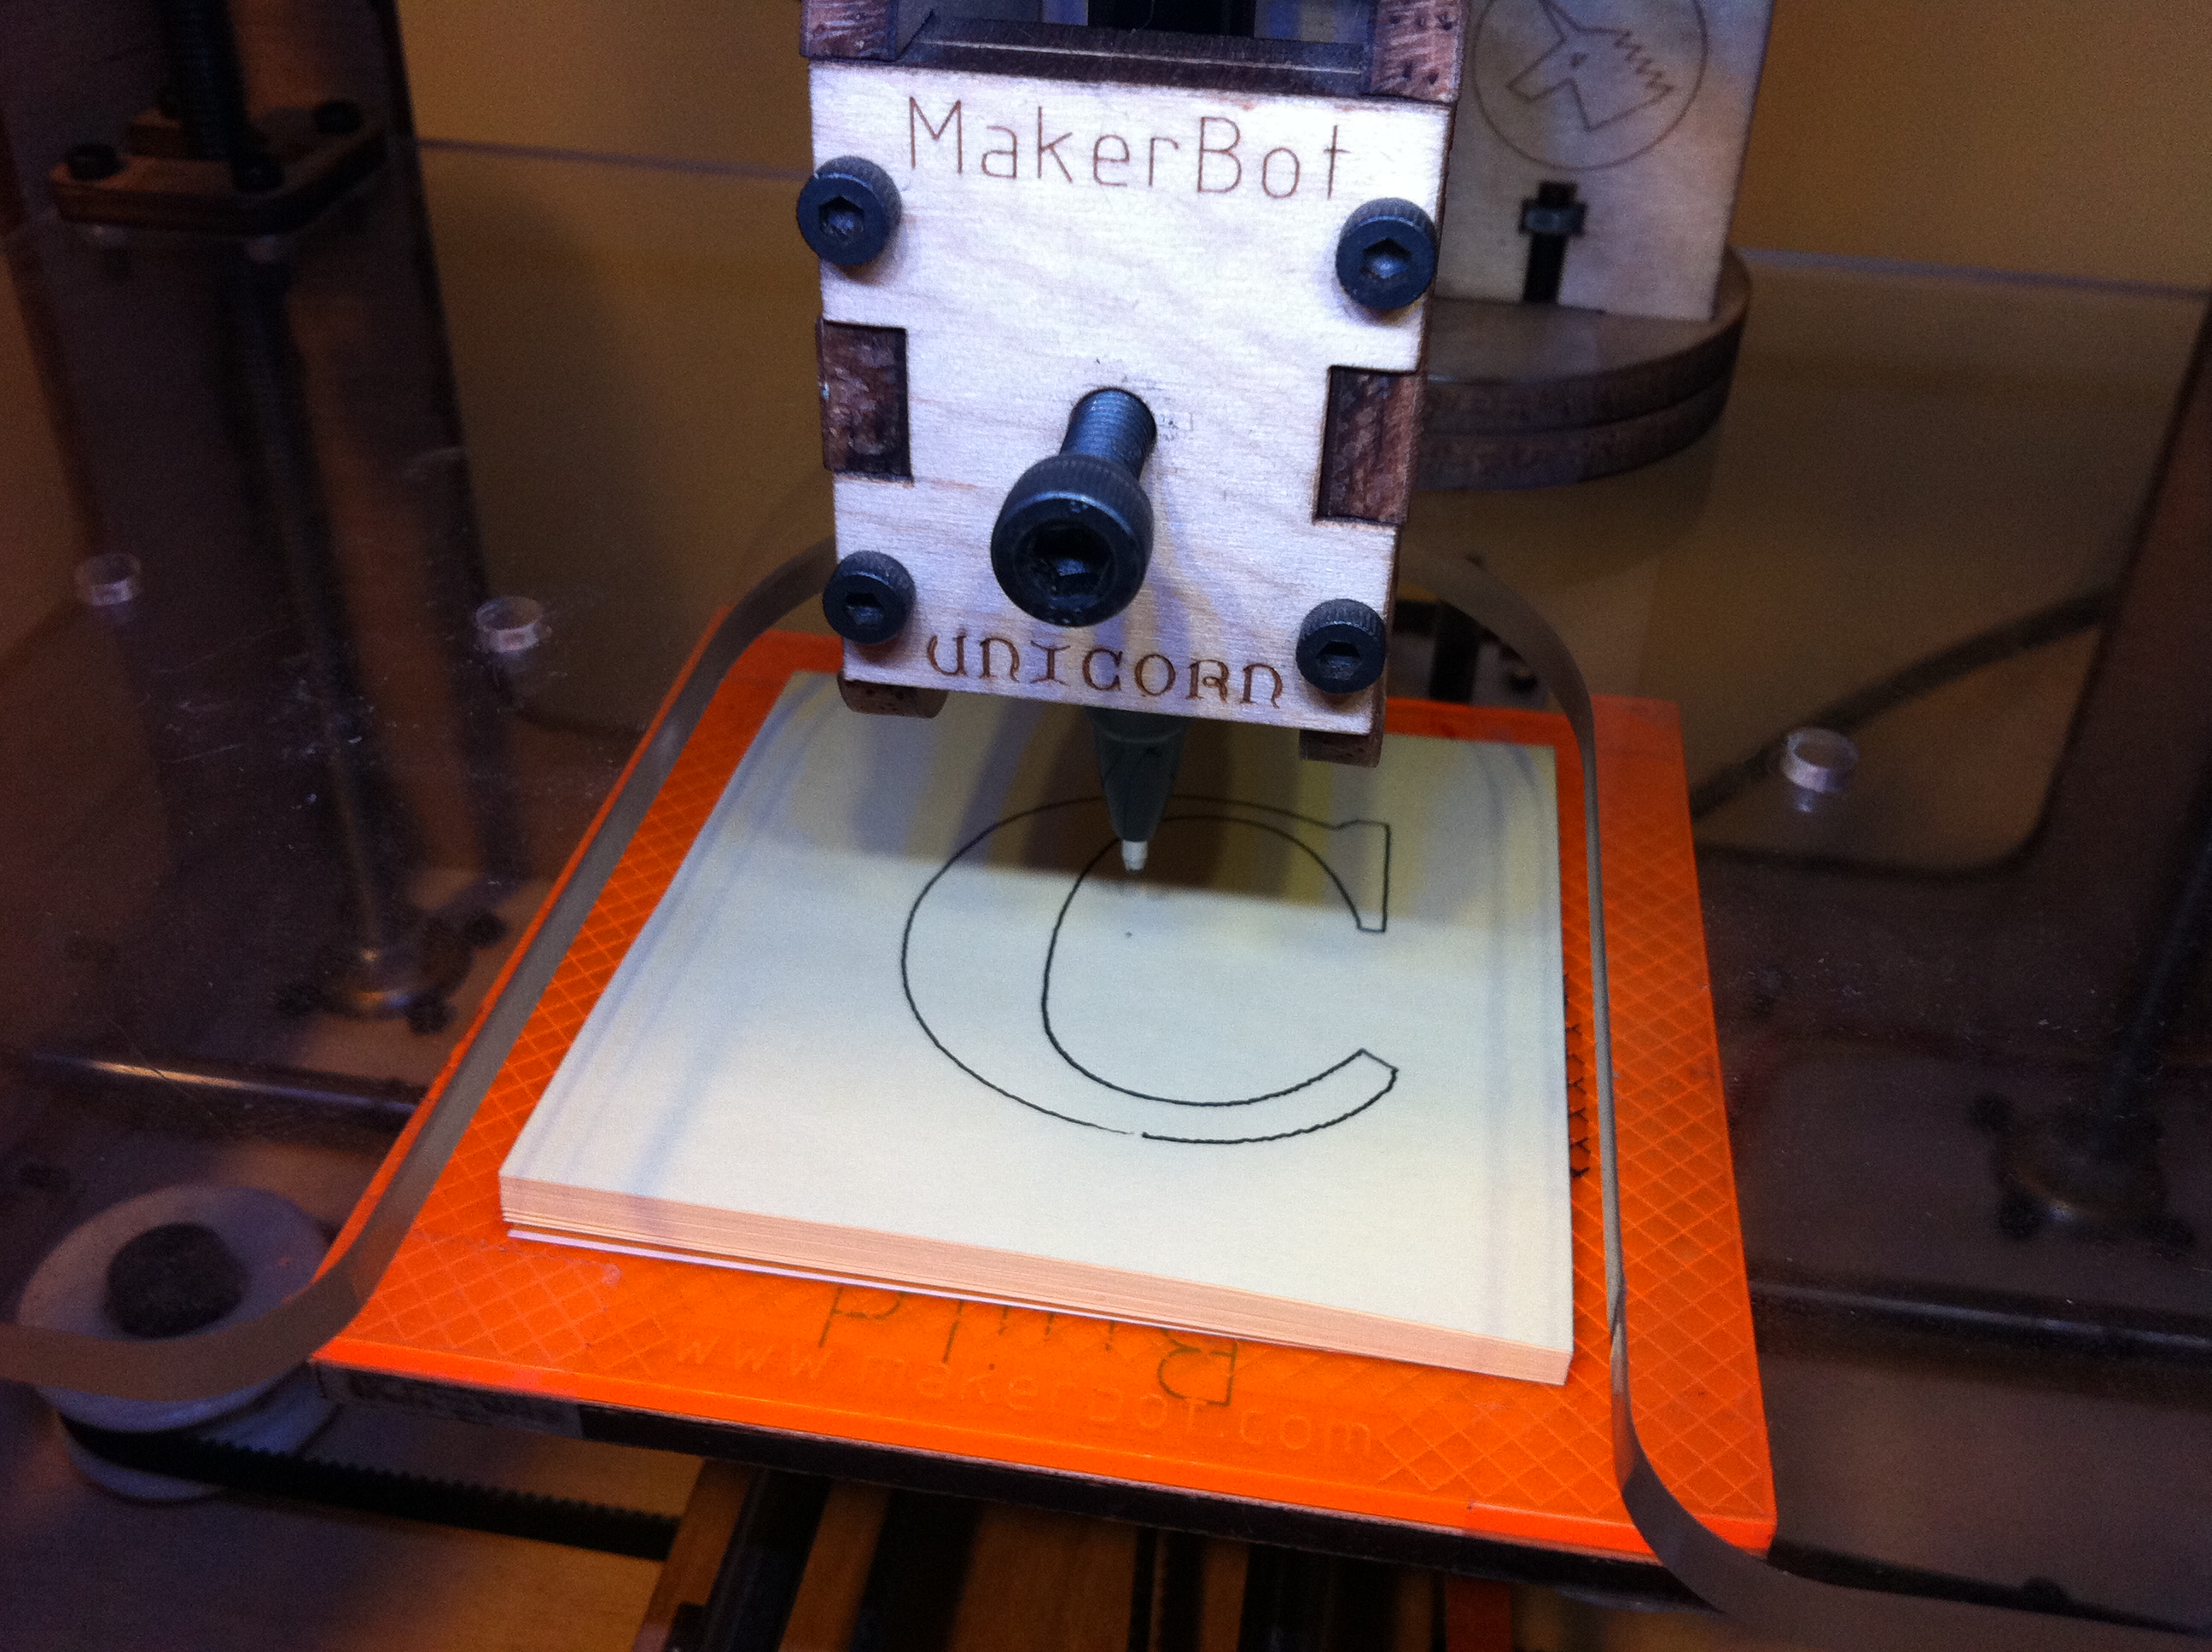
Attach a pad of sticky notes to your build platform. Scotch tape is good.
Center the build platform at 0,0, so the pen is over the center of the pad.
Open your G-Code file in ReplicatorG and click “Build”.
Watch the pen as it does its registration test and make sure it touches the center of the pad.
If the pen is too low or too high, or the pad is not centered, now is the time to fix it by hand. Feel free to click “No” and restart the build to redo the registration test.
If the pen is in place, click “Yes” and watch your first letter appear!
When the letter is finished, you will be prompted about retrieving the print.
Remove the build platform and take off the top sticky note.
It’s been awhile, but I’ve finally gotten around to creating a Wordpress plugin that I’m calling Thingiverse Embed.
Usage
The plugin has two features. First, you can embed a little "wallet-sized" view of a Thing into an individual blog post or page, with the Thing's title, creator, image, description, and links back to Thingiverse with a simple shortcode:
[[thingiverse thing_id=“1046”]]
Becomes:
[thingiverse thing_id=“1046”]
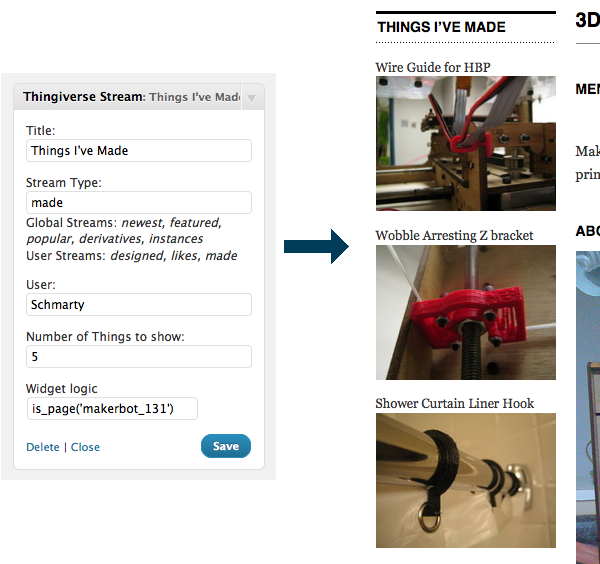
The plugin also includes a Thingiverse Stream widget, for embedding streams like “Things I’ve Made” as a simple sidebar widget. It just needs to be configured with the title, the type of stream you want to use, the Thingiverse username (for certain streams), and the maximum number of Things to display.
You can see this example on the page for MakerBot 131.
To install it, unzip the archive, copy the thingiverse-embed directory into your Wordpress install’s plugins directory (usually /wp-content/plugins), and activate the plugin.
You’ll probably want to check out the thingiverse-embed/readme.txt for more information about how to use the plugin.
It’s been fun a fun weekend developing this plugin, as it’s my first Wordpress plugin, and the first “serious” PHP I’ve written. Of course, it is filled with nasty HTML parsing and XPath tricks, and could use lots of cleanup, so please give me feedback if you use it!
While I know I should be finishing my MakerBottime-lapsecameraseries, I took some time for another project to play with some Processing. The above image was rendered in Processing, in real time in just couple of minutes!
Basically, I wanted to take a simple shape, defined by an SVG path, and fill it with images of 3DobjectsloadedfromSTLfiles. Specifically, many wonderful MakerBot-printable objects from Thingiverse!
After some Googling around, I found out that this problem is basically a space-filling problem, similar to an excellent Processing sketch named Scattered Letters by Algirdas Rascius, but with a twist.
The basic algorithm is:
Load an SVG and render it to an off-screen buffer
Set curr_size, the size that STLs should be rendered, to max_size
Choose a random STL model, give it a random orientation, and render it at the current size to an off-screen buffer
Try several times to place this model by giving it a random x,y position and checking it for a good fit:
Each non-background pixel of the model's off-screen image should fit within the non-background pixels of the SVG's off-screen image.
Each non-background pixel of the model's off-screen image should NOT overlap with any non-background pixel of the main display.
If a fitting position is found, render the model to the display.
Otherwise, shrink curr_size by a step and choose a new model.
A note on STL files: unlekkerLib only loads STL files in the binary format. It chokes dramatically on ASCII STL files, such as those exported from OpenSCAD. I was able to use Zaggo’s excellent Pleasant3D to load ASCII STLs and re-save them, which converts them to binary STLs. As a bonus, Pleasant3D also allows you to orient objects in a way that will make them look most interesting when they are rendered down to 2D in the final image.
An example M.svg, as well as several objects from Thingiverse are included with the code to get started. To use your own SVGs, I have had good luck using Inkscape to draw or import shapes, and save them as the native “Inkscape SVG” or “Plain SVG” formats. Some files might require hand-tweaking; for example, if the width and height header values are something like “100%" instead of a pixel value.
There is also some simple configuration in the sketch to allow the export of PDF files. This is nice because the resulting PDF has full vector data, making it easily rescaled to any size you wish. Unfortunately, the current PDF renderer for Processing renders each triangle of each STL model as a separate path, generating very complicated vector output, which tends to bring Inkscape to its knees. I have had some luck with importing those files, rastering them out to PNG at a high resolution (e.g. 600 dpi), and using Inkscape’s “Trace Bitmap” functionality to re-vectorize them, though this requires some cleanup by hand.
Anyway, this has been a fun little diversion for me for the last couple of days. I hope that you folks find it useful! Post your awesome pictures in the comments, here!
Like many MakerBot owners, I feel compelled to help spread desktop 3D printing throughout the world. So, for the past several months, MakerBot #131 has been hard at work printing parts in 3D to make another 3D printer!
The Mendel is the second (and current) design for the RepRap project, whose goal is to create rapid-prototyping machines that can replicate themselves. As an Open Source Hardware project, everything about the Mendel’s design is available online via Subversion, from the mechanical parts to the electronics schematics, to the source code for the device and its host machine. Additionally, there is a fantastic community of very smart people who are constantly improving the design, trying new things, and helping others get their RepRaps working!
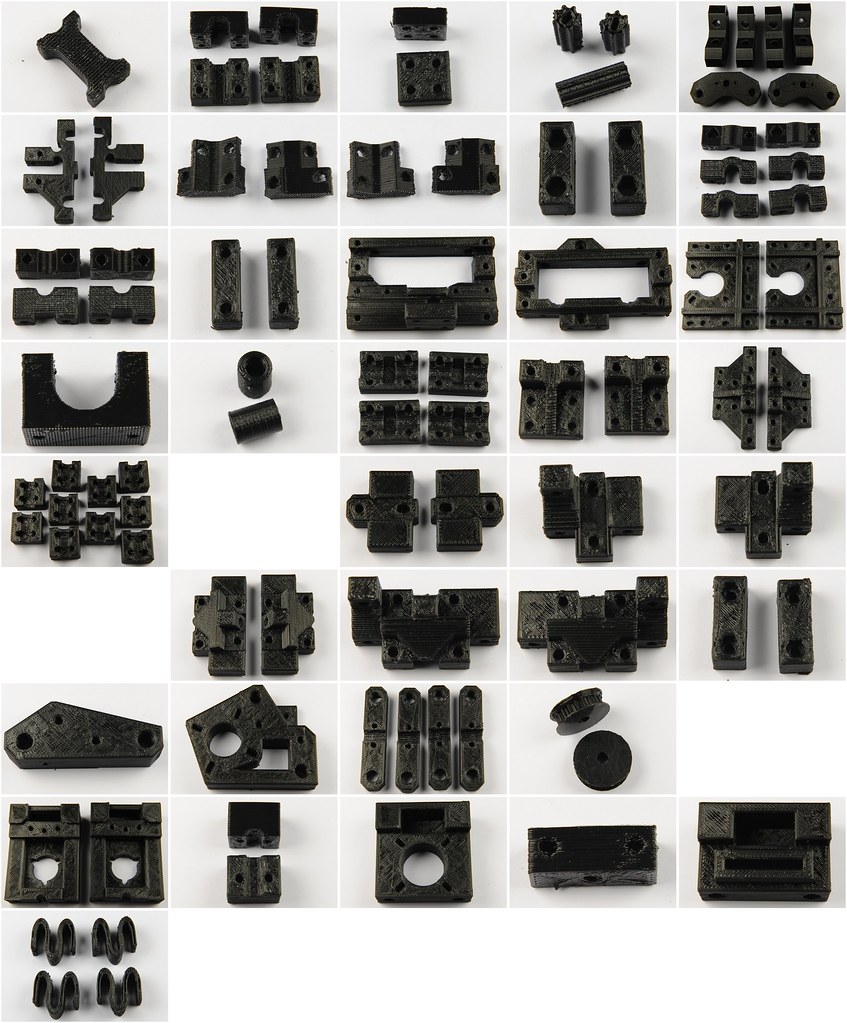
While the Mendel requires various hardware bits such as motors, electronics, nuts and bolts, etc., its structure is about 51% 3D-printed parts. This works out to about 98 individual pieces that need to be printed, and represents a huge number of printing hours.
To get started, I used a .zip file full of the 3D STL files for these parts that someone very nicely prepared and uploaded to the MakerBot Operators group. These files were from the 1.0 release of Mendel, so some of them ended up being out of date, and a few had issues that made them unprintable. Thankfully, another kind MakerBot operator uploaded a fully prepared set to Thingiverse, so I could go there for a replacement whenever I found a part that wouldn’t print.
I started printing Mendel parts almost as soon as I got MakerBot #131 working. Since I knew it was going to be a long process, I created a spreadsheet to help me track and estimate the time it would take to complete the build. I also used some silly Javascript magic to display a progress bar on my MakerBot #131 page based on this spreadsheet data:
This hack was accomplished by building my own JSONP into some cells of the spreadsheet, and loading this content as Javascript using Google Spreadsheet's plain text export capability. The spreadsheet cells were set up like this:
Here, column N47 contains the "completeness" of the Mendel as a value of 0.0 - 1.0 in terms of number of hours printed so far divided by the expected number of hours total. This data could be used on an HTML page with an "update_mendel_progress" function by loading it with a script tag:
The range "B52:E52" are the cells in my spreadsheet containing the JSONP call, and the "output=txt" option returns the data as tab-separated data, which Javascript is happy to parse. The update_mendel_progress method on that page parses the number that is passed in, looks for an HTML DIV element with an id of "mendel_progress", updates it to be the appropriate width, and displays the percentage completion.
At any rate, after a lot of tweaking, many hair-raising moments, a required upgrade with the MakerBot Heated Build Platform v2.0, and hours and hours of printing, the parts were finally complete! I gave them to Matt Mets, a member of HackPittsburgh, and you can see the photos he took of the parts, above!
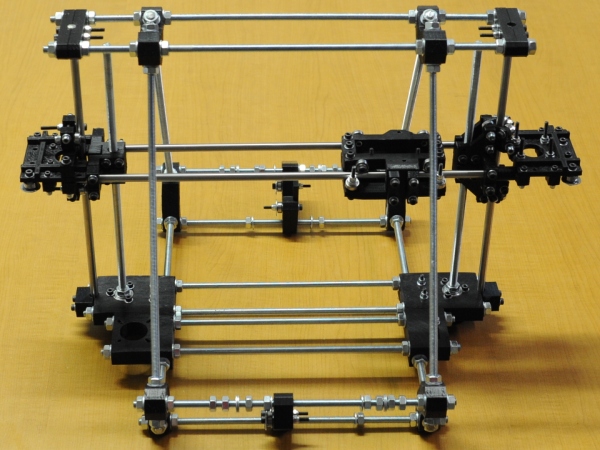
Despite some of the parts belonging to a slightly out-of-date design, Matt has been making progress on getting everything together!
I'm very happy to have finished off such a large project with MakerBot #131, and I have a lot of plans for it in the future, so be sure to watch this space for more updates!


