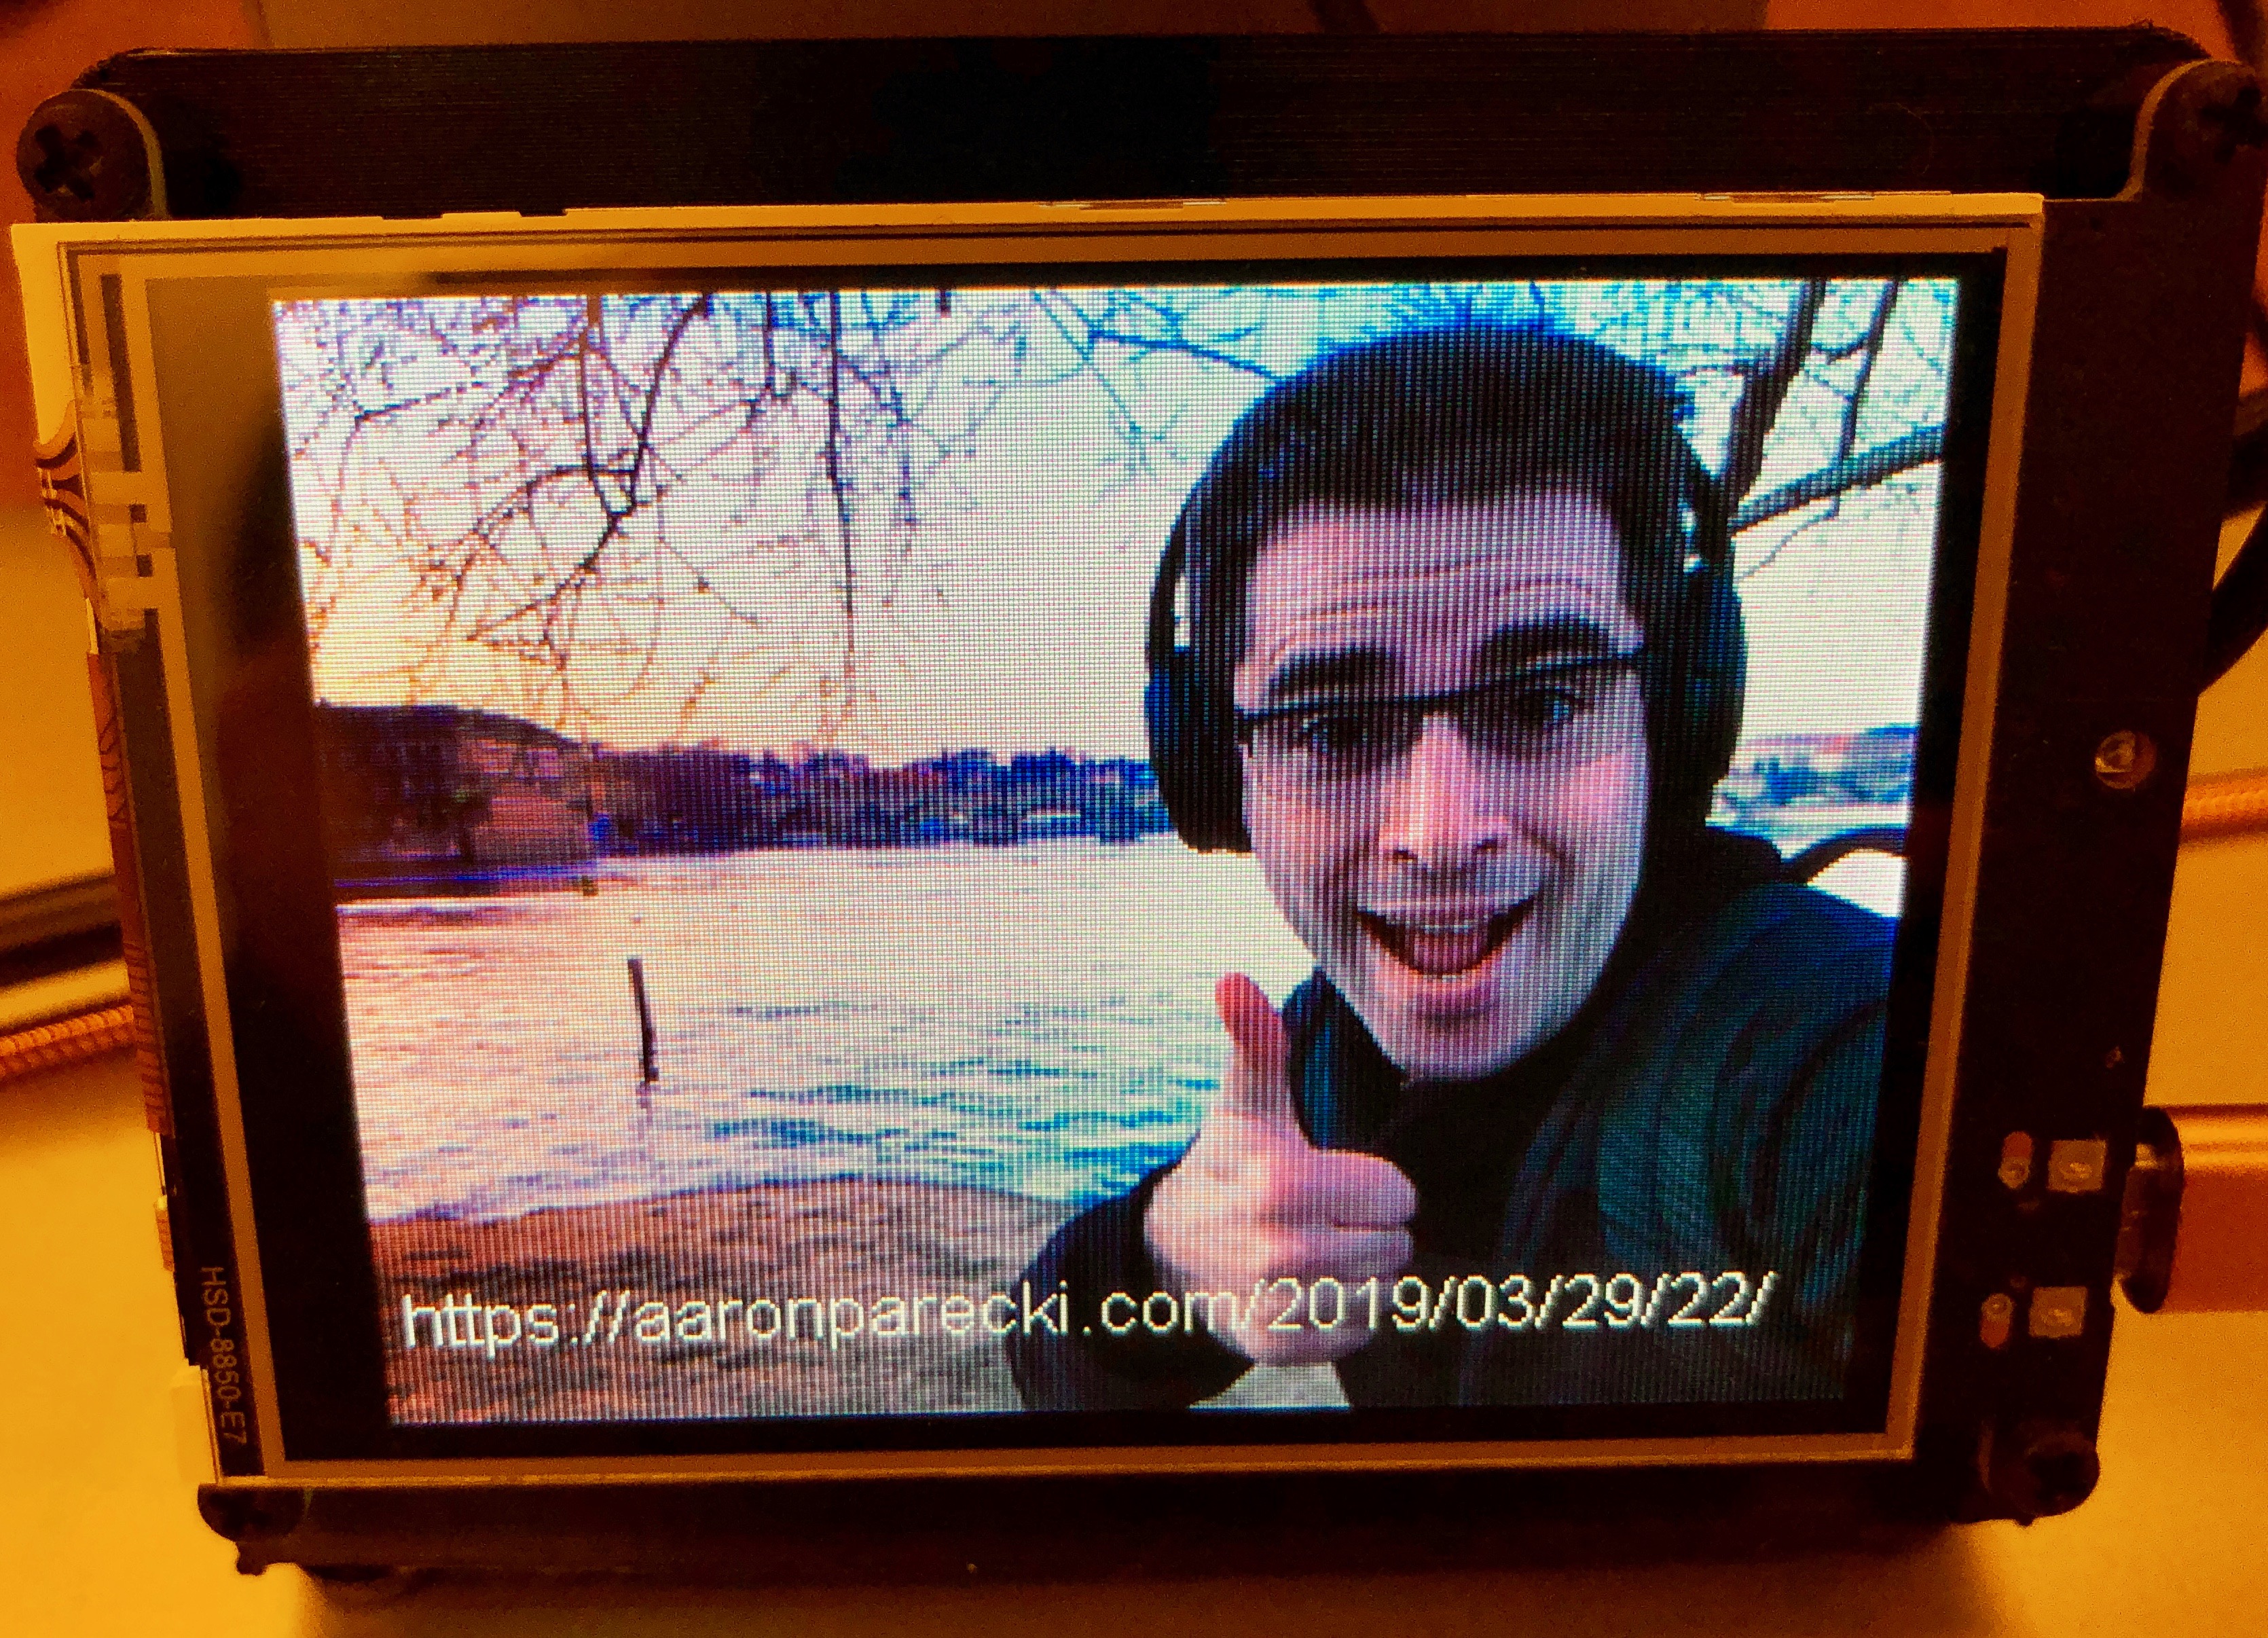
Raspberry Pi 500 + Adafruit Cyberdeck Hat + Pimoroni Inky wHat = eInk display for important Caturday photos

Raspberry Pi 500 + Adafruit Cyberdeck Hat + Pimoroni Inky wHat = eInk display for important Caturday photos
Loving the Adafruit PyPortal as an IndieWeb-powered photo device.
Code to come!
“We could do with more experimentation around how objects work, but that’s impossible in the languages most commonly thought of as object-oriented.
Here, then, is a (very) brief run through the inner workings of objects in four very dynamic languages. I don’t think I really appreciated objects until I’d spent some time with Python, and I hope this can help someone else whet their own appetite.”
Micropub is an open API standard to create posts on one's own domain using third-party clients and currently a W3C Candidate Recommendation. One of the (semi-) recent additions is the idea of a Micropub Media Endpoint. The Media Endpoint provides a way for Micropub clients to upload media files to a Micropub service, receiving a URL that is sent along in place of the file contents when the post is published.
Some of the things I like about Micropub media endpoints include:
Personally, I wanted a Micropub media endpoint server with a few extra properties:
My extra features above essentially describe a content-addressable storage storage system. CAS is a way of storing and accessing data based on some property of the actual content, rather than (potentially arbitrary) files and folders.
HashFS is a Python implementation of a content-addressable file management system. You give it files, it will put them in a directory structure based on a cryptographic hash function of the contents of that file. In other words - HashFS can take any file and give back a unique path to that file which will never change (if you later upload a new version of the file, it gets a different path).
To add the the fun of HashFS, there is a Flask extension called Flask-HashFS which makes it easy to expose a HashFS file store on the web via the Python Flask framework.
Spano is a Micropub Media Endpoint server written in Python via the Flask framework which combines Flask-HashFS for file storage with Flask-IndieAuth (introduced earlier) to handle authentication and authorization.
Spano is a server-side web app that basically does one thing: it accepts HTTP POST requests with a valid IndieAuth token and a file named "file", stores that file, and returns a URL to that file. The task of serving uploaded files is left to a dedicated web server like nginx or Apache.
Once Spano has been set up and configured for your domain, uploading is a matter of getting a valid IndieAuth token. IndieAuth-enabled Micropub clients will do this automatically. For testing by hand I like to log in to Quill and copy the access token from the Quill settings page. With token in hand, uploads are as easy as:
curl -D - -F "file=@myfile.jpg" \
  -H"Authorization: Bearer xxxx..." \
  https://media.example.com/micropub/
Which should output a response like:
HTTP/1.1 100 Continue

HTTP/1.0 201 CREATED
Content-Type: text/html; charset=utf-8
Content-Length: 108
Location: https://media.example.com/cc/a5/97/7c/2004..2cb.jpg
Server: Werkzeug/0.11.4 Python/2.7.11
Date: Thu, 26 Jan 2017 02:40:05 GMT

File created: https://media.example.com/cc/a5/97/7c/2004..2cb.jpgIf you want Micropub clients to use Spano as your Media Endpoint, you need to advertise it. This is handled by your "main" Micropub server using discovery. Essentially, a client will make a configuration request to your server like so:
https://example.com/micropub?q=config
And your server's response should be a JSON-formatted object specifying the "media-endpoint". A bare minimum example:
{
  "media-endpoint": "https://media.example.com/micropub/"
}
In addition to advertising the media-endpoint, your Micropub server must be able to handle lists of URLs in places where it would normally expect a file.
For example, when posting a photo from Quill without a media endpoint, your Micropub server will receive a multipart/form-data encoded file named "photo". When posting from Quill with a media endpoint, your Micropub server will instead receive a list of URLs represented as "photo[]=https://media.example.com/cc/...2cb.jpg". Presumably this pattern would hold for other media types such as video and audio, if you are using Micropub clients that support them.
This particular step has been an interesting challenge for my site, which is a static site generated by Jekyll. My previous Micropub file-handling implementation expected all uploaded assets to live on disk next to the post files, and updating my Jekyll theme and plugins to handle the change is a work in progress. I eventually plan to move all my uploads out of the source for my project in favor of storing them with Spano.
Spano is probably my second public Python project, so I'd love feedback! If you try it out and run into issues, please drop me a line on GitHub. Or you can find me in the #indieweb chat on freenode IRC.
I'd also like to thank Kyle Mahan for his Woodwind Flask server application, which inspired the structure of Spano.
This work is licensed BSD License.
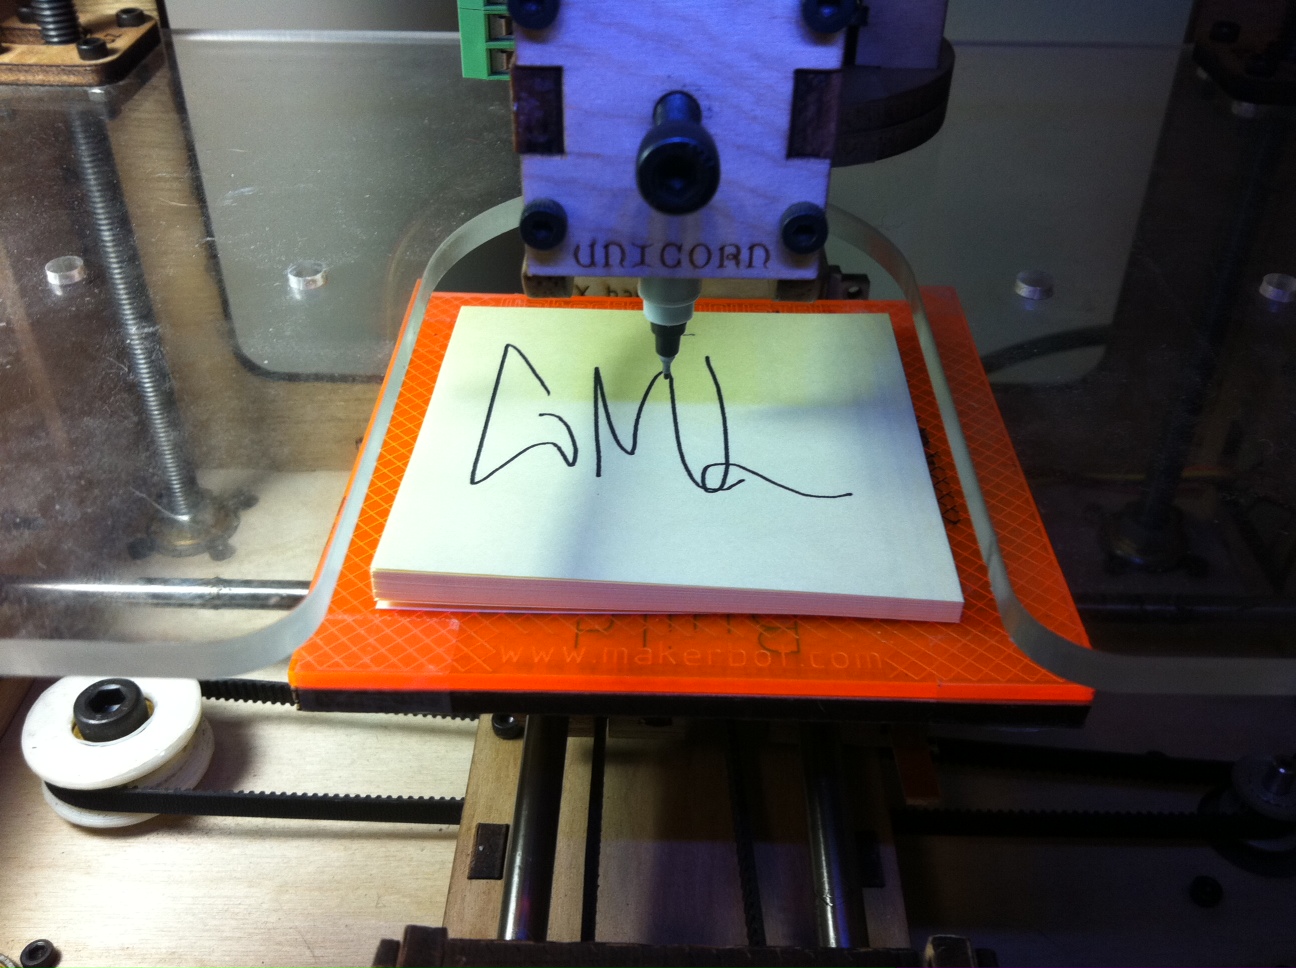
When I first heard of Graffiti Markup Language (GML)[1] I was like “An XML format for graffiti? Pfft!” Then yesterday I was like “Wait, I have a pen plotter.”
There are a ton of tags for you to play with at 000000book[2], so go get some files and start tagging … with post-it notes!
Watch for updates on GitHub:
https://github.com/martymcguire/gml2unicorn
[1] http://graffitimarkuplanguage.com/
[2] http://000000book.com/
To use this script, you’ll need to have Python and the PyGML library installed:
https://bitbucket.org/keegan3d/pygml
 2237 bytes. Updated
4189 bytes. Updated
29892 bytes. Updated
2237 bytes. Updated
4189 bytes. Updated
29892 bytes. Updated This work is licensed GNU - GPL.
One problem that has often plagued users of the MakerBot Unicorn[1] is the long and confusing chain of tools required to go from a nice vector drawing to a G-Code file that can be plotted from ReplicatorG.
mifga did an awesome tutorial[2] that made it possible to understand the steps needed to work all of these tools, but it was obvious that something better was needed.
So, I made a mashup of scribbles.py[3] and the Egg-Bot Driver for Inkscape[4] to bring you the inkscape-unicorn extension for Inkscape!
Once installed, this extension allows you to save files in “MakerBot Unicorn G-Code (*.gcode)” format!
Learn more, download, and contribute at the GitHub page for this project:
https://github.com/martymcguire/inkscape-unicorn
If you’re desperate, you can also download the zip file attached to this thing, but it is guaranteed to be out of date. Please get the latest version from GitHub. :)
Thanks to langfordw for the original Unicorn Logo[5] used as an example on this Thing.
UPDATES!
I’m updating and adding features to this script as my first days for the February Thing-A-Day. Updates below:
[1] Unicorn - http://store.makerbot.com/makerbot-unicorn-pen-plotter-kit.html
[2] mifga’s Unicorn Tutorial - http://wiki.makerbot.com/unicorn-tutorial-01
[3] scribbles.py - https://github.com/makerbot/Makerbot/tree/master/Unicorn/Scribbles%20Scripts
[4] Egg-Bot Driver for Inkscape - http://code.google.com/p/eggbotcode/
[5] Unicorn Logo by langfordw http://www.thingiverse.com/thing:4197
From the README:
Copy the contents of src/ to your Inkscape extensions/ folder.
Typical locations include:
*.gcode).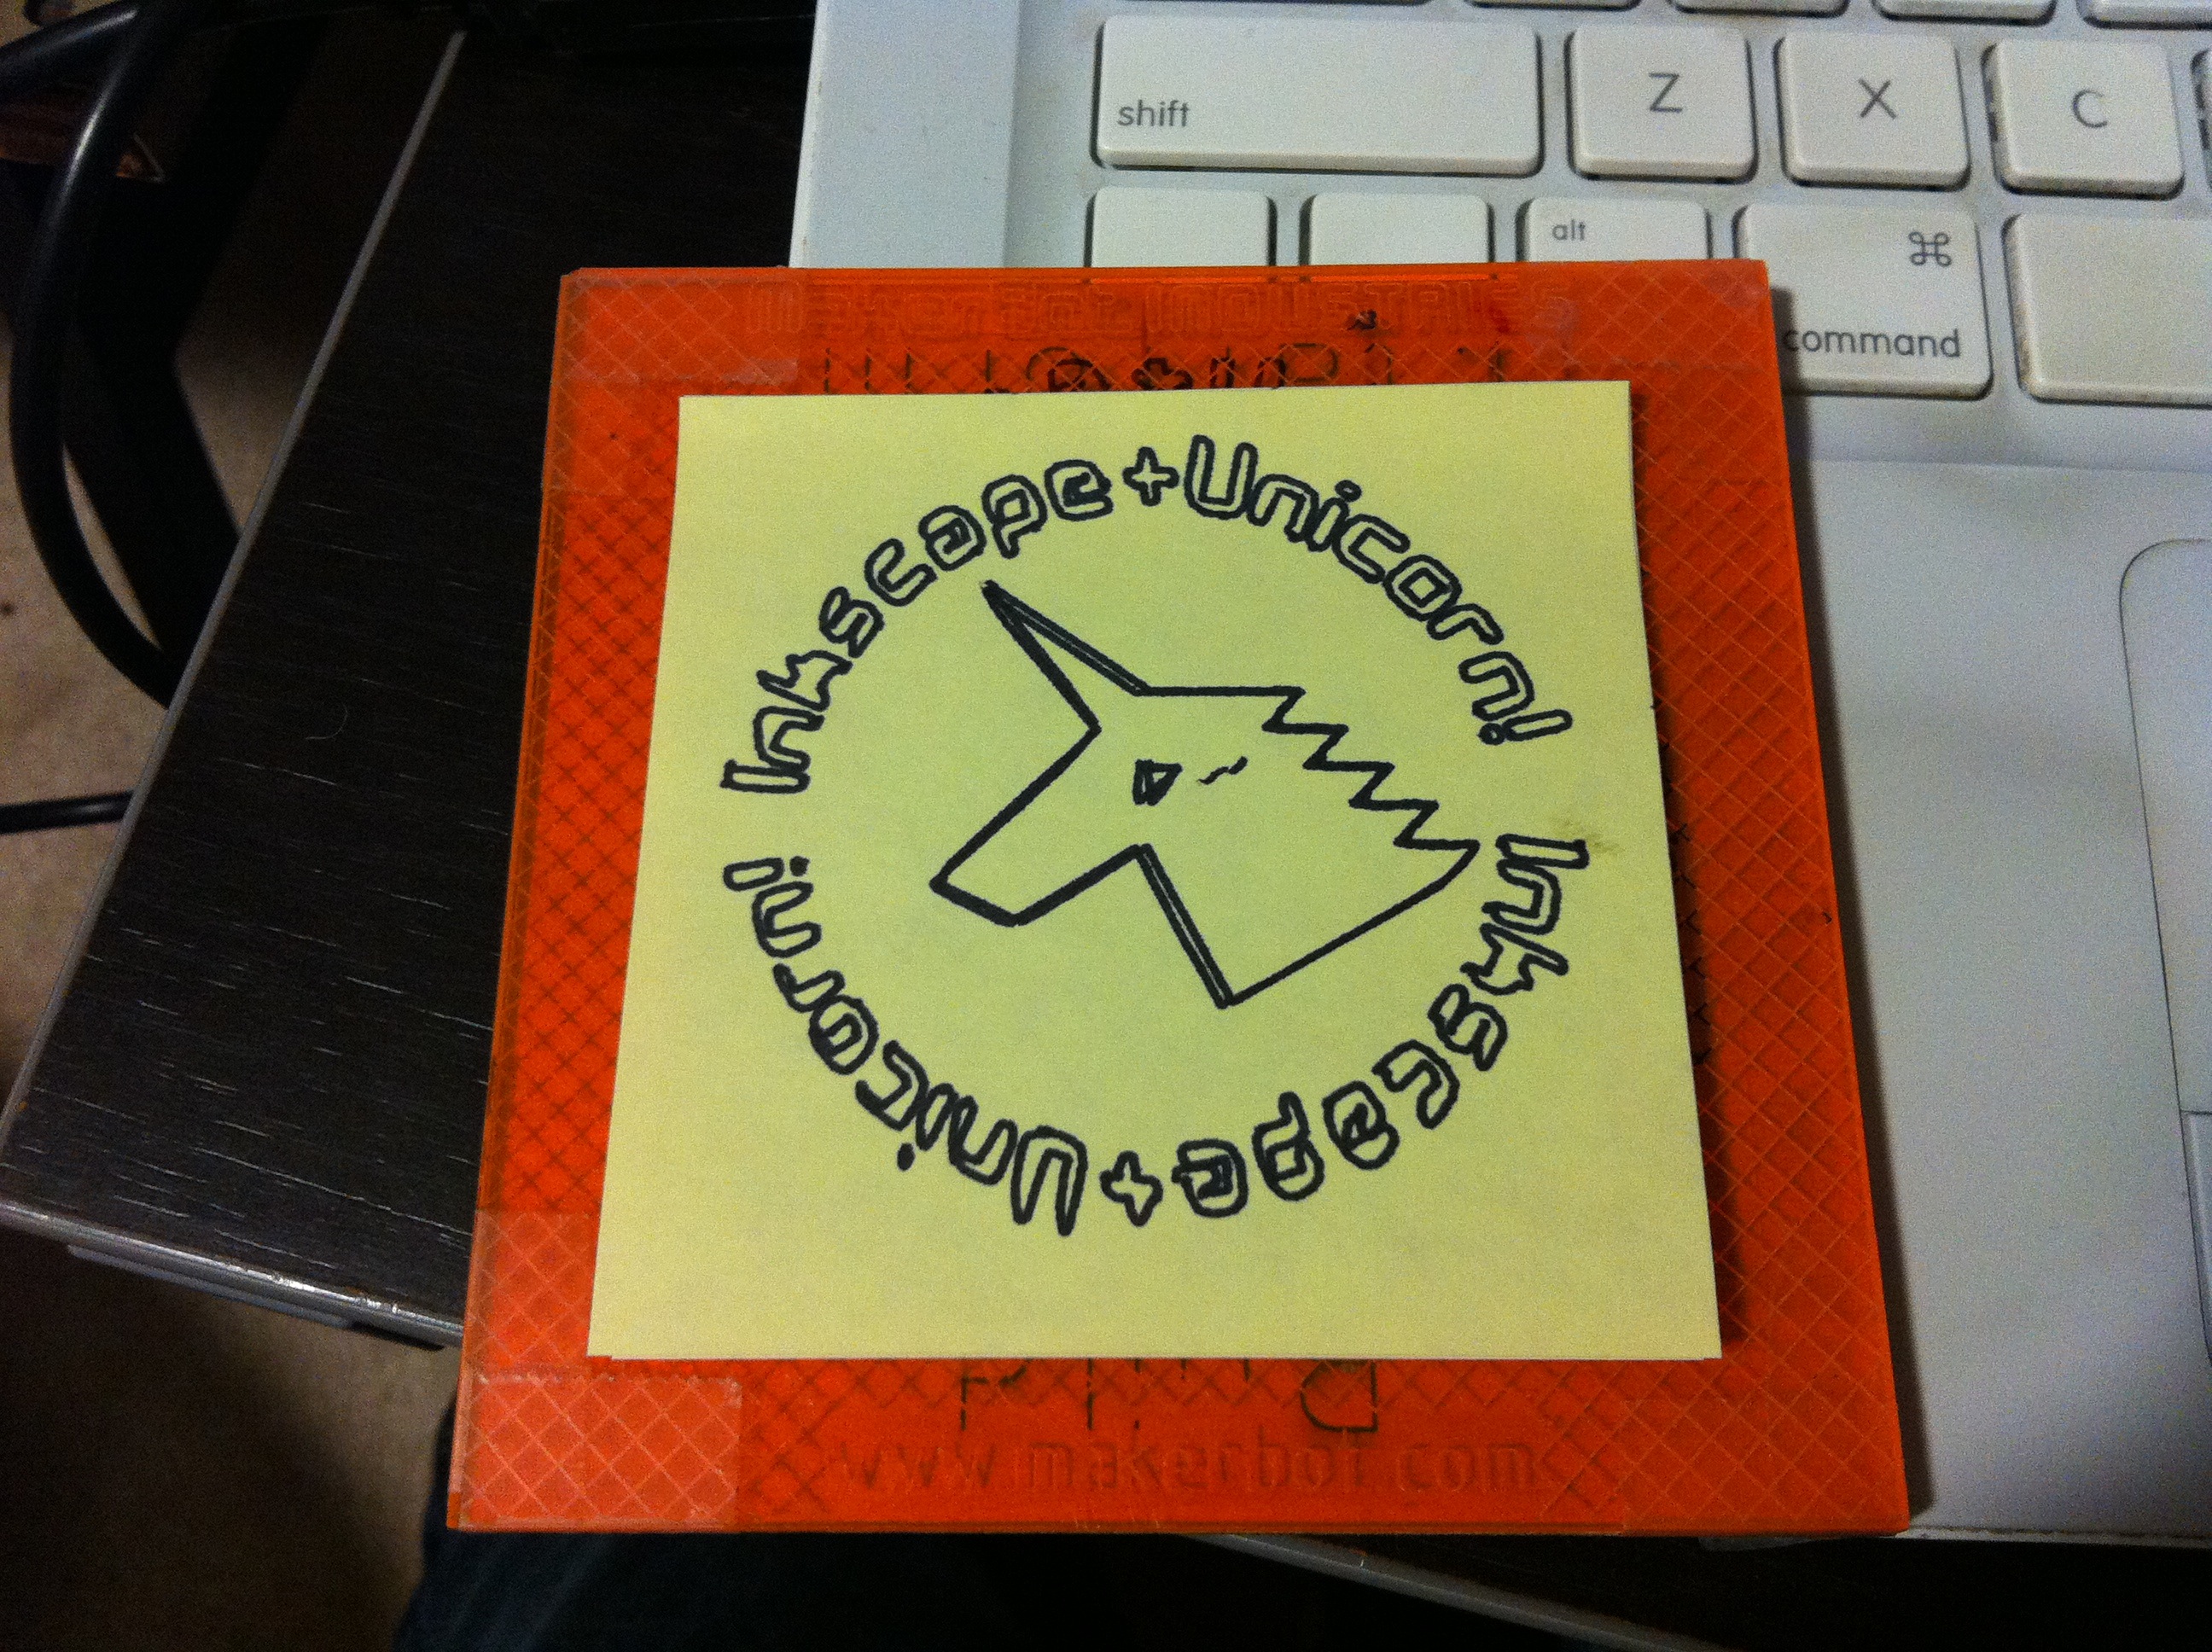

 10222 bytes. Updated
  37763 bytes. Updated
30111 bytes. Updated
37763 bytes. Updated
30111 bytes. Updated This work is licensed Creative Commons - Attribution.
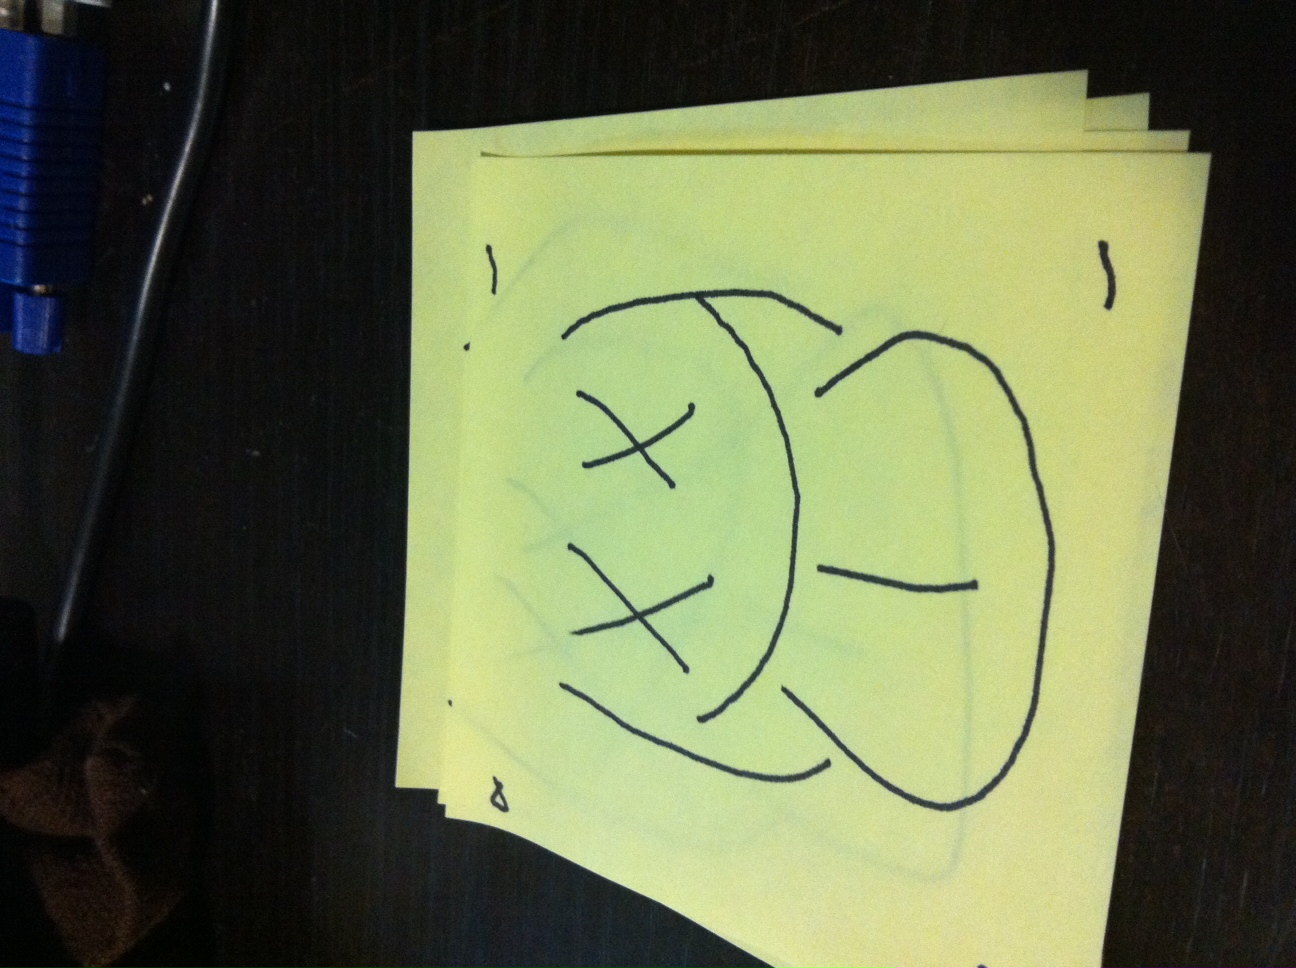
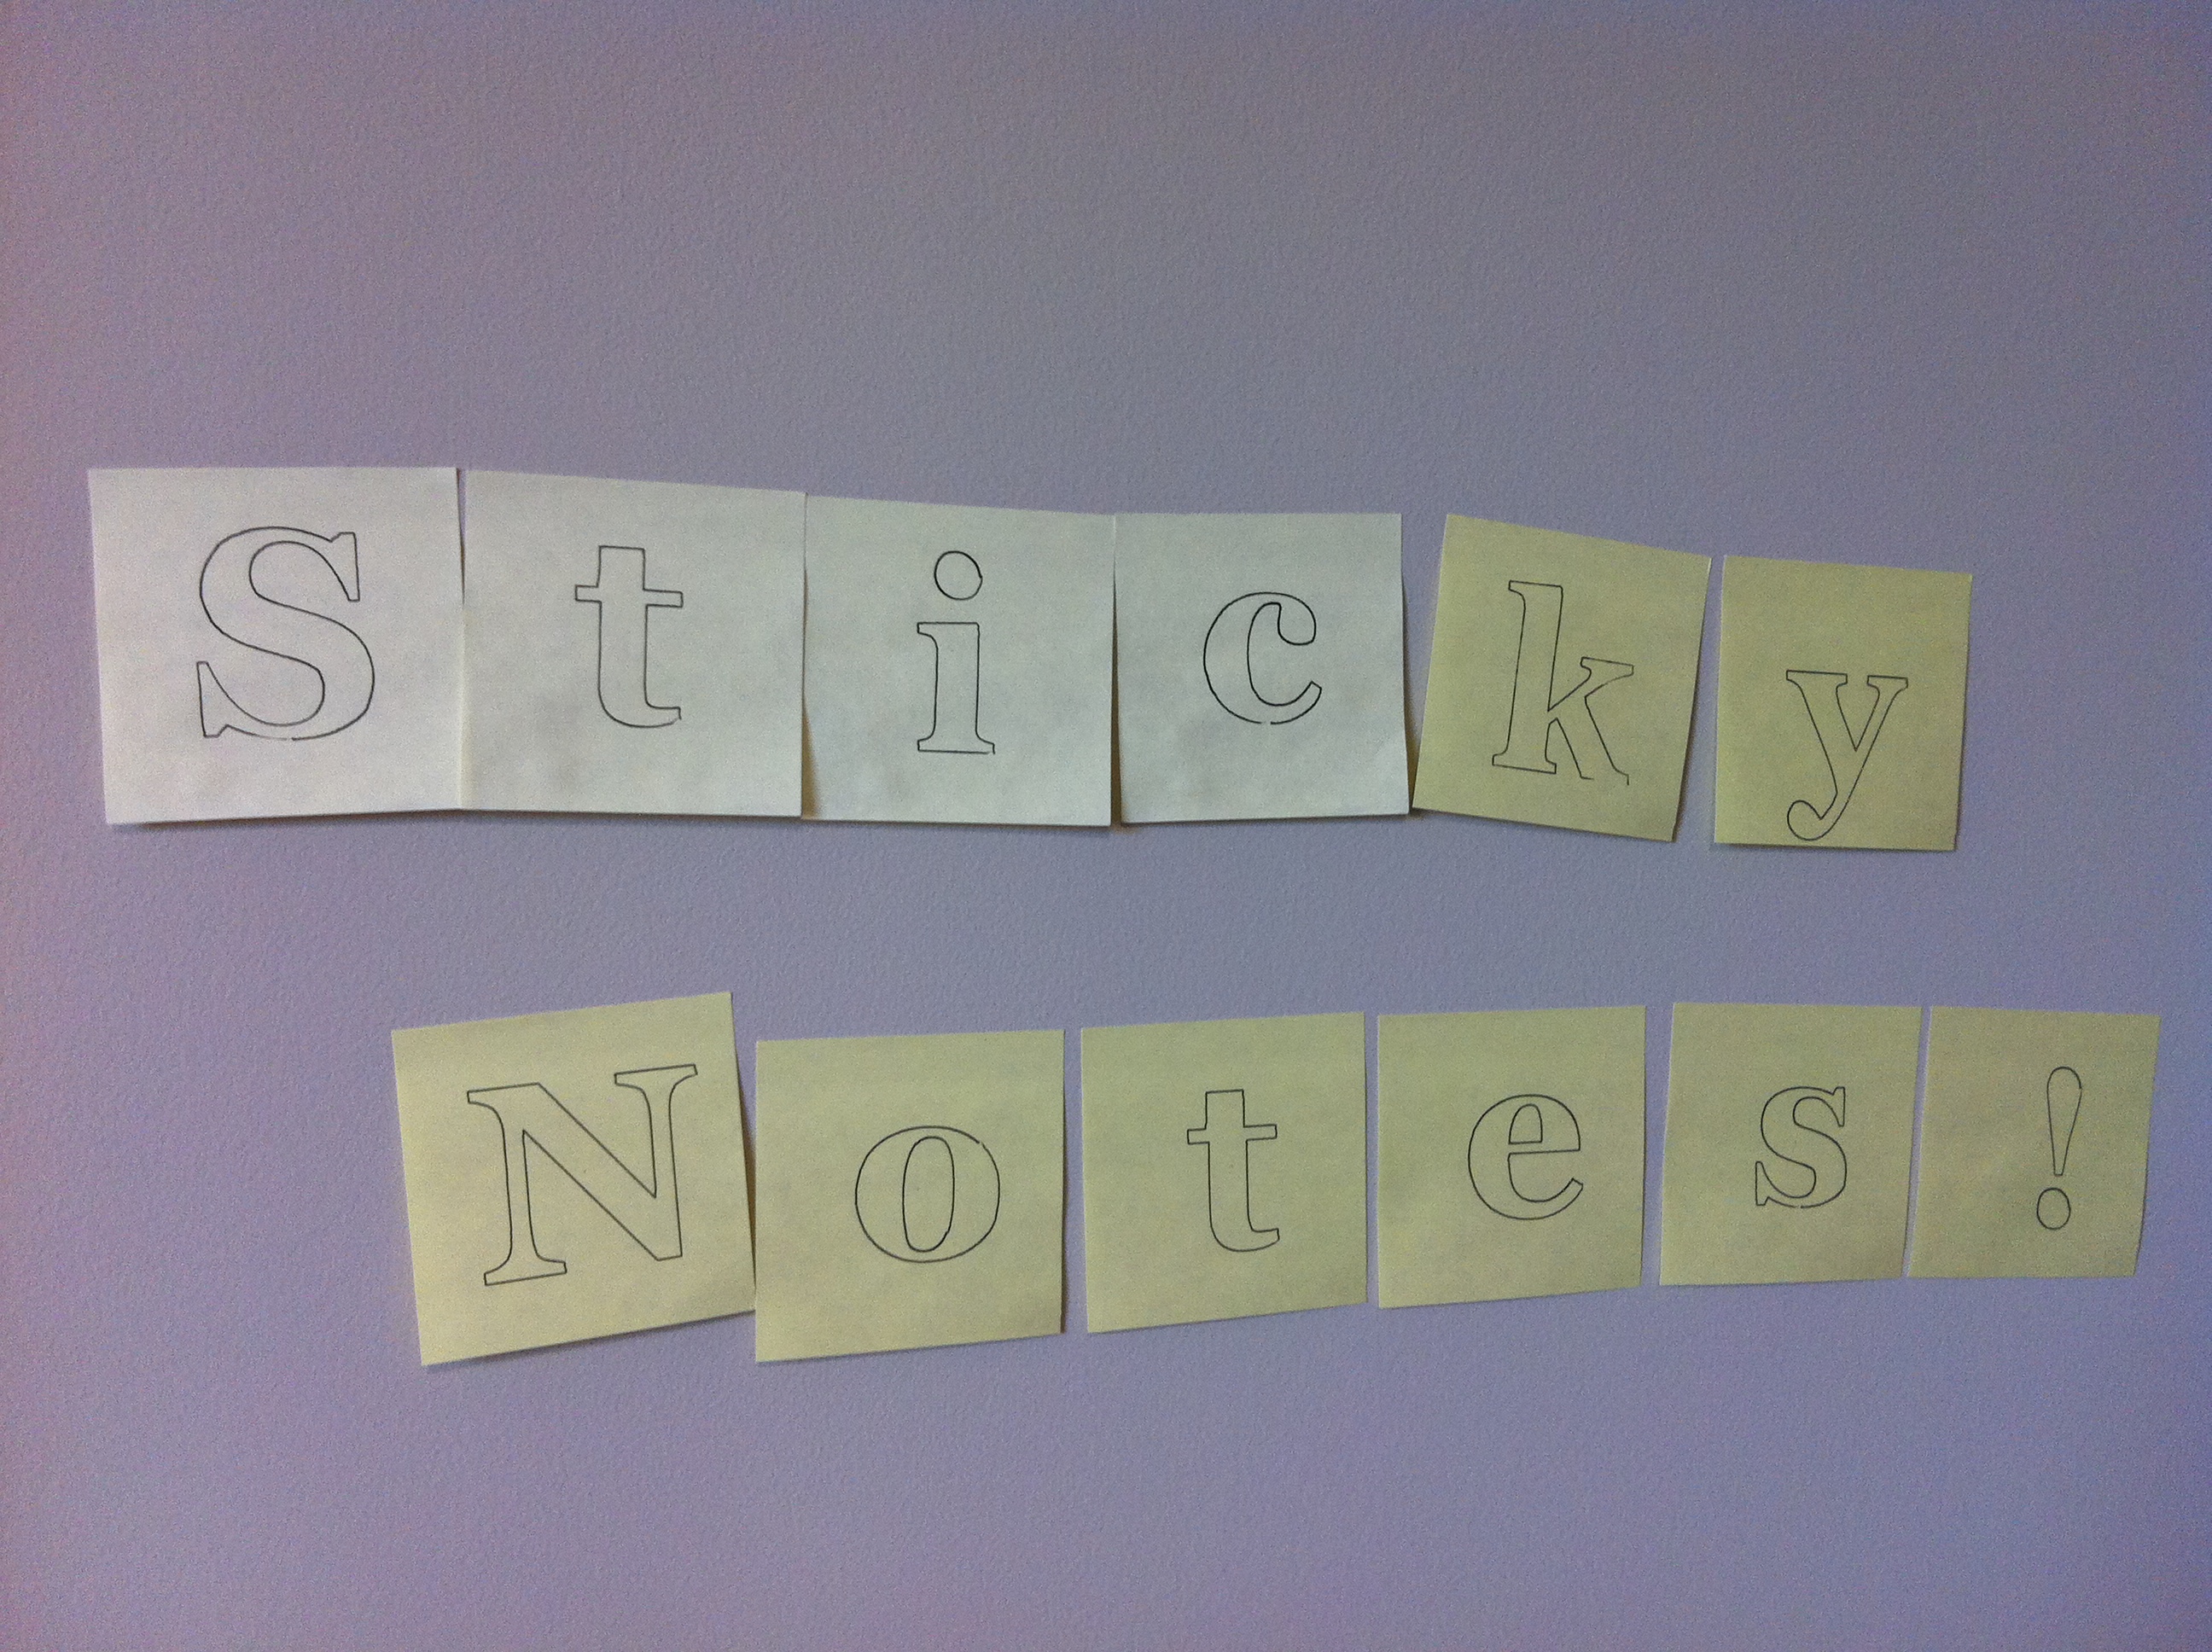
Decorations in a pinch!
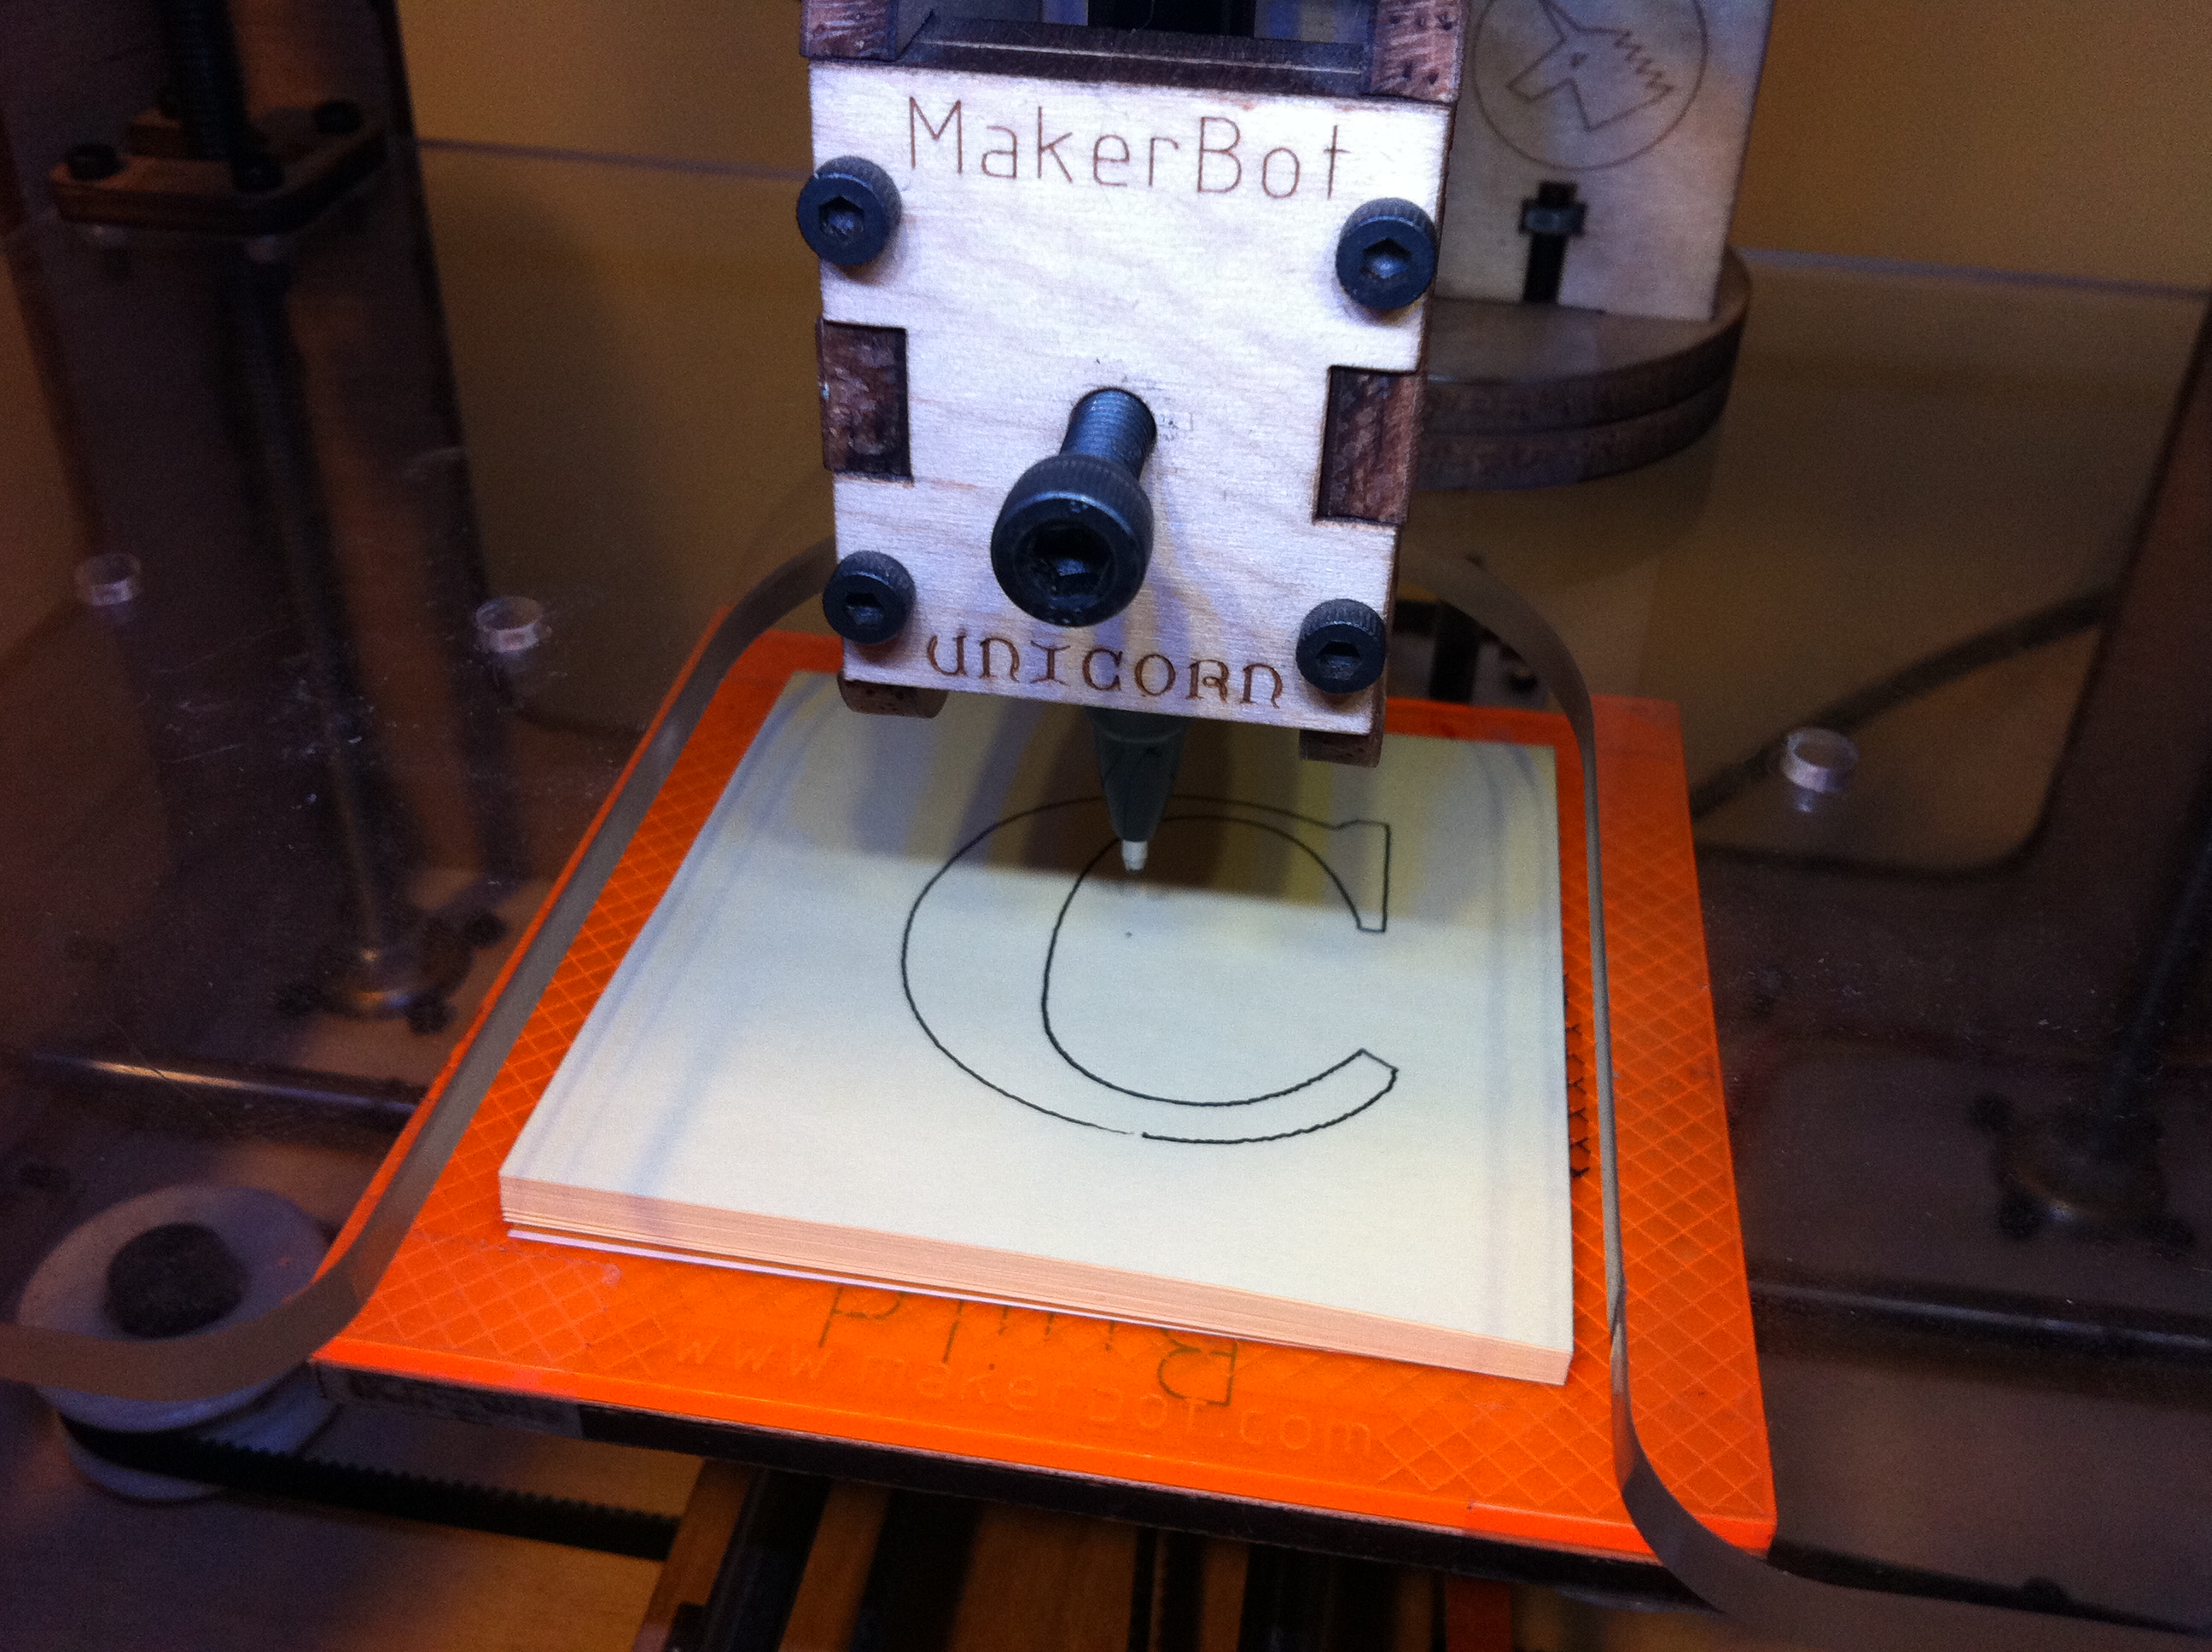
Note: This script is designed to work with the MakerBot Unicorn Pen Plotter: http://store.makerbot.com/makerbot-unicorn-pen-plotter-kit.html
This Python script takes your message and turns it into G-Code which prints one character on each page of a pad of sticky notes. It makes use of mifga’s tricks for pen registration and page-changing.
There are configuration options at the top of the file, so tweak them to make things work best for your bot and your needs.
This is a work in progress. Fork it and make improvements on GitHub! https://gist.github.com/771967
Ideas for improvements:
You’ll need Python and Pycairo and its dependencies: http://cairographics.org/pycairo/
On Ubuntu, this is as easy as:
sudo apt-get install python-cairo-dev
You can then run the script with:
python sticky_notes.py 'Your Message Here' > out.gcode
 4225 bytes. Updated
134830 bytes. Updated
4225 bytes. Updated
134830 bytes. Updated One of the things I’ve been longing to do with my mobile photo-sharing site Camura is to offer image annotations, like objects and faces. Over the last couple of years I have been increasingly frustrated by the appearance of face tagging on services like Facebook, and the recent addition of face recognition to iPhoto has brought this frustration to the surface once again. I don’t even want to do something as complex as face recognition - I just want to find faces in an image.
Googling for things like “open source face detector” doesn’t come up with much. The landscape seems to be comprised of mostly expensive for-pay libraries written for Windows, abandoned research projects, and lots of research papers full of equations – but no code that I could get to run.
To make a long post short, it turns out that Intel’s OpenCV computer vision library comes with a face detector example that should work out of the box. Better yet, there are now some decent Python bindings for OpenCV that come pre-packaged with OpenCV for Ubuntu and Debian. You can install them with:
$ sudo apt-get install python-opencv
Now, it seems that most OpenCV face detector examples are meant to be run “live”, usually taking the image from a webcam and highlighting faces with a red box in real-time. However, I have a large database of static images that I want to consider individually, and I simply want to save the face coordinates for later use, rather than altering the picture.
So, with a bit more Googling, I found a Python script that I could chop up and use for this purpose, and here is what I came up with:
An example run of the script looks something like this:
$ python face_detect.py marty_mcguire.jpg
[(50,36) -> (115,101)]
You can overlay that rectangle on an output image with ImageMagick’s “convert”:
$ convert marty_mcguire.jpg -stroke red -fill none -draw "rectangle 50,36 115,101" output.jpg
And the output might look something like this:

Pretty fun stuff!