I once offered gRegor to write up a bookmarklet for turning Bookshop.org book pages into want-to-read (or currently-reading or finished-reading) posts on your own site with Micropub courtest of IndieBookClub.biz.
Then I lost my main computer’s SSD and my browser bookmarks!
Today I re-created it to make some posts on my site, so here it is!
Bookshop.org book pages have a <script> tag marked as a “JSON-encoded Linked Data island” (pejorative) also known as JSON data.
The bookmarklet finds and parses this then (quick and dirty) pulls out likely book title, ISBN, and author and combines these with another couple of options (I tag all my reading posts with “books” and I want the posts to be published by default). Those options are turned into URL query string parameters, as described in IndieBookClub.biz’ documentation and sends your browser over there, where IndieBookClub(dot biz) handles the rest!
The Level Up is an indie improv showcase. Join us as we watch amazing New York indie improv talents gain XP on the Magnet stage, unlock new achievements, and reach new milestones. Or do comedy.
Come support Michael as he dons his hosting-duties cap for three exciting indie teams!
Extra Virgin - Instagram @ExtraVirginImprov
Stress Dream - Instagram @stressdreamcomedy
Scattergood - Instagram @scattergood_comedy
I’ll be playing with Michael and the rest of the Level Up!
Looking forward to it! And to seeing you there!! (Yes, you. Come on out!!!)
Transfers: I'm still having a hard time using my transfer carriage to move ribbing stitches from the front ribber bed to the back main bed. This time I bent a needle on each bed! 😱 I also discovered that this transfer process is where some of my dropped stitches came from in the previous hat. I ended up recovering most of these before seaming, which saved a lot of fixing up time later! 😅
Joining / seaming: somehow, for the second time, I have set out with the intention of joining the hat body to the brim with the seam on the knit side of the hat body, where it will be hidden by the folded brim, but ended up with it on the purl side, against the head. I'm also still getting the feel for seaming things on the machine. I decided to hang the hat body on directly to the needles with the finished brim and do a transfer-tool bind-off, but found the hung-on stitches really got in the way. After dropping a stitch (and some f-bombs) and losing the yarn tail, I backed things up and did a crochet-style bind-off with the latch tool, instead. I still managed to drop four or so stitches along the way. I manually repaired these later.
Grafting: I had a better time seaming up the side of the hat using Kitchener stitch. After my last go at it, I found a video tutorial on Kitchener for machine knitting from Diana Sullivan that made a lot more sense. This time I only screwed up one thing about it. Unfortunately that thing makes the resulting seam pretty obvious! A Kitchener stitch graft is supposed to look invisible, because you're basically creating new knit stitches by hand. However, if you create those new stitches from the wrong side, what you get is a row of purl stitches on the knit side of the garment!
SEAM
Despite the issues, it wears just fine!
I'm happy to wear a hat that I made for myself! I was proud to wear it on outings yesterday and this morning. Possibly the last cold days of the season! 😂
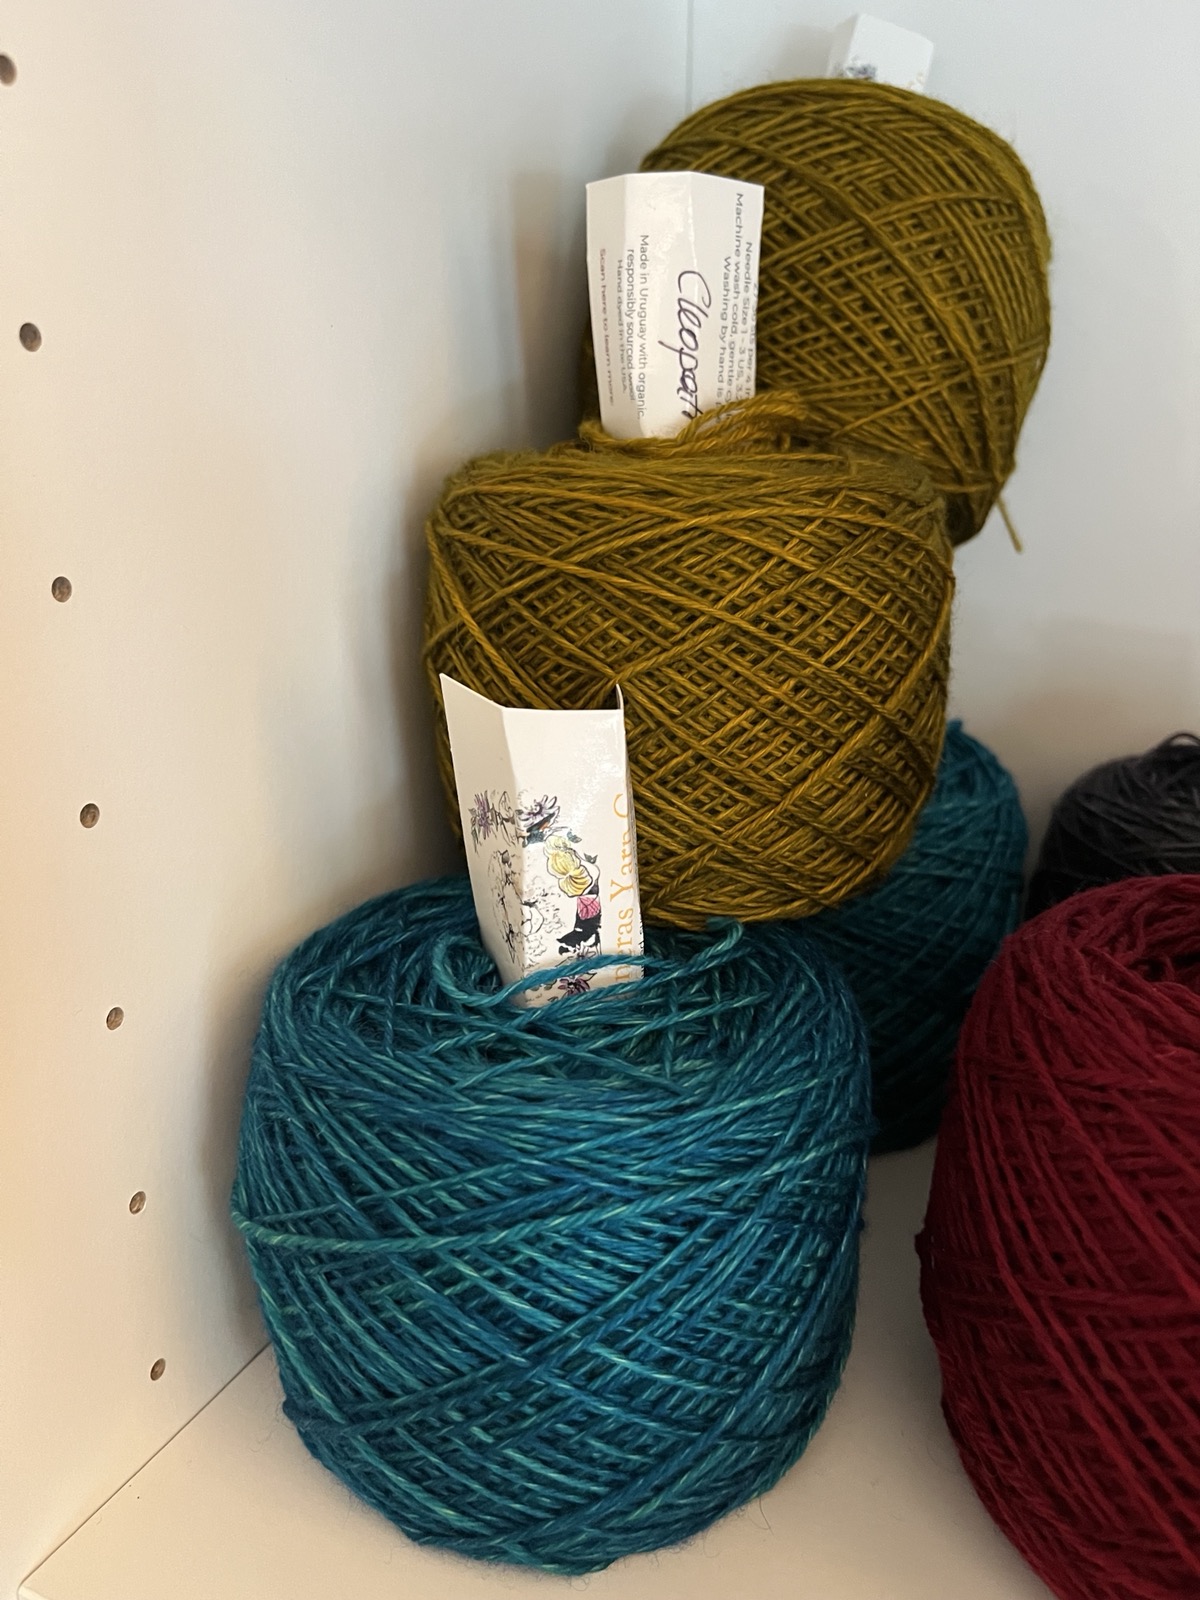
What's next? I think I'd like to make another thing for myself. Probably a vest, using these beauties:
The Level Up is an indie improv showcase. Join us as we watch amazing New York indie improv talents gain XP on the Magnet stage, unlock new achievements, and reach new milestones. Or do comedy.
Come support Michael as he dons his hosting-duties cap for three exciting indie teams!
HALALRIOUS
GOOD TOWEL
DJ SOGGY BOTTOM
I’ll be playing with Michael and the rest of the Level Up!
Looking forward to it! And to seeing you there!! (Yes, you. Come on out!!!)
Bizzo is among 32 improv teams battling for a spot in the Sweet 16!
Please come out and 🔥 scream for us 🔥!!
Who will take home prize money, a Mainstage residency, and March Madness glory? That’s up to our judges and, of course, the audience! Follow the tournament from the start in our Qualifier Matches.
Producer Amy has ultimately adopted the “test” Chattie as her own, wearing it
through this strange NYC winter, and even held onto it when a friend and
colleague politely but firmly attempted to transfer ownership. Consequently,
I received a commission request for a new Chattie.
Planning-wise, the commission called for something in dark colors, slightly
smaller than the one Amy wore, but similarly fuzzy and warm. I had a spool
of fuzzy cotton from the “Skinny Latte” series that I picked up at Fab Scrap
in black, that should work exactly as well as the white yarn I used for the
“test” hat.
Construction began with the top body, which is knit sideways with 10 sections of
short rows. It went astonishingly smoothly! This yarn is quite thick, knitting
at a T9 tension when doing single-bed, and T4 on both carriages for ribbing. My
tension mast also didn’t want to feed this yarn nicely, but I settled into a
rhythm of moving the carriage slowly and pausing as needed to pull more yarn
through.
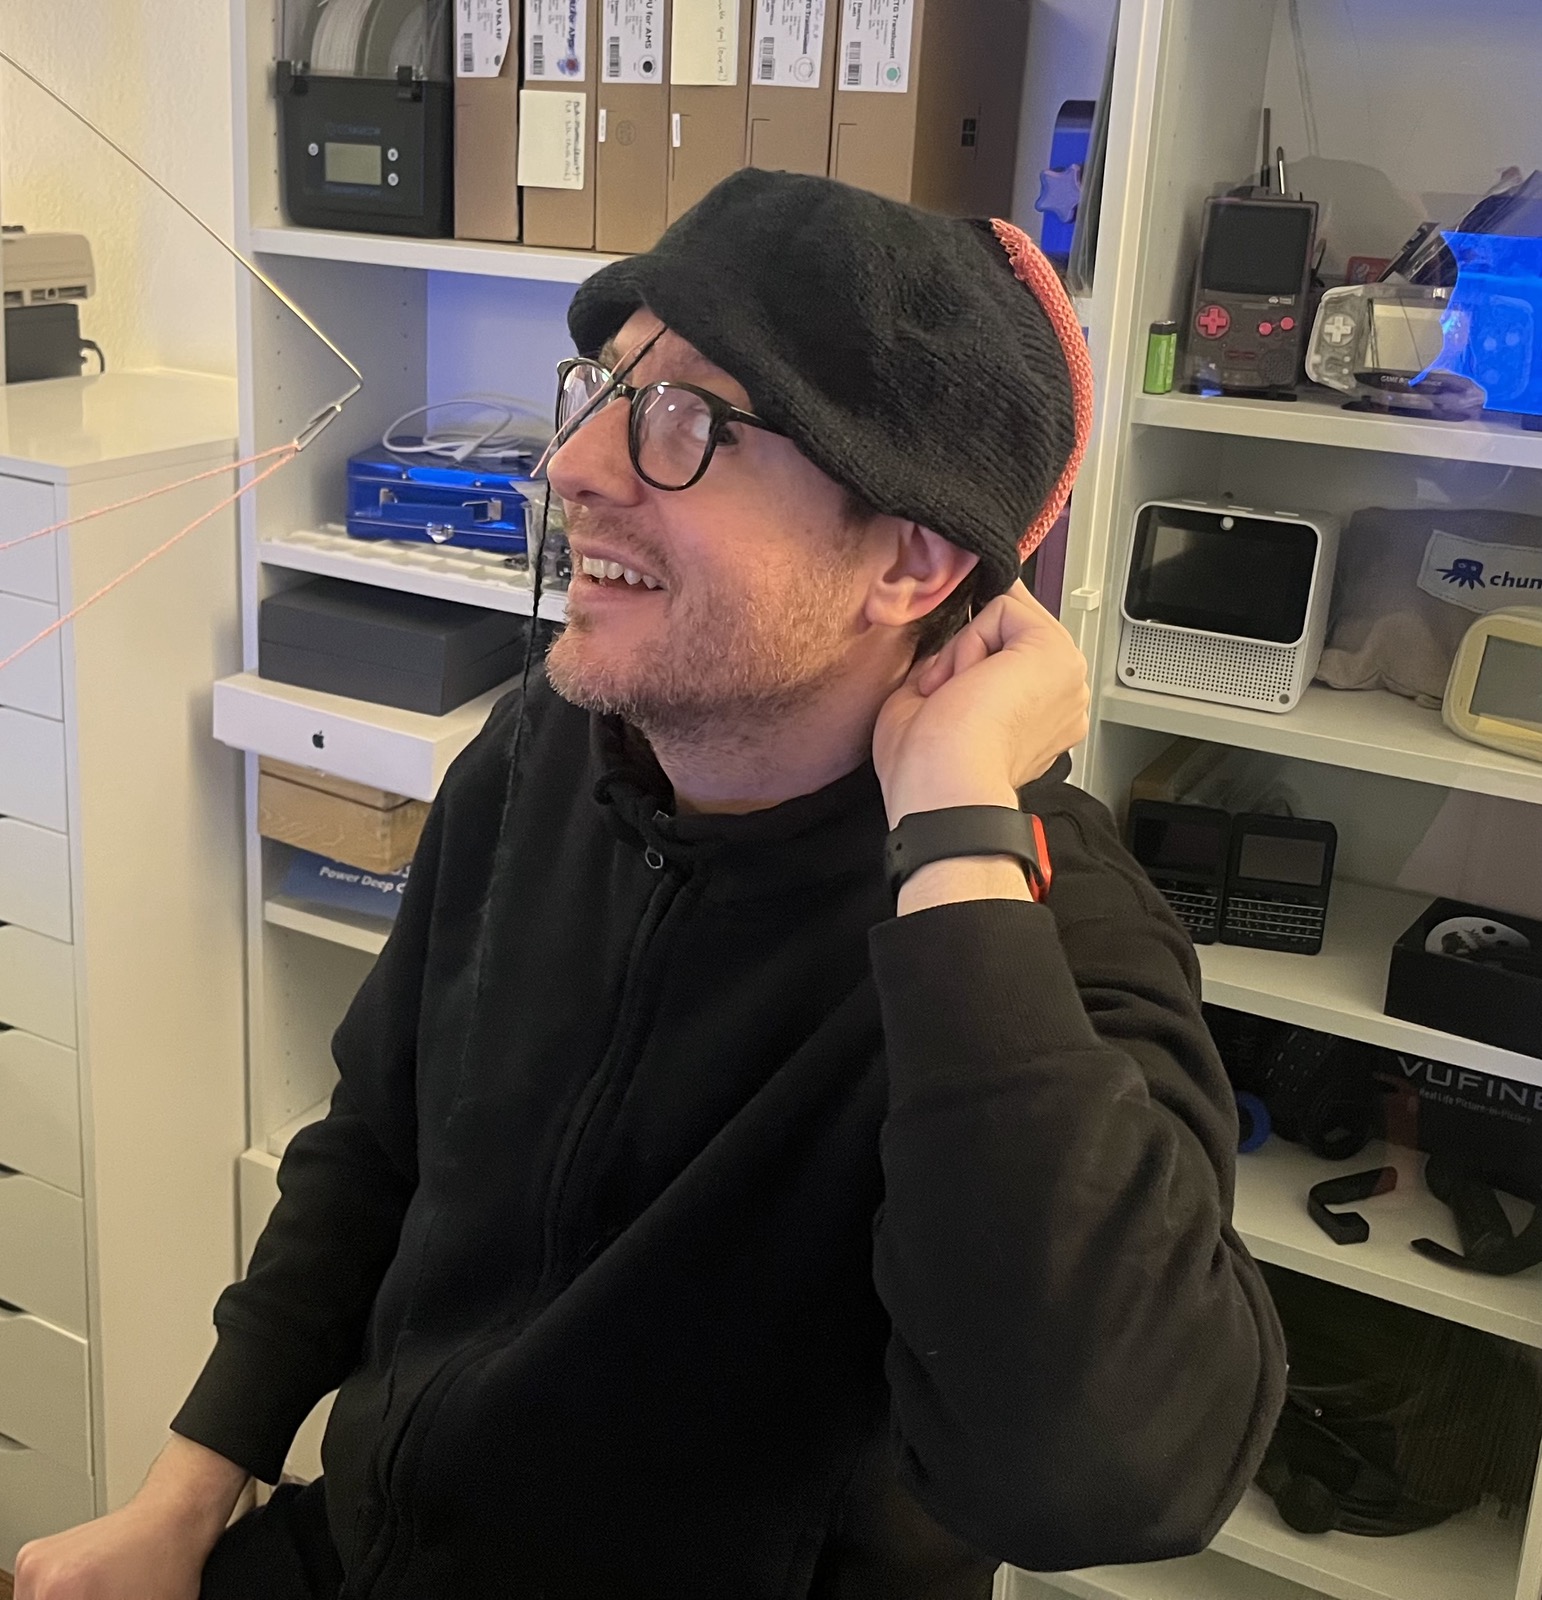
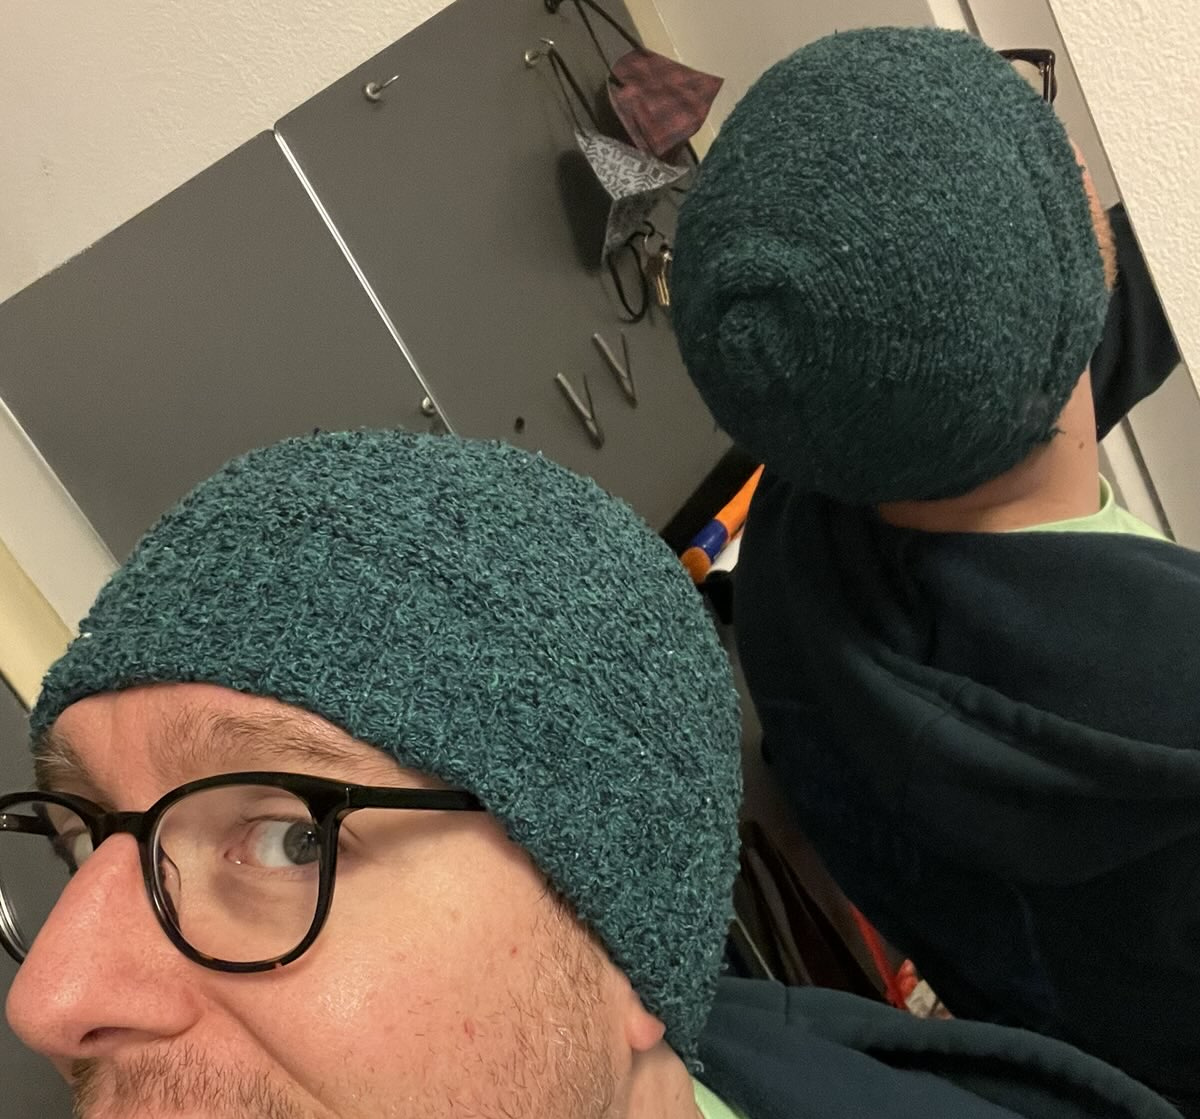
I was in such a good mood about my progress that Amy snapped this photo of me asking "This could become a hat, right?"
Not Pictured: Struggles
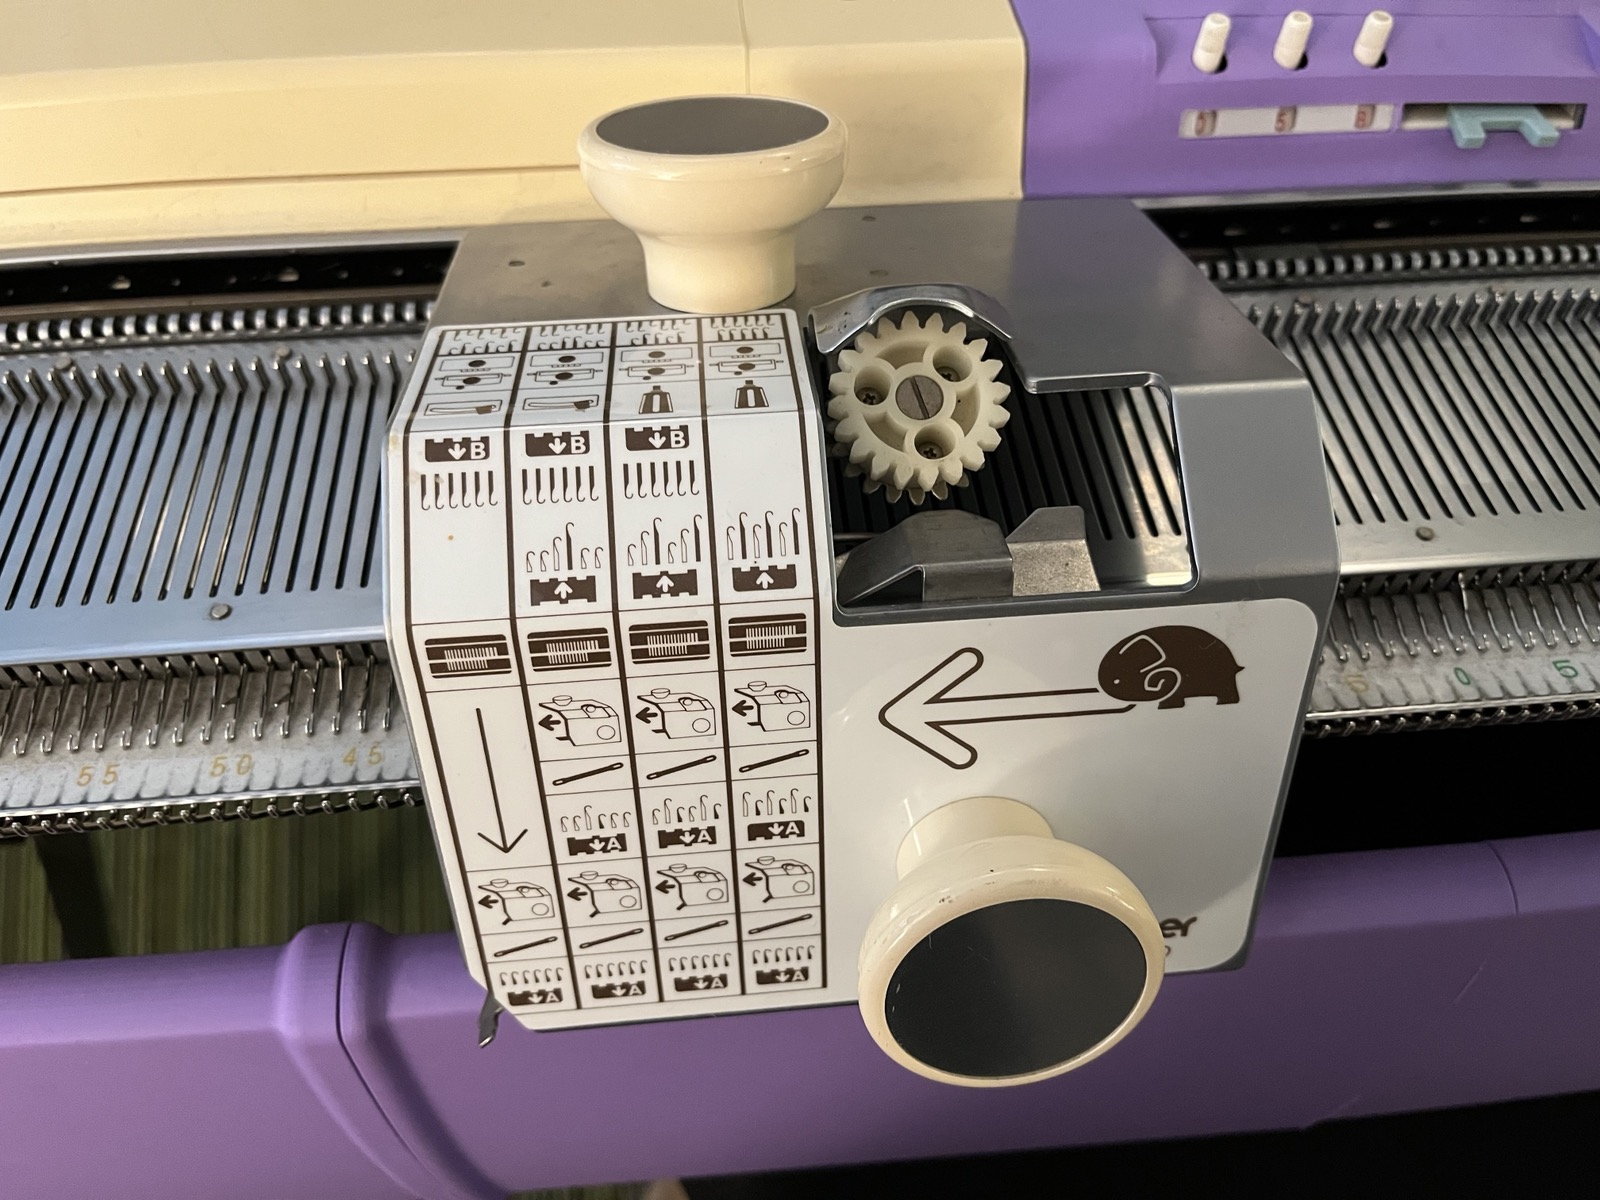
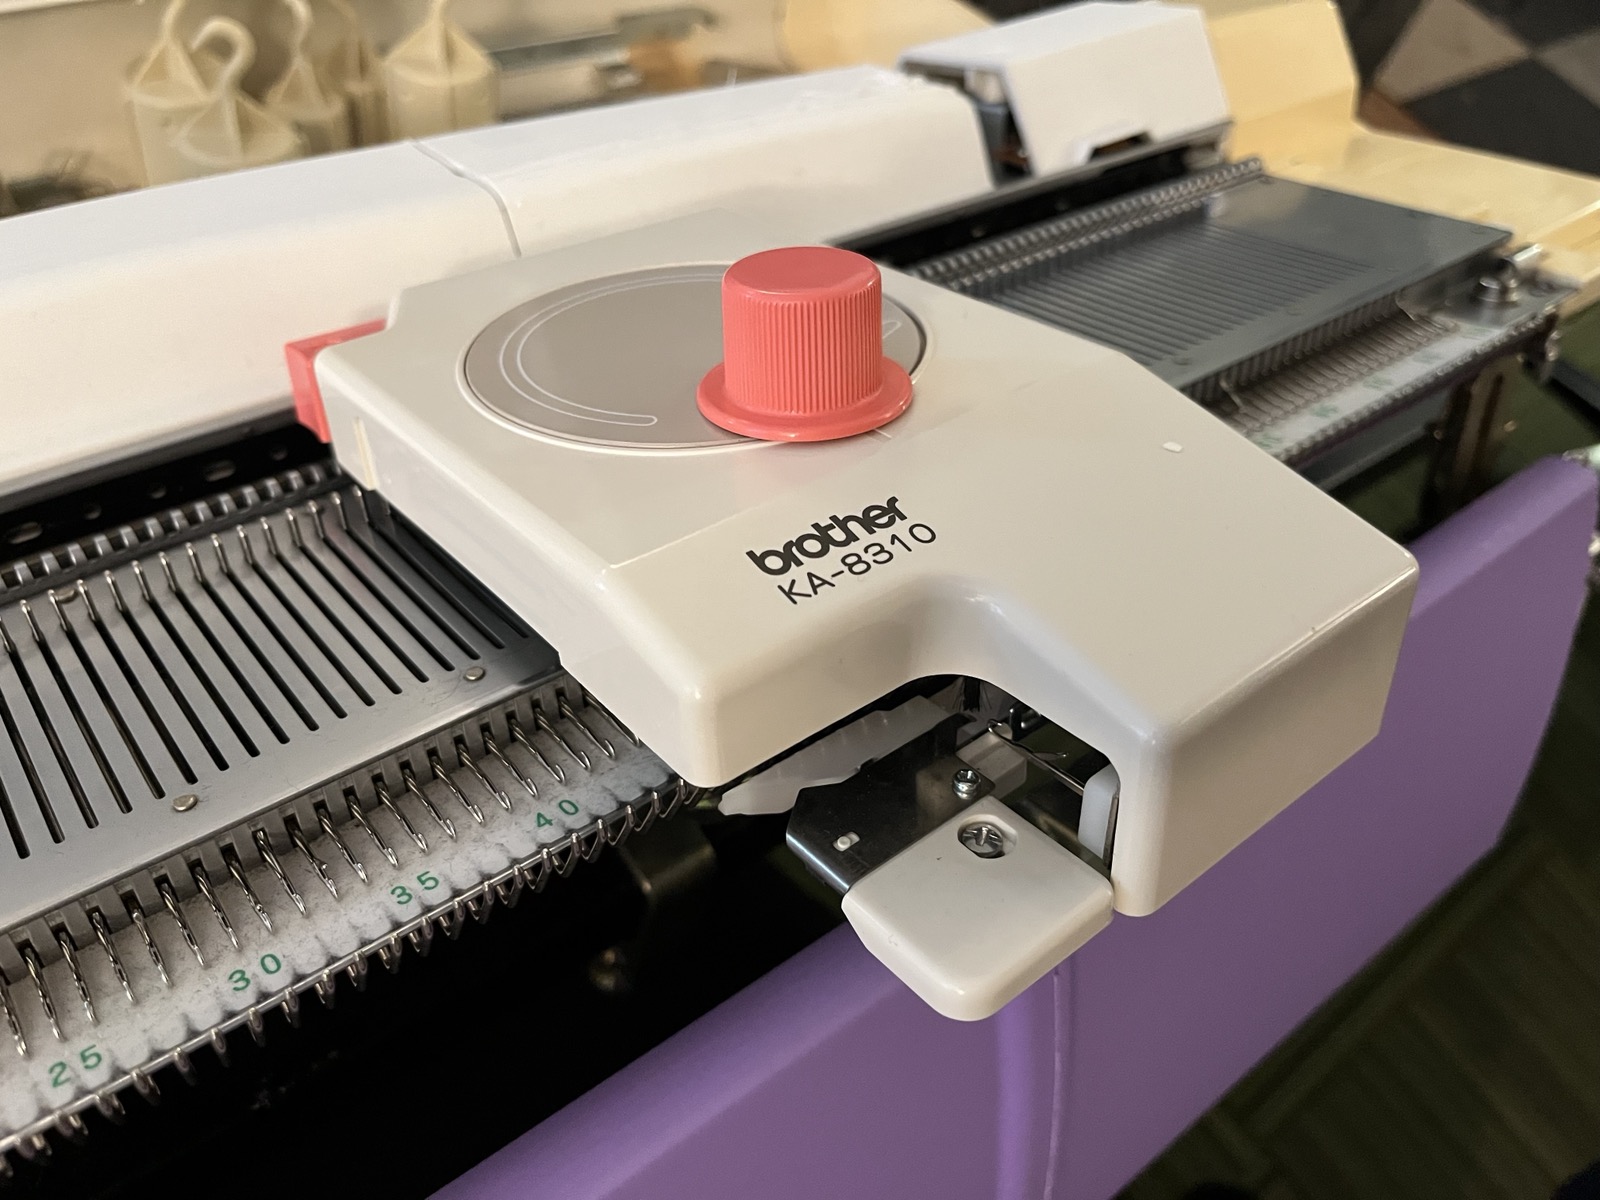
I’ve been watching eBay for accessories for my standard gauge Brother knitting
machine setup, which has included a Brother KA-8300 Transfer Carriage and a
Brother KA-8310 Linker Carriage.
KA-8300: An elephant is about to charge through your live stitches.KA-8310: 🎼Just turn the crank, snap the plank, boot the marble right down the chute- 🎶
I knit about 3.5" inches worth of 1x1 rib, across enough stitches to form a
reasonable circumference for the brim of the hat. After the Dishcloth Chattie
fiasco, I knew to use make the rib at least 2/3 the number of needles wide as
there were rows in the top of the cap.
When done with the ribbing, I used the Transfer Carriage to move the stitches
from the front ribber bed onto the empty stitches on the main bed. This mostly
worked, actually, leaving me with just a couple to transfer by hand.
I then took the whole brim off on waste yarn. This got a bit weird, with not
every stitch actually knitting cleanly onto the first row of waste yarn. I
managed it, but it was weird, and probably caused problems to come. I believe I
should have knit a final row of regular knitting before taking things off onto
waste yarn.
For the next step, I could have grafted / seamed the brim and hat body
together by hand, but I really wanted to use my new Linker Carriage. So, after
thoroughly reading the manual several times, I:
hung the bottom edge of the hat body (which, being knit sideways, means I was
hanging on stitches of a finished side edge).
hung the live stitches from the brim in front
pulled the body stitches over the live brim stitches, so the live stitches
are the only stitches remaining on the working needles, having been pulled
through the side stitches. This was a cool-sounding maneuver that in
practice I found very fiddly.
knit one row of a thinner (but same-colored) yarn at the loosest possible
tension, to form a final row of live loops.
used the Linker Carriage to crank my way across the bed, letting the carriage
pull one loop through the next all the way to the end.
Or, well, that’s how it was supposed to go.
I had two false starts with the Linker Carriage, followed by one absolute
failure which locked the whole thing up, requiring several minutes of struggle
to even free the carriage from the machine. In that chaos, I dropped several
stitches and several f-bombs.
After leaving it to rest overnight, I came back the next day and finished the
loop-through-loop bind-off by hand, then went back and “rescued” the dropped
stitches.
Checking my work afterwards, I found that somehow a couple of dozen live
stitches from the brim, likely all from the front ribber bed side, had simply
not been picked up in my attempt to seam things together. So, I grabbed a
sewing needle and a long line of waste yarn, ran it through as a “lifeline” for
all the dropped ribbing stitches I could find, and once again the project
got to rest for a day or two while I stewed about it.
I have very little in the way of hand-sewing, hand-knitting, or hand-crochet
skills, but I finally decided that I could “rescue” these dropped live stitches
as if they had been correctly handled on the machine, by running a sewing needle
down through the bottom edge of the hat, through a dropped live stitch, pull the
stitch up through the edge, then secure it with a knot or a backstitch,
depending on how far away the next dropped stitch was. This took at least a
couple of hours over a couple of sessions.
Finishing
Finally, it was time to seam up the side of the hat. Though it had been my
original plan, I opted not to try the Linker Carriage again for this. Instead,
I made my first attempt at a Kitchener stitch, which is meant to seam together
two edges of live stitches in an invisible way that looks like just another
row of knitting. Mine … doesn’t look that nice. But it is still pretty hard
to see unless you’re looking for it, so I’ll call that a win (and try harder
next time)!
I also mattress stitched the ribbed hem together, making sure to put that seam
on the outside of the hat, because the brim is meant to be folded up.
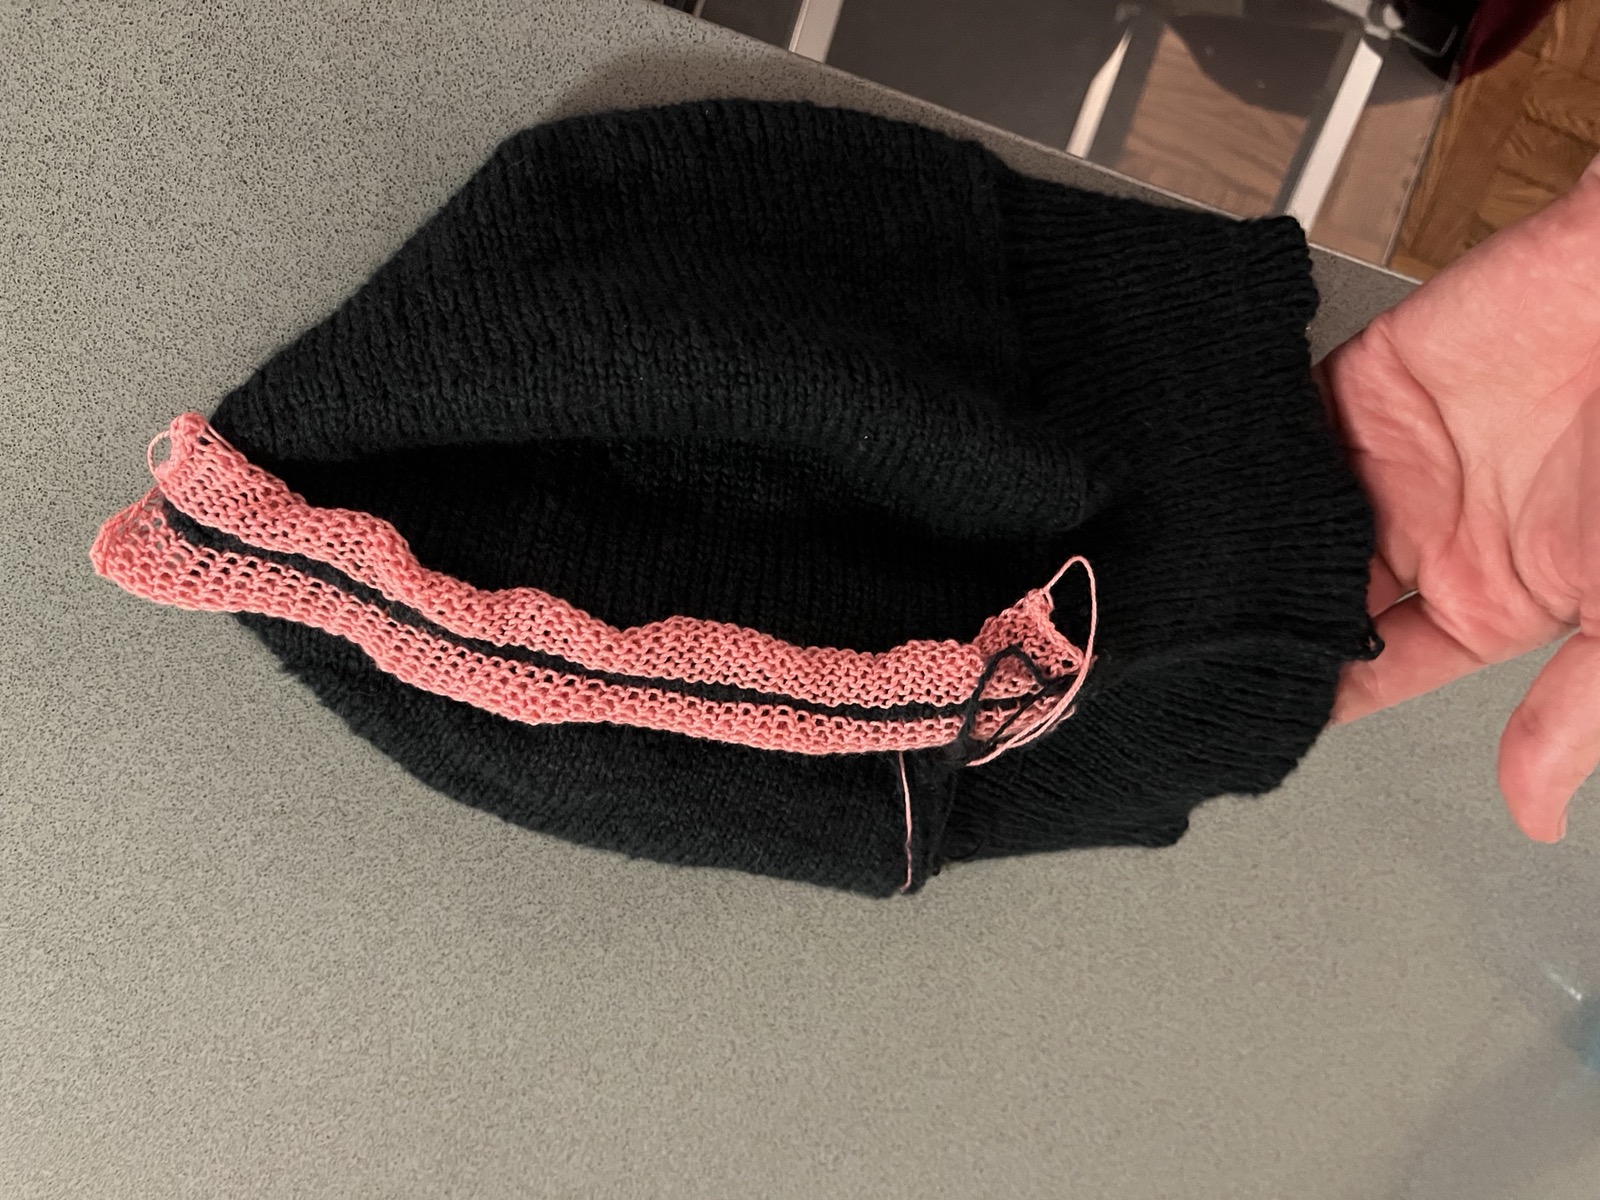
With the waste yarn, this reminds me of Audrey II.
Then it was a matter of running a line through the top 10 stitches at the top of
the hat to pull them together and close it up.
Before washing and drying, it's definitely hat-like!
Then a trip through the laundry to see its final form!
It is a hat!
I really should go ahead and make one of these for myself, and stop wearing
beanies that came from a store. For my version I think I would make a few
extra changes:
add a row of plain knitting on top of the brim before casting off onto waste yarn.
join the brim to the hat with the seam on the “outside”, since the brim is meant
to fold up to cover it anyway.
probably try the linker carriage again even though I got so burned by it. 😂
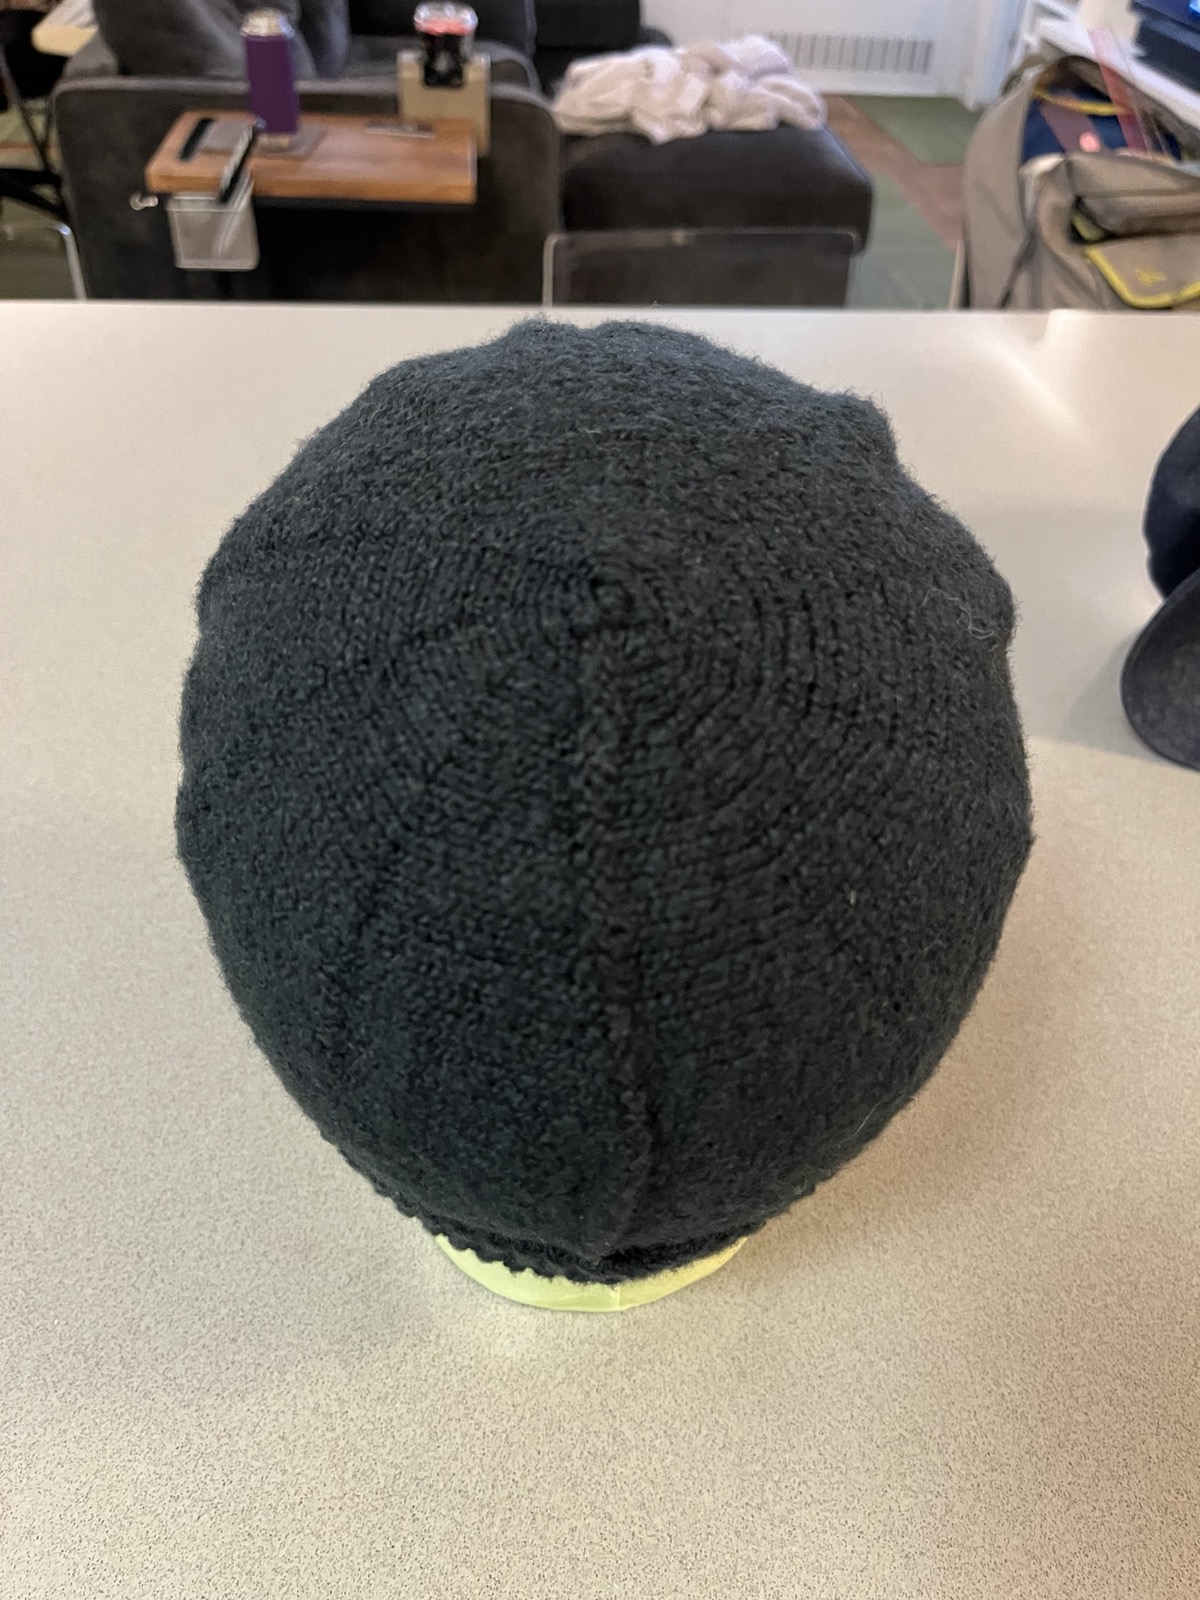
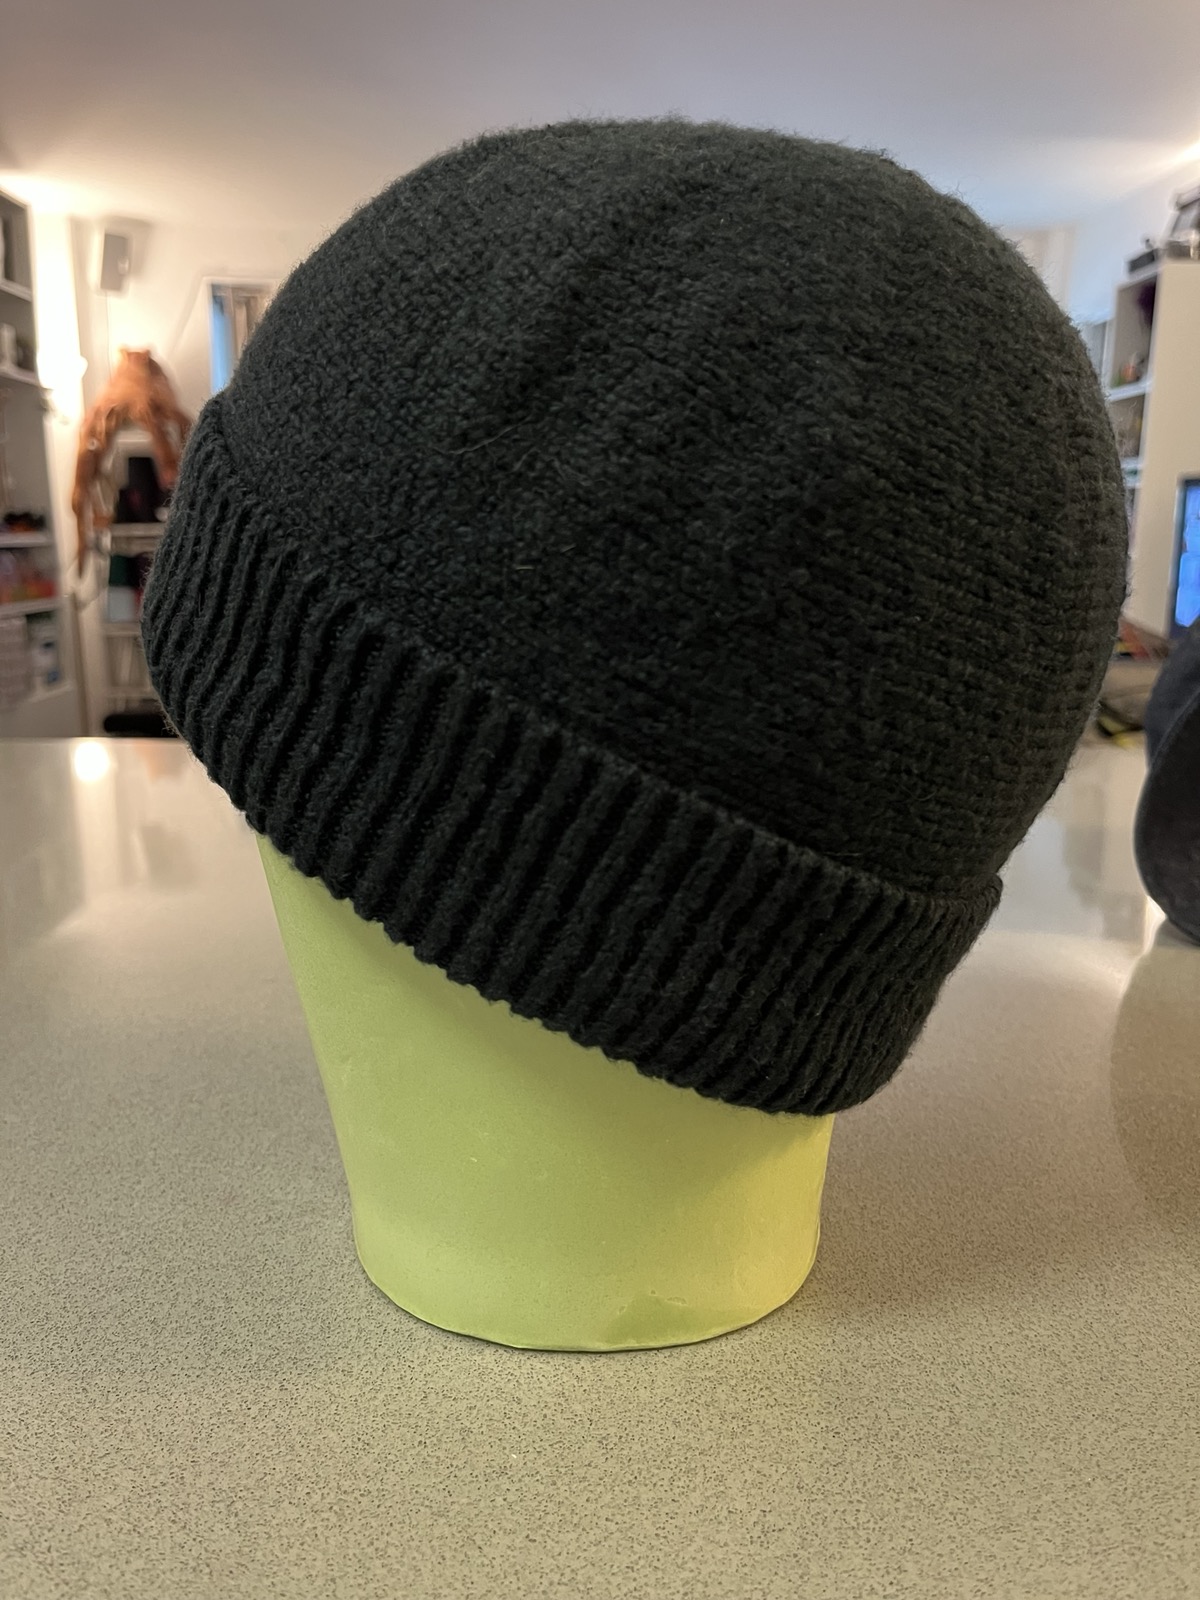
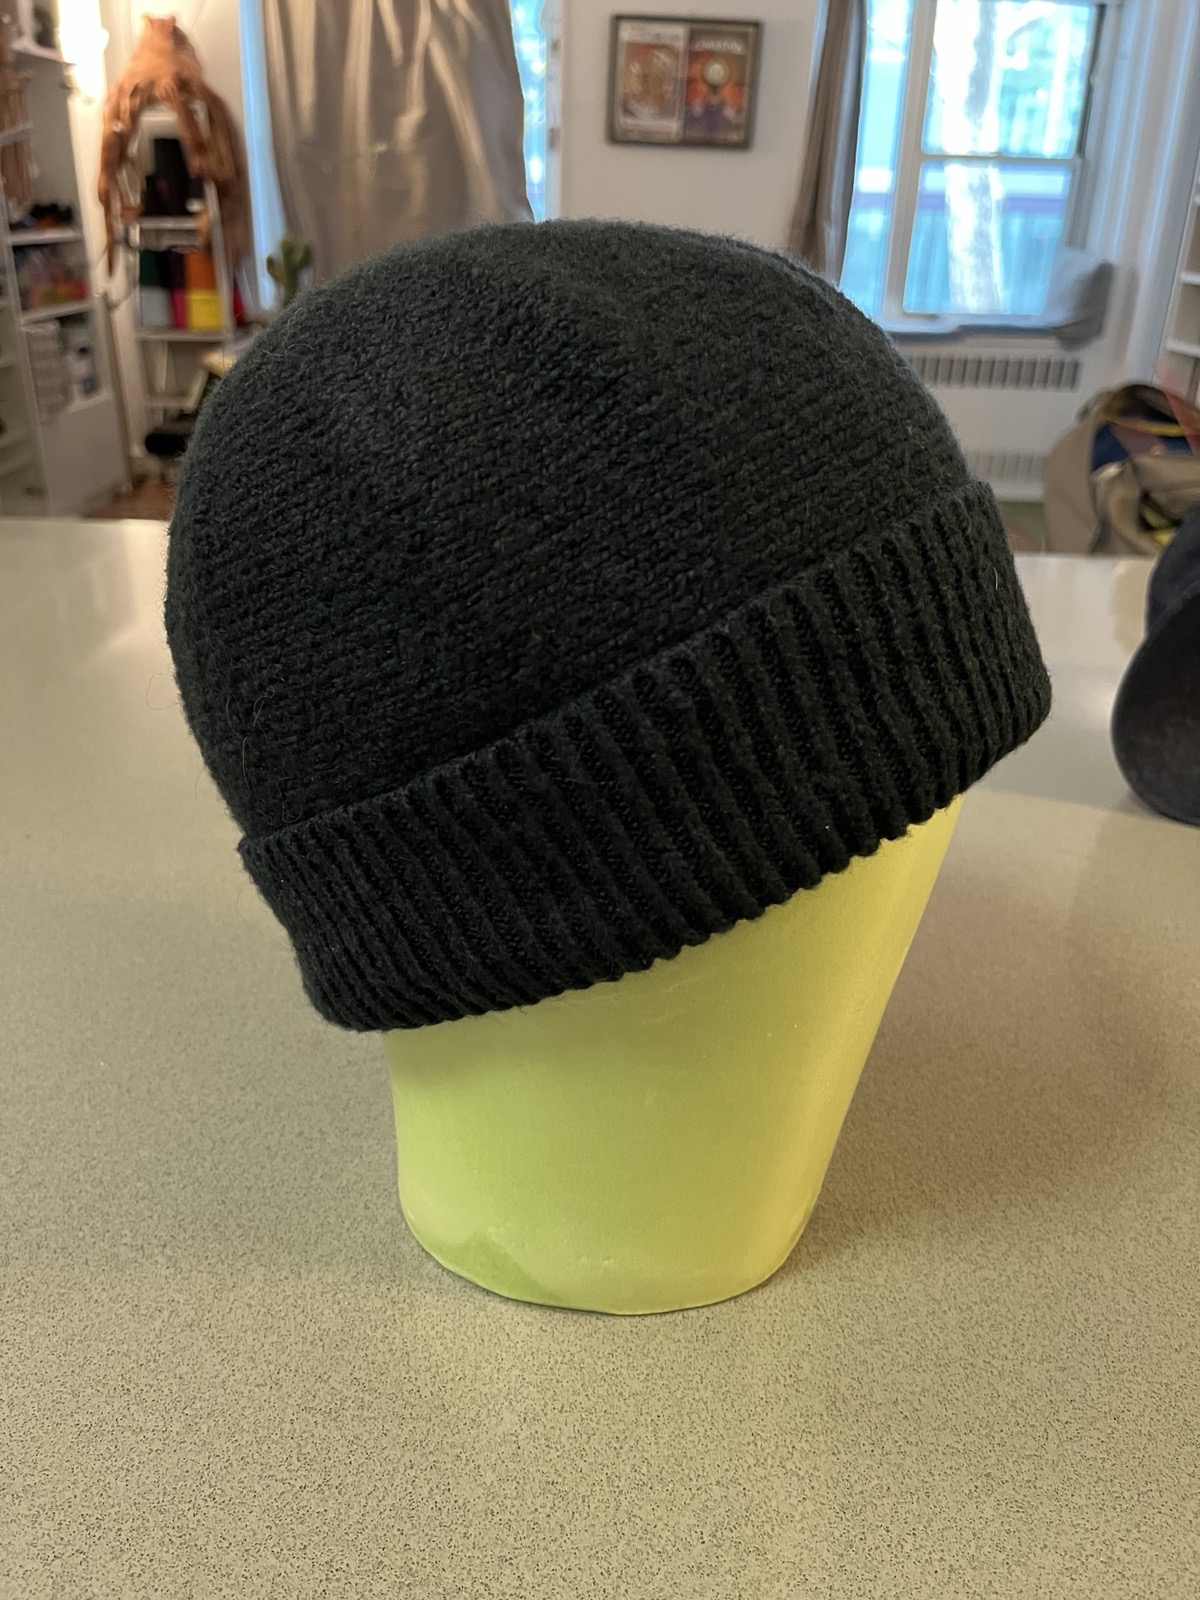
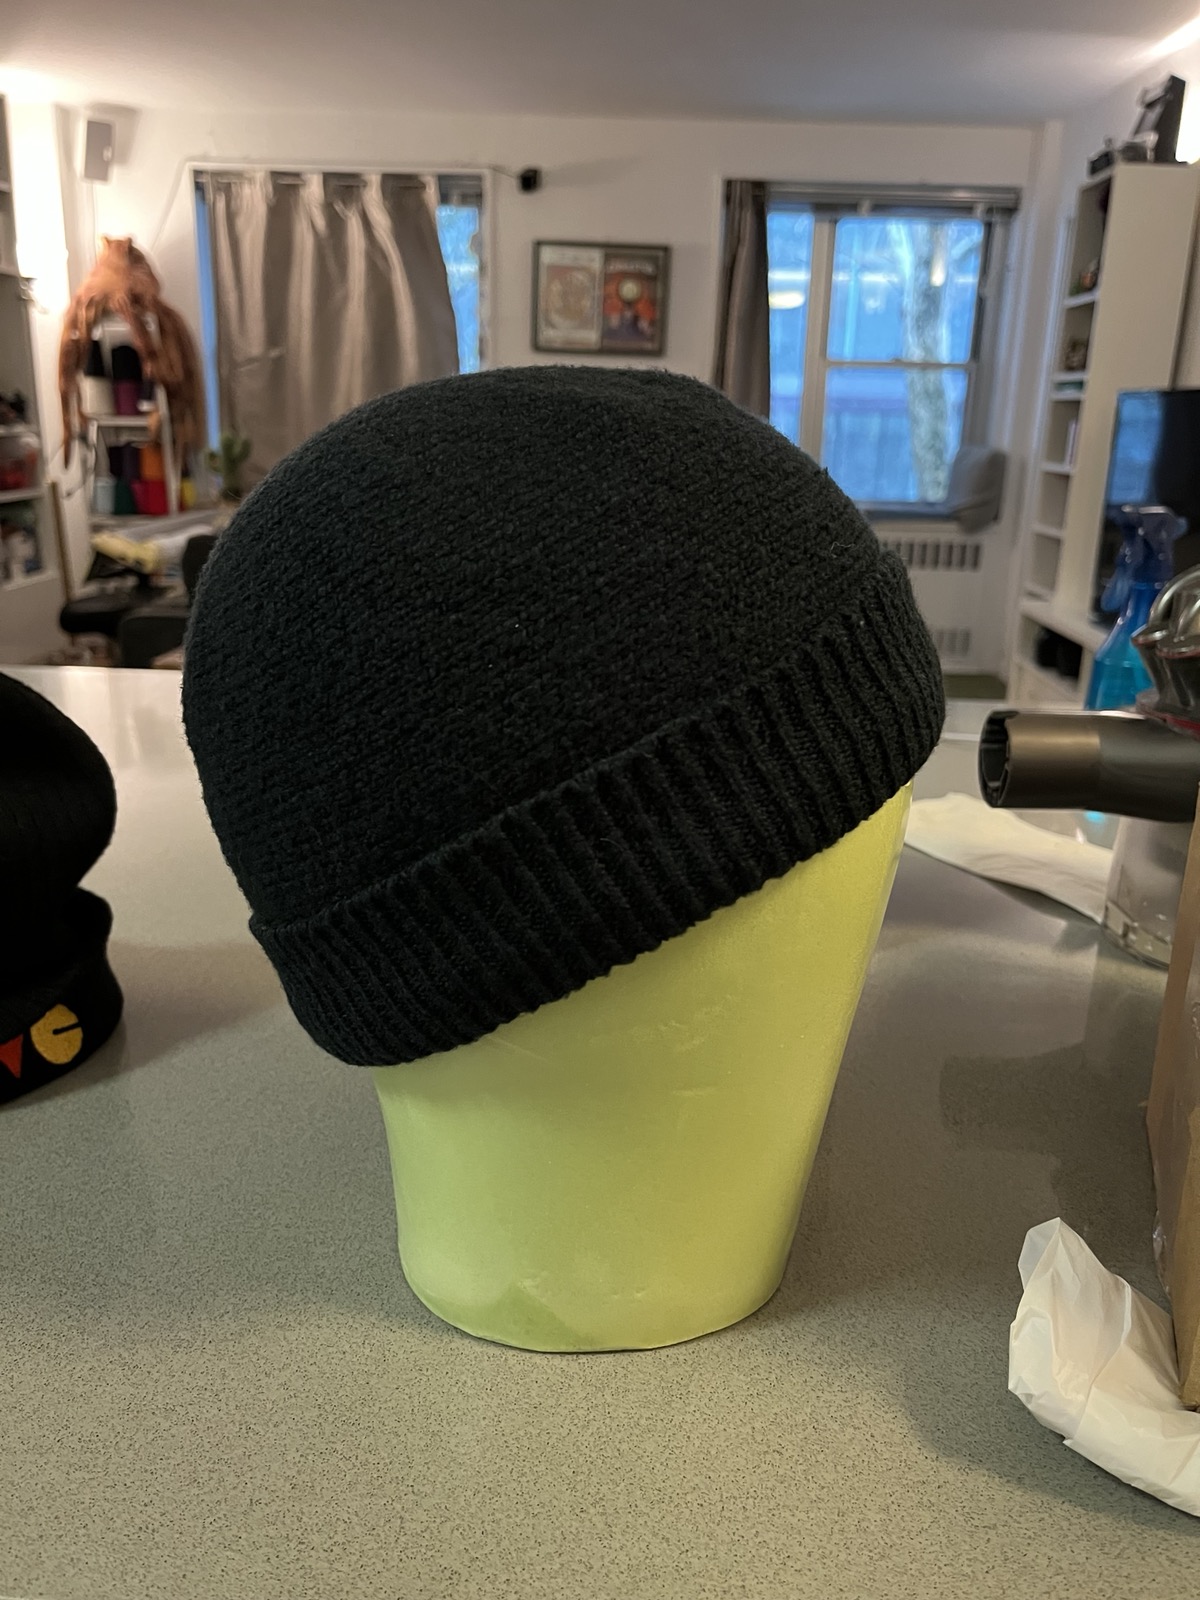
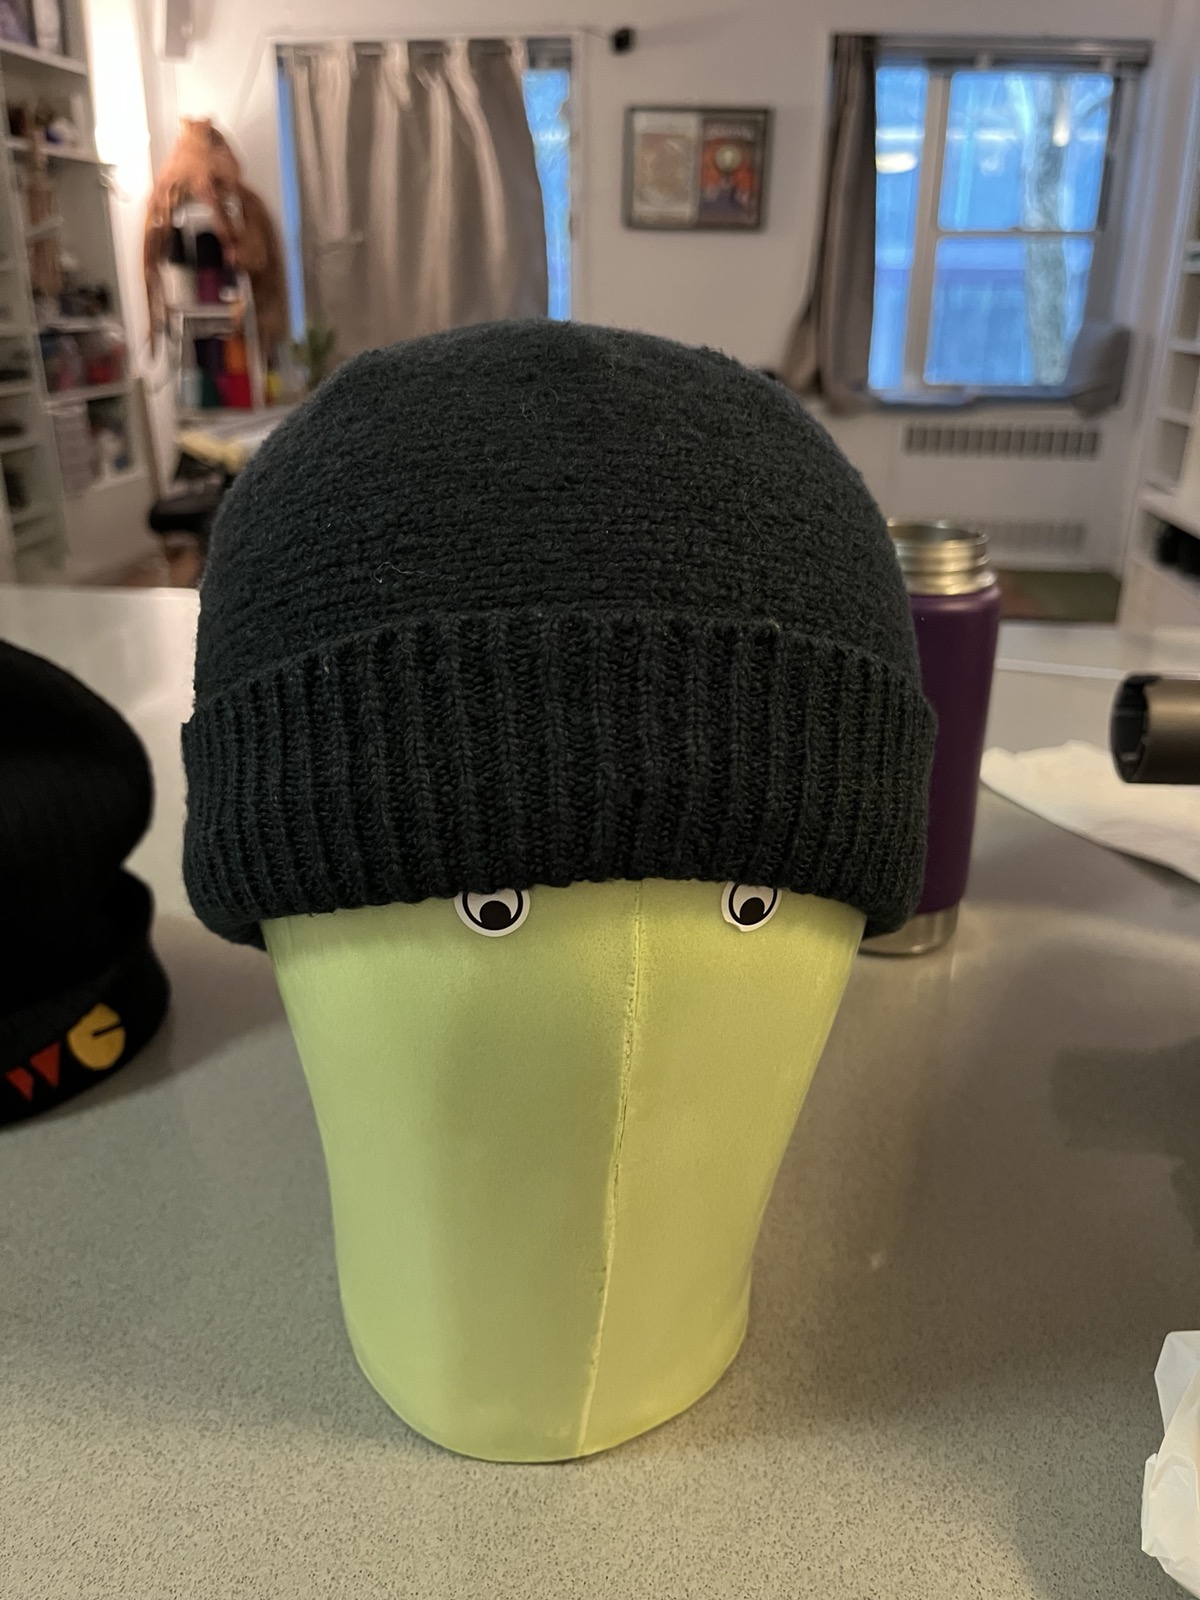
Thanks for reading! As bonus content, here are some photos of the finished
Chattie on the head form that Producer Amy bought for her own hat-making
purposes!
The Level Up is an indie improv showcase. Join us as we watch amazing New York indie improv talents gain XP on the Magnet stage, unlock new achievements, and reach new milestones. Or do comedy.
Come support Michael as he dons his hosting-duties cap for three exciting indie teams!
BIZZO (IG: @bizzonyc)
AM 2 PM (IG: @anthonyjulian_improv)
UP TO NO GOD (IG: @uptonogod)
I’ll be playing with Bizzo, as well as with Michael and the rest of the Level Up!
Looking forward to it! And to seeing you there!! (Yes, you. Come on out!!!)
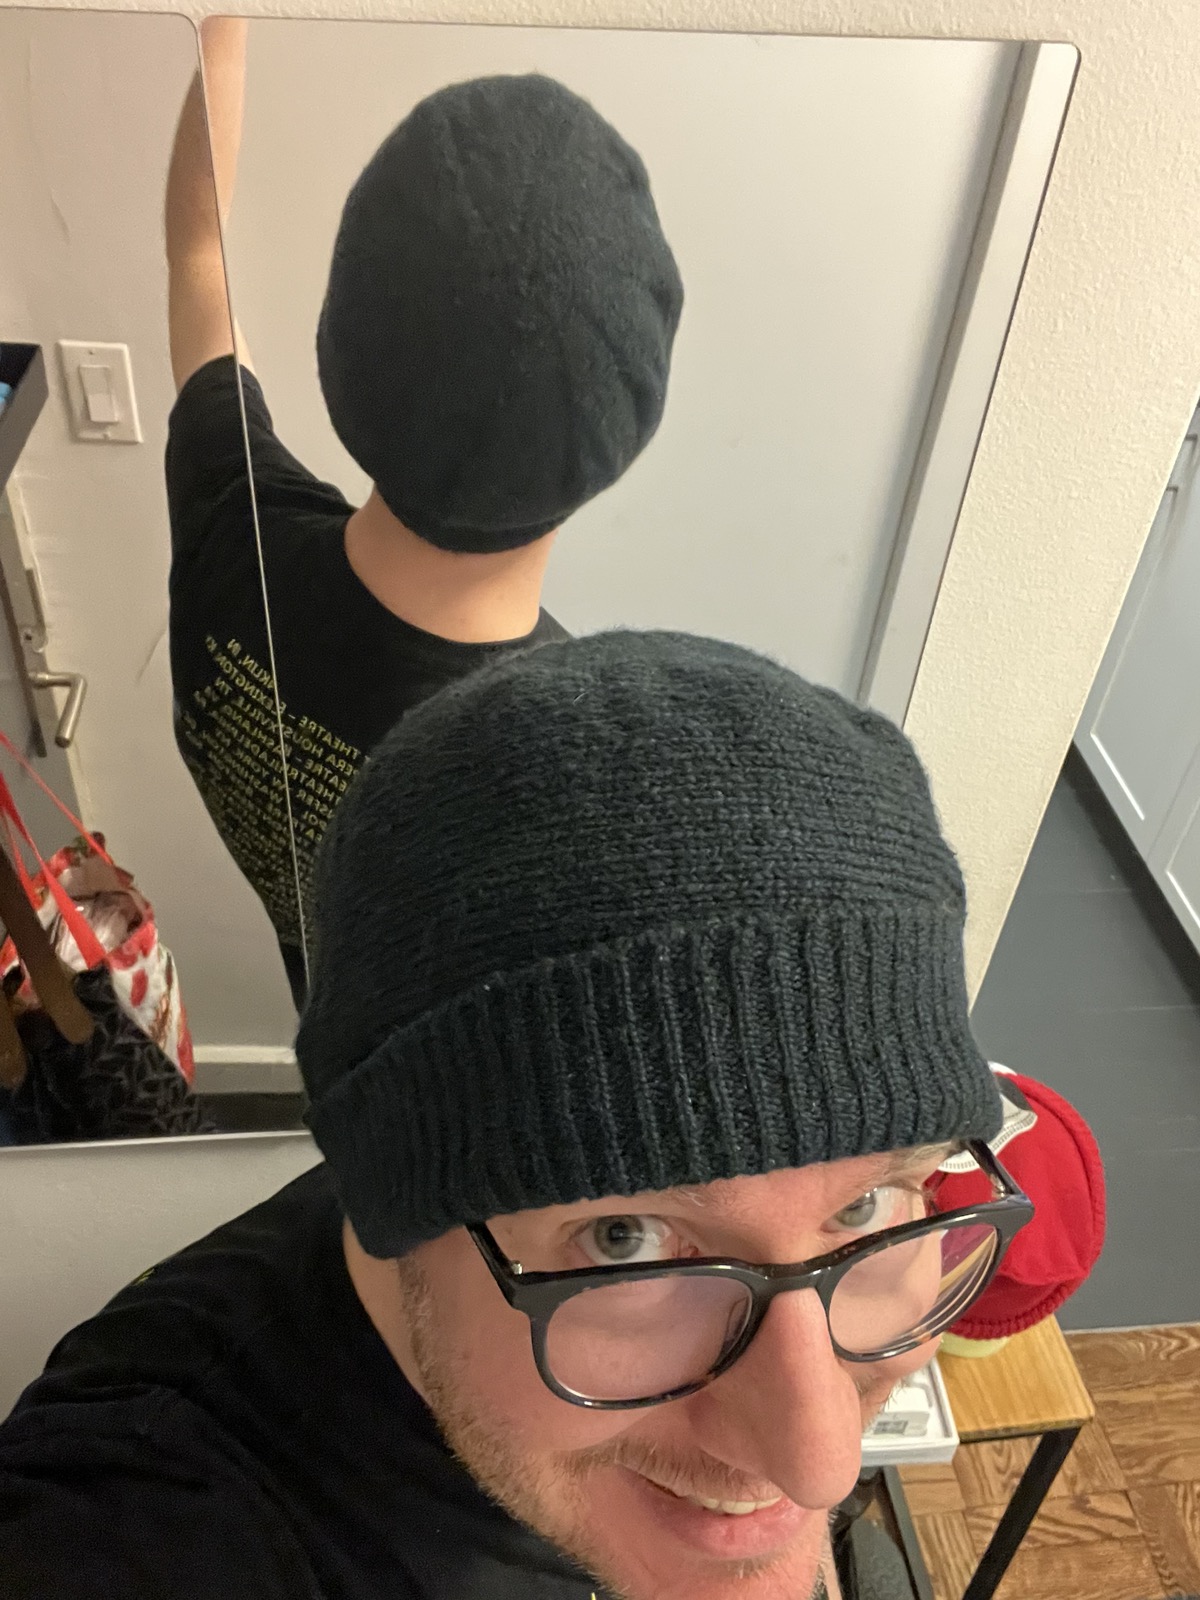
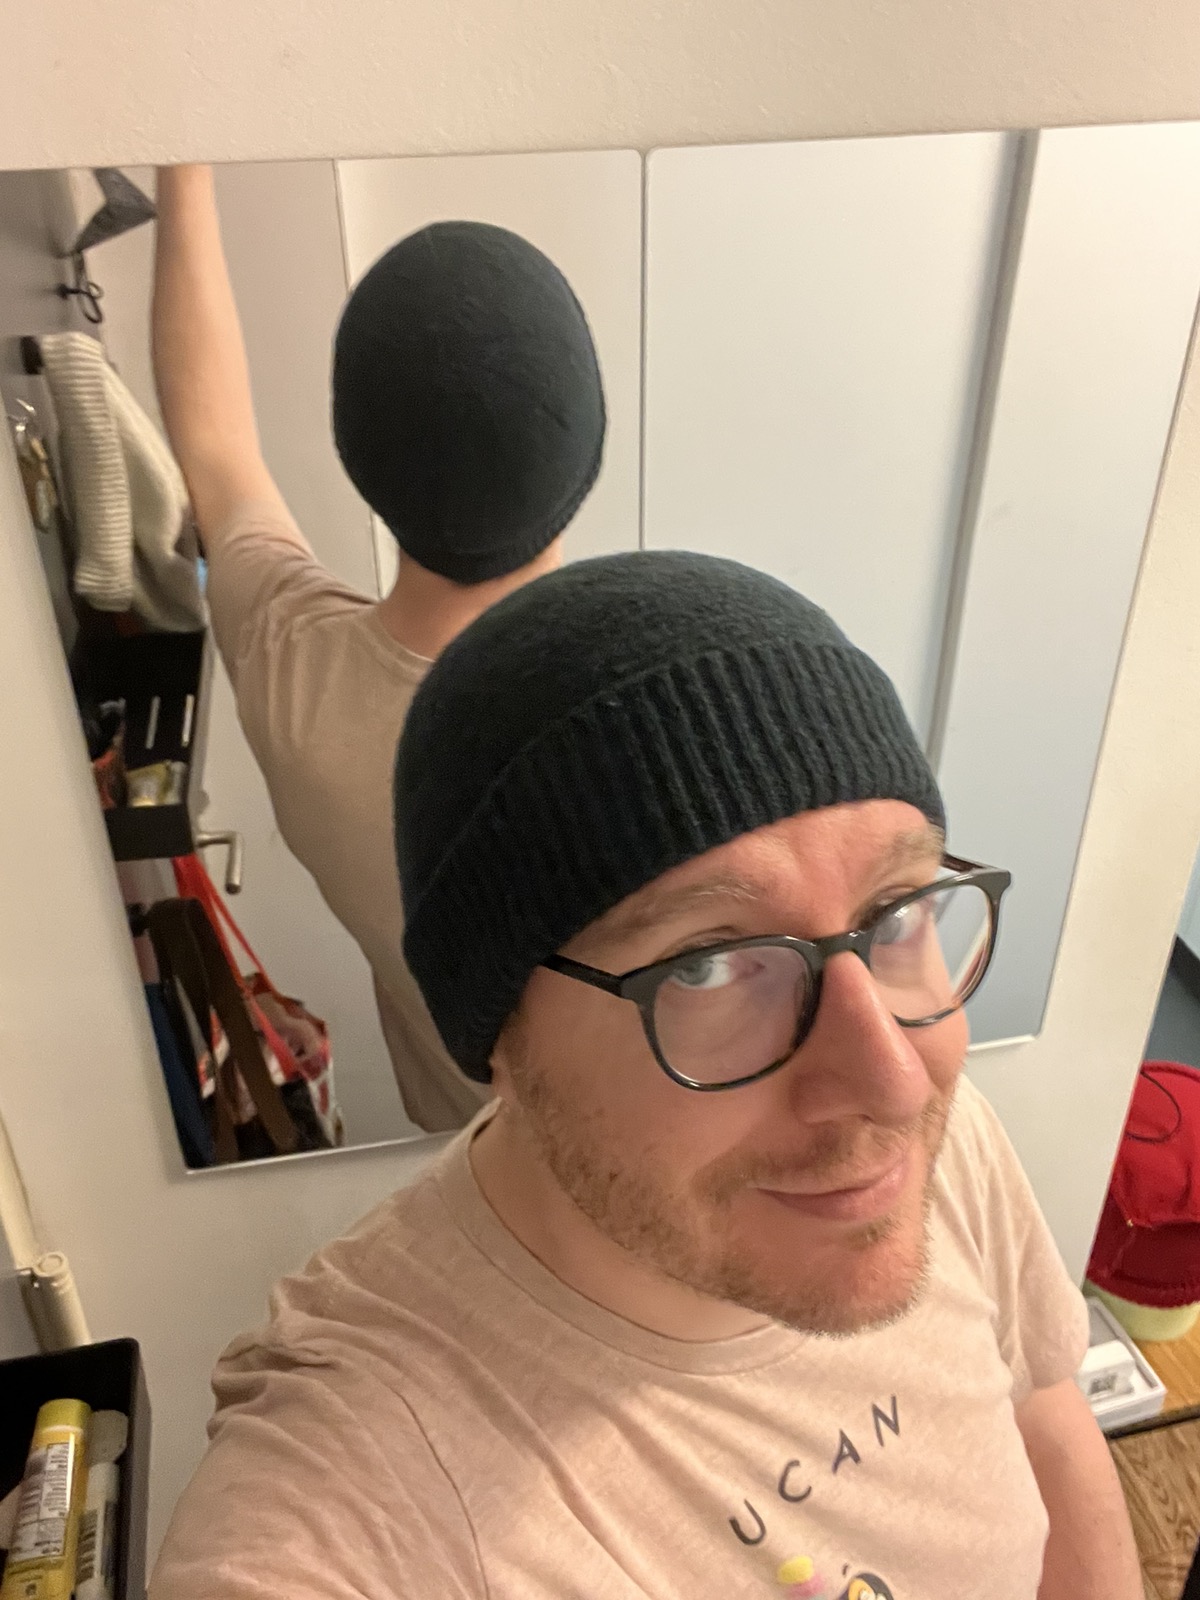
I made this test-version of a chattie hat, learned some lessons, and decided I was ready to try a "real" one for producer Amy. I have this pretty-weird cotton-blend yarn that I got from Fab Scrap some months ago. It's green, it's got slubs, some kind of elastic core maybe, I dunno. Every time I make something with it I think "this feels like a dish cloth".
Mirror-assisted selfie showing the front and back of the beanie known as the dishcloth chattie.
The main body of the hat was made the same as my test version, with a little more care and no dropped stitches. I wanted to do as little off-machine hand-sewing as possible, so I started the rib with a fresh cast-on, then joined the finished rib to the hat body on the machine. I also hung the side edges together to seam up on the needle bed. This is where I made some mistakes!
I sewed up the side seam inside out. 🤦♂️ I was eventually able to un-pick the seam and re-do it, but popped some stitches in the process. Re-seaming was somewhat difficult.
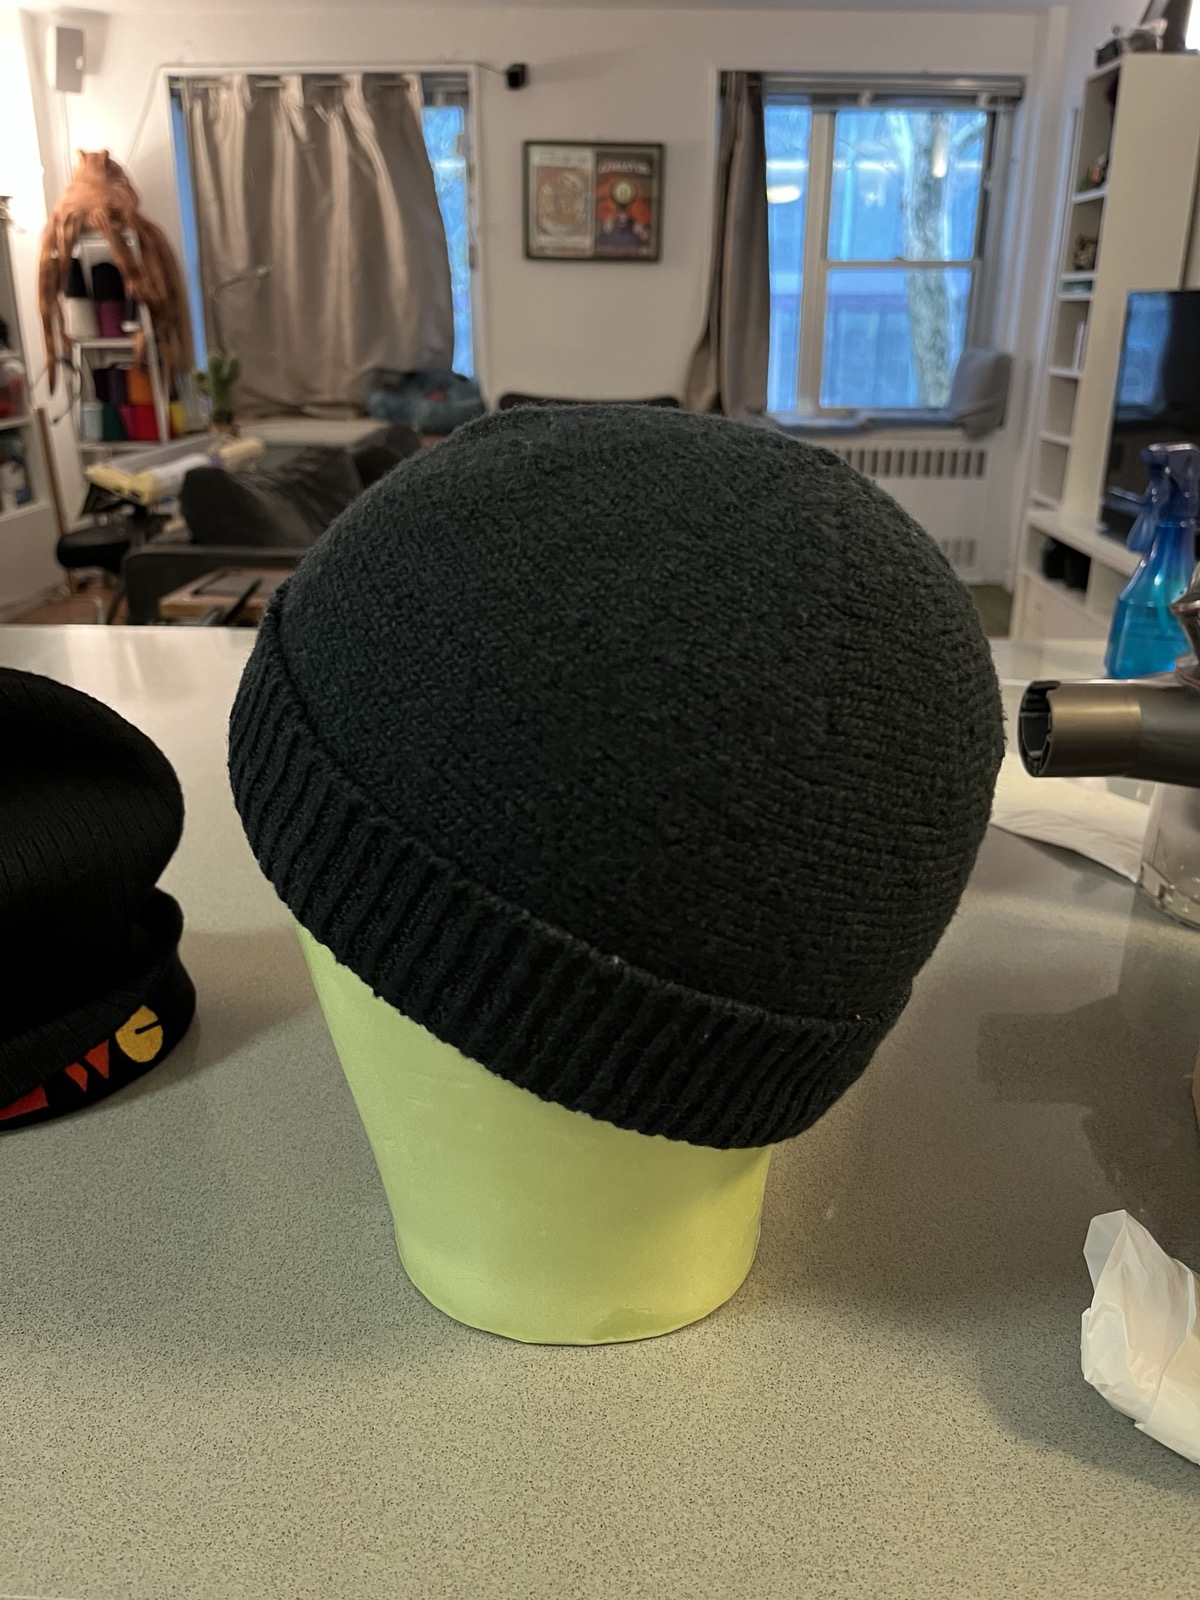
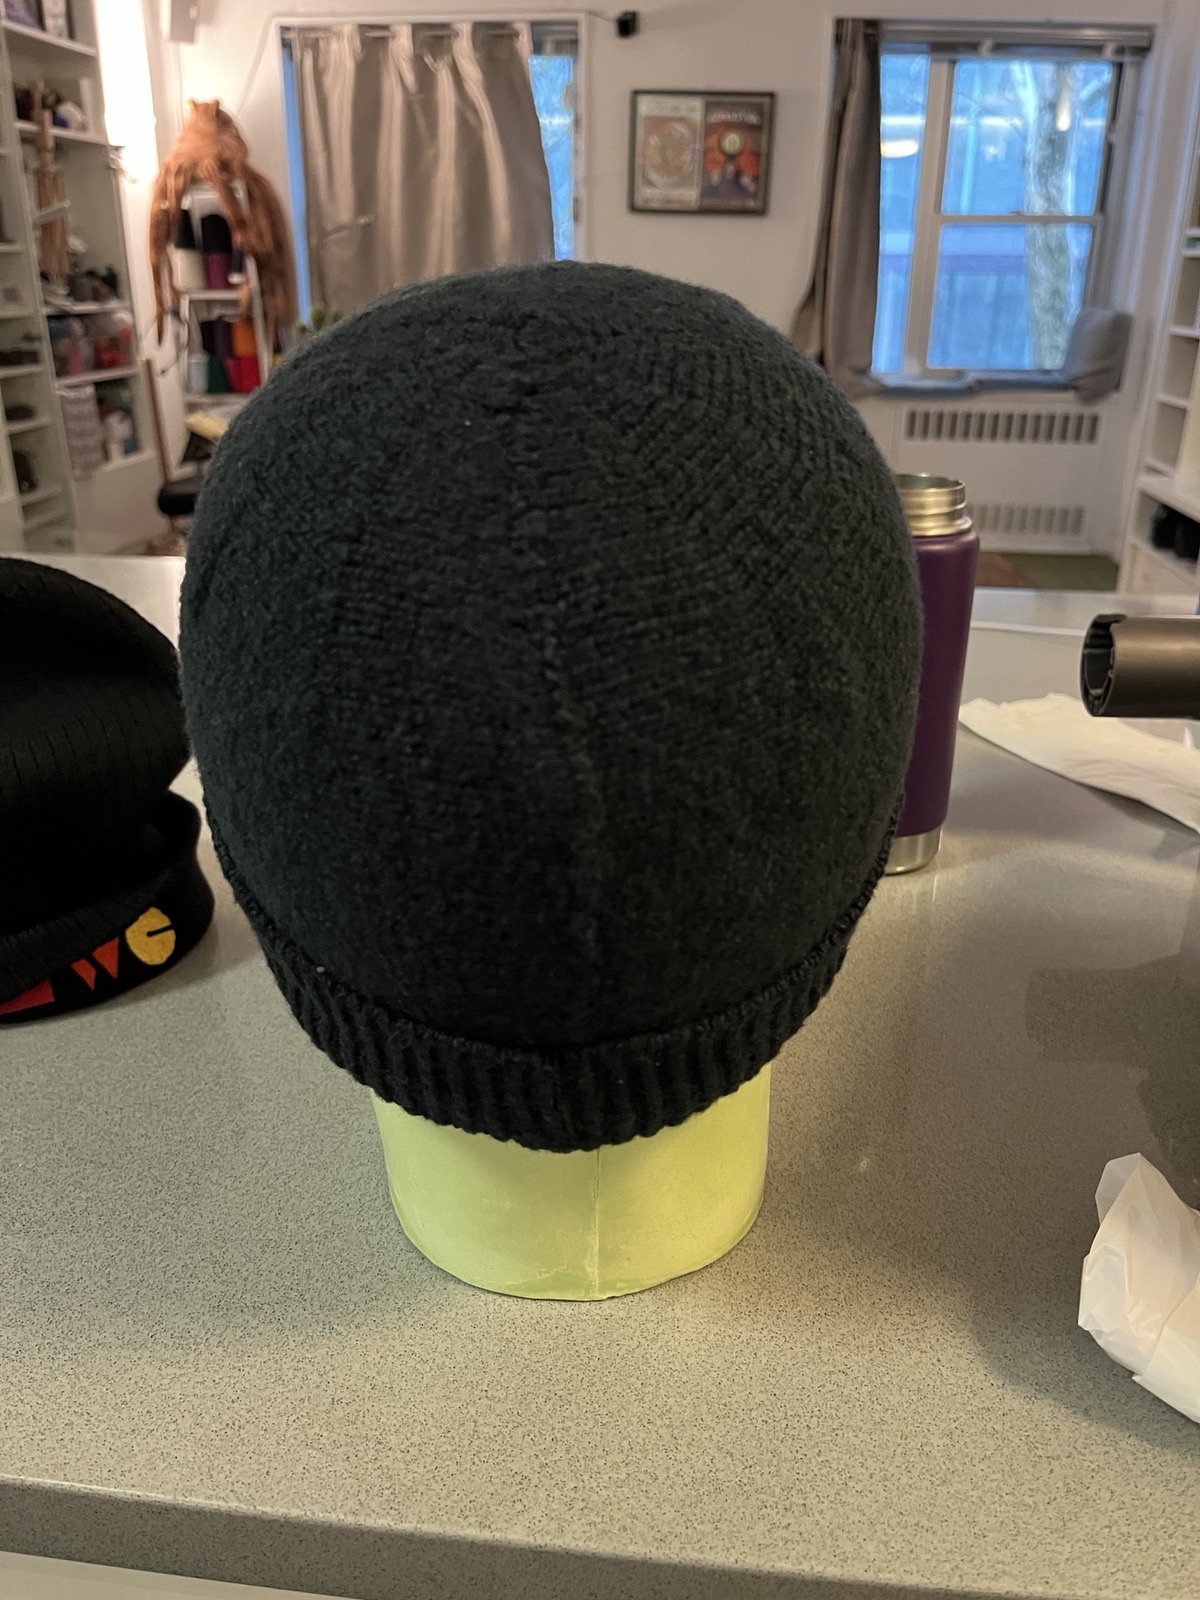
Once the seam was finished, I tried it on and found I had not made enough ribbing! This material is not very stretchy and I simply did not cast on enough stitches. The end result was a TIGHT band on the hat.
The photo above is slightly misleading - this was actually the hat right off the machine, before washing and blocking. The washed hat was too tight to wear.
Oh no!
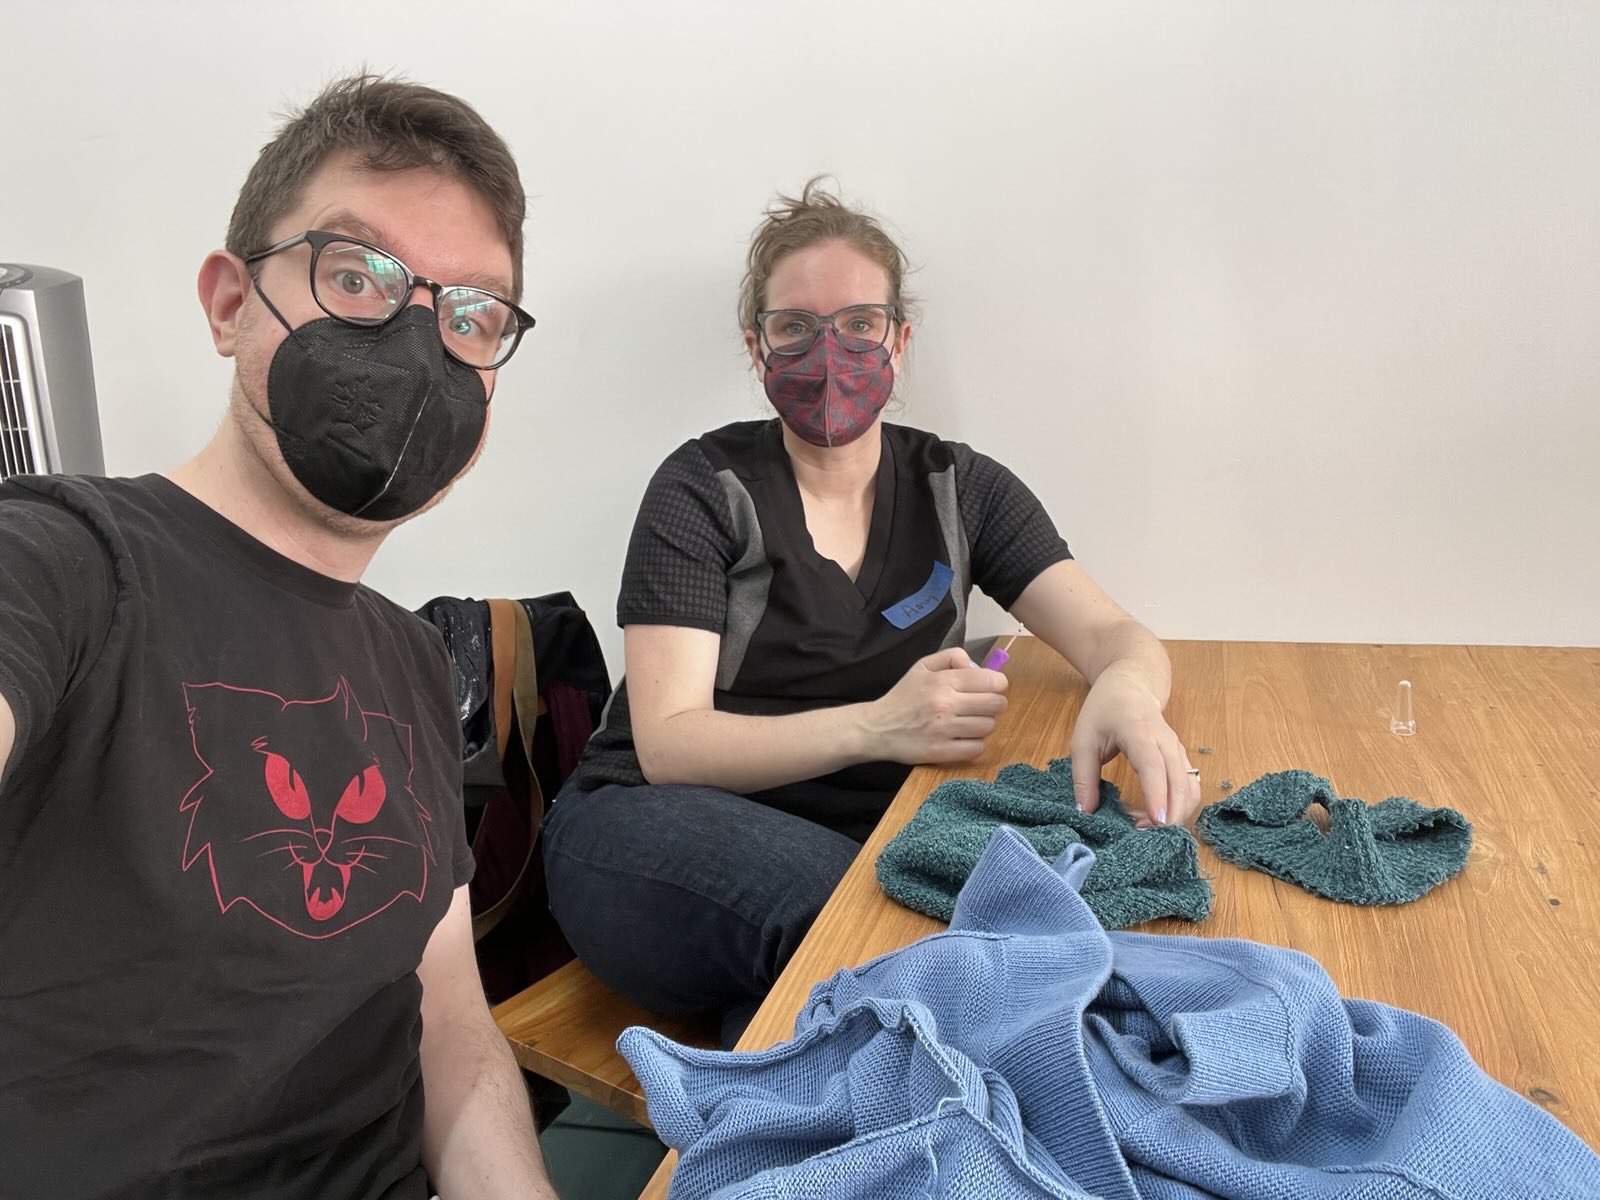
Thankfully, Home Ec NYC (the wonderful Brooklyn fiber arts workshop and studio of Hillary O'Dell) was hosting a sweater upcycling workshop, taught by Anne Warren, all about disassembling knits to reclaim yarn.
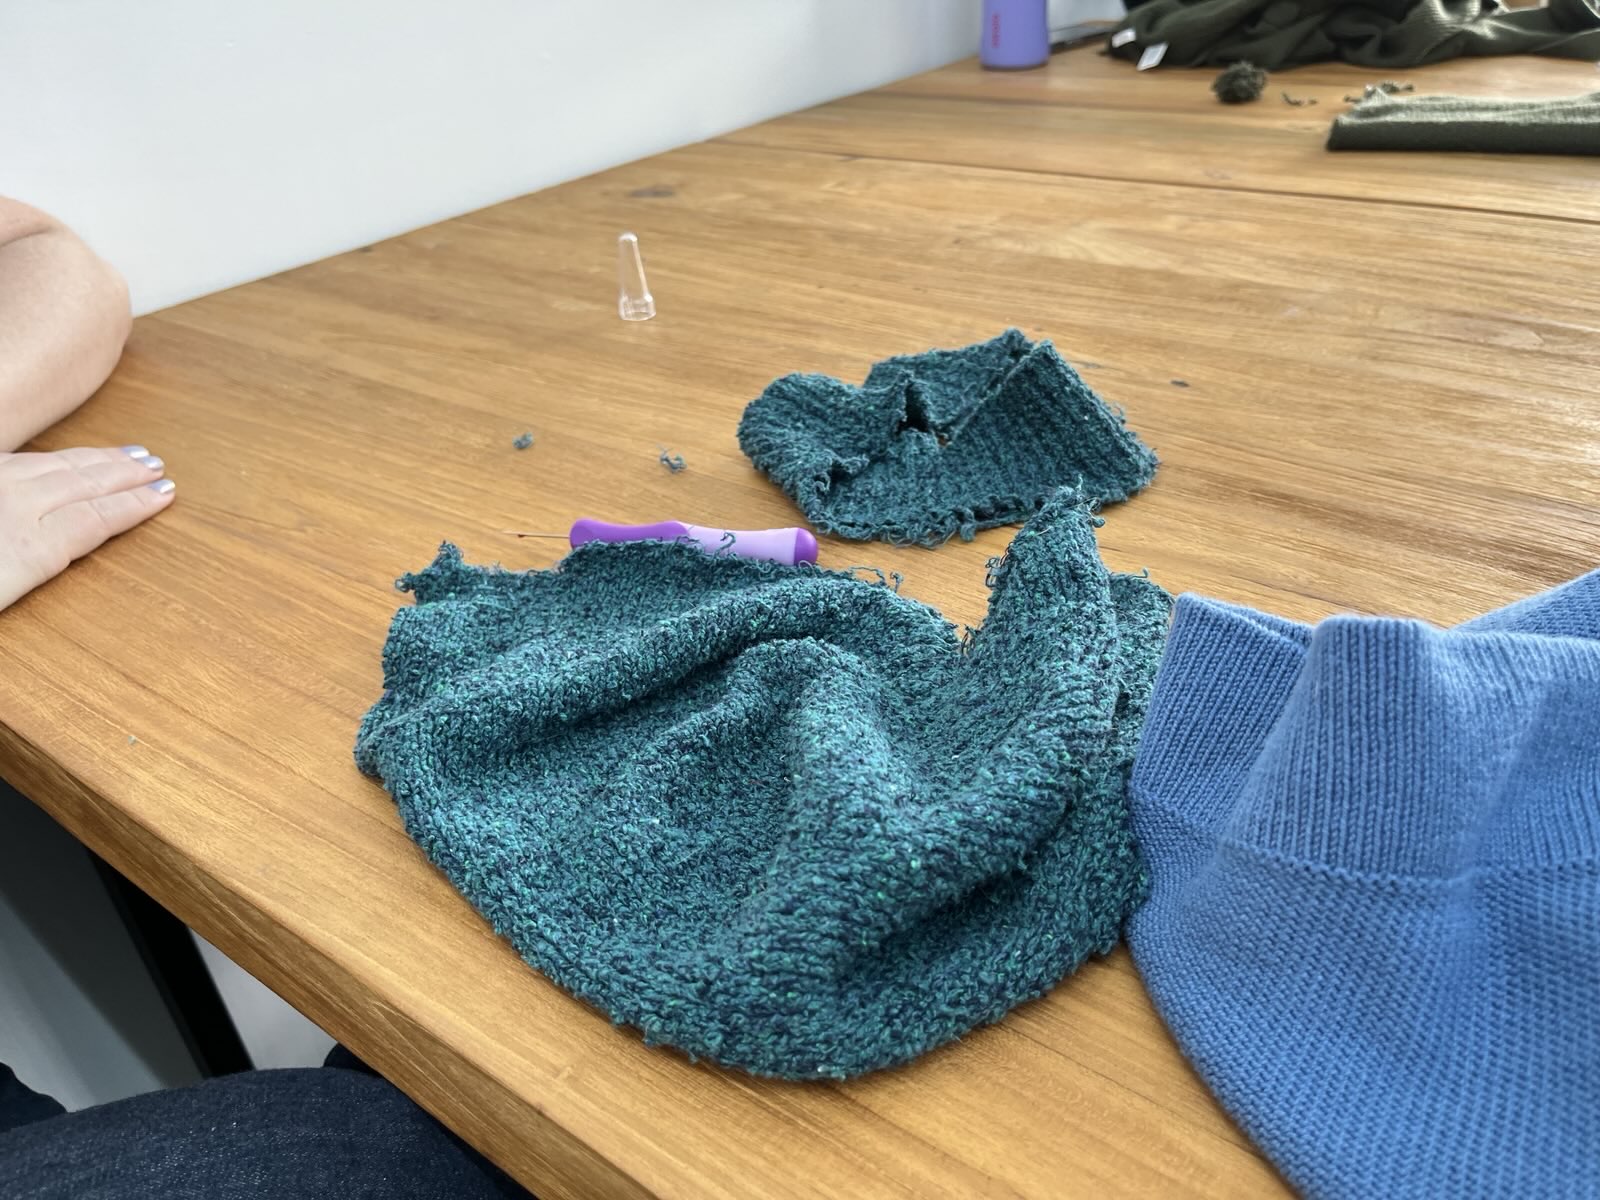
Producer Amy and me, at a wooden work table, picking apart some knits.Amy has separated the band from the body of the hat.
Everyone at the workshop was lovely. And it was so fun to learn that Anne is a machine knitter with a studio in Industry City, and a great newsletter full of local knitting events and resources!
Unfortunately, the chattie did not survive being de-seamed, re-seamed, and de-seamed again. We weren't able to unwind it back into usable yarn.
Thank you for your brief service, dishcloth chattie. Sometimes our purpose in life is to serve as a warning to others. Your sacrifice shall not be in vain.
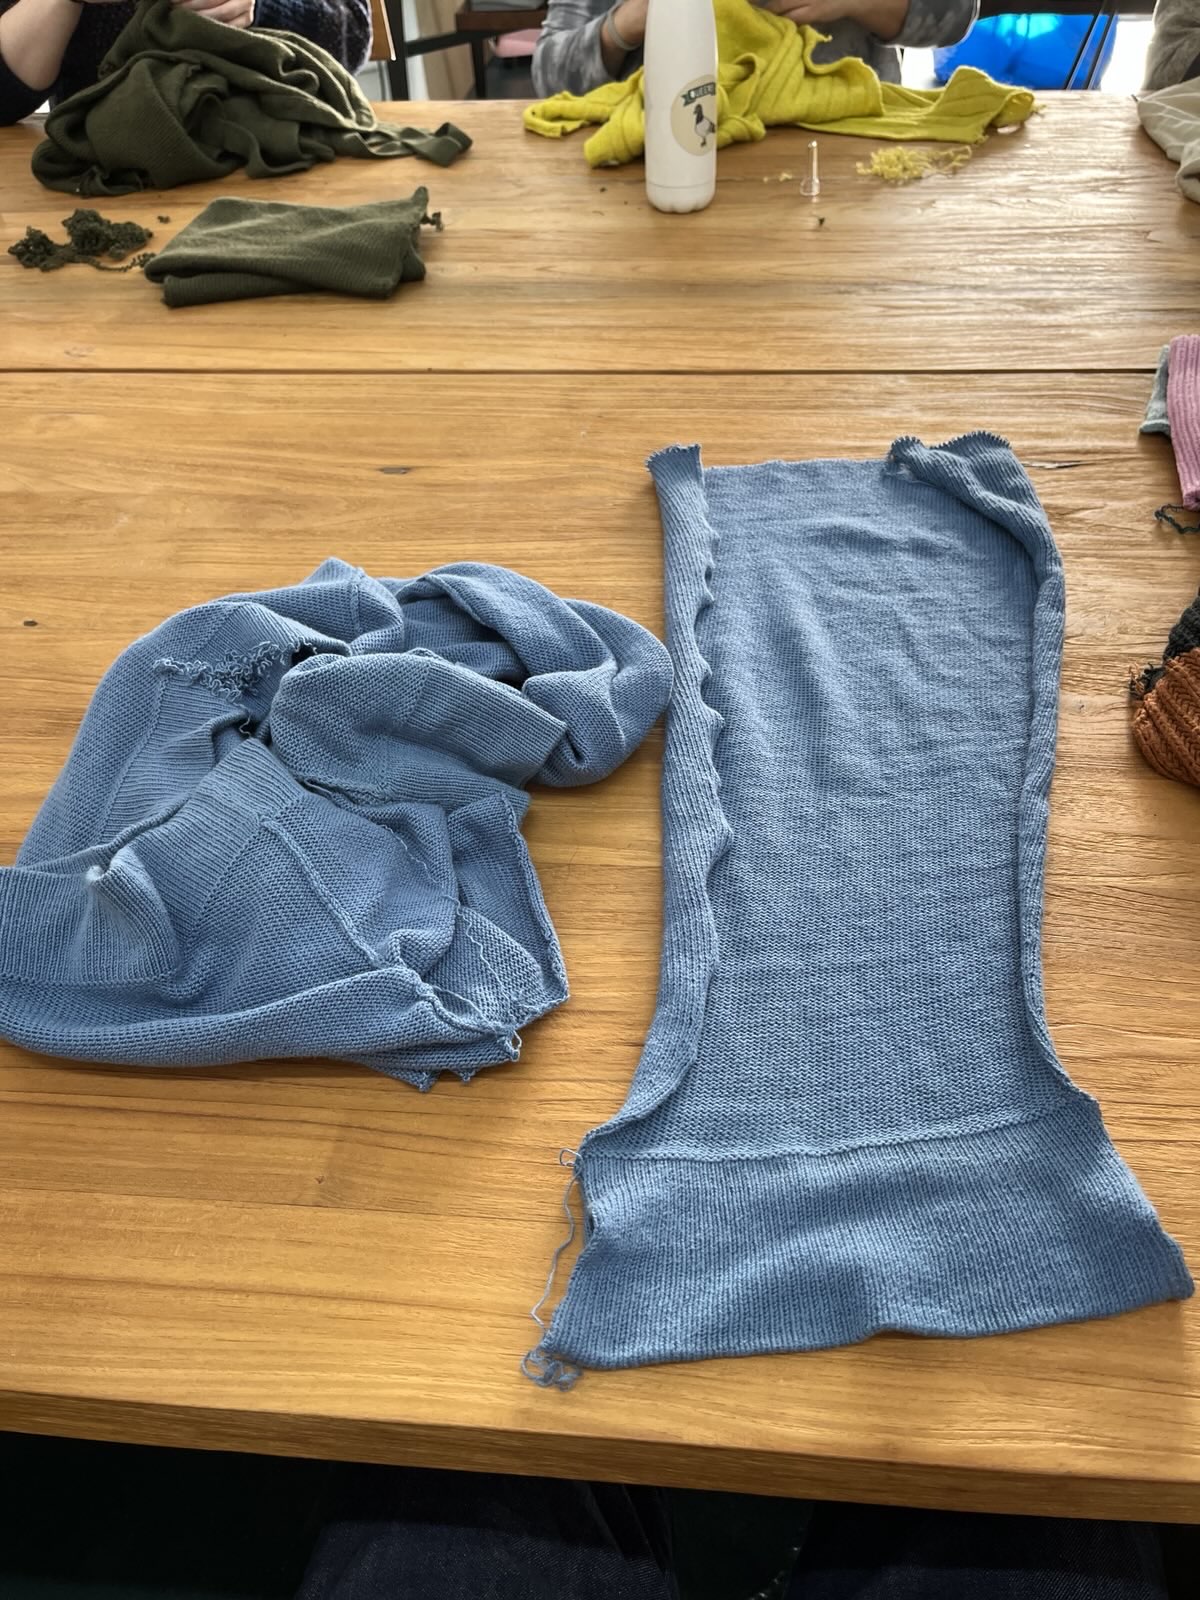
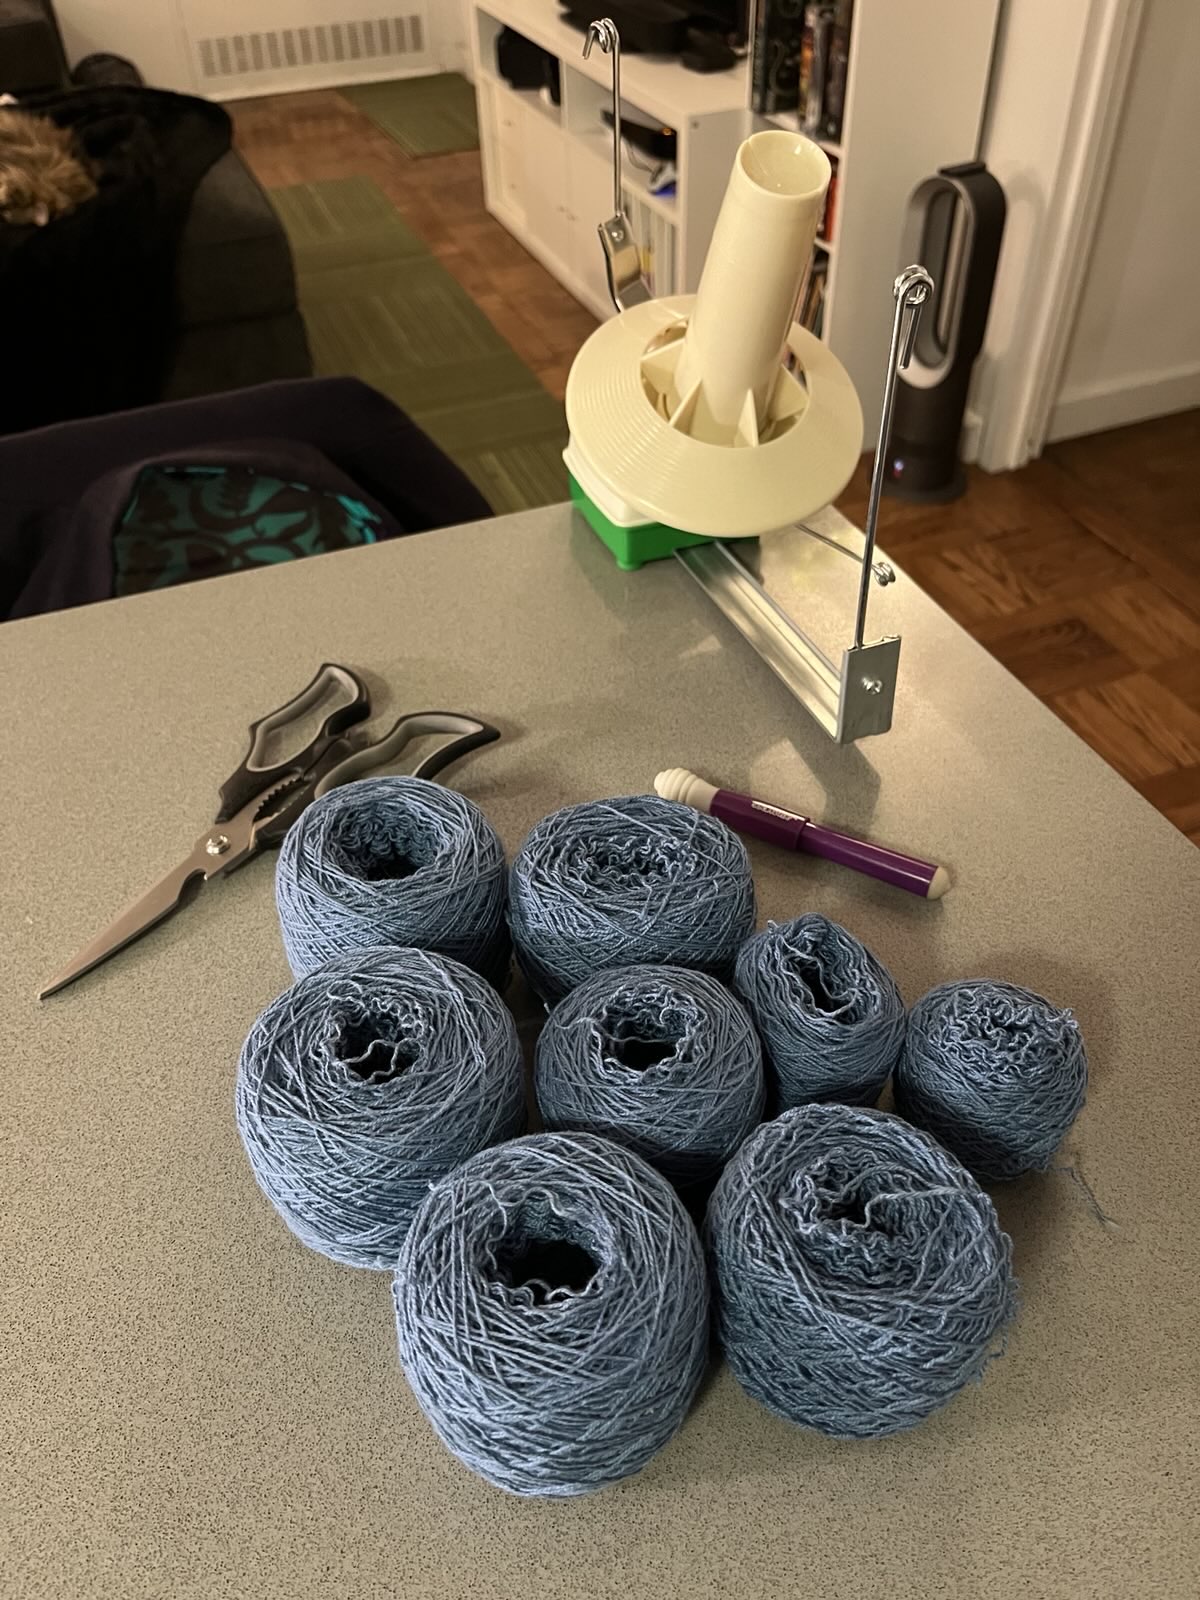
Keen eyes might have noticed a familiar blue sweater in front of me in those photos. I don't own any thrifted sweaters or other knits that I wanted to disassemble in the workshop, so I decided to embrace the circle of life. I decided to let go of my first sweater, and the crop-top life that could have been.
I was able to fully unseam one arm of the sweater during the workshop.Back at home, I used my yarn winder to form to both unwind the sweater parts and cake the yarn at the same time.The five panels (front, back, sleeves, and neckline) became 8 balls of yarn of various sizes.
While I didn't quite get the clean conversion of five panels into 5 big cakes of yarn, there was a lot less waste than I expected!
Here's to this yarn becoming something new! Preferably not crop-length.
🎼Retro-post, retro-post. Post whatever, a retro post.🎶
For producer Amy's birthday this year, we went to one of her favorite places: Fab Scrap!
Fab Scrap helps fashion brands divert pre-consumer waste to be recycled or resold. Fashion companies send them literal tons of stuff that needs to be sorted into what can be resold, what can be shredded, what's recyclable, and what's trash.
The perfect birthday activity? Doing a three-hour volunteer sorting session together. Afterwards, they let you take home up to 5 pounds of scrap from your own sorting or from their resale store. And 30% off items that are sold individually!
Amy picked out a bunch of fabric goodies for her sewing projects, but I only had eyes for yarn. These are sold on cones, sometimes multiple pounds, in a pretty weird variety of materials and colors. I'm probably never going to find a fancy-schmancy merino wool, but there are some pretty neat cotton and synthetic blends in interesting colors and textures. They're already pretty affordable as-labeled, but at 30% off, it feels like a steal!
So, I filled up a bag and hauled a bunch home!
Before I can really make anything with these, I need to practice with them on the machine, find the right tension to work with them, and so on. So, it was time to make a bunch of tension swatches.
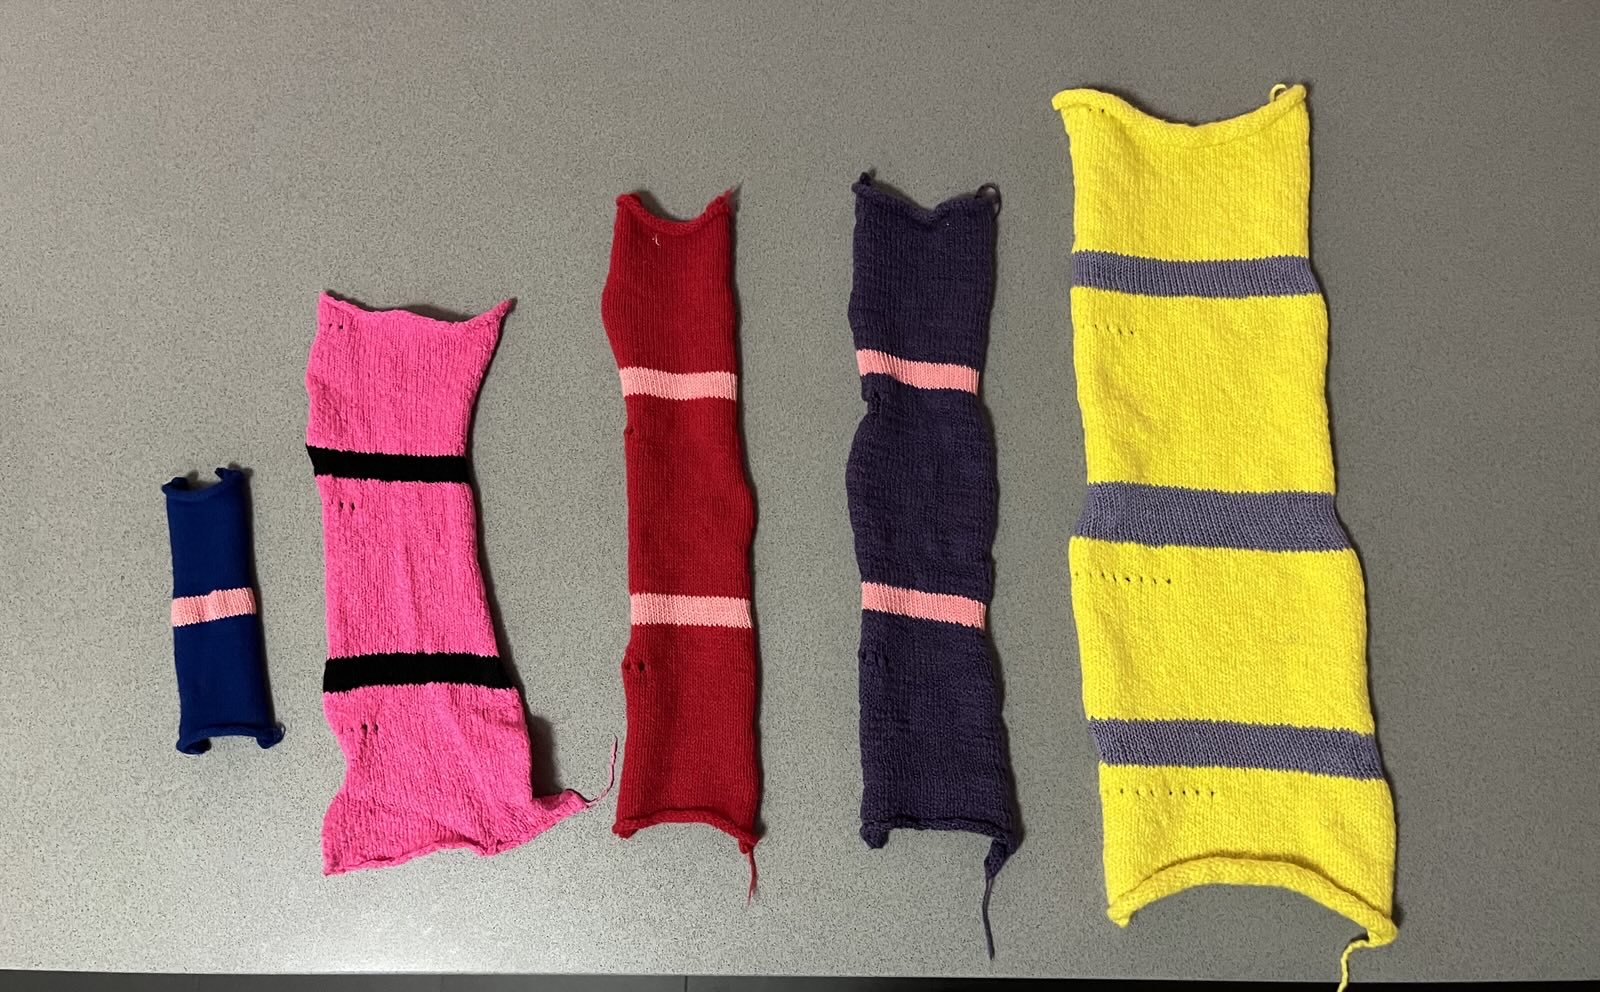
Five knit swatches on a countertop. Details below.
From left-to-right:
A very fine dark blue, synthetic blend. This yarn is too thin to use single-ply, so I wound off a small sample and threaded in two strands. Even then, it knit at a very small stitch size. The swatch here is 40 stitches wide, with two sections of 50 rows each. One at tension T2 and one at T3. The stitch count is the same as the samples next to this one, but this fine stretchy yarn comes out quite small! I will probably try this in three or four ply, or combine it with another thin yarn, before planning a project with it.
Neon pink cotton-synthetic blend. Nice and fuzzy! This needed to be knit at a much larger stitch size. This swatch is the same 40 stitches wide, with 3 sections of about 50 rows each, at T7, T8, and T9. It's so pink! I'll probably use it for accent colors unless I come up with some absolutely ridiculous project.
In the middle is a red acrylic yarn. It's slightly thinner and easier to work with than the fuzzy stuff. This swatch was made the same way as the pink swatch. It's a real red's red.
Next up, and this lighting doesn't do it justice, is a swatch of purple. This is a synthetic blend, that's very dense and not very stretchy. I made this swatch with the same 40 stitches and 3 sections of 50 rows. Suitable for Grimace cosplay, probably.
Finally, the largest swatch is a neon safety-vest yellow swatch. This is bigger than the others because it's actually 50 stitches wide, and I did it in 4 tensions, from (I think) 7 to 10. Suitable for Big Bird cosplay, probably!
We learned that Fab Scrap would be hosting some special tours and sorting sessions for Martin Luther King Jr. day. So, of course, we signed up to return. I was a little more picky this time.
Two gauge swatches on a gray countertop. Descriptions below.
On the left here is a bright safety-vest orange in my favorite fuzzy cotton-synthetic blend. On the right is a two-stranded blend of blue-green and white, also a cotton blend I think. Both swatches are 40 stitches with 3 sections of 50 rows each, at tensions T7, T8, and T9. The blue-green-white one was pretty painful to work with, and I dropped a bunch of stitches in the final section of the swatch. Thankfully it's just a swatch, so I was able to pick them up and work them into a section of waste yarn.
Not pictured here is another very fine synthetic yarn, this one in light blue. I want to try this one three- or four-ply, maybe blended with the dark blue yarn from my first haul!
Since these were all cotton and/or synthetics, I simply ran these through a machine wash and dry cycle on delicate. They haven't been pressed or steamed, so this is how they roll after drying.
I should maybe plan to practice and swatch more than just plain stockinette with each yarn. Samples of ribbing and fair isle might save some time when considering which yarns might be good for project ideas. Then again, they might not be! Each project has its own needs, and I should be prepared to spend the time and materials experimenting to find combinations that work for each one.
A lot of these yarns are on the thicc side for my setup - a standard gauge machine with needles spaced 4.5mm apart. This leads to a paradox where I have a bunch of yarn, but a lot of the projects I see out in the world are not really designed for these materials. I let this intimidate me more than I probably should. I can't help feeling that if I had more experience I would know better how these different yarns would produce different outcomes, or maybe that it was a mistake to purchase these.
But I don't know better, so I'm going to learn! Here's to putting these to good use!