Glitched out
Glitch.com was, according to their homepage:
[…] the friendly place where everyone builds the web. Start a new blog, play with React, or build new worlds with WebXR.
Others have said a lot more than I could about the history of Glitch. I’m here to deliver a eulog-
Well, uh, actually others have had a lot to say about that, as well.
- Important changes are coming to Glitch - official announcement post.
- on ‘important changes coming to glitch’ - Jenn Schiffer, former director of community at Glitch and kickass candle maker.
- and many, more.
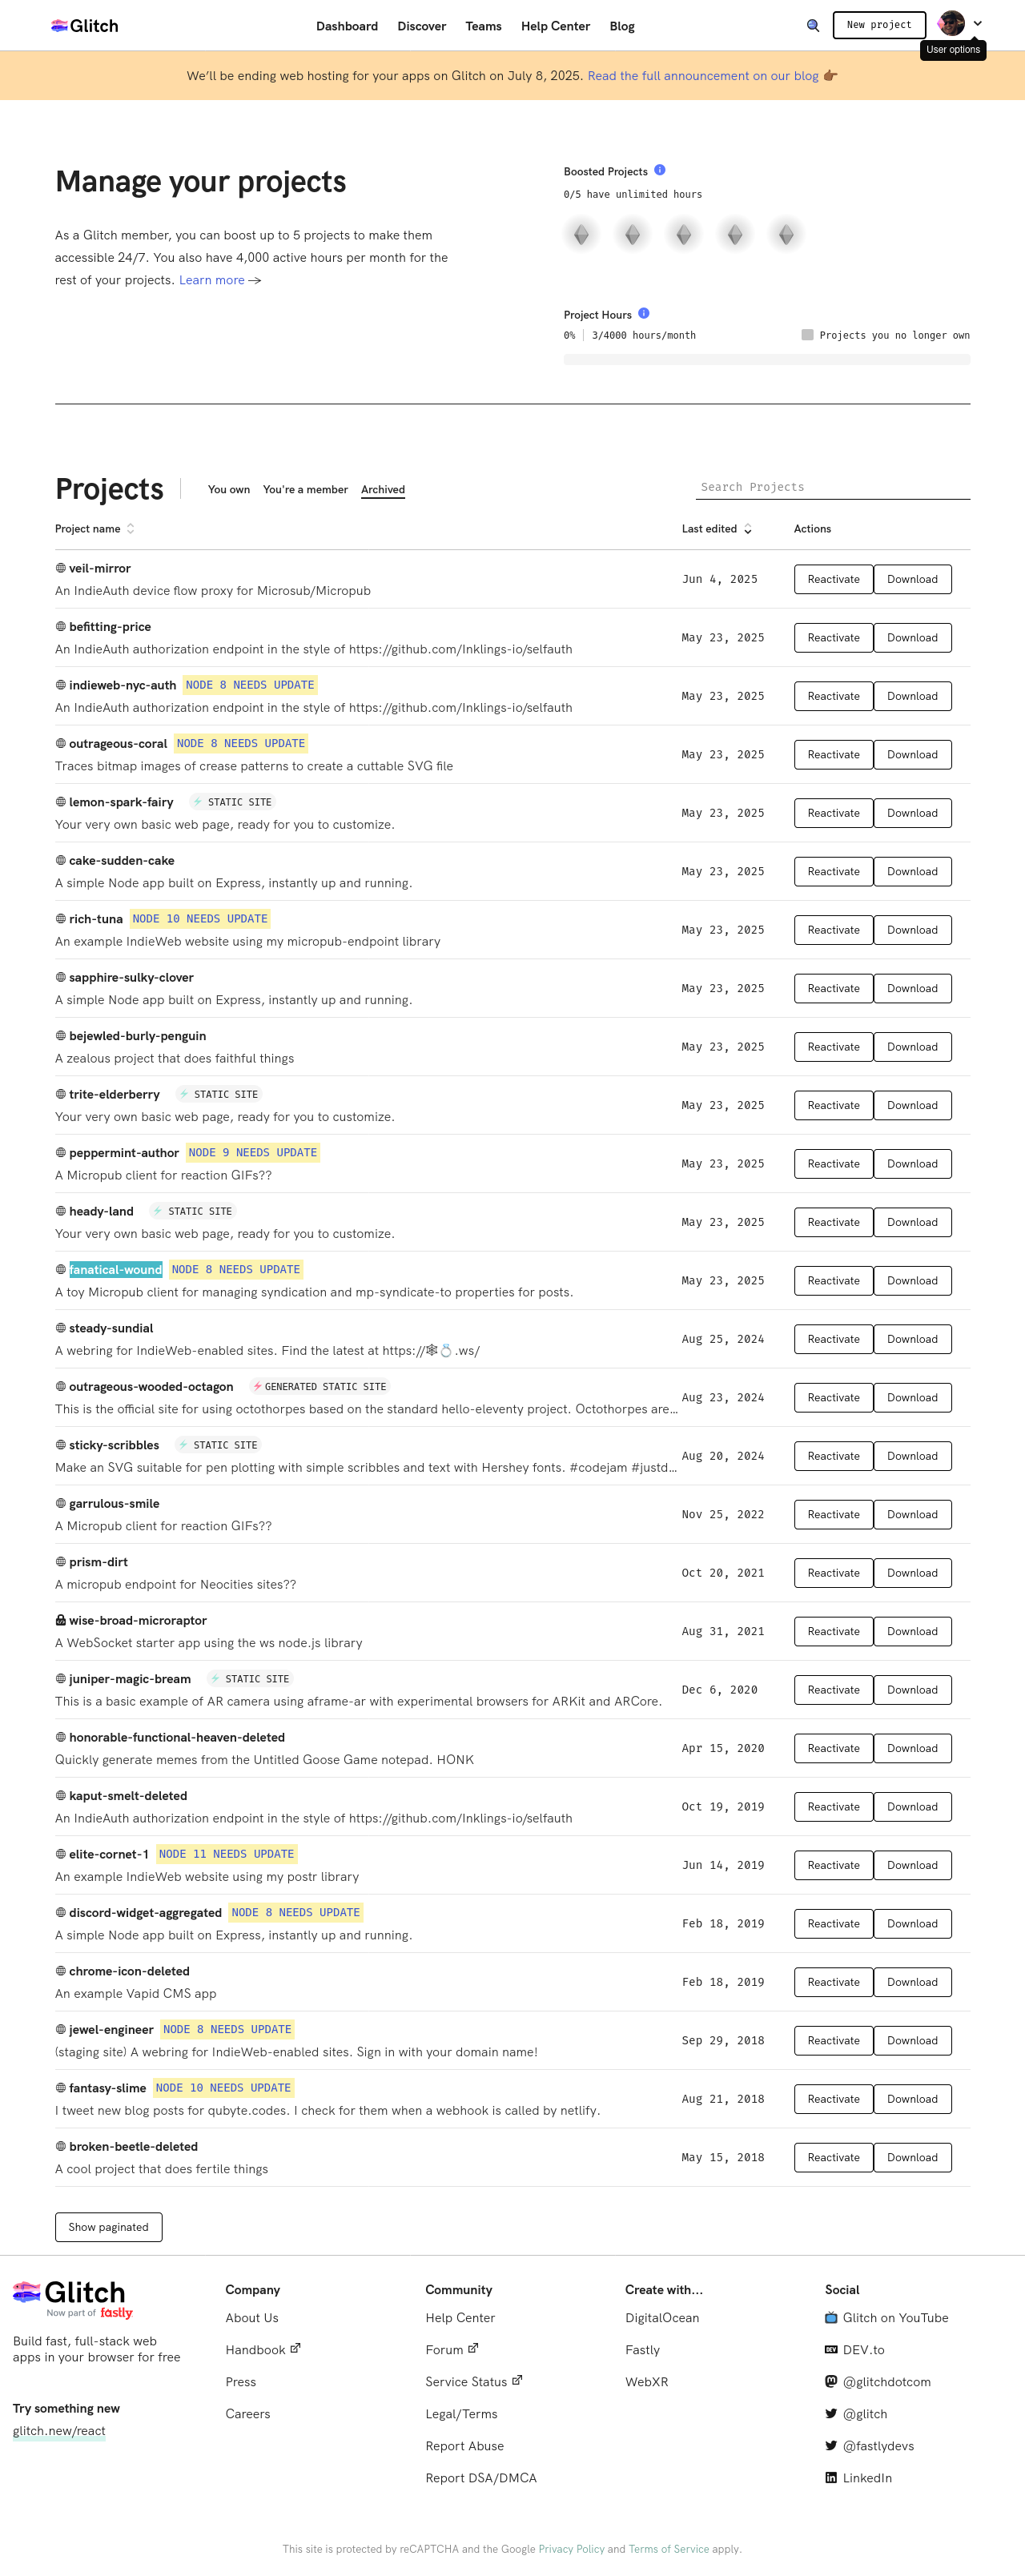
Glitch project hosting is shutting down in about a month, at which point any hosted projects will stop working. After that, users will be able to download archives of their own projects for about a year. Between now and then, users can set up redirects to forward requests to your project to a new URL.
Over the past few weeks, I’ve been tuning in to Jenn’s YouTube streams where she is working to triage, archive, and in some cases re-home hundreds of projects in her Glitch account.
Inspired by Jenn’s journey, as well as this RIP Glitch directory at ribo.zone, I’ve archived all my own Glitch projects, and want to talk about them below.
I’m an idiosyncratic person, so please don’t treat any of the following as advice. If you’re looking for the best ways to re-home your own Glitch projects, please check out the Project migration discussion in the Glitch support forums.
Honestly? Don’t even feel like you have to read any of the below. You are free to skip to the end or do anything else more pressing. Live your life!
My surviving projects
steady-sundial - A webring for IndieWeb-enabled sites. Find the latest at 🕸💍.ws
Ah, the 🕸💍 IndieWeb Webring!
This began almost as a dare at IndieWeb Summit 2018.
As I remember it, Doug Beal brought up webrings and the
idea of doing one for IndieWeb sites, and brainstormed the emoji domain. I made
the mistake of actually registering
We jammed on ways it could work over the course of the unconference day. One early idea (that could still be interesting for someone to try!) was to have folks join by the webring by posting some kind of “I am a member of the IndieWeb webring” post to their own site, then sending a Webmention. As long as your post stayed up, you’d stay in the ring.
One decision that seemed quite fun at the time, but that I would soon come to regret, was the idea to use emoji as identifiers. Putting these identifiers in webring navigation URLs would make it easy to tell where webring visitors were coming from. In theory. I ended up doing a whole write-up on why emoji IDs were a bad idea.
Anyway, I jammed out a quick demo on Glitch at the Summit’s Making Day, got great feedback, intermittently kept working at it, and so on. You can kind of follow this history via the update posts on the webring homepage.
While the webring lived on Glitch for multiple years, I eventually re-wrote it in PHP and re-hosted it. Viva la webring!
Here’s the original steady-sundial source.
And of course the source for the new version, which I call gem-diamond. You know, the ring salesman.
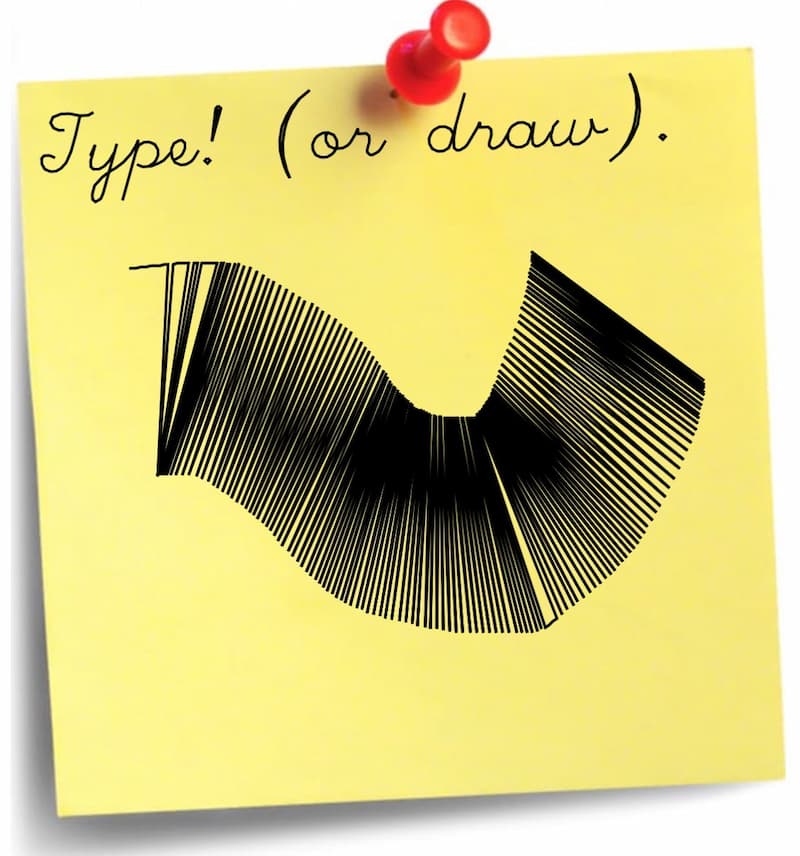
sticky-scribbles - Make an SVG suitable for pen plotting with simple scribbles and text with Hershey fonts.
Part of the August 2024 Glitch community “#justdraw” jam. I cleaned up a 2011 project from when I was really into pen plotting on my MakerBot Cupcake CNC.
I’ve got a whole post about Stick Scribbles, including where to find it’s new home (and the source).
trite-elderberry
Technically this lives on as “StickPix” - a proof of concept for putting Snapchat-style stickers on photos. Hacked up during IndieWebCamp NYC 2019, based on a demo by Ali Spittel. I never got around to adding the IndieWeb bits, and it basically didn’t work on my iPhone, so I abandoned it.
This fit into a larger idea I had that goes something like: “My friends say they use Snapchat and Instagram because it has filters. If they could post to their own websites with filters, would they do that instead?”
However, it turns out I wasn’t ready to really tackle all that. And I now think it’s a mistake to just copy big social media features.
My retired projects
garrulous-smile - A Micropub client for reaction GIFs??
Another “my friends like this feature on their social apps” special. This project, eventually named “Kapowski”, let you post “reply GIFs” between IndieWeb-powered sites.
Looks like I introduced this at a Baltimore Homebrew Website Club meetup in April of 2018.
This lived on Glitch for quite some time. Over the years I updated it to switch the “GIF provider” from GIPHY to gfycat when Facebook bought GIPHY. Later, I ported it to PHP as part of my kick to consolidate all my IndieWeb tools in one place with more shared code.
When gfycat shut down in 2023, I decided to shut it down rather than switch to another provider. I have a longer writeup about Kapowski on the IndieWeb wiki.
Part of me would like to bring it back! GIFs are cringe now, or whatever, but I think it’s fun to communicate in images and video. And these are our websites, so we can do what we want!
Alternative GIF-hosting sites exist that could power it in terms of search and
content, but as of the time I did this research they were all truly awful about
providing descriptive text for folks who need an alternative to the visuals,
real .gif files actually aren’t great for sharing around the web,
a video-loop based alternative that works across sites would need a lot of work
to develop.
Oh, nobody used it. 🏜️
Okay, I used it to post like one reaction GIF one time, but I’m only aware of a couple of people besides me who even tried, because I asked them to test it out. 😎
The PHP version can be found at kapowski.bayside.pub, including links to the PHP source.
Here’s an archive of garrulous-smile because hey why not.
I had remix of this project, “peppermint-author”, where I started adding a feature to include an alt text description along with with the GIF reply, but I wasn’t satisfied with it and don’t remember sharing it with anyone.
veil-mirror
An IndieAuth device flow proxy for Microsub/Micropub
Based on Aaron Parecki’s Device-Flow-Proxy-Server, this project let you sign into a service with IndieAuth similar to the way a TV app would have you sign into your HBO Max account.
In my case, I built it to make an IndieWeb-powered photo frame from an Adafruit PyPortal.
I feel a little haunted by the closing “Code to come!” in that post.
The OAuth 2 Device Flow is actually rad in a lot of contexts. While it has been rare for me to use this proxy, it usually saves me several minutes of juggling other ways to get a token for use with command line scripts and embedded devices.
fanatical-wound - A toy Micropub client for managing syndication and mp-syndicate-to properties for posts.
The goal for this one was to make it easier to post on my own site then syndicate elsewhere, and then receive replies back from those silo’s using brid.gy’s ability (at the time) to backfeed likes, replies, etc. from Twitter, Facebook, and other social silos to my post.
Why? Because here was the manual process to post on my site and then share it out on Twitter and Facebook:
- Write a post for my site. Wait for my site to publish it up so I have a URL.
- Make the syndicated versions of that post on FB, bird site, etc., being sure to link back to my post.
- Manually edit my post to add the new URLs to the syndicated copies on hell site, Zuck site, etc. Brid.gy uses these links to know where to post the backfeed comments, reactions, etc.
Without a tool, I was only able to do the last step from a computer with access to the source files for my site. This tool was planned to use Micropub to edit the syndication URLs.
The idea was pretty simple, but I got caught up in how much boilerplate I felt was required to set up a basic Micropub client with IndieAuth support. I ended up getting bogged down thinking about how to abstract all the common stuff with IndieWeb building blocks I had been doing on Glitch to this point into something reusable. I never even finished this.
Oh, also Facebook and Twitter shut down their APIs so Bridgy couldn’t backfeed comments anymore. Also-also I deleted all my silo accounts. So this became a moot point. 🚮
Little IndieWeb endpoints
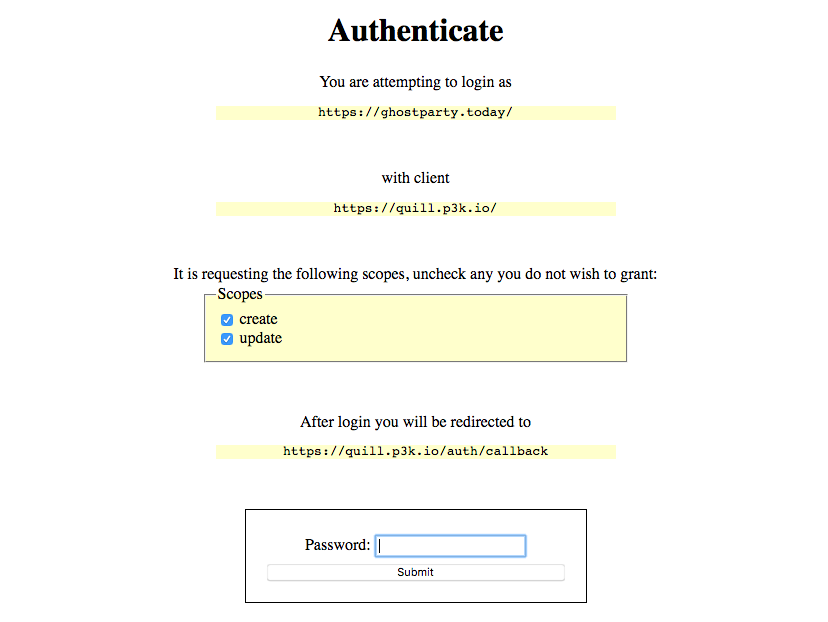
What’s that? I mentioned IndieAuth above but never explained it?? Thank you for calling me in. IndieAuth is basically a way to sign in to apps and websites using your personal domain (or personal website URL) as your identity. One of the cooler things about IndieAuth is that you decide what service will handle the actual bits about “confirming you are you”.
I set up a couple of these IndieAuth authorization endpoints on Glitch, quick and dirty Javascript knock-offs of Inklings-io/selfauth:
- befitting-price - handled sign-in for ghostparty.today, the website of my favorite cult-based improv project. (befitting-price source code archive)
- indieweb-nyc-auth - was intended to let folks other than me post events to indieweb.nyc in the before times. We haven’t had any IndieWeb Camps or Homebrew Website Clubs in NYC in a while, but if we did, we’d use the meetable site where that domain now redirects.
At one point I was enamored with the idea of making it easy for folks to set up a site on Neocities, then power them up with IndieWeb building blocks to let them use existing tools. The GHOST PARTY site above is an example of that (nitty-gritties Neocities details here.
- prism-dirt - A micropub endpoint for Neocities sites?? - this provided the actual Micropub support for the GHOST PARTY site. (prism-dirt source code archive)
- sapphire-sulky-clover - looks like the start of me making a more generic Micropub endpoint with the goal of encouraging others to remix it for their own Neocities cites.
What’s that? I mentioned Micropub but never explained it??? Whew. Well, Micropub is a protocol for posting, updating, and deleting content from your site. It uses IndieAuth to verify that you are allowed to do the posting / updating / deleting. I, uh, hope that helps?
Remixes of other people’s stuff
- outrageous-coral - Traces bitmap images of crease patterns to create a cuttable SVG file. By Dr. Tiffany Tseng. Seems really cool for papercraft and patterns for sewing!
- lemon-spark-fairy - A demo using P5.js and googlecreativelab/creatability-components to do some kind of nose-tracking. Probably a demo someone sent me that I remixed in order to hang on to a copy.
- rich-tuna - An example IndieWeb website using my micropub-endpoint library.
An building block for making IndieWeb-powered sites on Glitch by grant.codes.
- elite-cornet-1 - An example IndieWeb website using my postr library. Is another Grant project. Part of his impressive PostrChild set of IndieWeb / Micropub tools!
- fantasy-slime - I tweet new blog posts for qubyte.codes. I check for them when a webhook is called by netlify. Another tool for someone to POSSE posts out from their own site. Can you tell I flirted with becoming a collector of IndieWeb-related projects on Glitch?
- bejewled-burly-penguin - A proof-of-concept for running a PHP app on Glitch!
- outrageous-wooded-octagon - At XOXO 2024 the octothorp.es folks published this as an example project. Octothorpes kind of strik me like a webring meets decentralized forums with an alternate reality version of Webmentions.
- wise-broad-microraptor - A WebSocket starter app using the ws node.js library. I think websockets are magic so I collect people’s projects for using them yet have only used them in a couple of projects! Scandal!
- juniper-magic-bream - This is a basic example of AR camera using aframe-ar with experimental browsers for ARKit and ARCore. Speaking of magic! A-Frame is so dang cool. I really ought to make a project with it someday!
There were a few others, but I decided they were not worth keeping or mentioning here.
Are you still there?
Hahaha, wow, okay, I didn’t expect to have so much to say about so many of these projects. Most of them weren’t mine. Of those that were mine, most of those were only experiments. By the time of the Glitch shutdown announcement, all but one of my few active projects that started on Glitch had already been moved to other hosting.
But I think that even this small realization, and this small collection of projects, hints at the magnitude of what the web is losing with the shutdown of Glitch project hosting.
Glitch made it possible to start making “real” apps on the web, right away, with no credit card requirement and no need to install a bunch of tools on your own computer.
With the remix system, you never had to start from a blank page. You could take a working example, make it yours, learn how it works, and change it as you like. As you did more, you learned more. As you learned more, you were capable of doing more.
And if you got stuck? The Glitch editor, right in your browser, allowed live collaboration! For a time there was even an ask-for-help feature where a stranger could come and help you with your project! And you could thank them in a way that showed up on their community profile!
As a long-time IndieWeb contributor, I’m well aware that the IndieWeb community has a perception of being exclusively “for developers”. While I didn’t have the resources to make it happen, I had big hopes that Glitch could be a way to get a fully-functional IndieWeb site, with no code required to get started, but everything open and available as you learned and leveled up. I don’t think the thing I was dreaming of could be possible anywhere but Glitch.
Clearly I have a major soft spot in my heart for Glitch. It took real thoughtfulness and care to build a platform to support a powerful learning community with no BS enterprise upsells. I know it wasn’t without its issues, but I think it’s safe to say that the world was much better with Glitch, and will be poorer without it.
My congratulations and thanks (and condolences) to all the folks that made Glitch possible.
Ok. I’m not crying, you’re crying.
Shut up!