Marty McGuire

Posts Tagged workshop

2025
Sun Mar 16

Refurbished a Game Boy

I'm trying to do things that get me out of the house and reduce the amount of time I look at torture rectangles (aka screens with internet). This Refurbish a Game Boy workshop from Craftsman Ave. felt like a perfect opportunity. Not only would I get some quality time in a (quality!) makerspace and get my hands dirty doing some tinkering (with expert guidance and few opportunities to truly mess up), but I'd also get to bring home a joy rectangle to improve the joy-to-despair ratio of rectangles in my life.
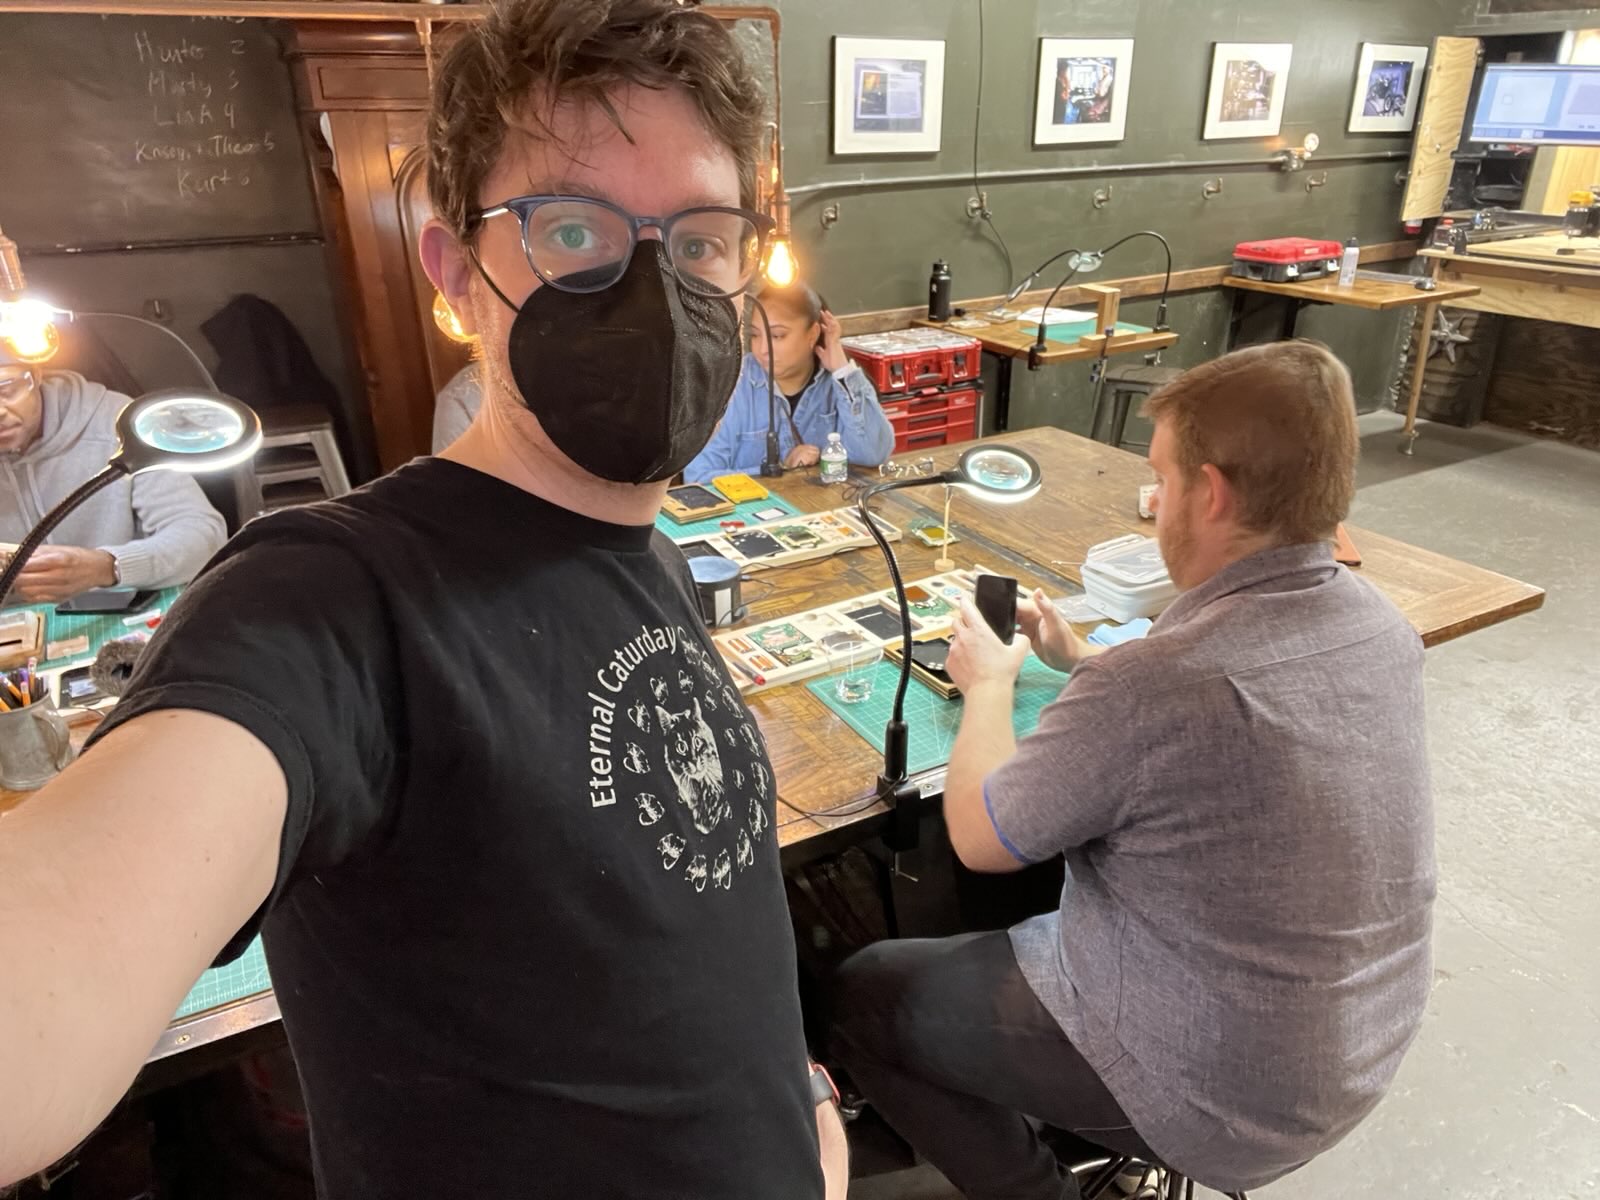
Selfie at the workshop. I'm wearing an Eternal Caturday t-shirt and masked up in an N95. Behind me in a gray button-up is my buddy Hunter, seated and not looking at the camera because I did not tell him I was taking this photo!

There were a lot of things to like about the workshop. The Craftsman Ave space itself combines super functional with ✨aesthetic✨. Or, to paraphrase how they put it, "we foster the illusion that beautiful things are made in beautiful places, when we know better." Workshop instructor Zach was super prepared, knowledgeable, and patient. Helping out was Chris who was so nice and humble, but did so much so smoothly behind the scenes, it felt like we were all his guests.

Did I mention prepared? Here come a bunch of photos about how prepared!
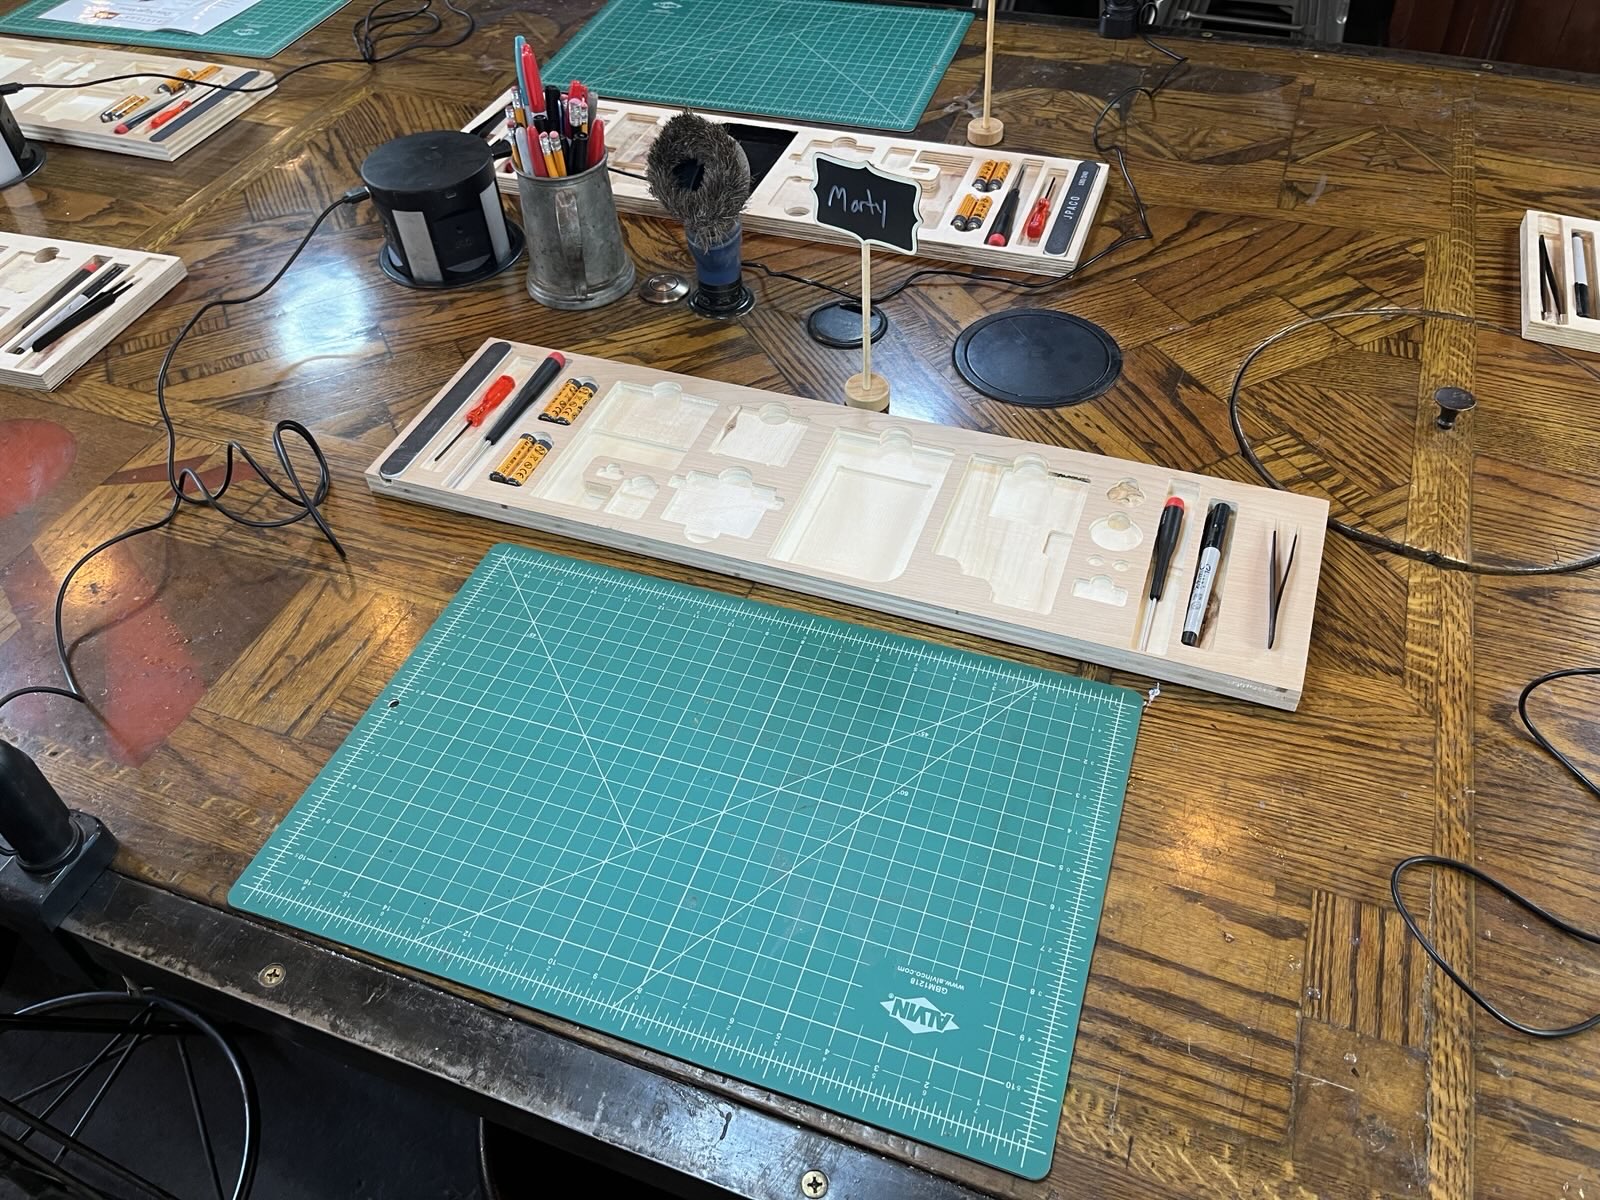
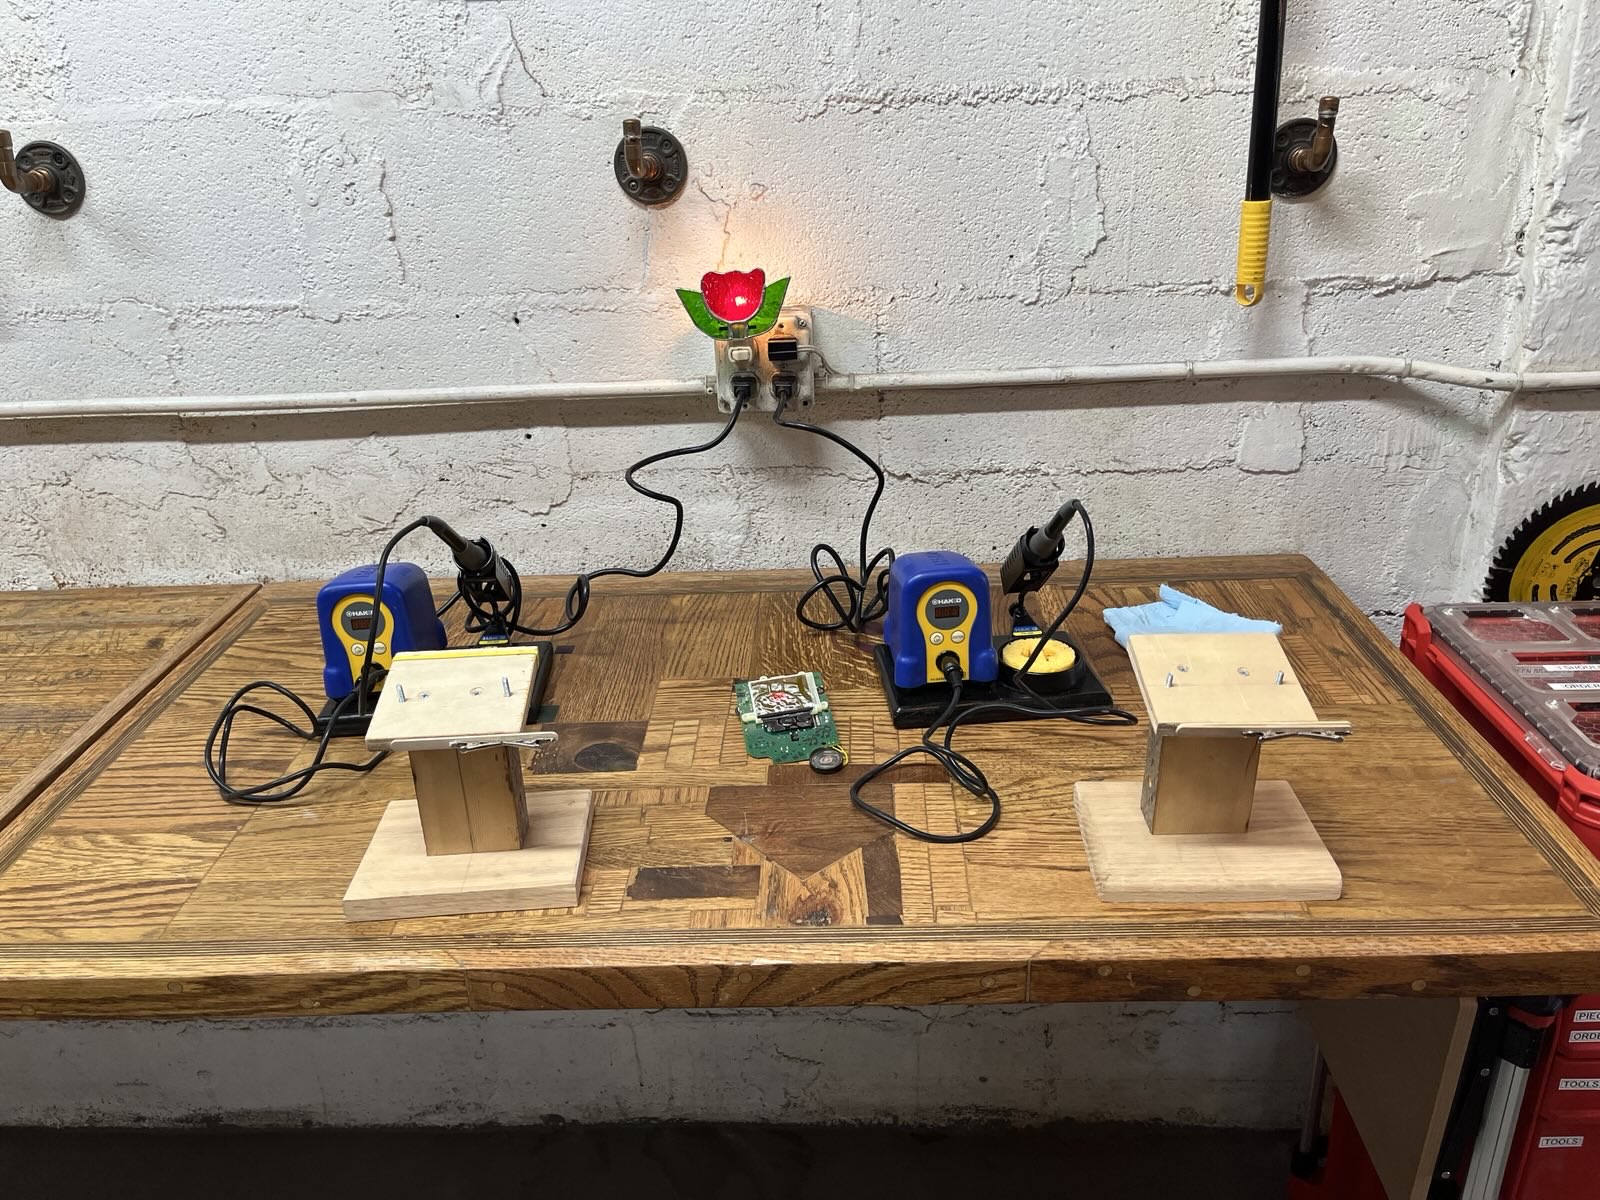
Machined plywood stations with milled-out tray areas for tools and for individual parts of the disassembled Game Boy units.
Soldering stations for transferring the speakers from the old units to their new media controller boards.
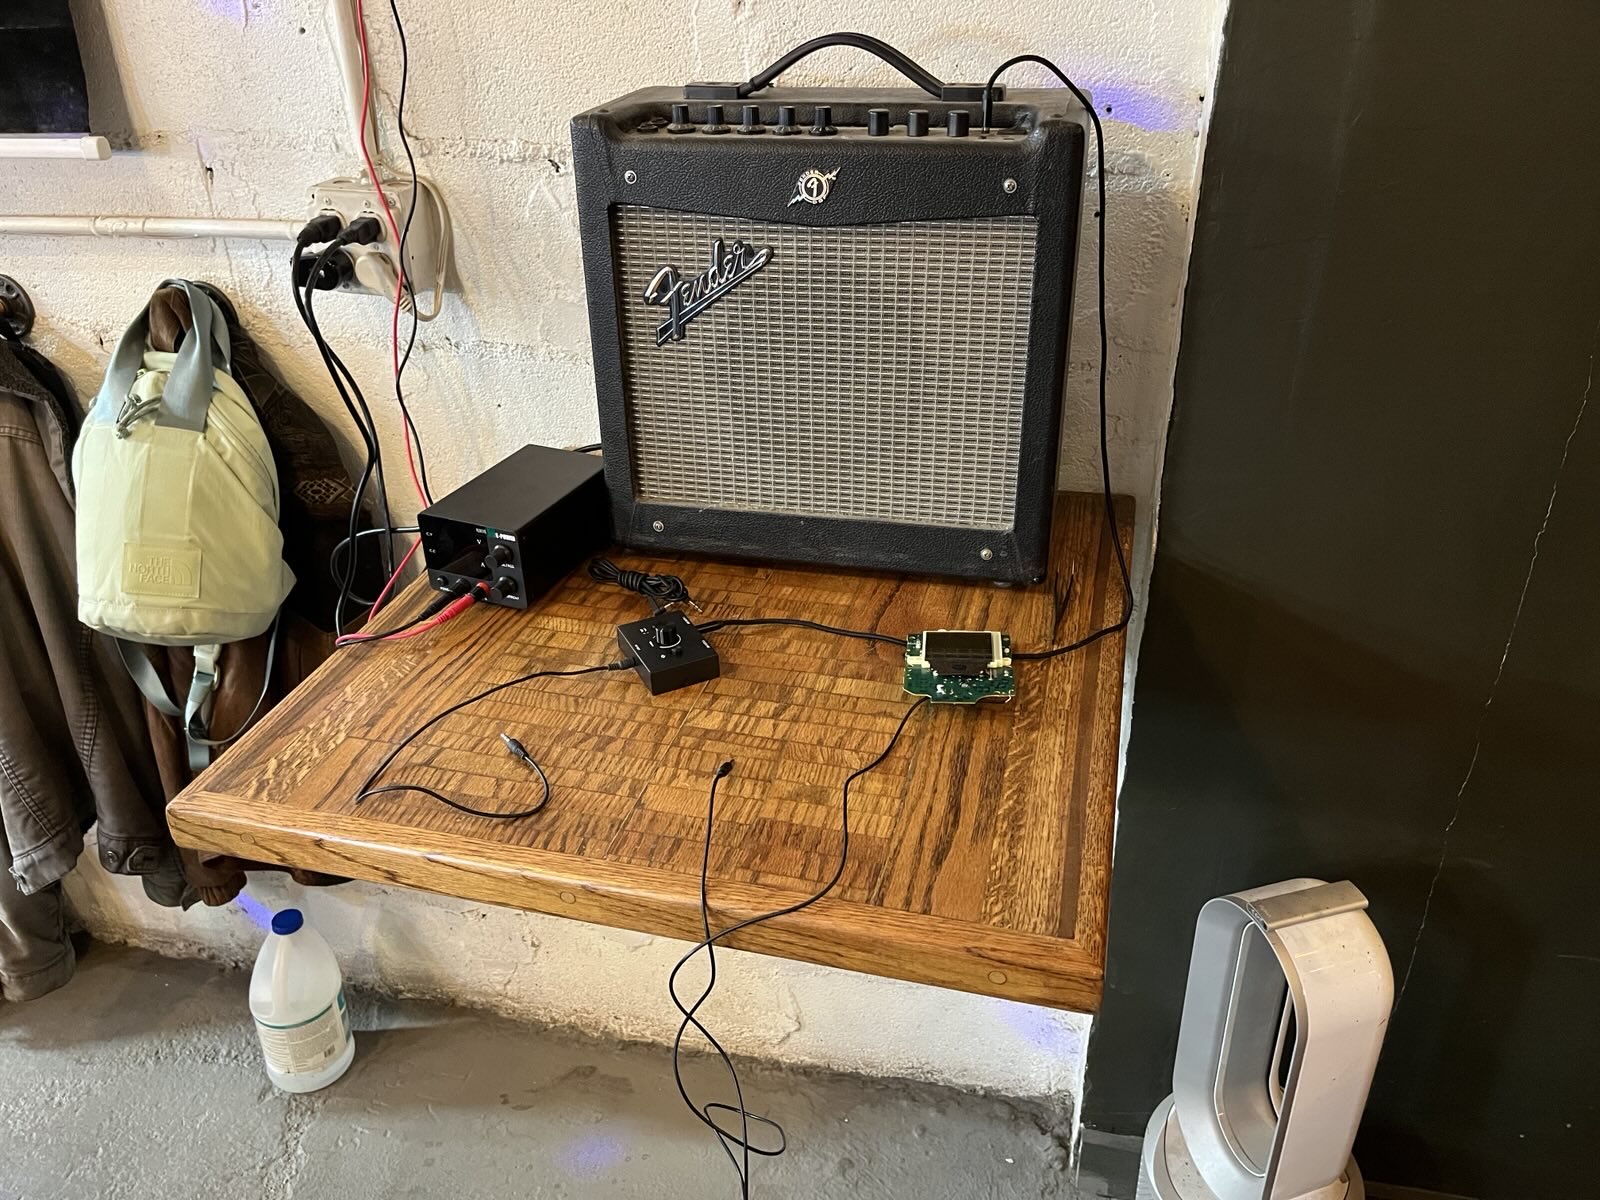
A Fender amp was perhaps overkill for testing Game Boy headphone output, but then again we were Very Sure when things worked.

The workshop accommodates up to 6 units being refurbished, either on your own or with a partner. We drew lots to determine the picking order from the set of available Game Boy units. (I keep writing "Game Boys", disliking it as a term, and replacing it with "Game Boy units". What is language?)

Anyway, here were the pickings for the evening!

A wooden table with 7 Game Boy units in various states of wear, tear, and aging. In the background are 5 clean shells, for any participants who want to skip the scrubbing steps.

I chose this sad boy which had very little sign of aging plastic but a lot of signs that it had probably been through a flood, with grit on the surfaces and in the holes, major signs of water damage on the screen, and all that was obvious before looking inside.

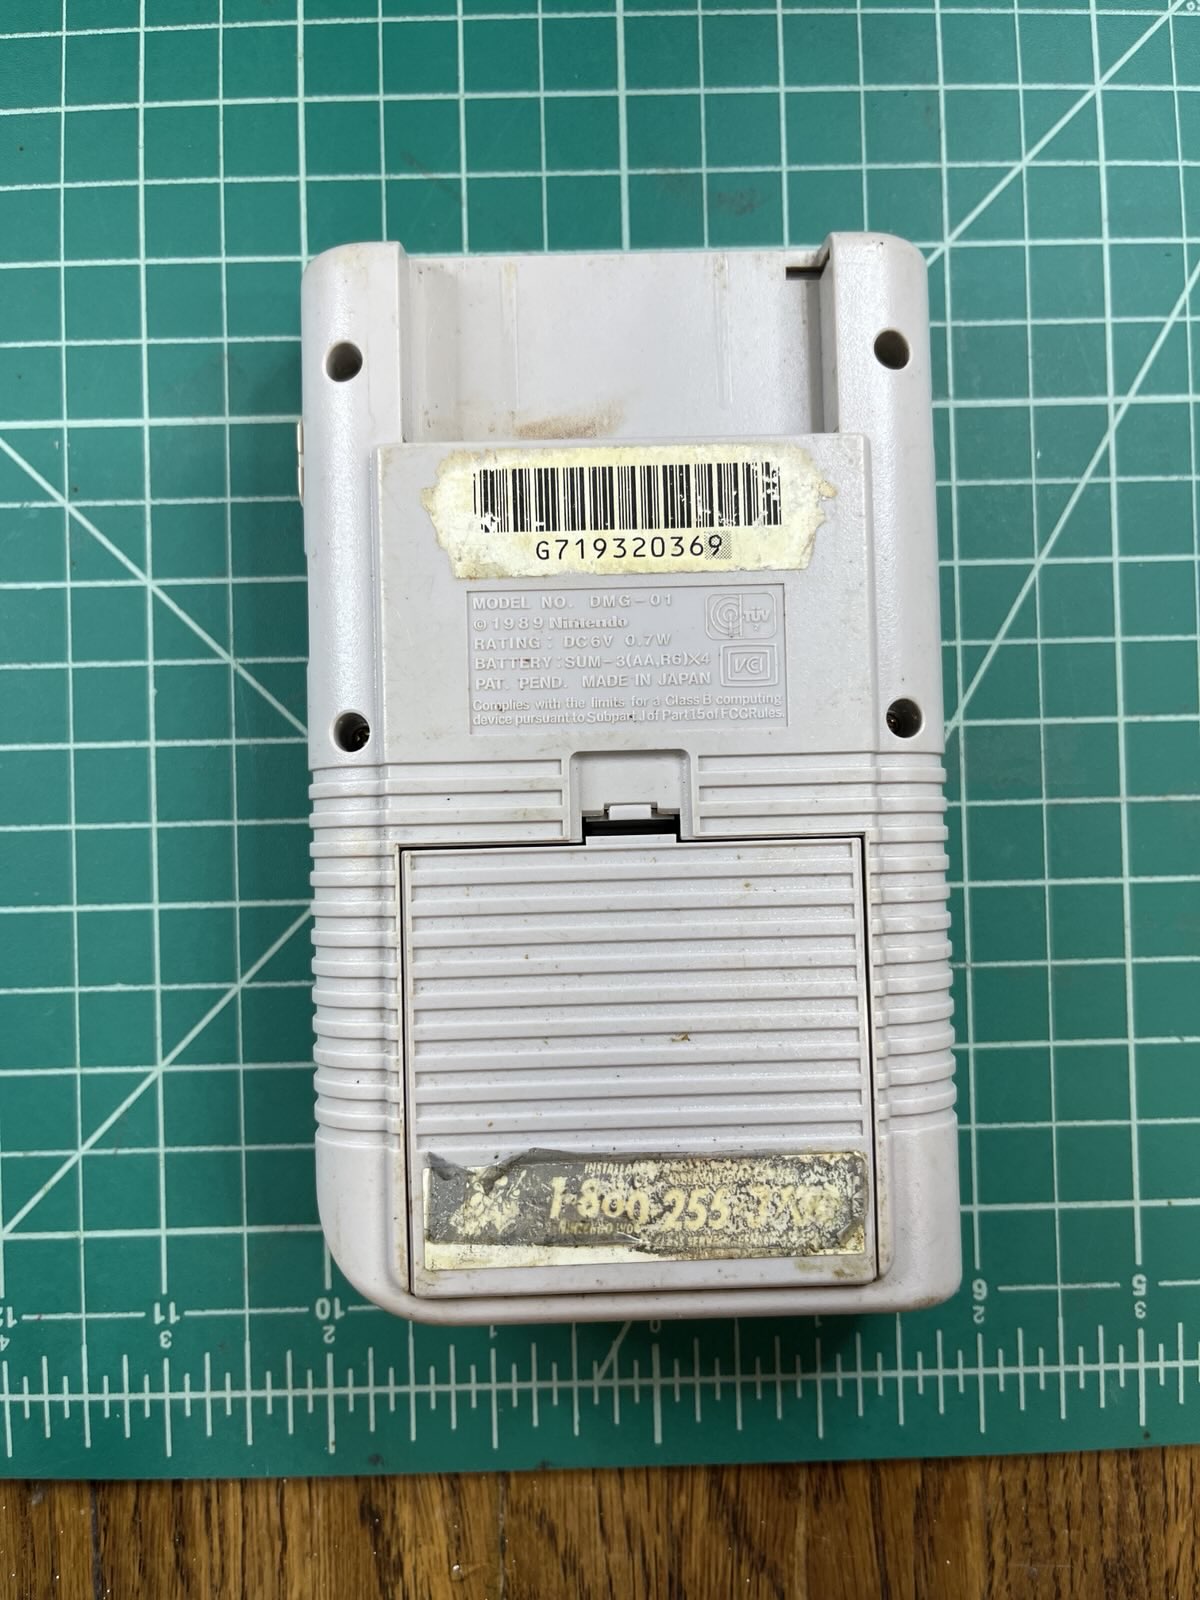
Front of pre-restoration Game Boy. Signs of grit and water damage.
Rear of the unit. Original stickers are quite worn, and there are more signs of grit.

Looking inside gave me some bad feelings...
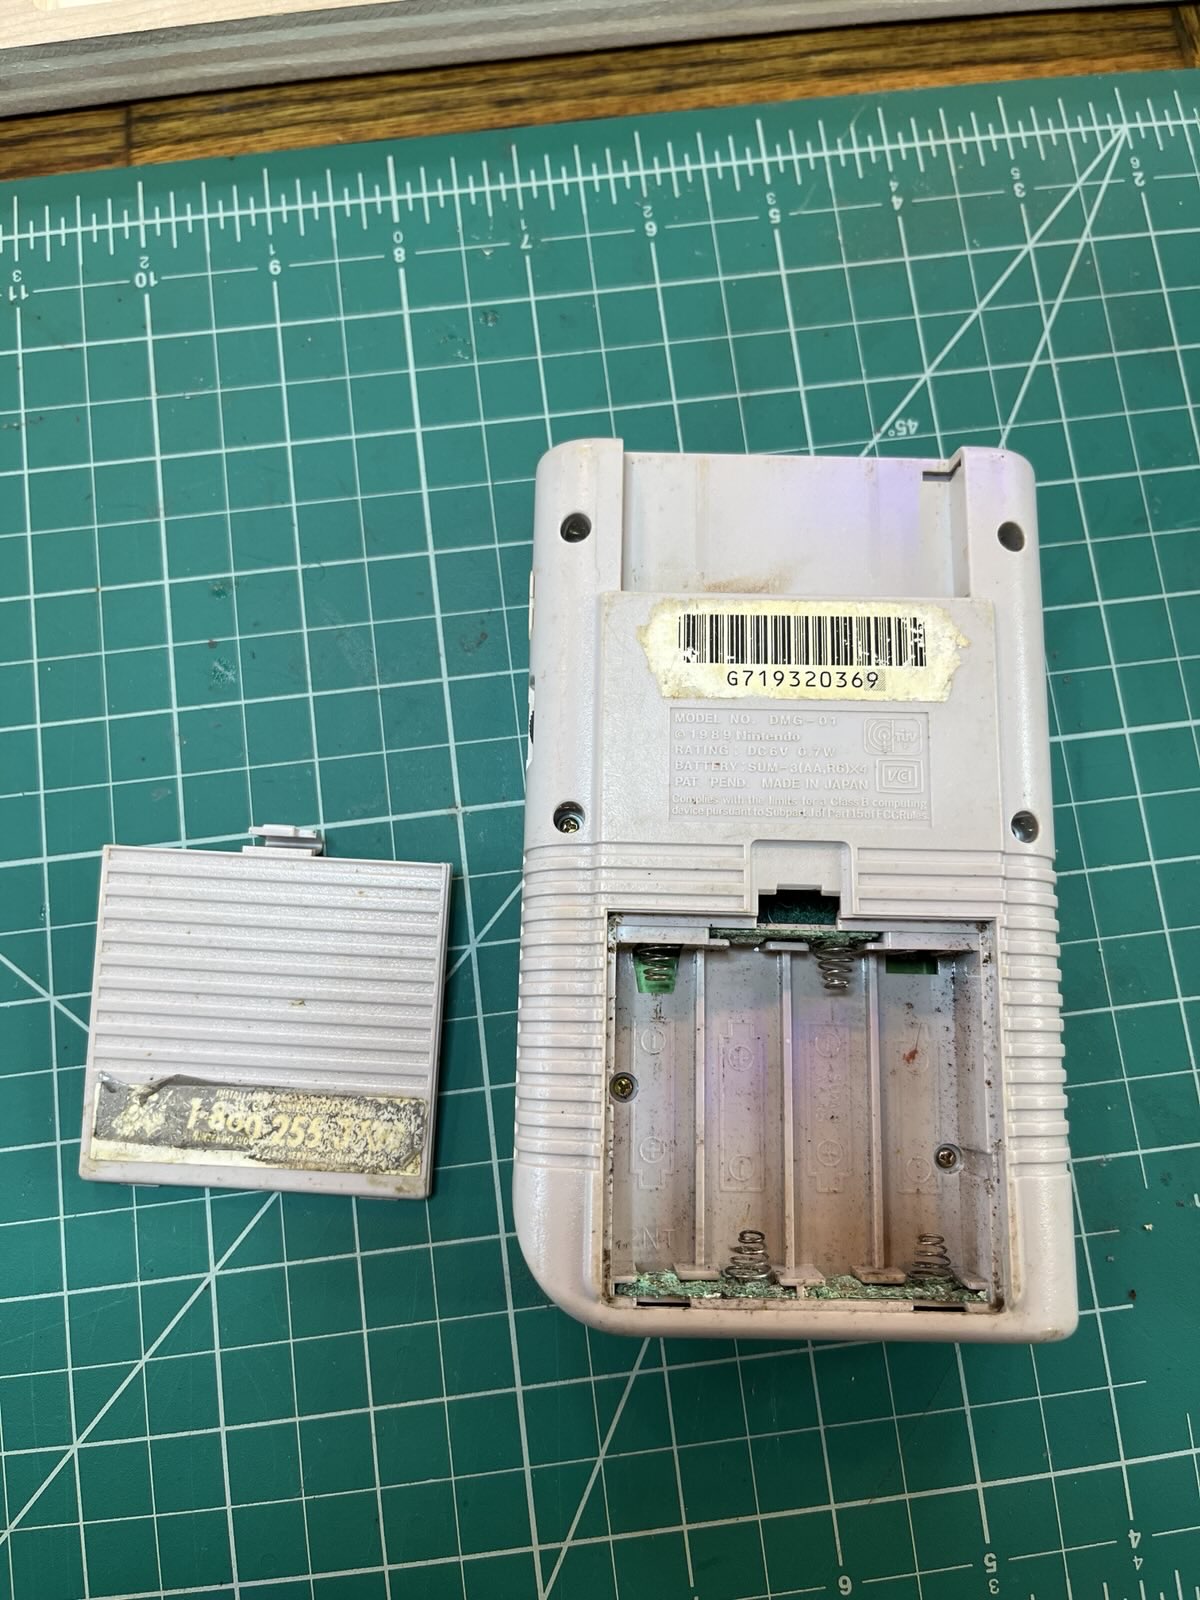
Rear of the unit with battery door cover removed. Green corrosion covers the battery terminals.
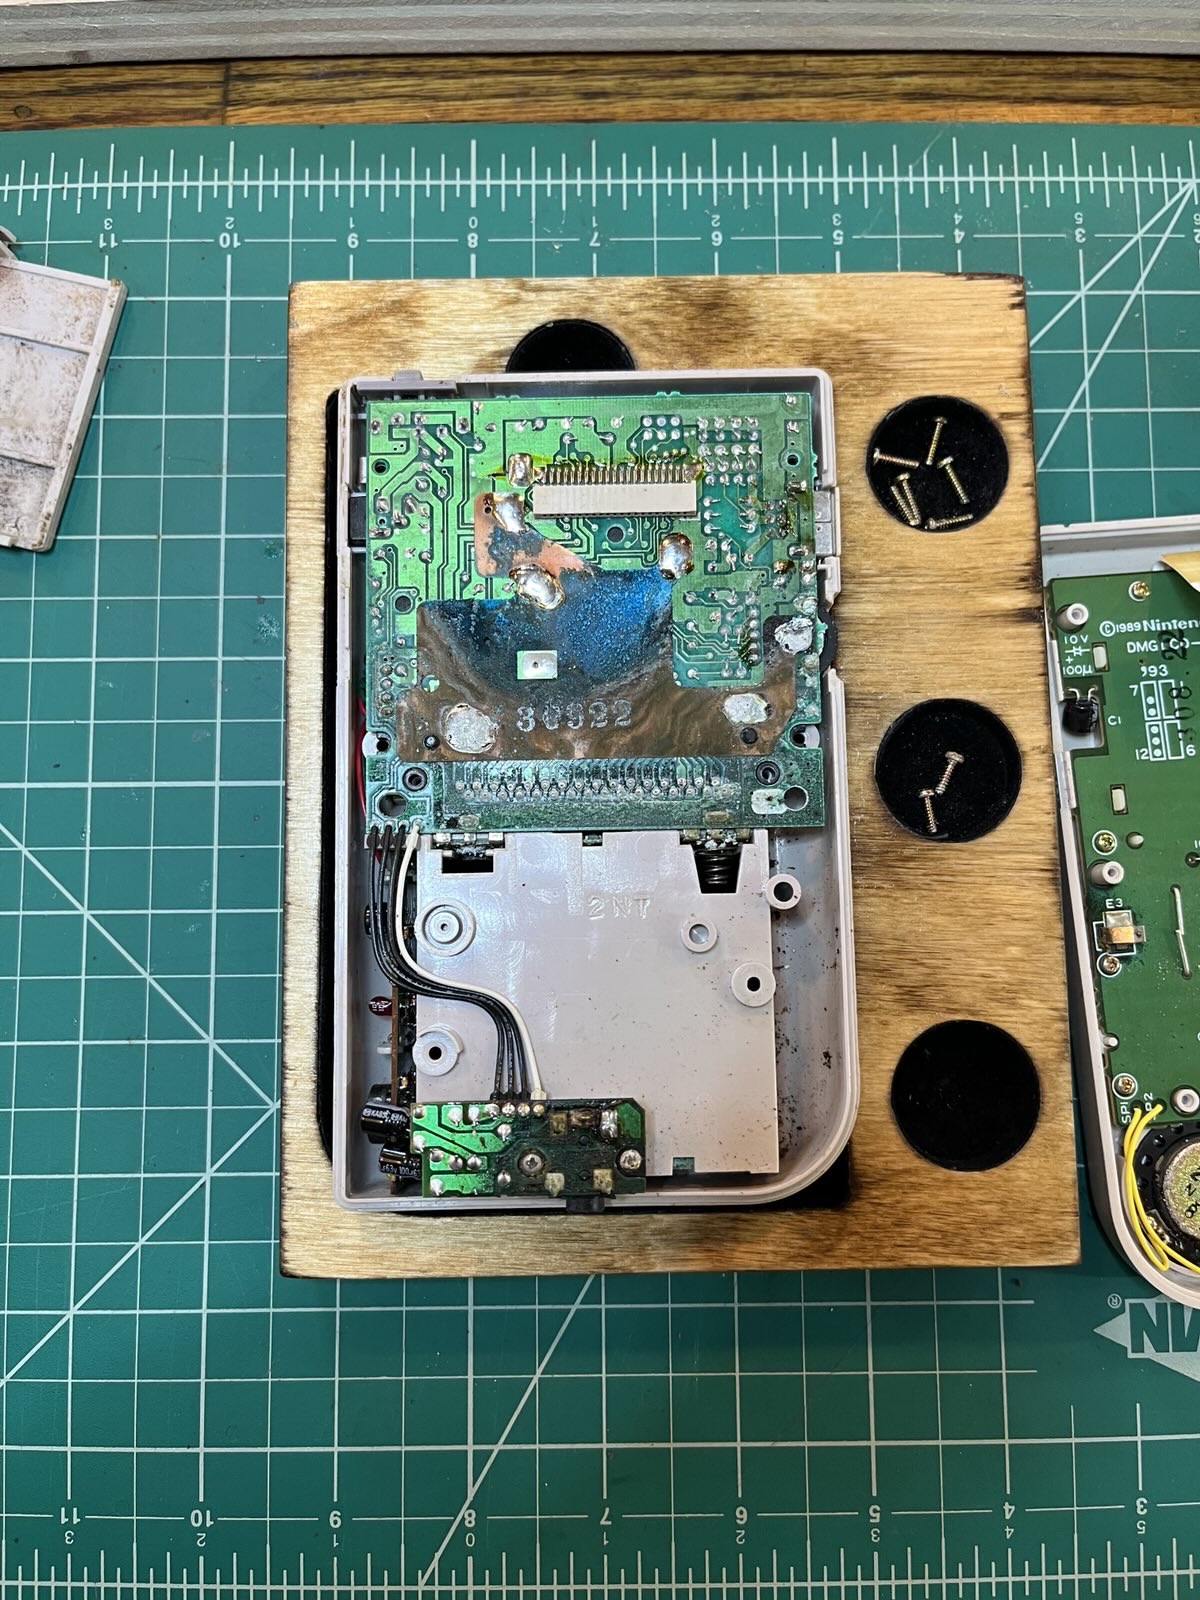
Exposed motherboard of the unit after removing the back. Blue corrosion covers the copper heat sink.

Zach had us examine the media daughter boards of our units, which indicate when it was manufactured.
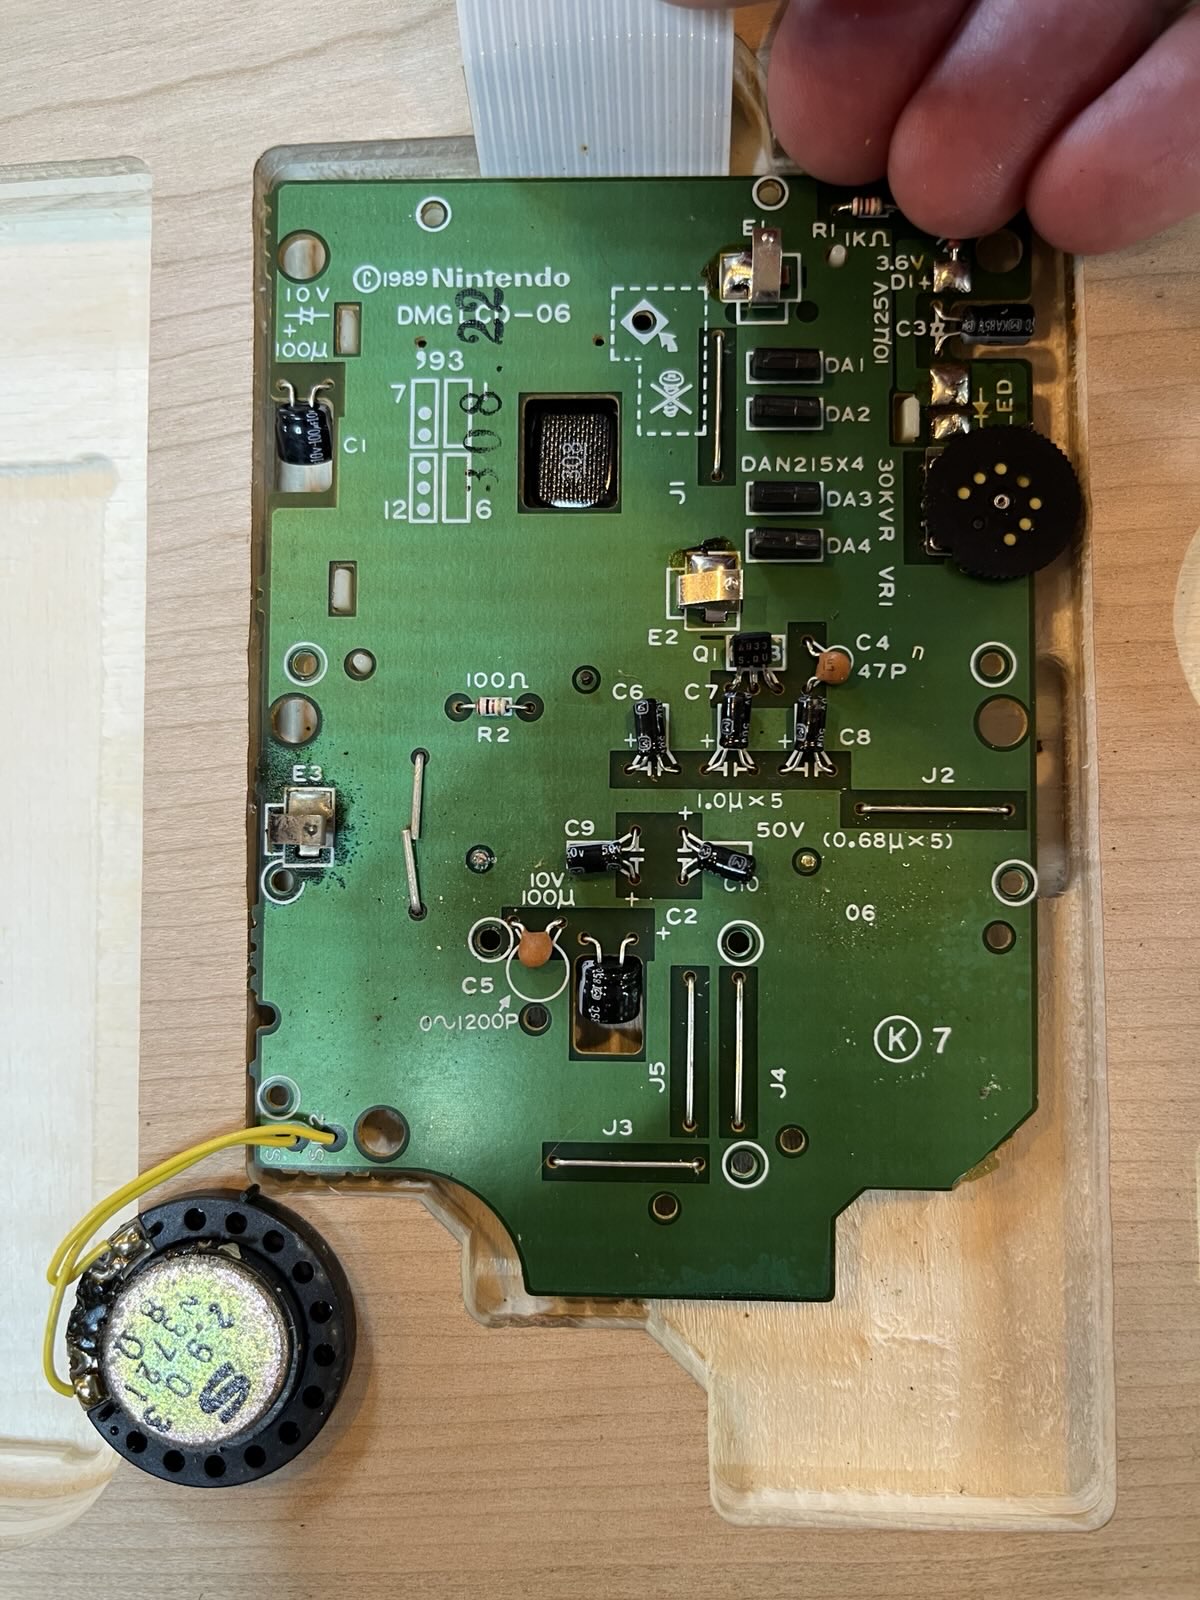
The exposed media board. This one is from 1989, indicating it is a first-revision.

We used tri-wing and Phillips screwdrivers to separate all the electronic parts from all the plastic parts, then put our initials on the plastic bits in Sharpie before giving them a soap bath and scrub-down to remove grit and grime.
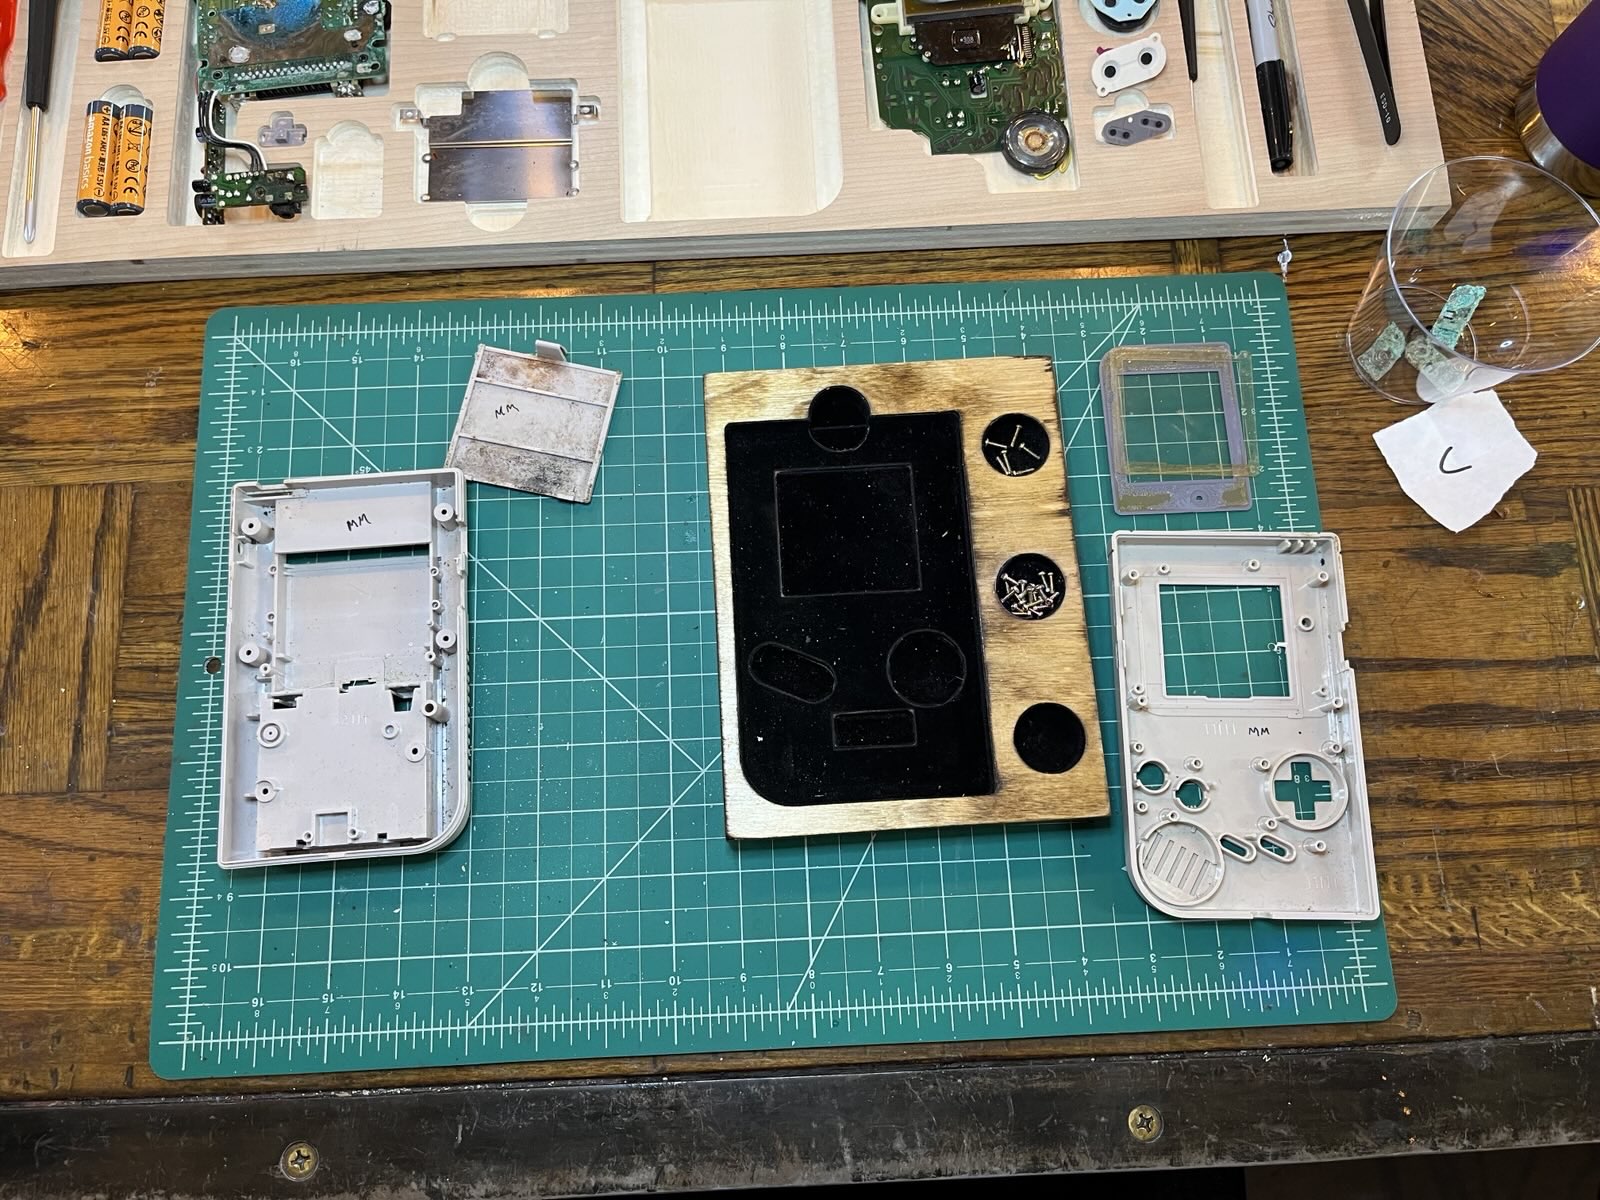
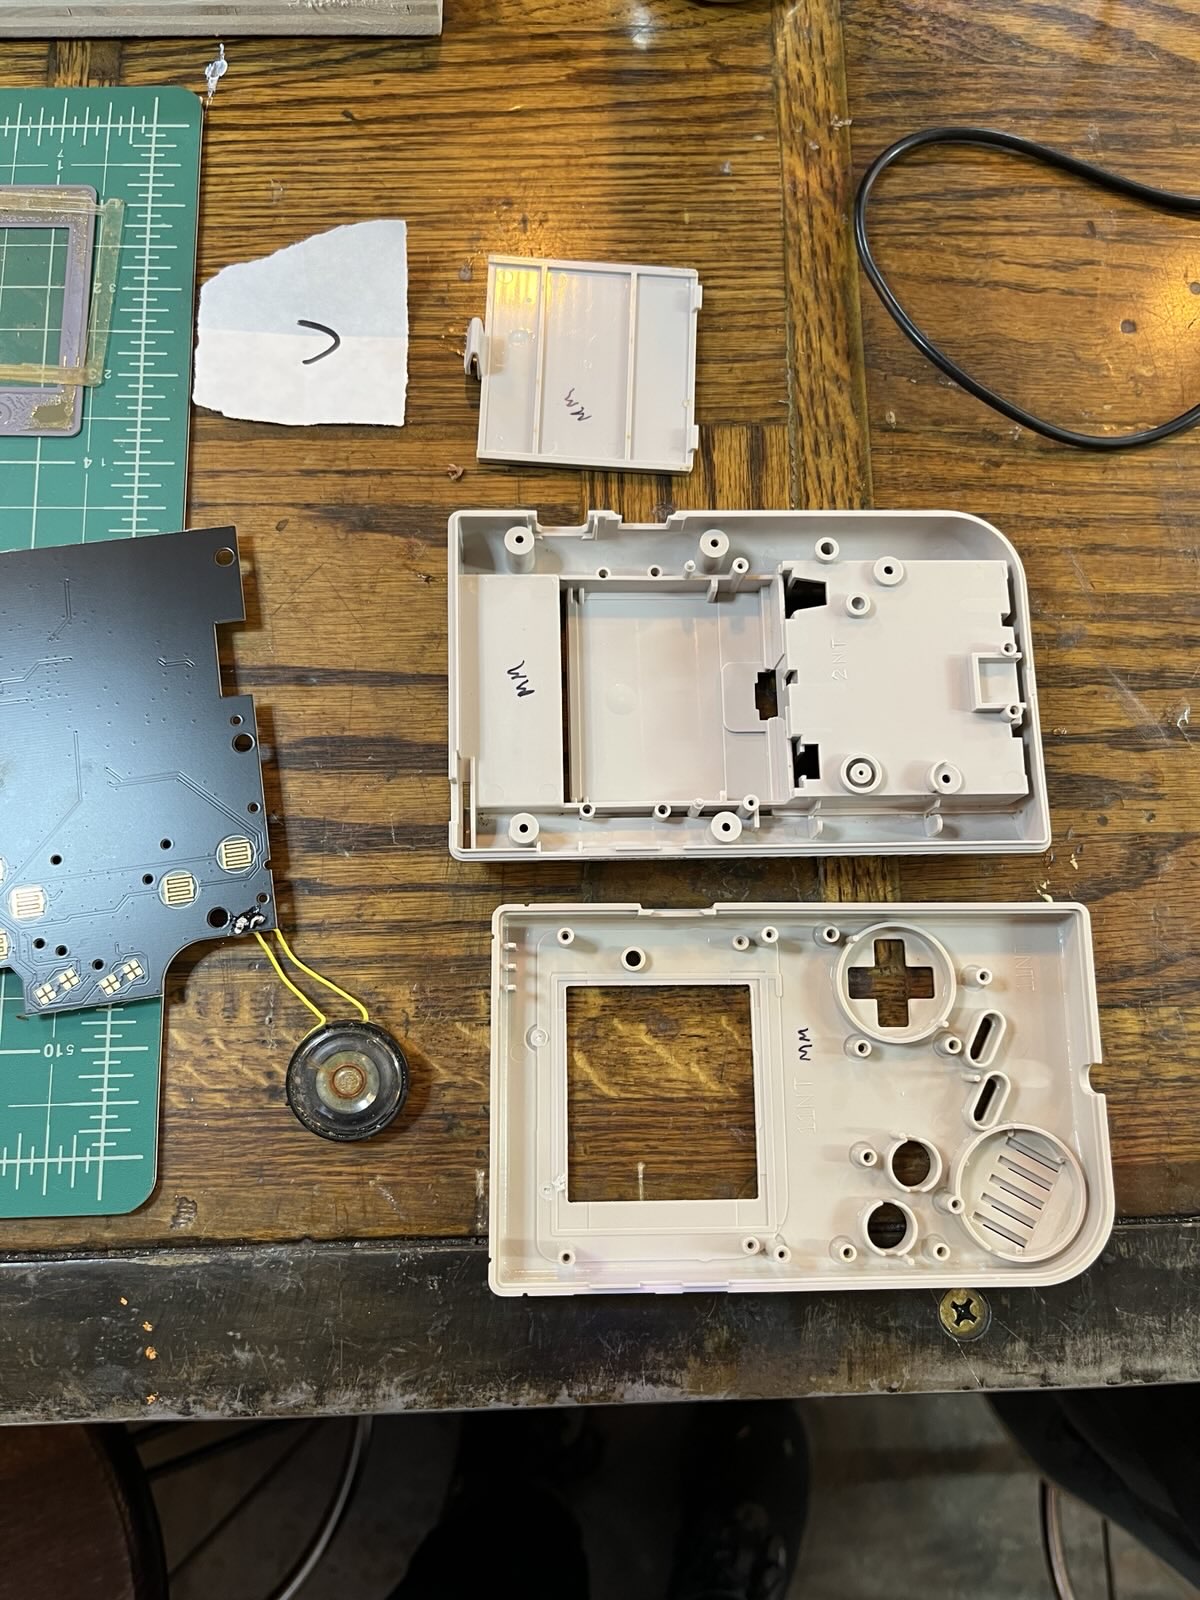
Disassembled unit, with various screws and internal parts in their trays.
Cleaned case parts after soaking in soapy water and scrubbing with a toothbrush. Also pictured: the new media board soldered to the original speaker.

With the electronics disassembled, we took turns using the Fender amp to test whether our Game Boy motherboard worked, using a 6-volt power supply and alligator clips to the power terminals. Mine, unfortunately (but not unexpectedly) did not produce the signature "bling!" sound indicating a successful boot. So, it was taken away (for recycling or a viking funeral, I don't know) and I received a known-good working one.

After motherboard testing, we took turns at the soldering stations, removing the little mono speakers from the original media boards and attaching them to the new boards. Comparing the new sleek black PCB to the old crusty speaker had me pretty convinced the speaker wouldn't work.

There were even more things happening in parallel. Our new media boards were part of a full screen replacement, upgrading these units to crisp, backlit IPS displays, with brightness controls and many more features. Critically, the new screens are bigger than the originals, requiring some alterations to the case.

This is where Craftsman Ave's X-Carve machine comes into play. A custom jig holds the front of the Game Boy case in place, while a router bit removes two screw support posts, some space on the side for the new LCD's control toggle, and carves back the edges of the screen.

A short loop of the X-Carve machine removing a plastic post from the Game Boy case.

At some point, Zach gave us a little demo of removing corrosion from the battery terminals using vinegar. The acid eats away at the corroded bits in a bubbly reaction. These parts were too far gone to use, but Zach had plenty of spares.
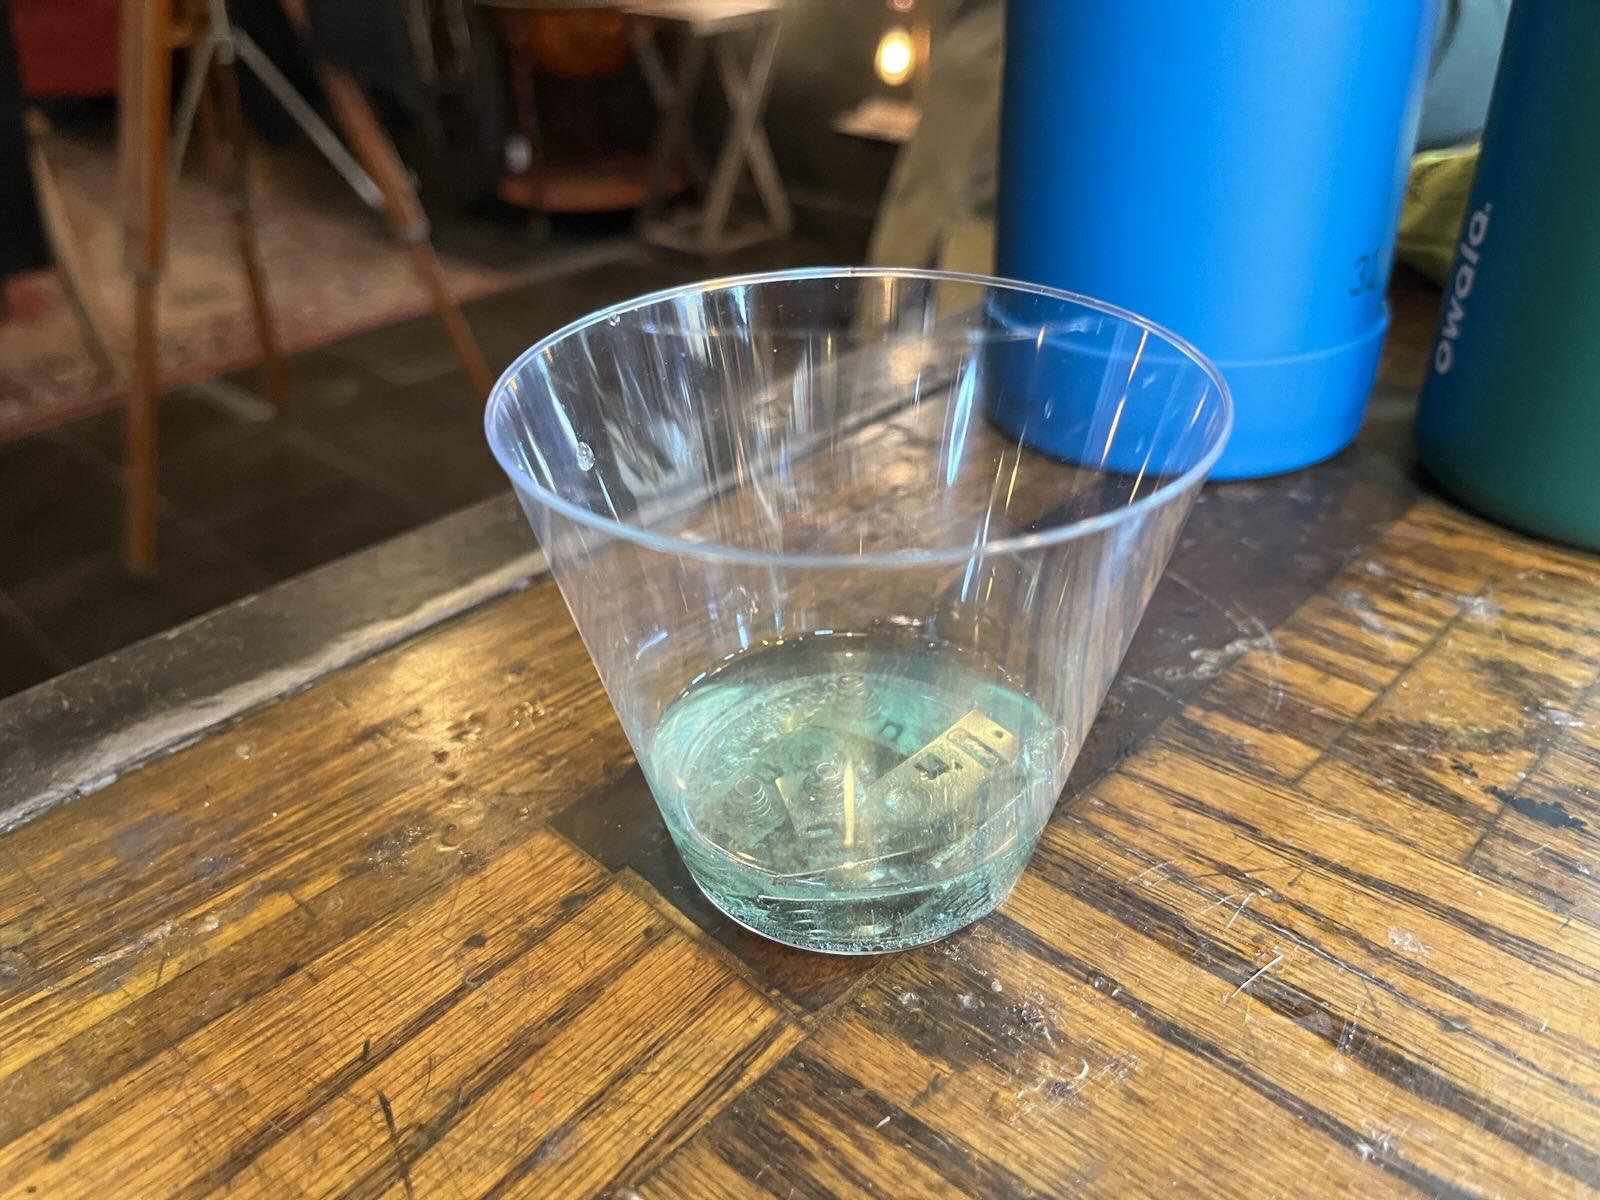
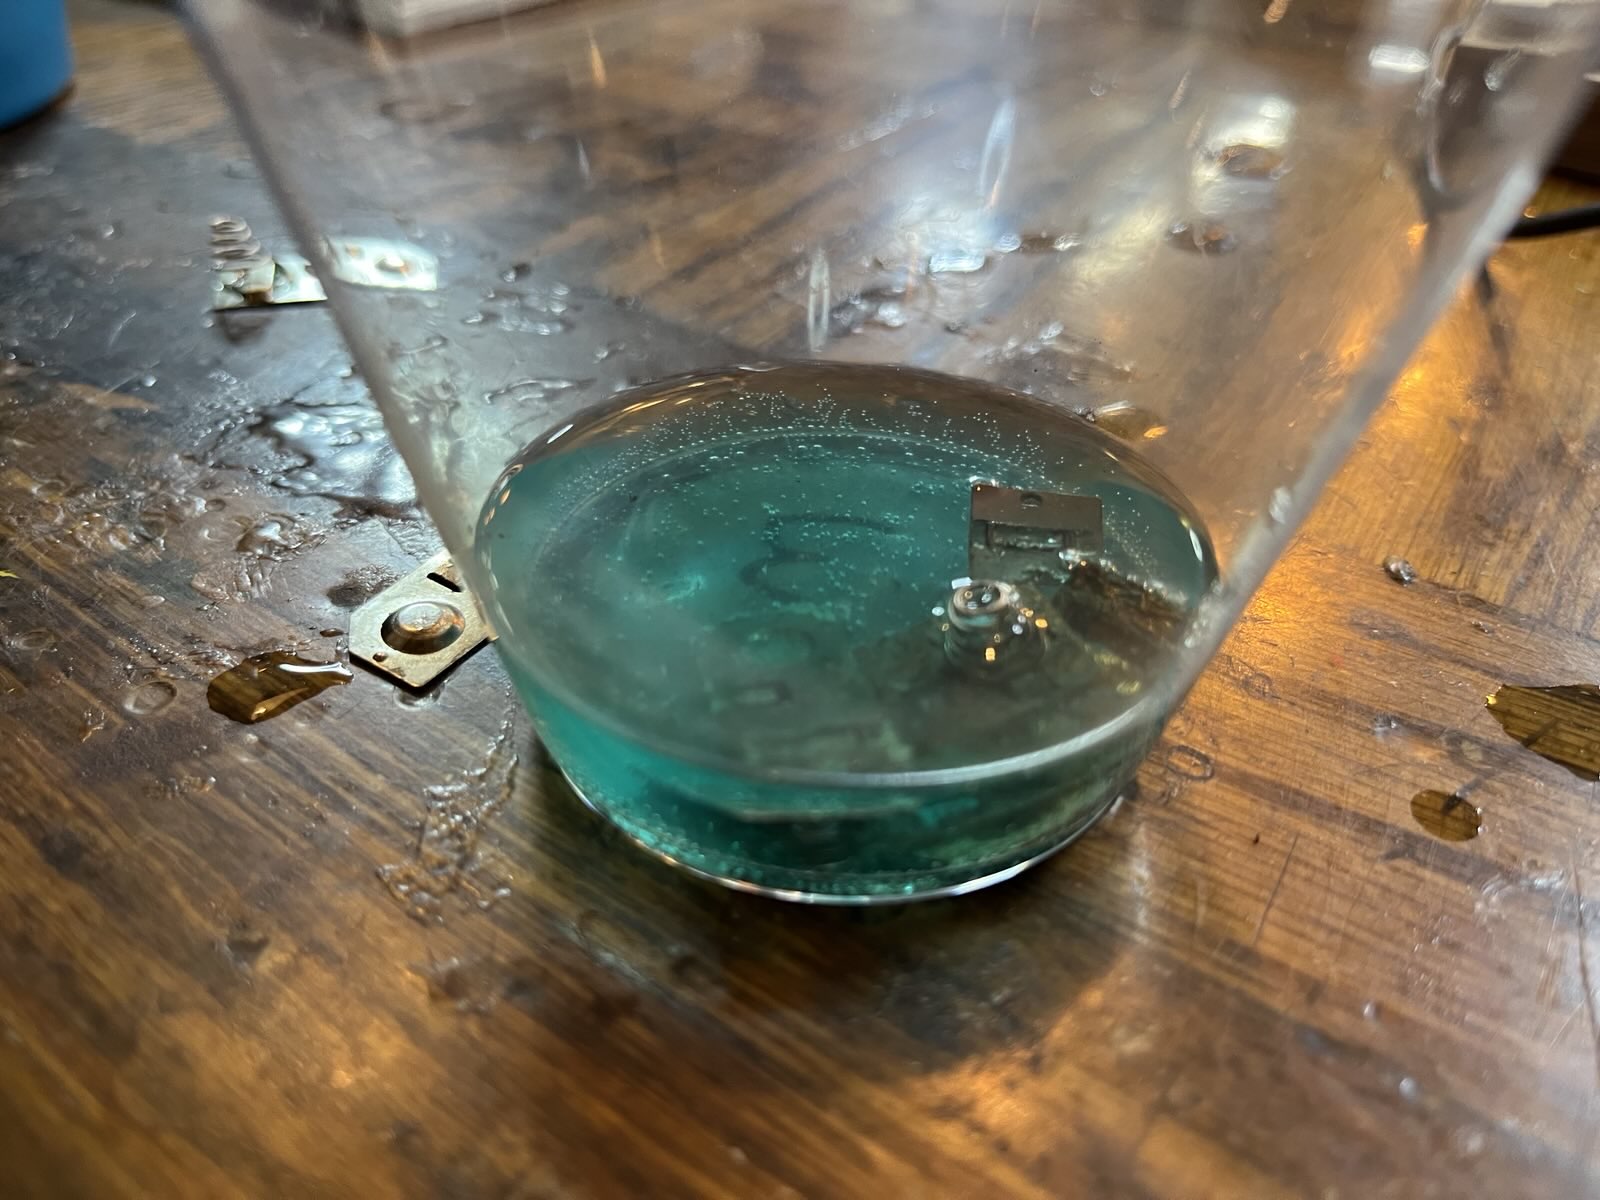
A bubbly solution of corrosion and vinegar with a bluish tint.
Some time later, the solution has taken on a darker blue color.

I didn't take many photos of the actual process. Re-assembly went pretty quickly, with a few key pointers from Zach about tricky placements and order-of-operations. I appreciate the care taken to make sure our new front "glass" and screens were installed free of dust and fingerprints!

Finally, it was time to put in the batteries and put in a test game. While Zach had a lovely collection, I had made sure to bring my own.
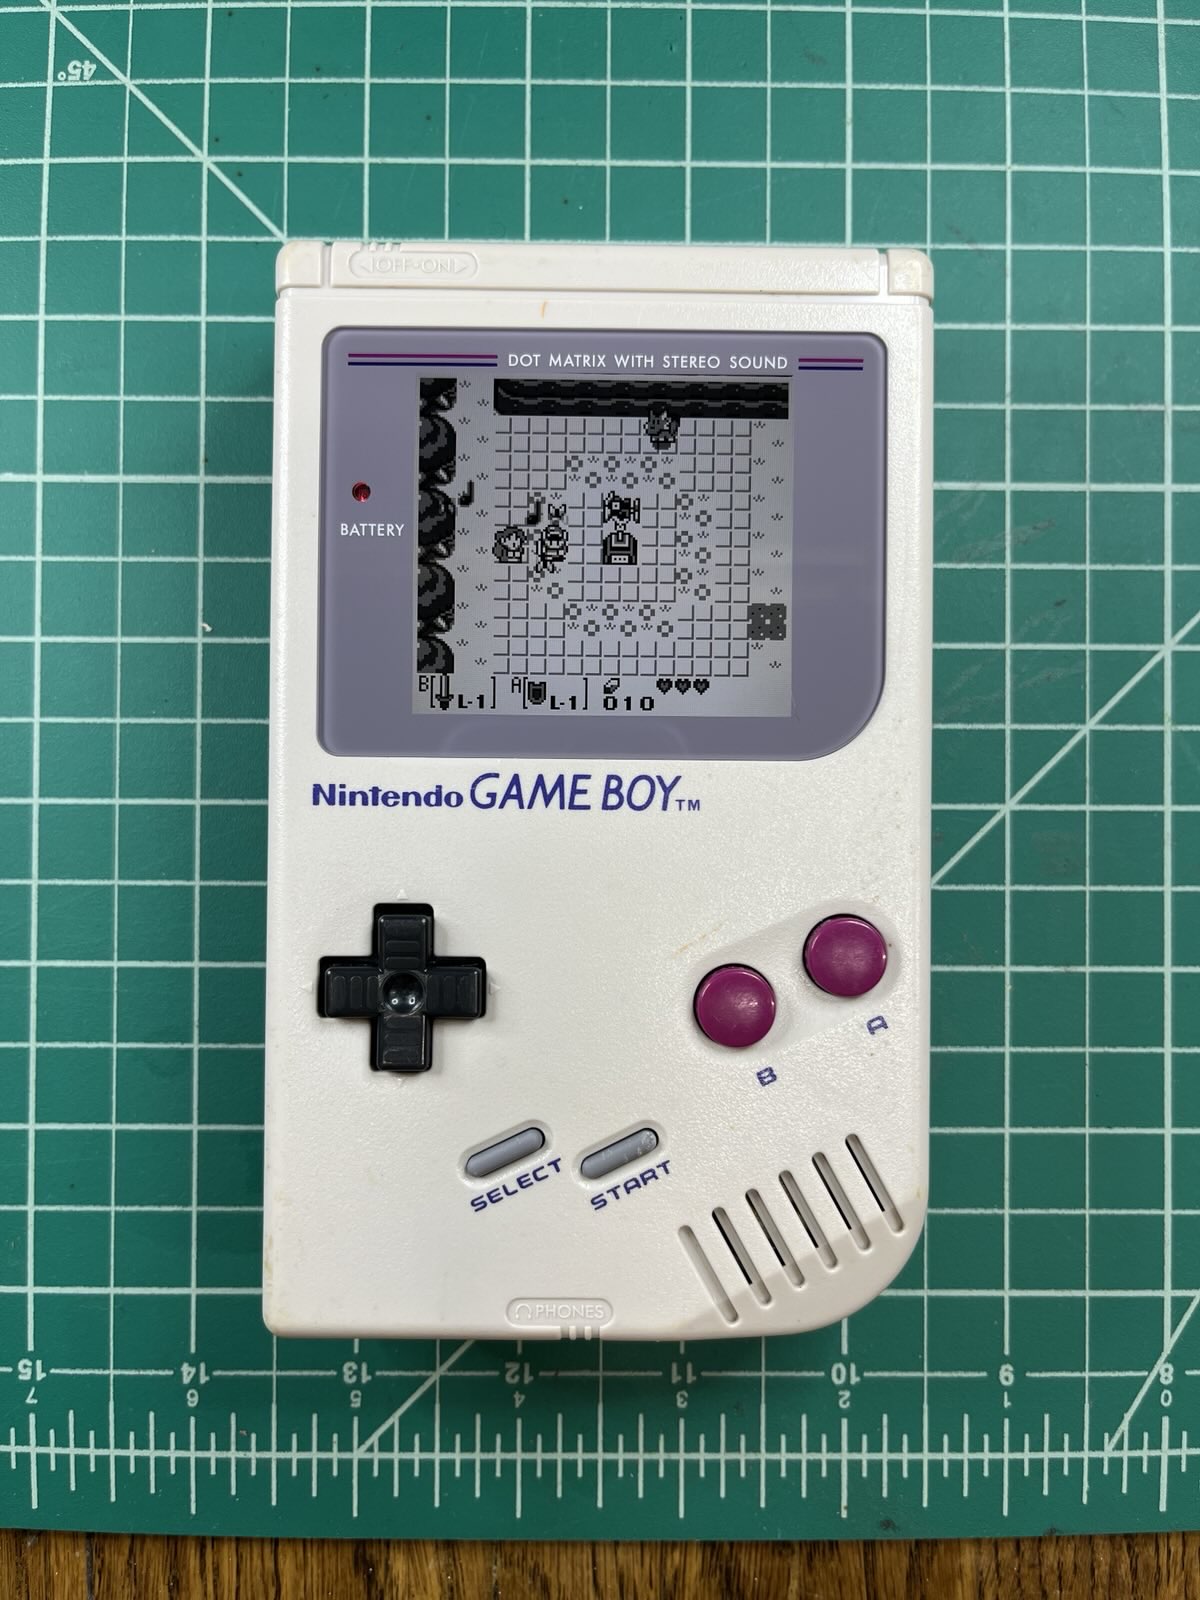
Front view of the restored unit. A crisp black and white display shows a screen from The Legend of Zelda: Link's Awakening
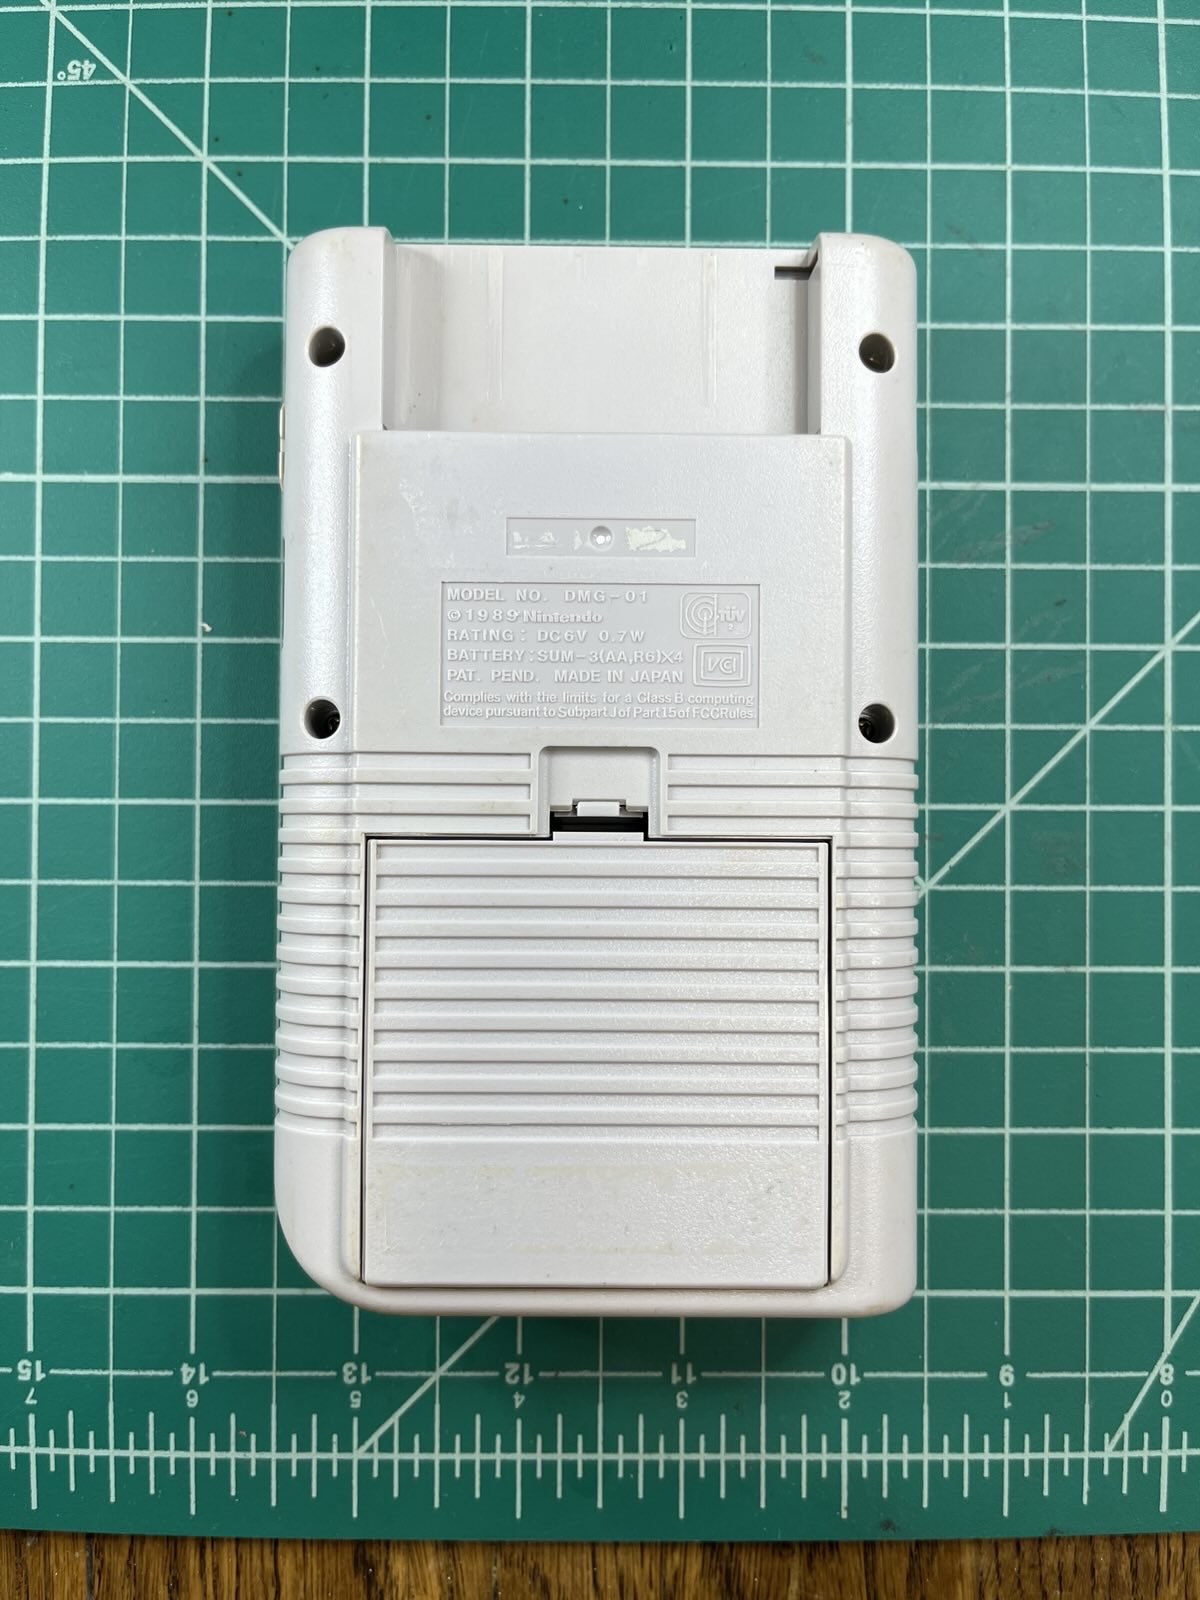
Rear view of the restored unit. The original stickers are long gone, but so is the grime! Shiny and off-white.

There's definitely more I could say about the workshop, the people, the space. All were excellent! But for now, I'll leave you with an abrupt:
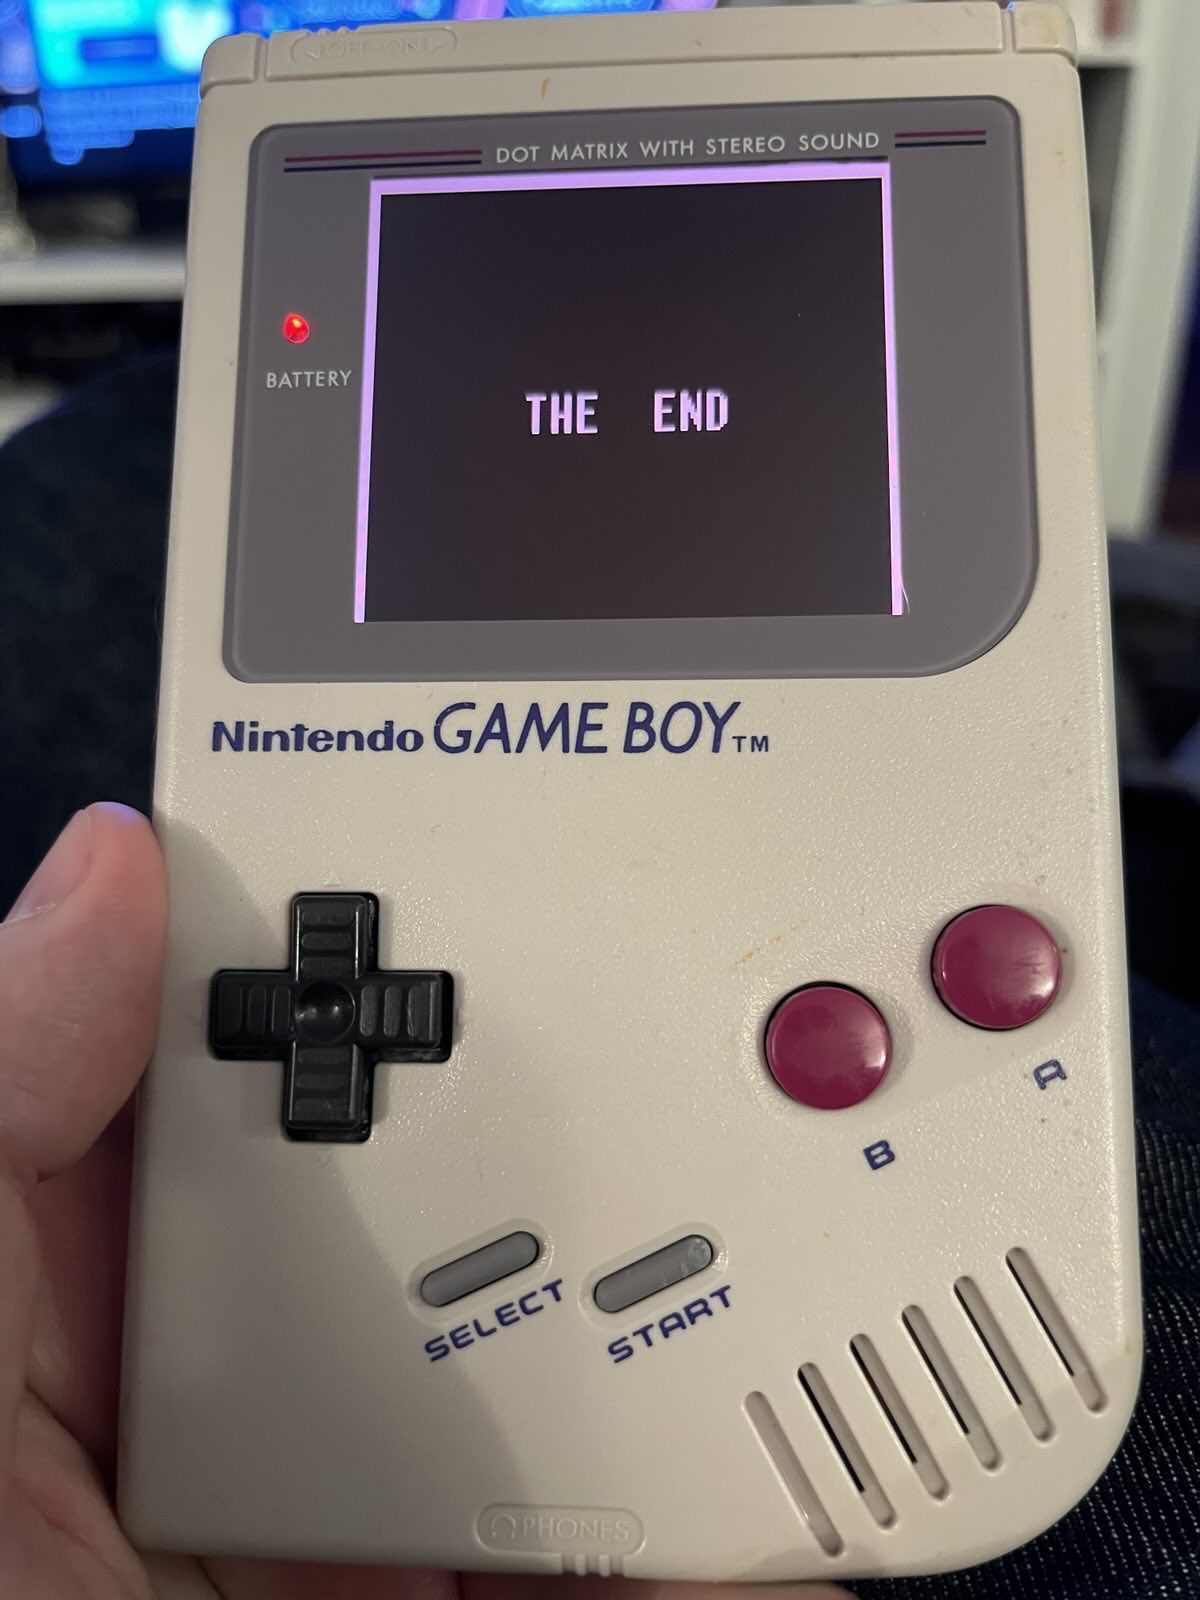
Finished Game Boy held in a hand. The screen shows in all caps "THE END".
2018
Sat Jan 13

🗓️ Introduction to Podcasting

📆 Add to Calendar: iCal | Google Calendar

It seems like everybody has a podcast these days. And why not? You’ve probably already got a great podcast idea in mind and want to get started!

In this densely packed 2-hour workshop, we’ll cover the basics, with opportunities for hands-on practice:

  • Using the BIG studio equipment (Zoom H6, Shure SM-58 microphones) to record raw audio
  • Using Audacity editing software (available for Mac, Windows, and Linux) to clean up audio and create a finished episode
  • Publishing an episode online using Soundcloud
  • Adding a podcast to the Apple Podcasts (a.k.a. iTunes) directory

Tickets are only $10. Reserve your spot now!

Participants should bring an SD card with at least 2GB of free space and a way to take notes. Folks interested in hands-on time with editing are encouraged to bring a laptop with the Audacity audio editing software (http://www.audacityteam.org/) installed. Finally, to save, time, everyone is encouraged to create a SoundCloud account (https://soundcloud.com/) as well as an Apple ID (https://www.apple.com/shop/account/home) if you don’t have them already.

Instructors: Marty McGuire and Jonathan Monroe.

2017
Fri Dec 8

Some notes from a Rick Andrews improv workshop

I was in some great workshops with some amazing folks at Camp Improv Utopia East this year, including this one from Rick Andrews

Kristen aka KMac asked me for my notes after I used some exercises from this workshop in a coaching session with Topiary. So, here they are! I hope they are useful to someone.

Any great ideas and brilliance in here are because of Rick and the other workshop participants. Any bad advice or mistakes below are my own.

Warm up - sound and motion hot spot

  • circle up.
  • someone enters center and does sound and motion alone.
  • a 2nd person joins and matches
  • 1st person fades back into the circle.
  • 2nd person morphs sound and motion into a new one.
  • repeat.

Level up:

  • same as above, but people come out in pairs.
  • watch as new pair discovers new sound and motion together

This workshop is about getting out of the way of that discovery.

We often improvise like people who need approval from the audience. It's exhausting for players and audience alike.

Black holes are detected by how their gravity affects things around them, warping light. An addict filters all decisions through their addiction. We are addicted to being interesting.

If someone tells you to do a cave scene, almost everyone's first idea will be "Oh no, we are trapped!" But have you ever been in a cave? Probably! Have you ever been trapped in a cave? Nope. So why don't people do scenes about just being in a cave?

Exercise:

  • 2 people in chairs having a conversation
    • start w/ a word as inspiration
    • truthful conversation as if no audience
    • real facts and beliefs
  • real human interactions are believable. not like the people in Drive w/ Ryan Gosling (lol)
  • lots of surprises happen, and quickly.
    • "I love podcasts." "Oh, me too!"
  • The saying that you should wait for your third thought is garbage.
  • Also, the people in these scenes are strangers and that is fine and not awkward!
  • if people are affecting and reacting to each other, we like the scene.
  • if they are not affecting each other, no one cares about the scene.

Exercise:

  • Same as above, but instead of sitting the players are miming an unrelated activity.
  • Improvise with each other. Little things are not missed.
    • We notice odd things. "I want to hear more about that."
  • People ask questions in real life! it's not out of fear and trying to push along or push against a scene, but out of real curiosity.

Exercise:

  • Same as above, but each player adopts a weird voice or at least a different voice from their normal speaking voice.
    • e.g. more nasal or guttural, or change pitch
    • no affected accents
  • Only the first lines from each player needs to be true.
  • After that, follow what feels true for the character. it's a subtle change.
  • No need to overplay emotion. In real life we feel things like anxiety or shame but we don't come out and say it and we don't broadcast it by being obvious.

Exercise:

  • Extremely overplanned scenes.
    • Example: "You're coworkers at cocktails after a blowing outing"
    • Example: "One of you wants to buy a suit. The other is selling suits."
    • Goal: make it feel real.
  • We are afraid of starting conversations that we don't know where they're going.
    • Lots of improv is shortcuts to give us a problem to solve or a weird thing to talk about.
  • A deconstructed example:
    • input: "you're school dance chaperones"
    • players started by standing around awkwardly. one takes a breath as though they are about to speak, but thinks better of it. gets a little laugh.
      • this is kind of a manufactured nervousness, playing up the emotion unrealistically.
    • players suddenly talk at the same time.
      • this is playing off the previous bit. again, kind of false even if it gets a chuckle from the audience.
    • finally, this exchange is gold:
      • A: "I like this song. Who is this by? I can almost remember."
      • B: "It's Carly Rae Jepson"
      • A: "Oh, you know her work?"
      • B: "She is going to fucking save pop music"
      • This is a real discovery! An unexpected, genuine, super strong emotional stance.

Other thoughts:

  • We have lots of awareness in real life. we've been practicing being human as long as we have been alive. if we let ourselves take our time, we bring that listening to our improv.
  • People laugh all the time in real life. It is okay for your character to find humor in the scene.
  • People tend to like each other in real life.
  • In real life, conflict is like a squeaky door - awkward tension.
    • We don't look to pick fights. We don't make things impossible for others.
  • Working to have fun is different from working to be funny.