Machine knitting: taking a stand
In my apartment we are lucky enough to have a big countertop, open on three sides, creating a nice flat project surface for even sprawling projects.
However, we also have a lot of projects that compete for this space! Producer Amy is often working on increasingly complex sewing projects that require the entire surface. Likewise, the knitting machine occupies an entire edge of the space. Both of these are time consuming, with potentially complex setup and teardown procedures. How can we accommodate both fiber arts hobbies?
You may not be surprised to find that I found inspiration from Carson (@KnitFactoryImpl) on YouTube. In her videos I noticed a low-profile metal stand that basically amounts to a single horizontal bar and four splayed legs, clamped together by a couple of big screws. She mentioned briefly that they aren't manufactured anymore, but you can find them on eBay "from time to time".
With the fear of scarcity in my heart, I jumped when I found a similar one on eBay a few days later.
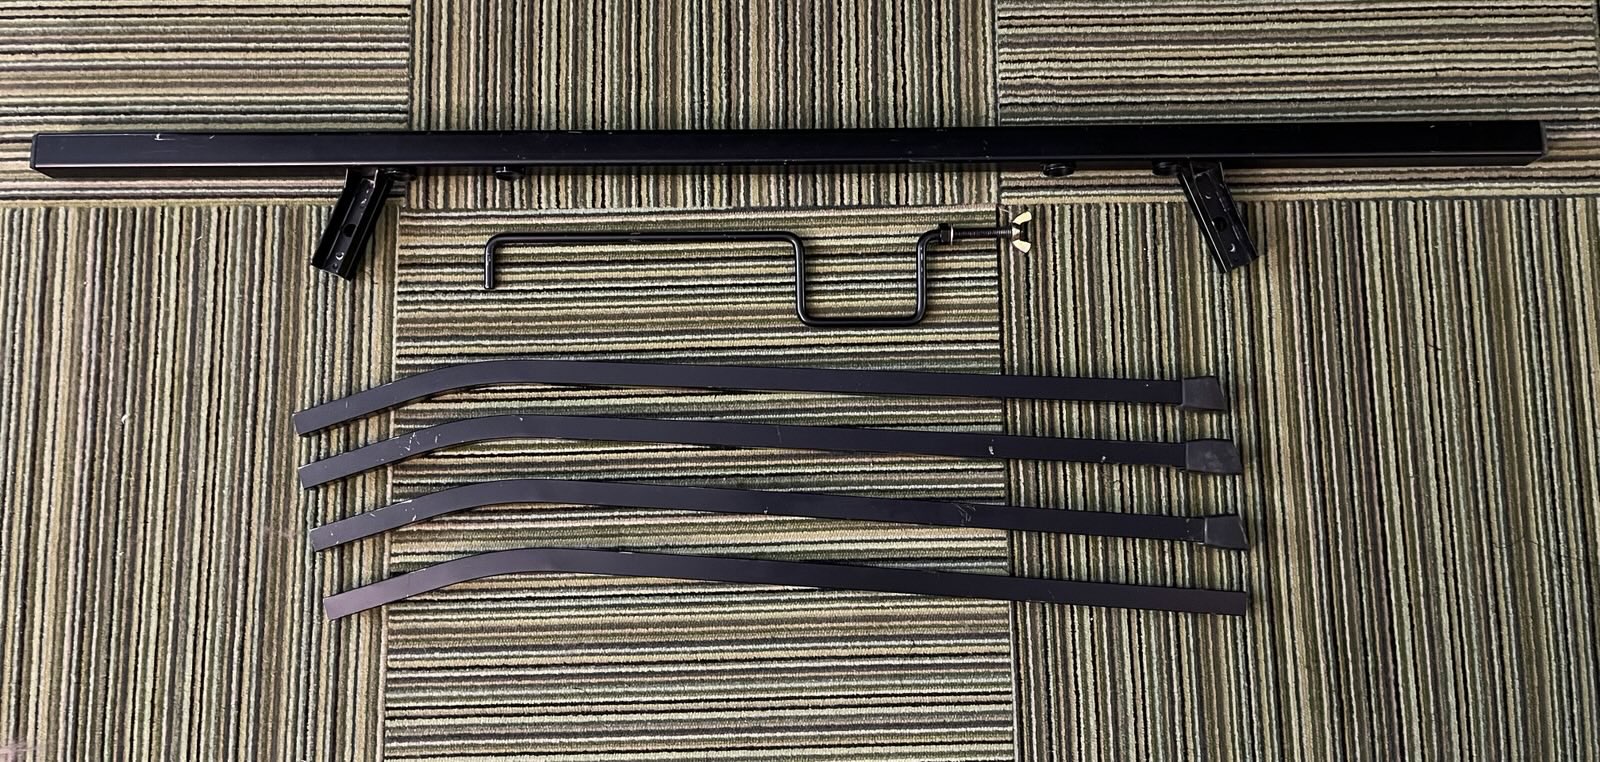
As you can see in the photo, the stand can break down quite small! Pictured here are 5 of the 6 parts required for it to work. The long body bar has circular recesses where the knitting machine can be securely clamped, as well as slots for the legs. Each leg splays out at an angle to withstand the force of moving the machine back and forth. The body bar and legs are held together with a pair of screws and wingnuts, and the screws are at the end of long bent metal bars which do double-duty to provide some stability for the mounted knitting machine, as well as providing a place to rest the top of the knitting machine.
You may note that I said "5 of the 6" in the previous paragraph. One of the screw/bar pieces was missing. Thankfully the seller had simply misplaced it and, after contacting them, they found it and mailed it to me.
Meanwhile... If you have a keen eye you may have noticed another missing part. Because each leg splays out at an angle, each also has a rubber foot with a special shape to let it rest flat and provide traction. One of the legs was missing this foot.
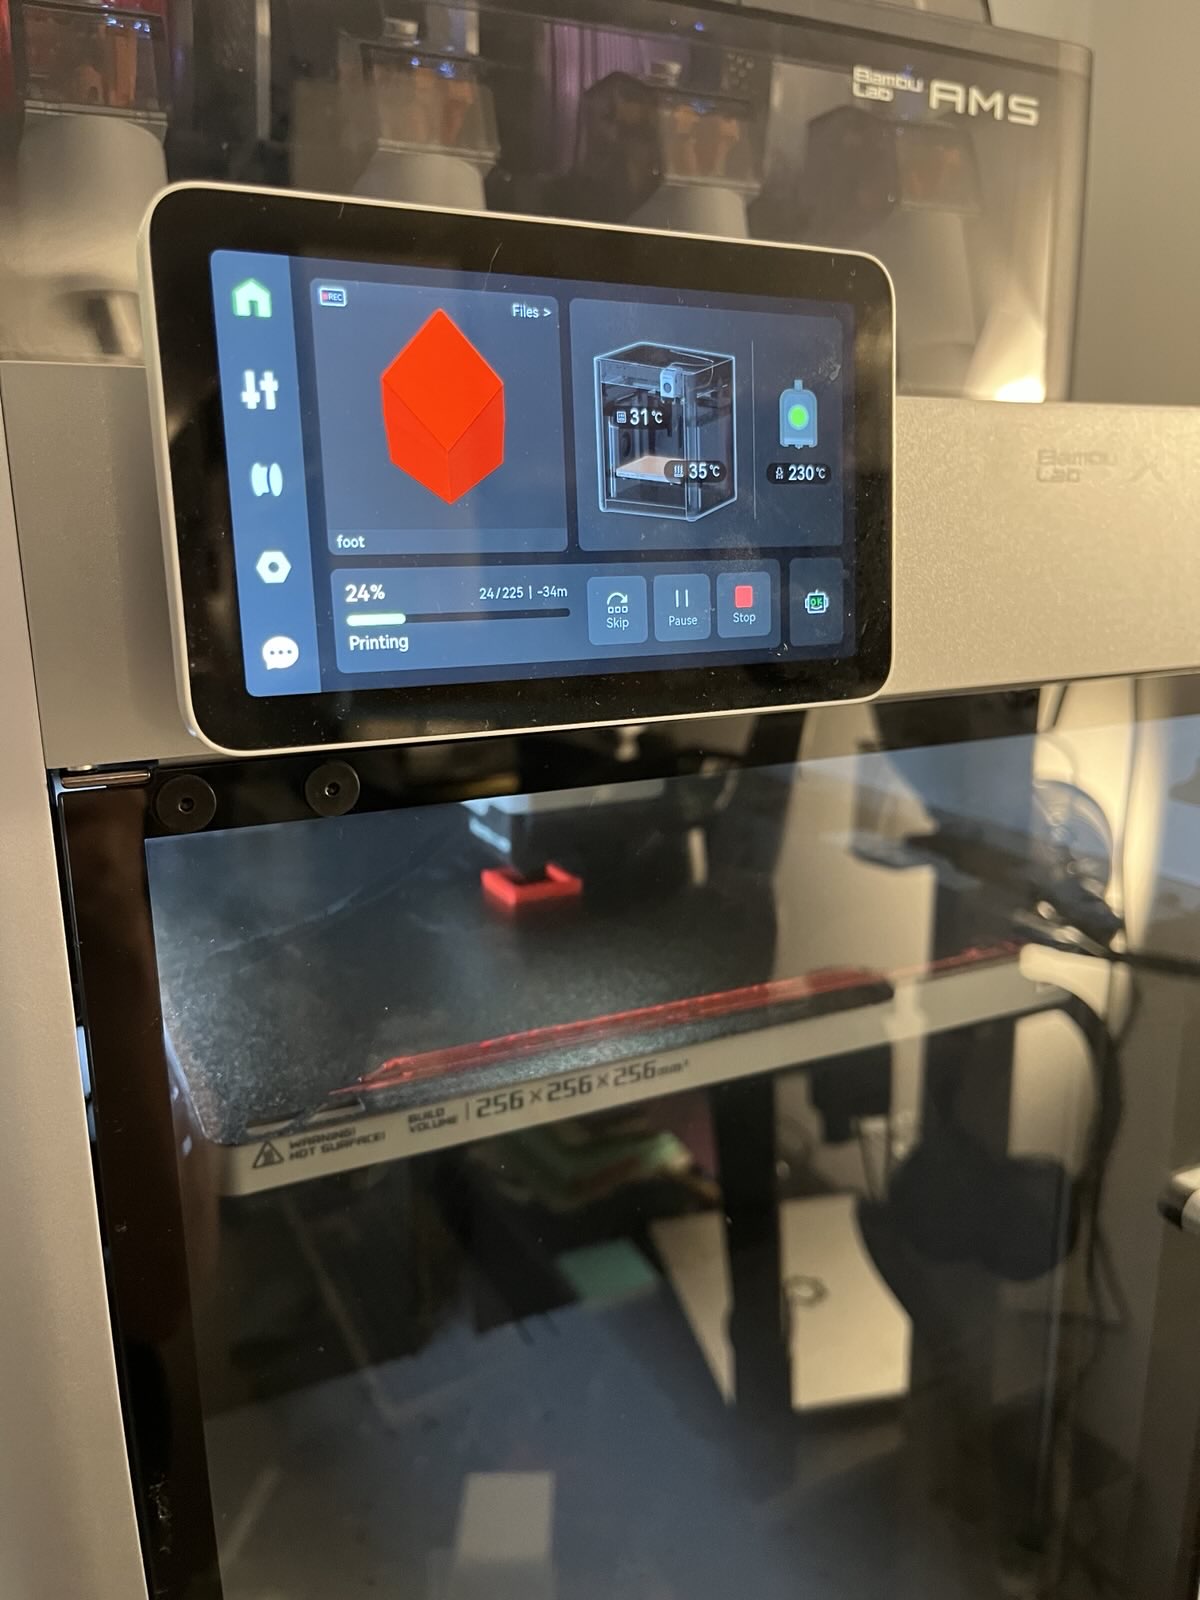
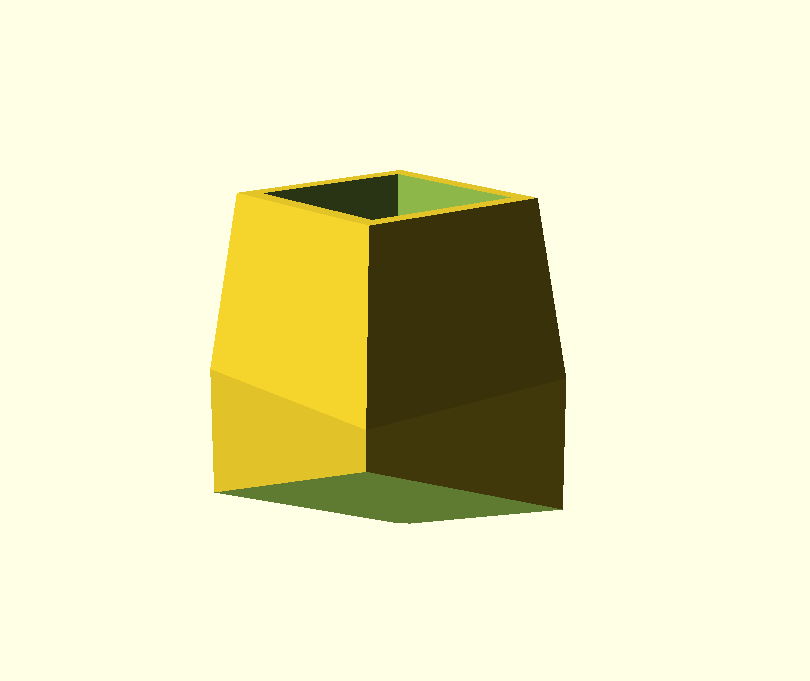
In this house we 3D print, so I dusted off my calipers, OpenSCAD, and trigonometry skills to make a replacement. I'll attach the OpenSCAD and final STL files to this post for posterity, but I definitely hit a point where the math looked right but the piece looked wrong, so I did some eyeball-based adjustments when tweaking the foot's resting face angle and a fudge factor to help the foot slip onto the machine leg.

Now I can machine knit without taking up the countertop space. This reduces my anxiety about having the machine "out" for long periods of time as I practice skills or work on more time-consuming project.
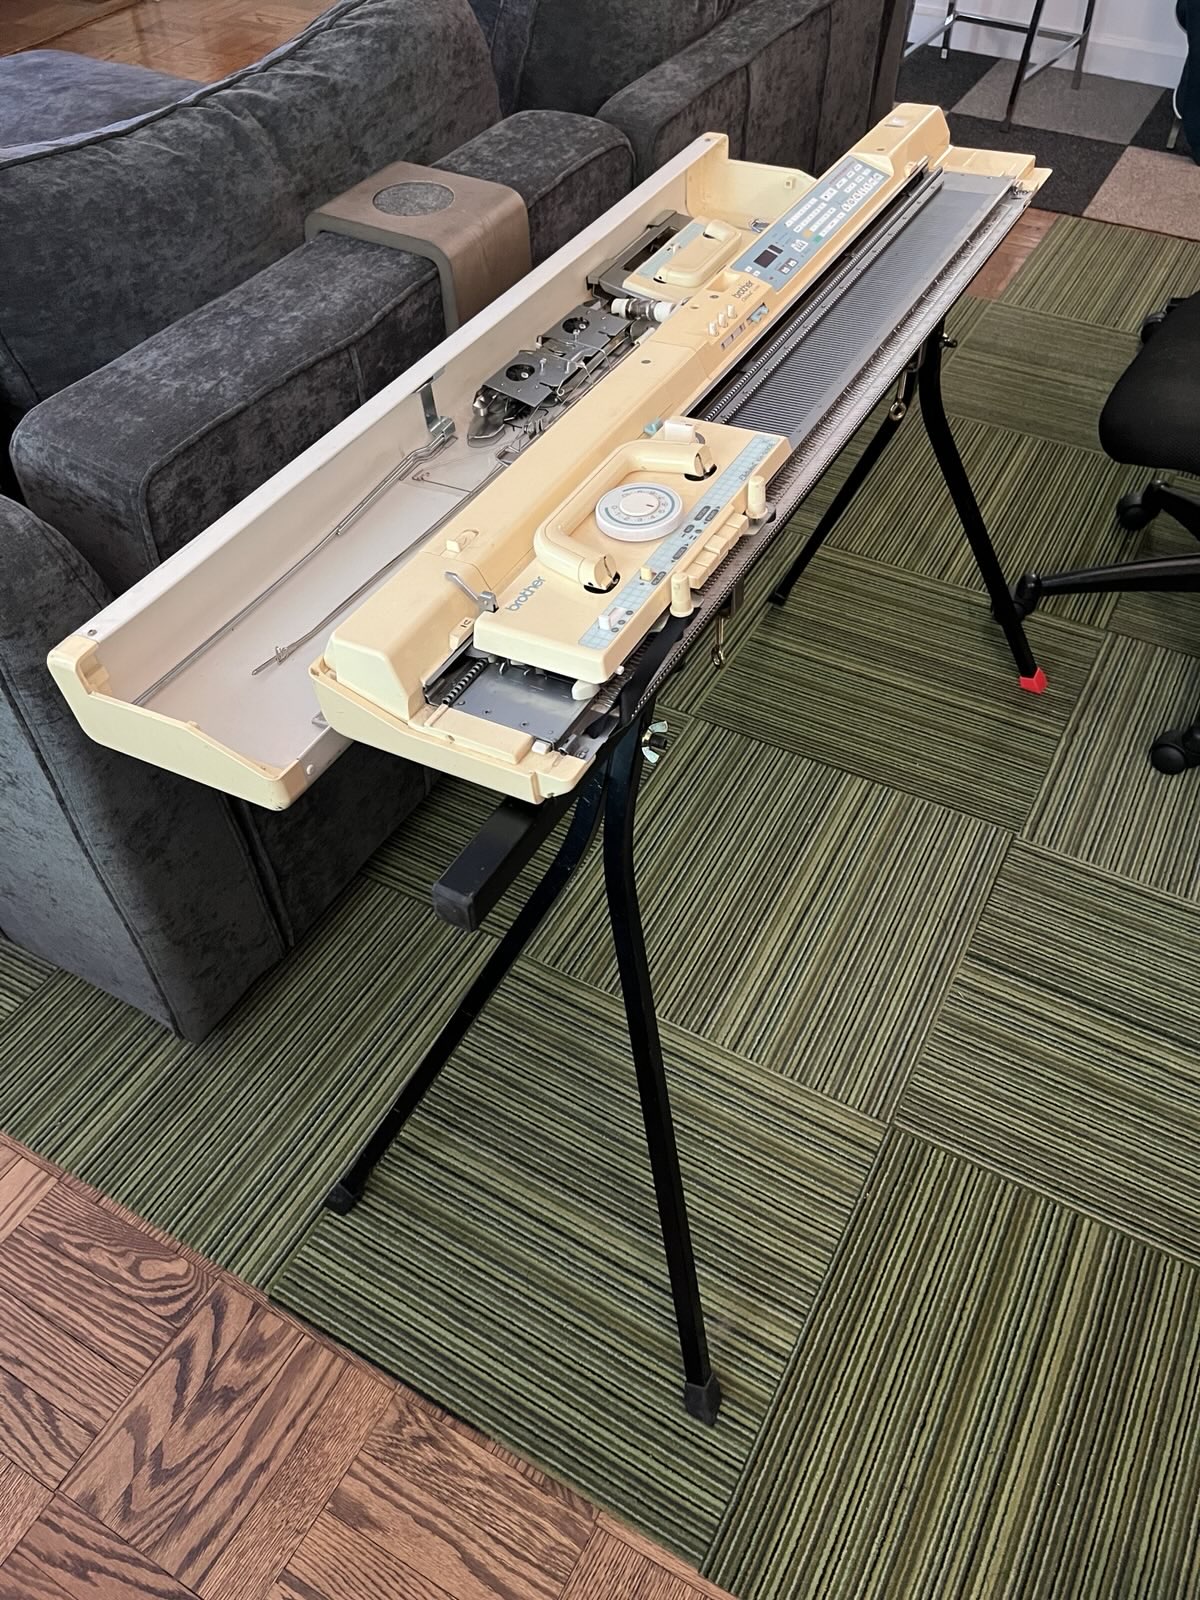
Of course, there is floor space to talk about, but that is slightly easier to negotiate at this point.
Files
- machine-stand-foot.scad
-
 1145 bytes. Updated
 - machine-stand-foot.stl
-
2084 bytes. Updated
This is a retro-post. Jump scare! I sure have read a lot of 2025-in-review posts recently! I am impressed by all that you have accomplished. Here's my 2025 wrapped (in yarn), in 20 photos about my machine knitting this year! Descriptions and links below.1, 2, and 3: my machine and samples from my first workshop at the Brooklyn Textile Arts Center (TAC). Workshop day 1. Workshop day 2. 4 and 5: my first hats. 6: a Fair Isle patterned hat, made after disassembling and cleaning my machine carriage. …