Machine knitting: forbidden socks
Before I reveal the story foreshadowed in my post about machine knitting some first hats, a digression.
One of my main goals with machine knitting is to be comfortable enough with the machine and techniques required to make custom two-color patterns with AYAB. To that end, I had given myself a very short syllabus:
- ✅ Do some swatching
- ✅ Make a single-color hat
- ❌ Make a two-color hat with a Fair Isle pattern
- 🔜 AYAB time
My attempt at a two-color Fair Isle patterned hat came out as a cool-but-wrong tuck stitch patterned hat. The "MC" button that activates multicolor Fair Isle knitting sits right over the "T" (tuck stitch) button, and they were well and truly frozen together. I will save that story for another time.
Meanwhile, the machine could definitely still knit, so I had no excuse not to keep learning and practicing.
Which brings me to socks.
As knitting project go, socks would appear to be small, fast, and easy. Depending on whose pattern you are following, there are a few techniques to learn. Plus you have to make two of them, so you are tested on your consistency.
Unfortunately, a lot of sock-knitting content is for circular knitting machines, or double-bed knitting machines with ribbing attachments, or for hand knitters.
Which is why I became obsessed with Diana Sullivan's No-Sew Socks
These socks are designed to be made on a single bed standard gauge knitting machine - like mine! They are knit top-to-bottom, back-to-front starting at the rear ankle hem, going down to a rounded heel, across the foot bottom, and around the toe. At that point, you switch techniques, picking up the stitches from previous rows to work your way back up and over the top of the foot, ankle, and hem. When it comes off the machine, it's a whole sock. You just need to hide the end threads, wash it, and block it.
While my machine matched the pattern requirements, Diana's pattern calls for thicker wool-blend sock yarn than what I have on-hand. In my "practice phase", I'm using thinner two-ply cotton, which means I have to adjust the row and column counts from Diana's pattern by a conversion factor - a multiplier based on the ratio of Diana's sock yarn gauge measurements with my own.
While some of this is easy multiplication, some of the techniques require adding or removing stitches at some "rate". In this case, creating the curved heel and tow areas involves "short rows", where more and more end needles are held at their current row while more rows are added to the middle. When the number of rows and stitches changes, you've also got to change instructions like "add one stitch into hold at the end of each row". Thankfully, my gauge's stitches-per-inch measured "close enough" to Diana's pattern, so I only needed to deal with the difference in rows - my thinner yarn came out to about 1.5x rows-per-inch compared with Diana's.
I did my best! Here's the pattern I came up with to try and make socks for Producer Amy.
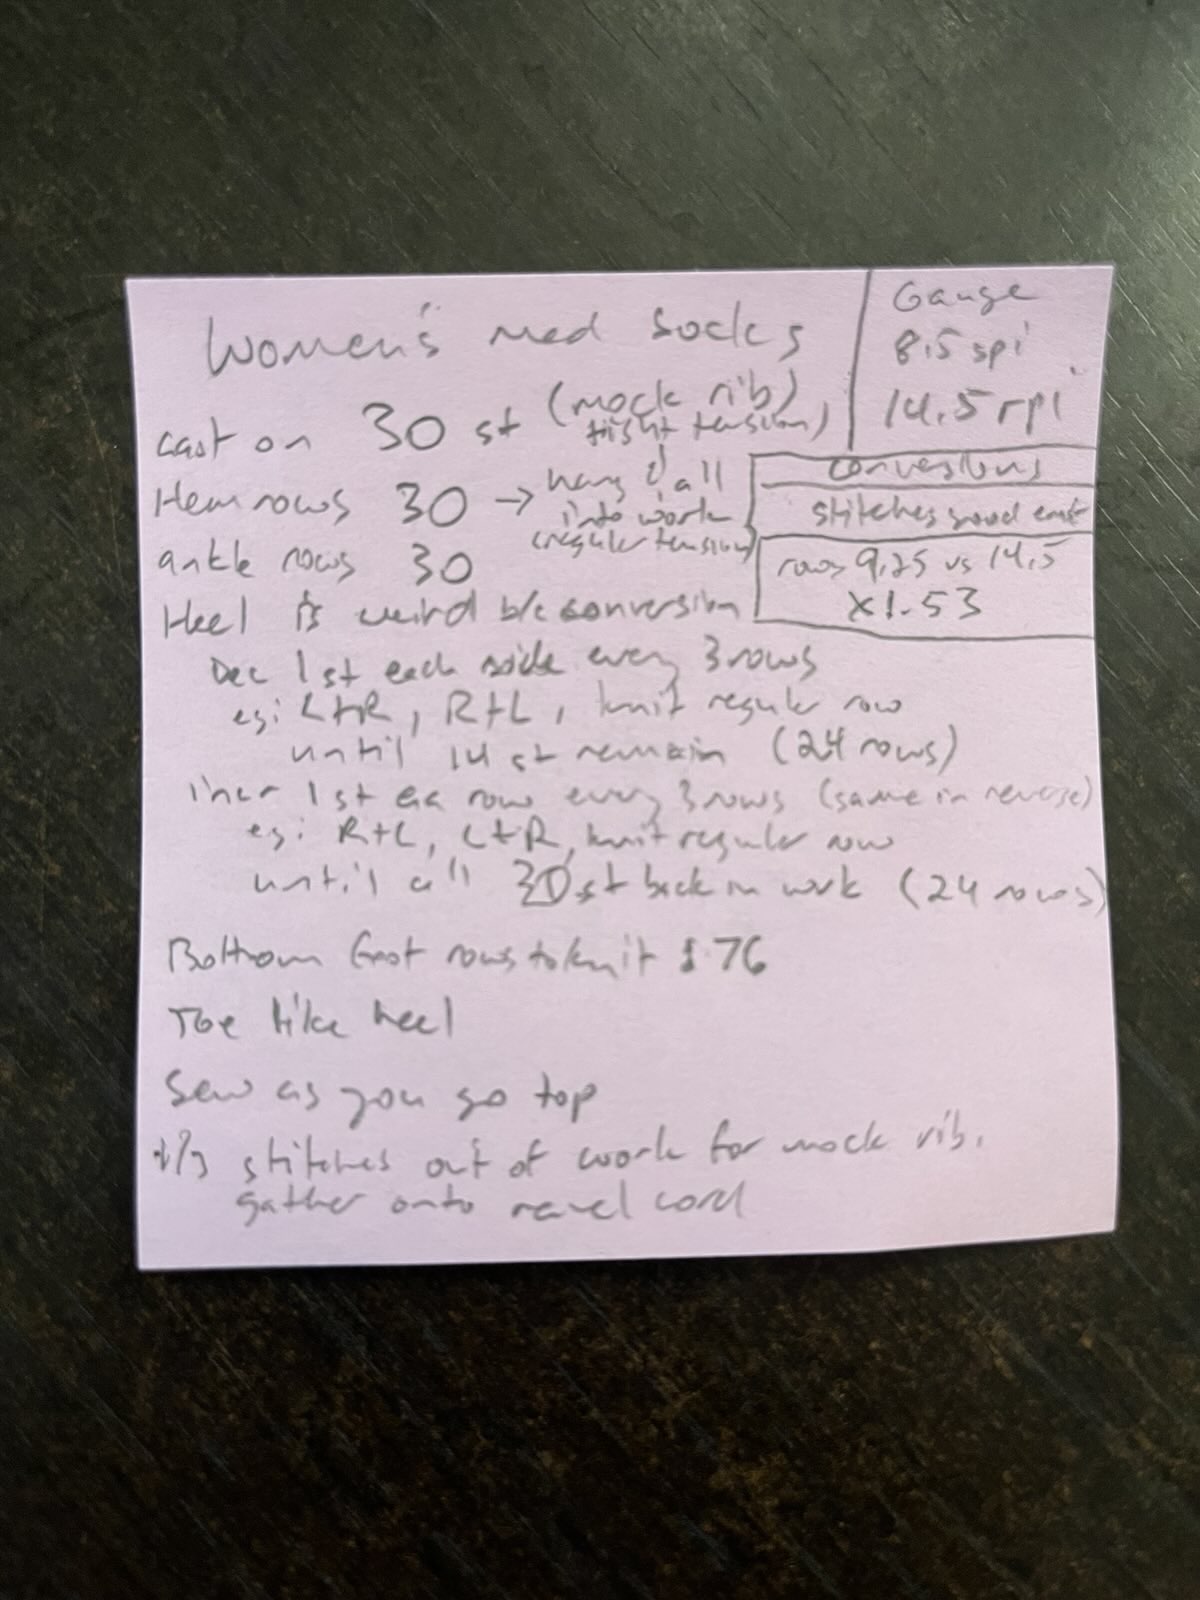
My pattern mostly follows Diana's until we get to the short rowing. Here, she calls for putting one needle into hold on each side as you knit each row, down to a certain number of needles, then short row back out at the same rate. The one-to-one ratio really simplifies the technique. Comparatively, I would need to knit 1.5x the number of rows with my thinner yarn. So I came up with a three-step waltz that moves two needles out of (or into) work every 3 rows.
- With carriage on the right, put the left-most needle in hold position and knit right-to-left.
- With carriage on the left, put the right-most needle in hold position and knit left-to-right.
- Leaving needles alone, knit back right-to-left.
- With carriage on the left, put the right-most needle in hold position and knit left-to-right.
- With carriage on the right, put the left-most needle in hold position and knit right-to-left.
- Leaving needles alone, knit back left-to-right.
- Repeat! (And when short-rowing out, put needles back into work rather than into hold.)
The resulting socks have some holes of various sizes in the short row areas. Being new to this technique I can't be sure whether each hole is from a mistake I made in the technique or because my two-stitches-per-three-rows adjustment needed an extra needle wrapped here or there.
Anyway. Sock photos.
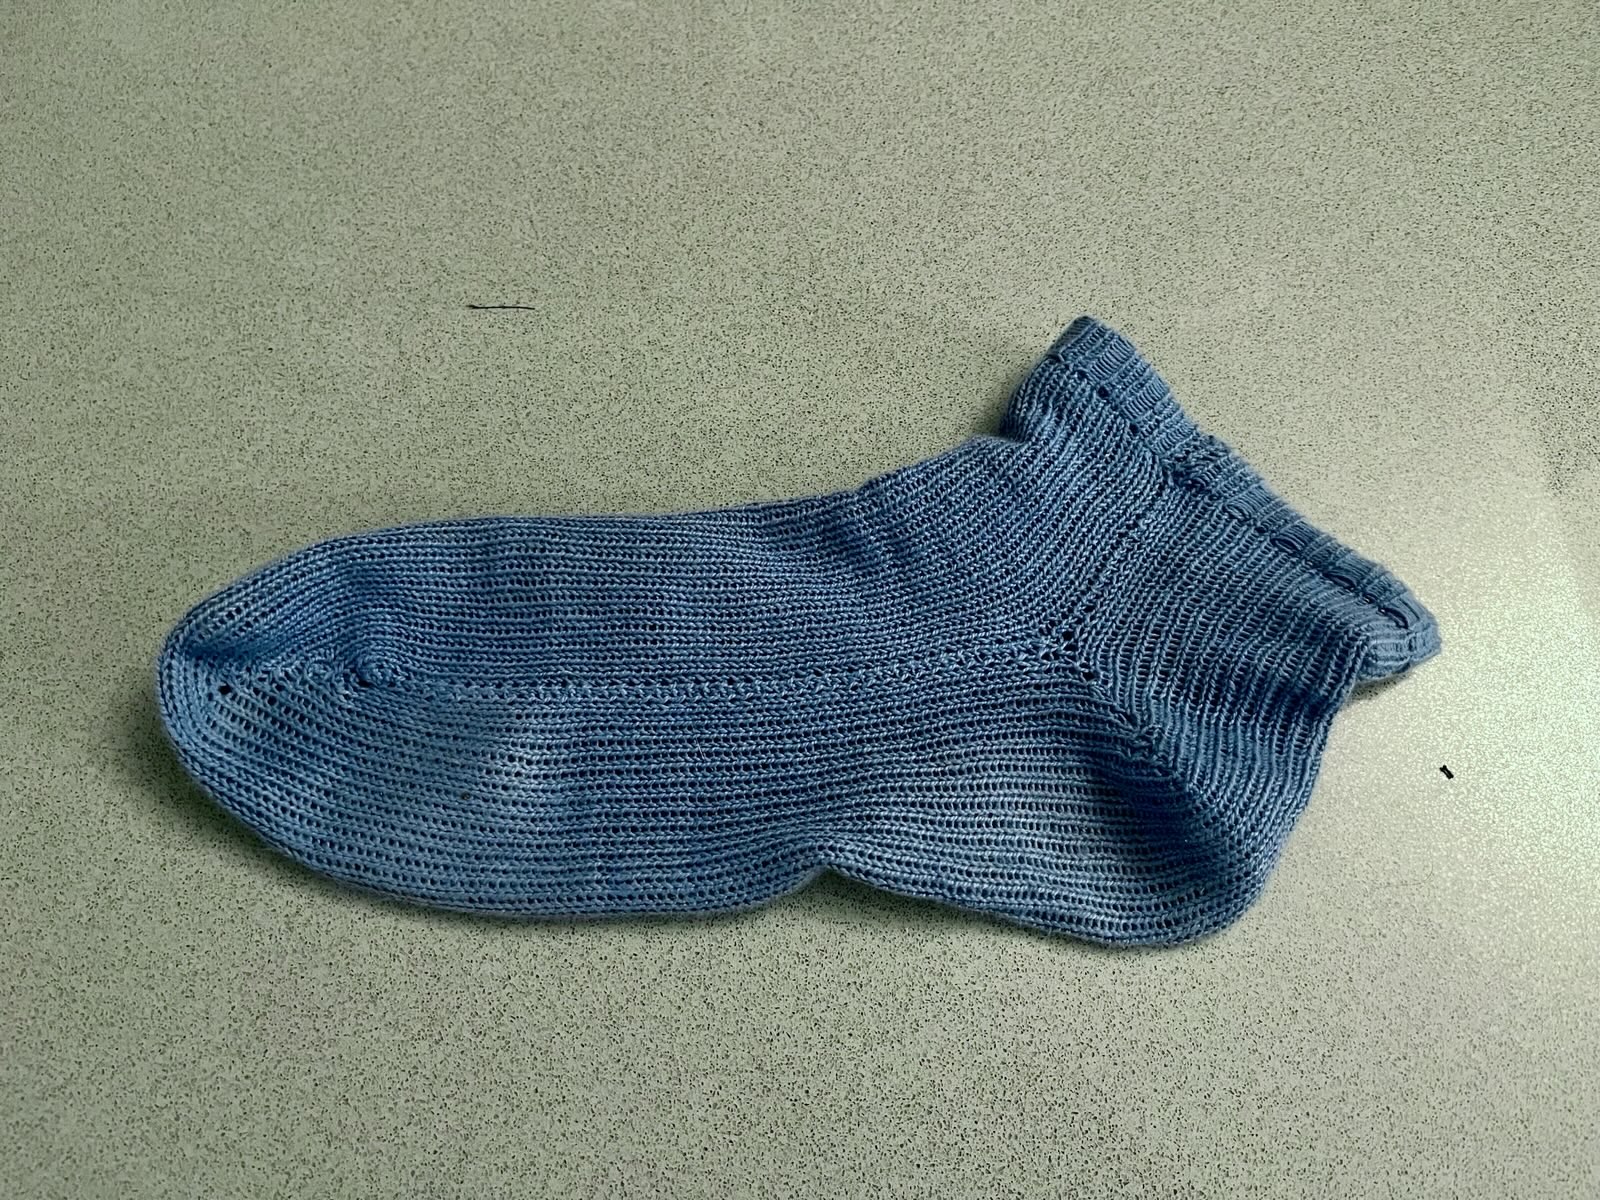
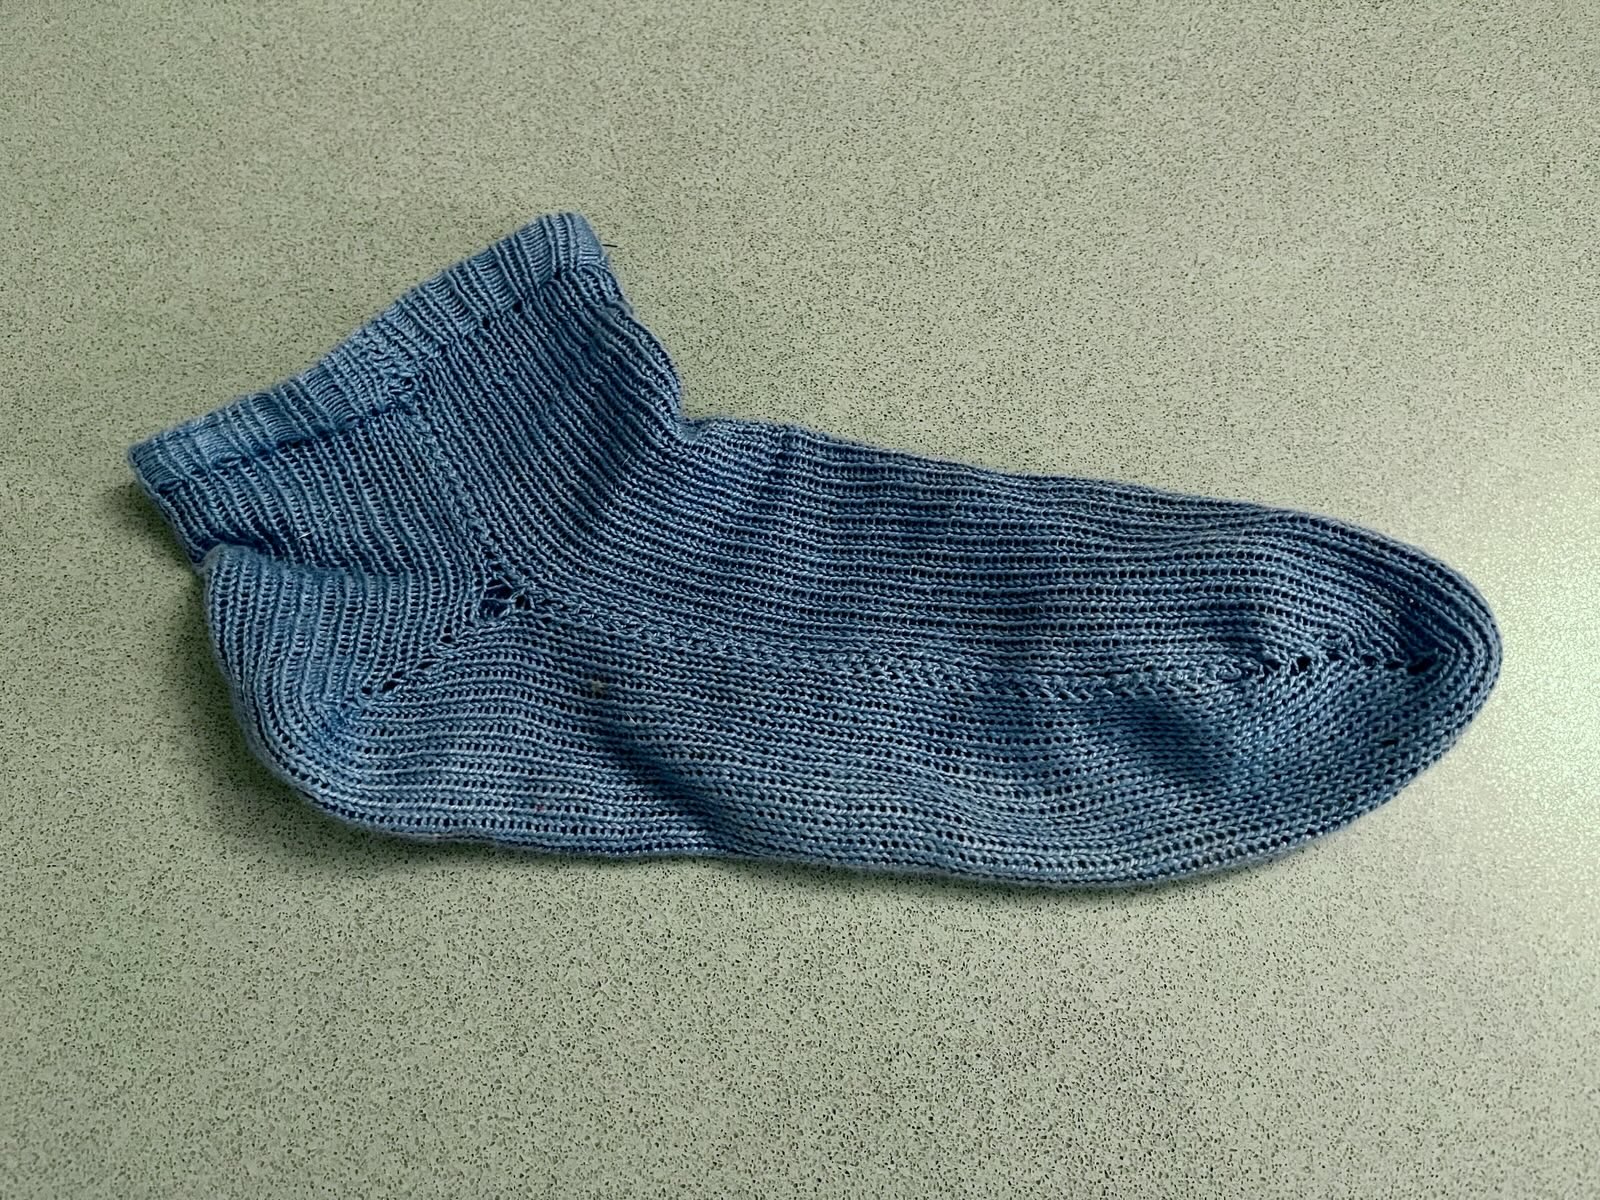
Despite some issues, they look like socks! But do they sock??
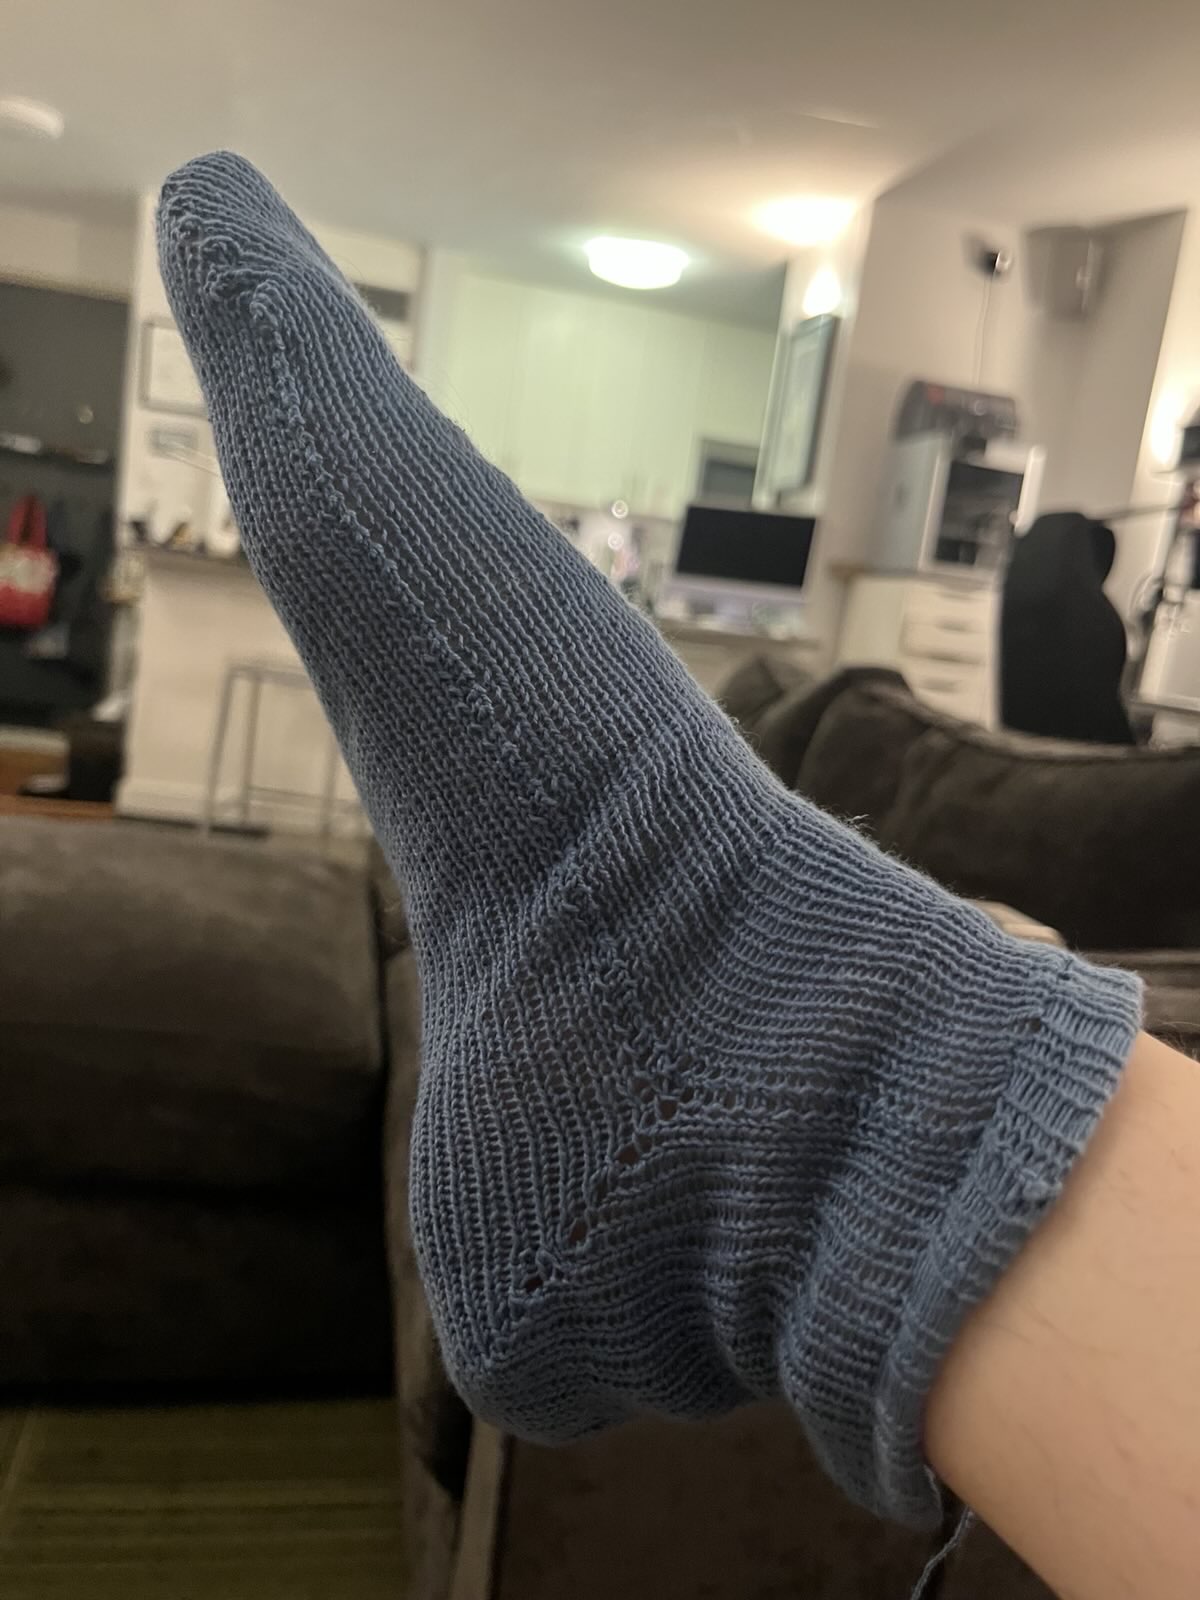
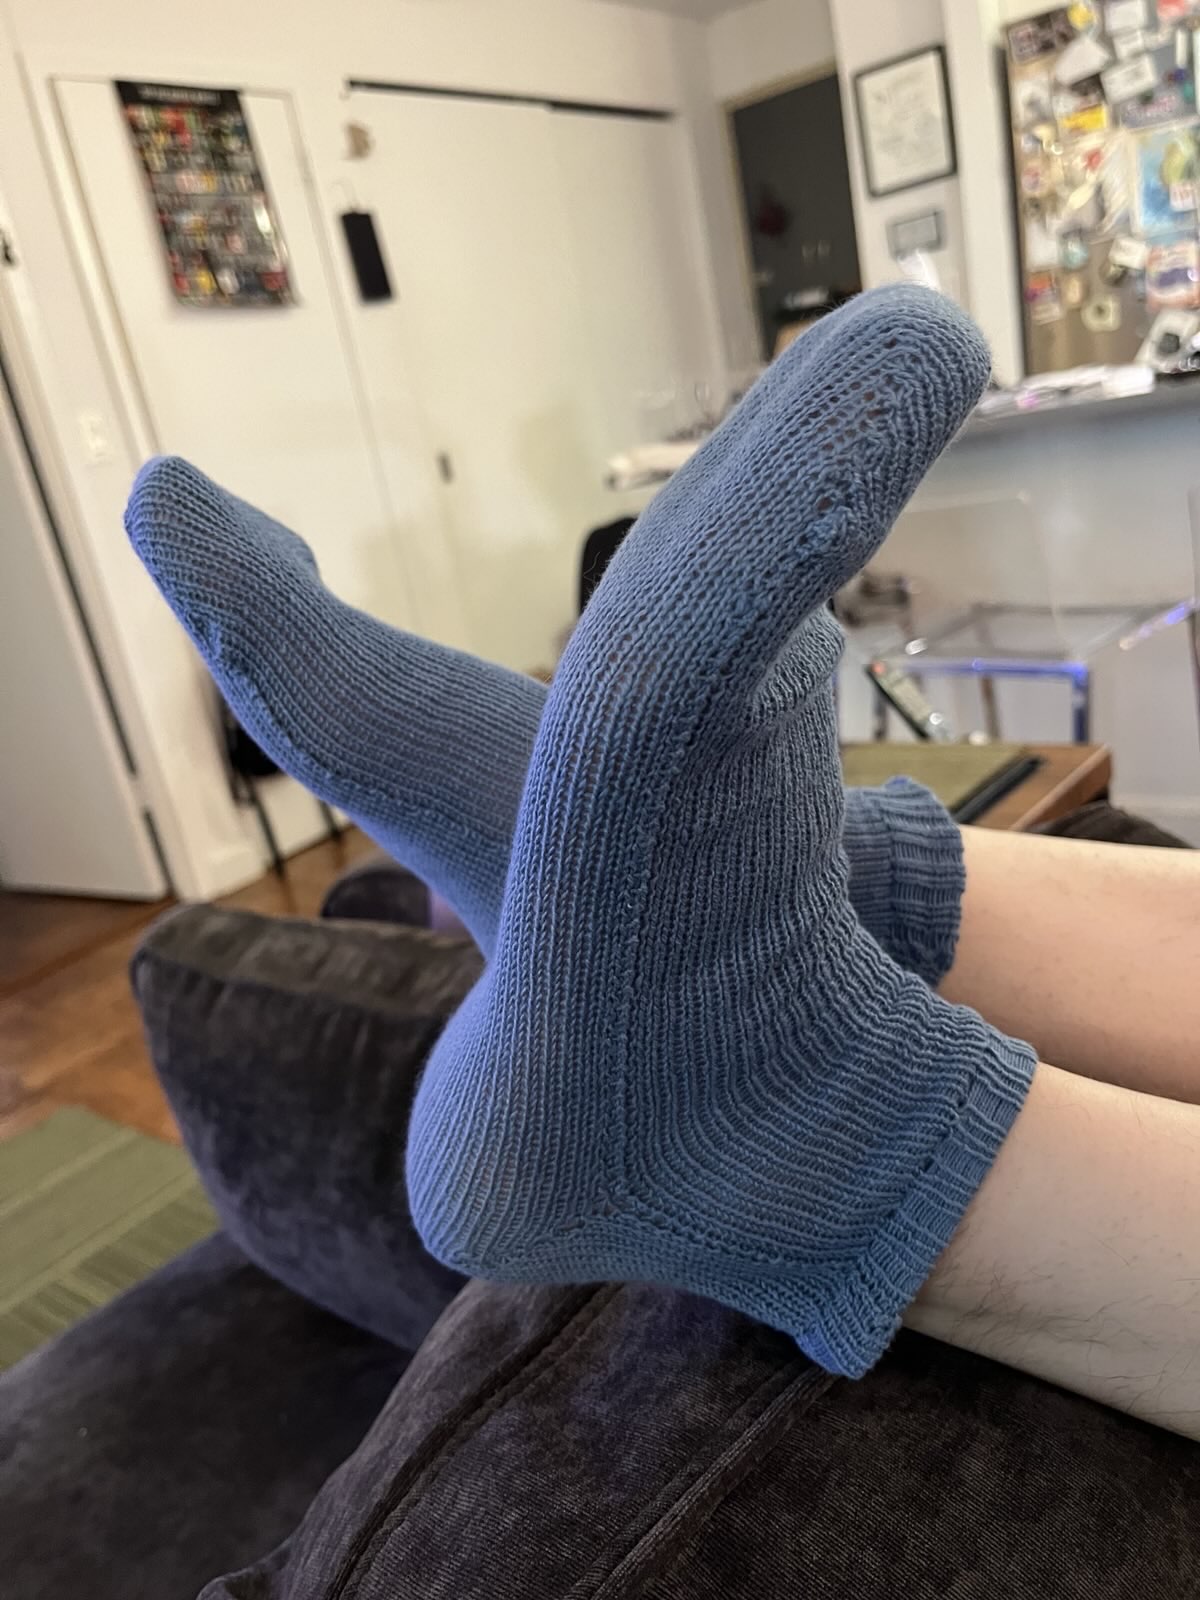
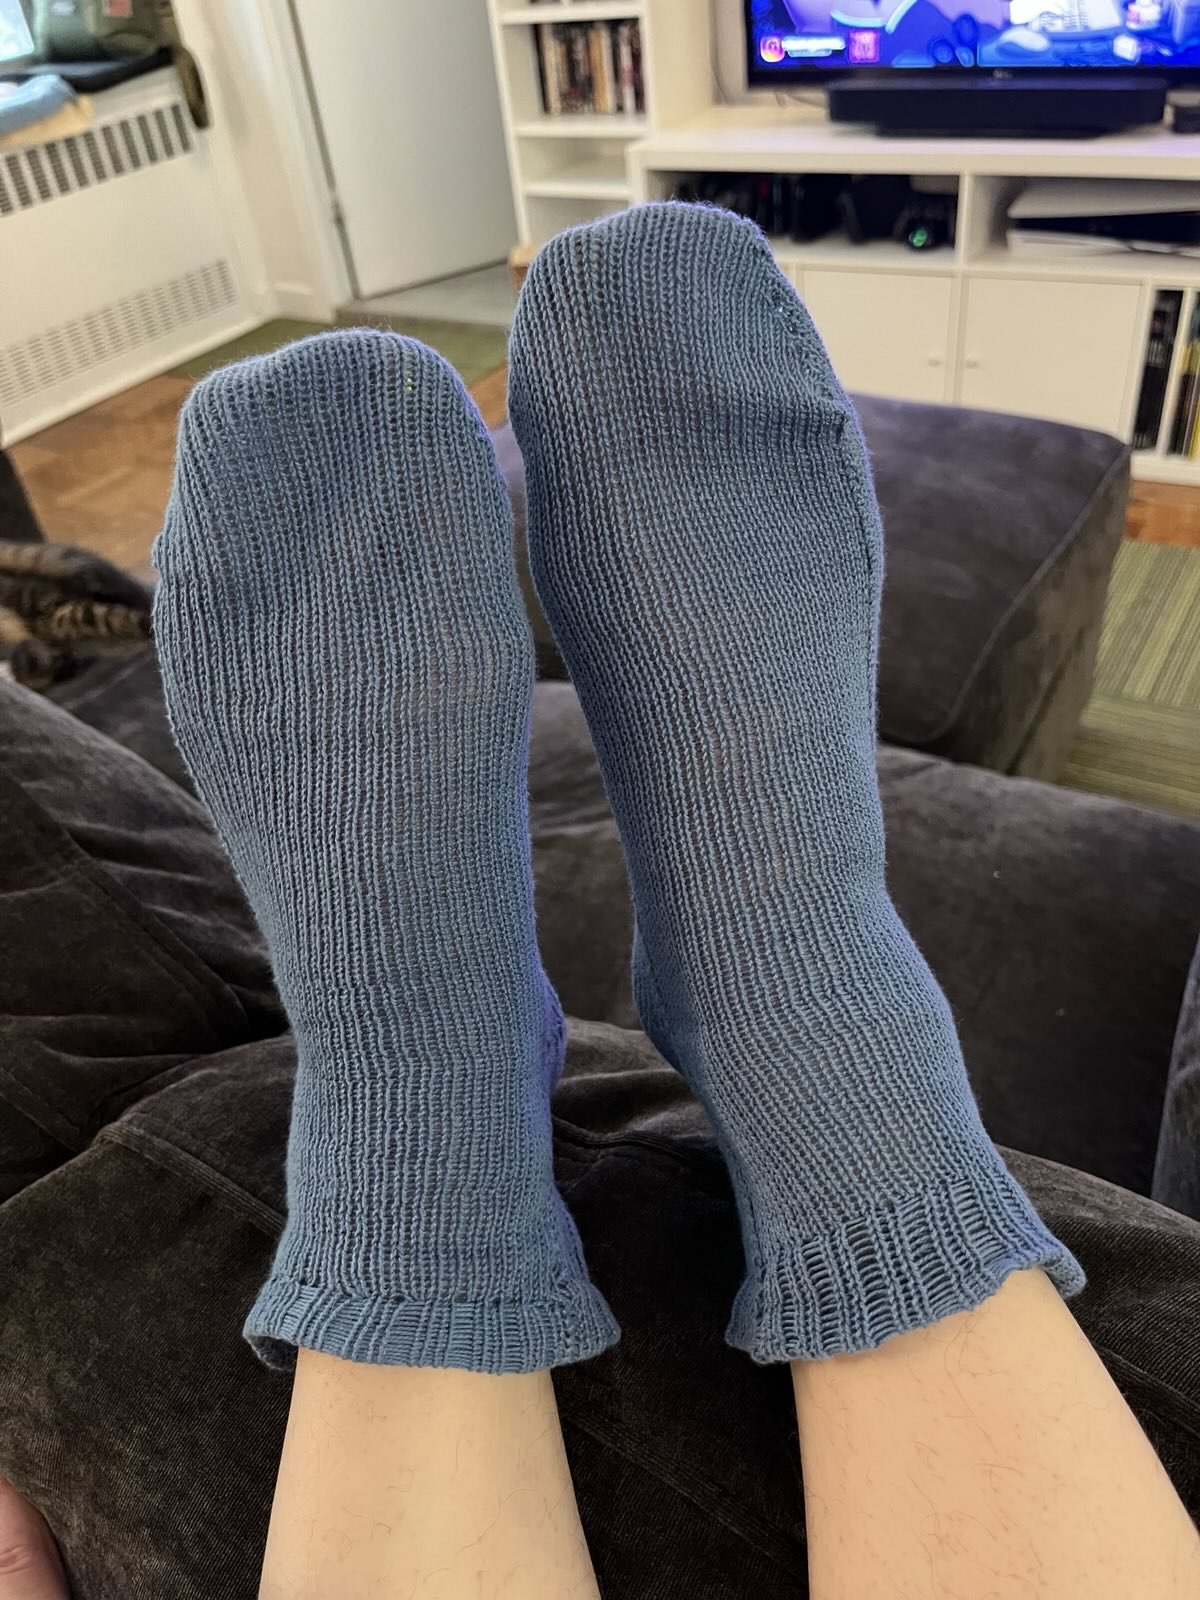
Something is... not right with the final seam inside the front hem of the socks. I think perhaps I am finishing them off the machine too tightly. Or perhaps a different yarn would have more give. Whatever the reason, these were really difficult for Producer Amy to get on her feet, stretching only up to a point and no further. These photos were taken before washing and blocking, which I knew would shrink the final socks further.
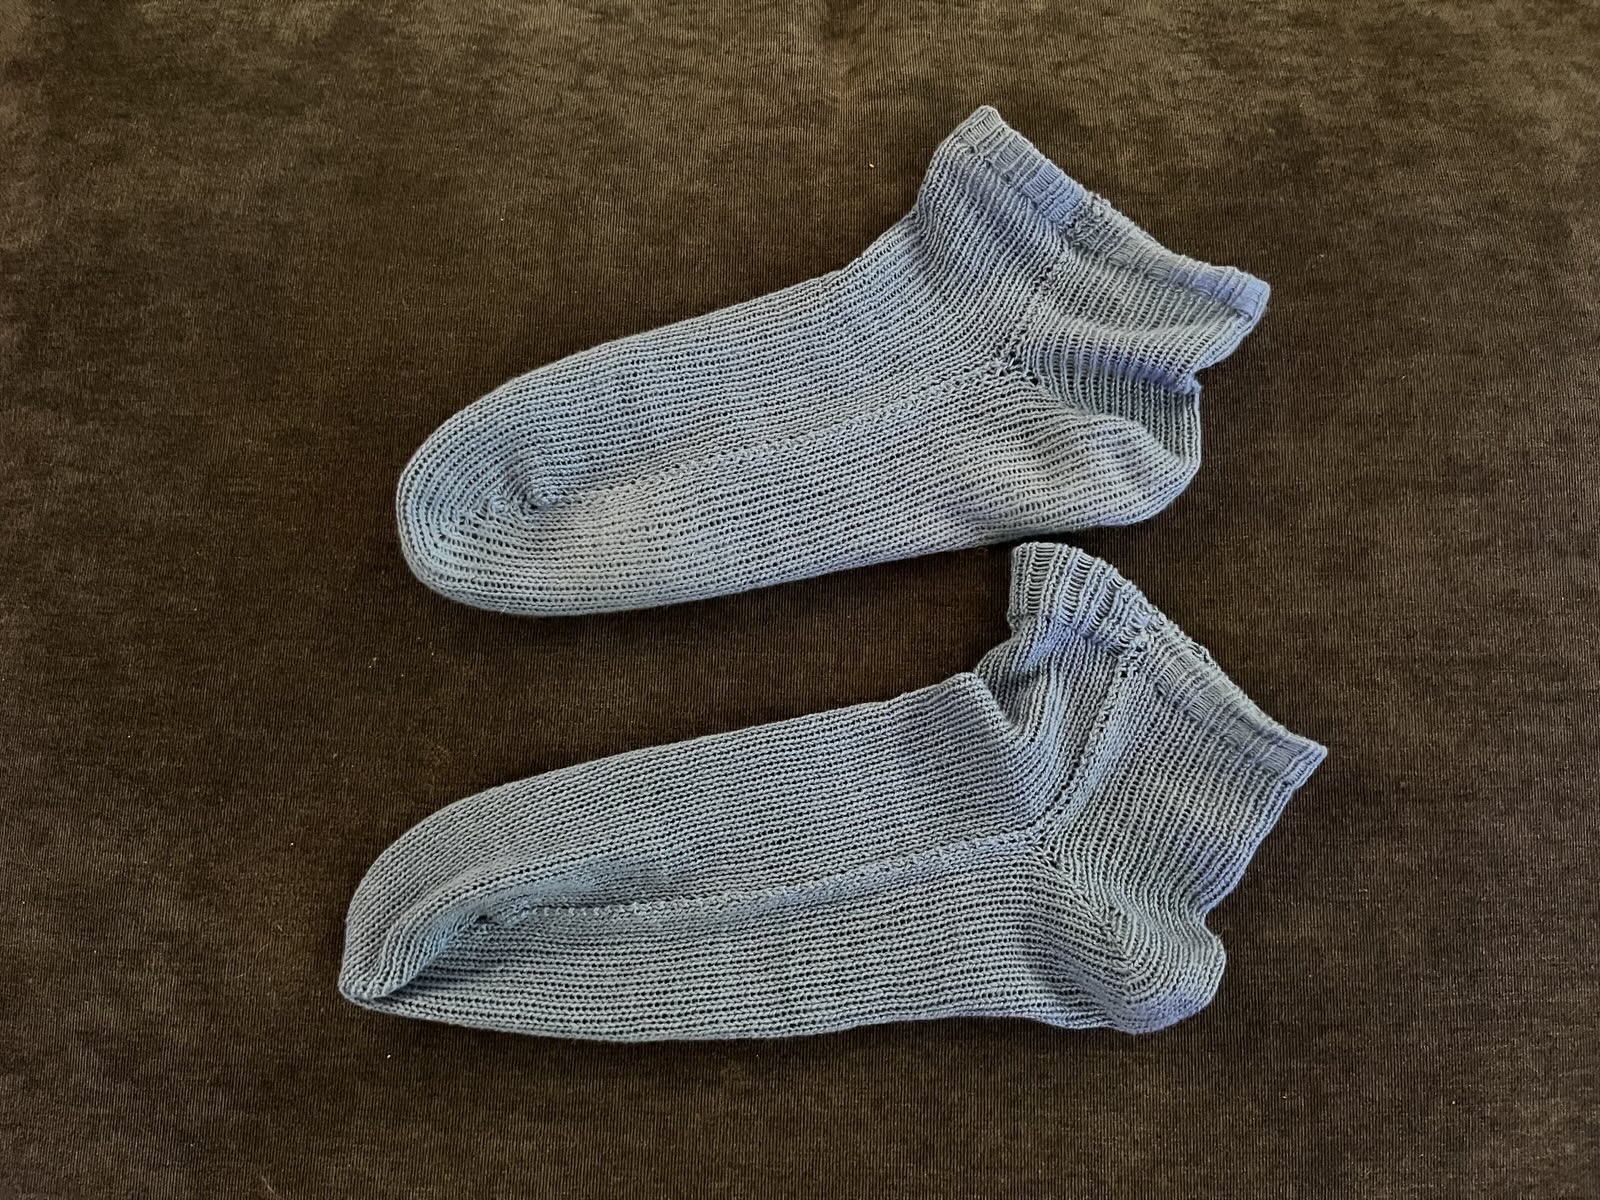
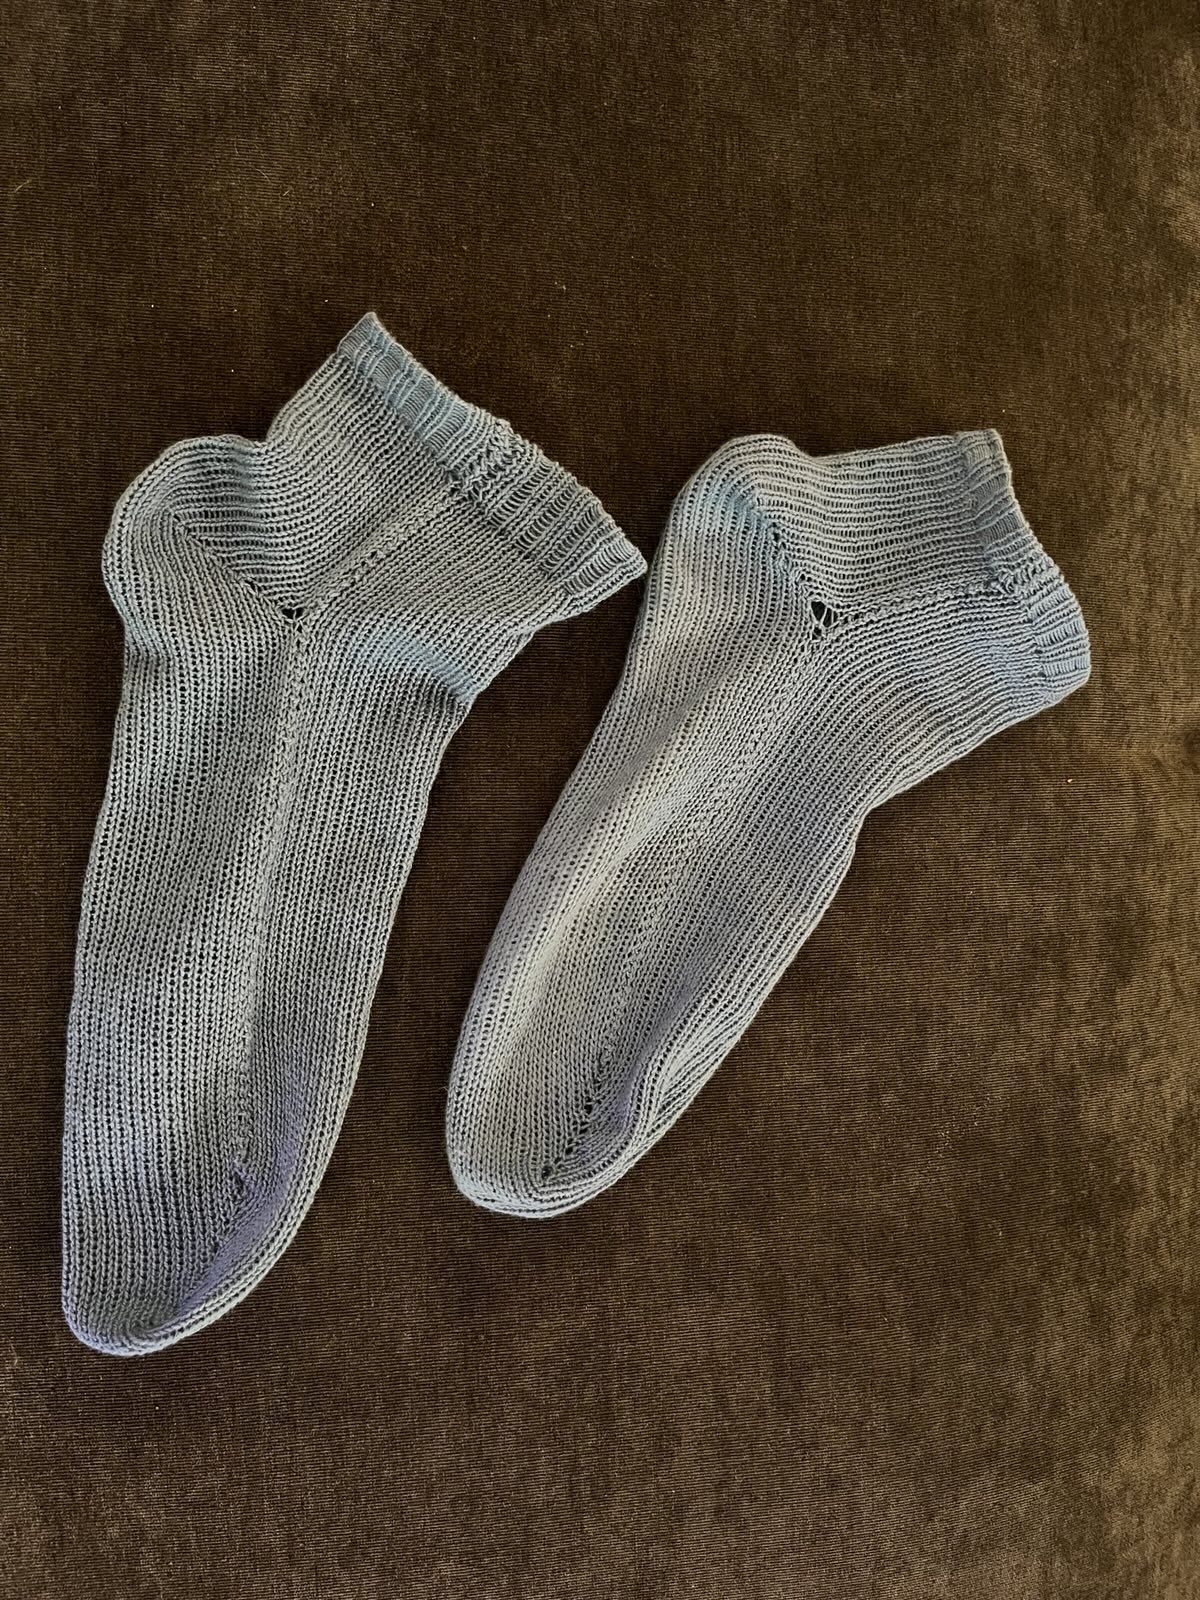
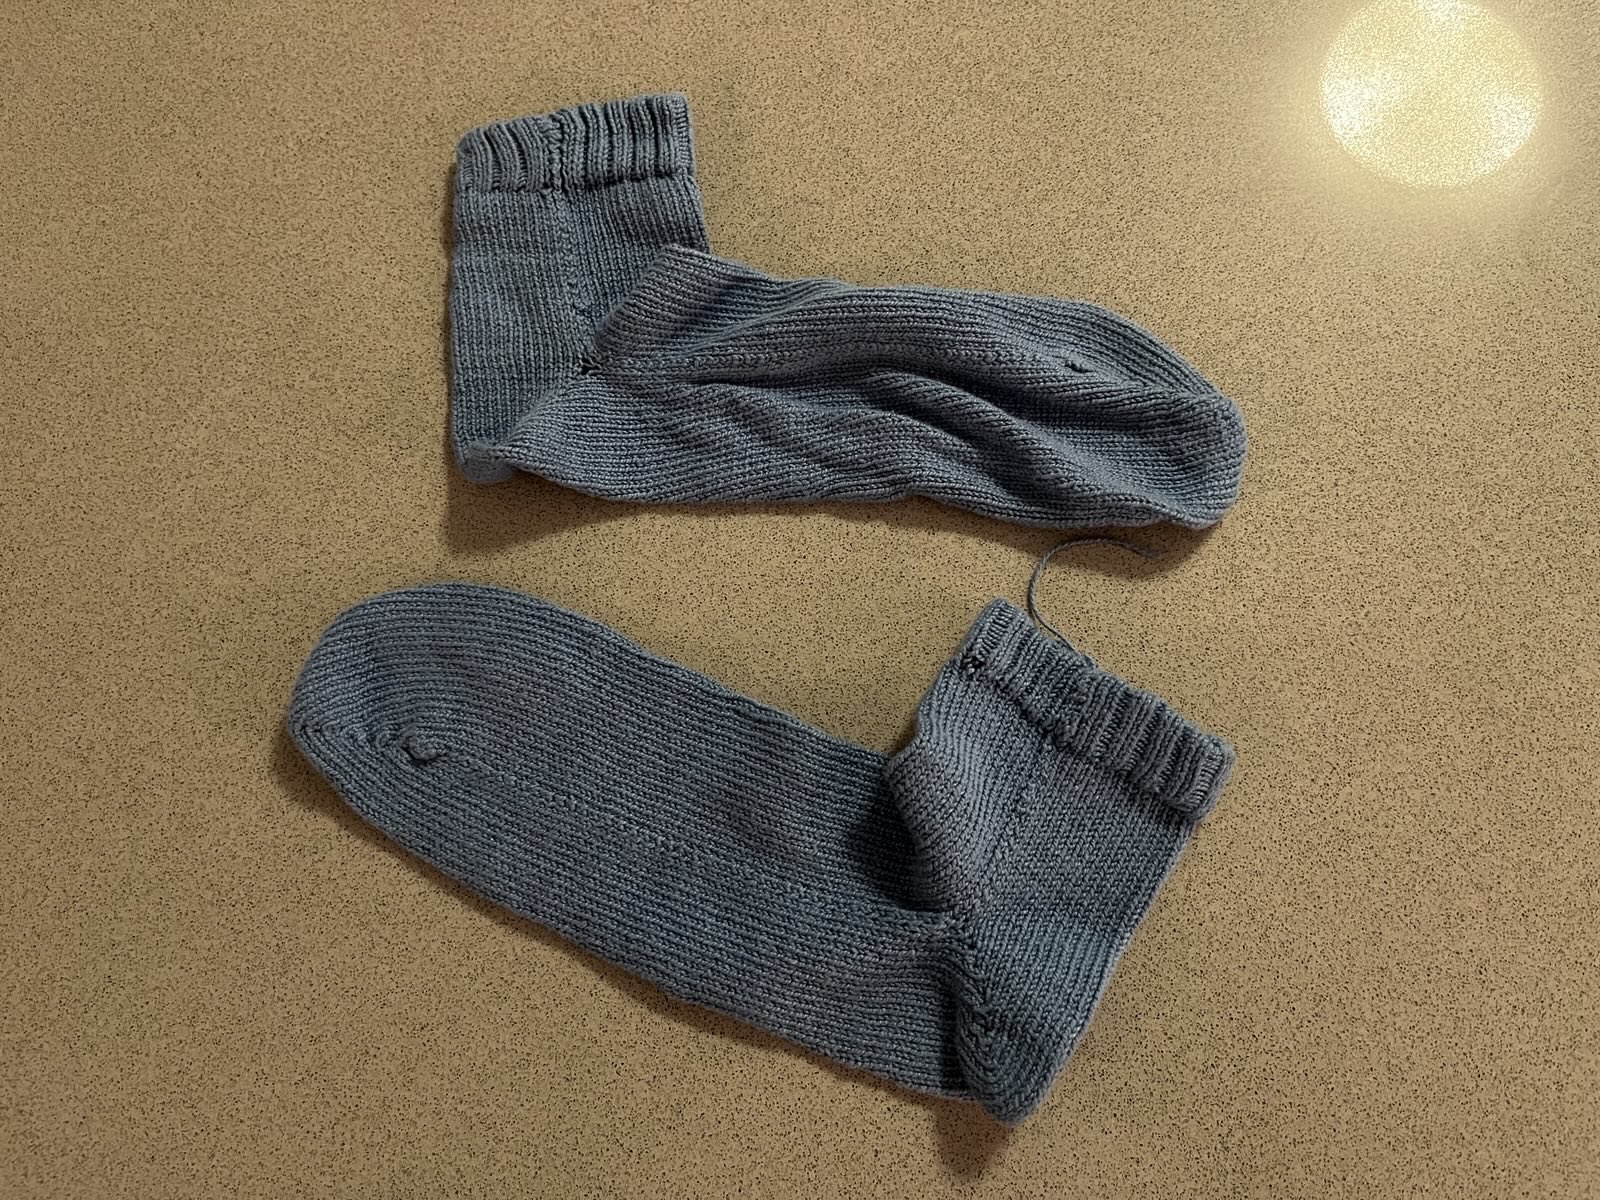
After washing, these look a little better! The fibers have pulled together. The too-loose front hem on one sock is more visible.
Neither of these are wearable now, unfortunately. But I learned a lot and got experience with some important techniques. I look forward to trying again with some actually-meant-for-socks yarn that more closely match the pattern. And some more practice!