Machine knitting: carriage return to work
As mentioned in my first-hat and forbidden socks posts my Brother KH-930e knitting machine was unable to knit two-color Fair Isle patterning due to two cam buttons being stuck together.
I didn't really know where to start with figuring this out. I remember doing some semi-fruitless web searching, before finally deciding to learn how to disassemble the carriage enough to look at it and see if I could find something obvious.
I started by hunting down the service manual PDF for my machine and following the instructions there. Those instructions and diagrams helped me get the handle and the cover off, as well as most of the way to removing the cartridge-like structure that mounts the cam control buttons. I was scared off by the "remove these springs" steps, as I did not see a way to remove the small springs without bending them.
At the end of this process I was able to determine that the buttons themselves were not stuck together. It was the plates that each of these buttons controls. If I wanted to get inside to see what was going on, I would definitely have needed to get those springs out, and plan for some messier and more fiddly work.
Disappointed and anxious, I reassembled the carriage. Thankfully, it still worked, though still without Fair Isle support. Between the mess of old oil and grease, and my anxiety about getting the carriage apart and together again, I didn't even take photos of this part of the process.
That's when I found the videos that would have saved me all the trouble!
This Cleaning Brother Carriages from theanswerladyknits on YouTube has so much information about Brother (and other) knitting machines, in-depth disassembly and cleaning videos, lists of what to buy, and even explanations about common issues like the exact button-sticking problem I was facing. I cannot stress enough how relieving and exciting it was to find these videos.
I went a little overboard and bought their whole deep-clean-and-restore shopping list, which ended up being a little over $100 worth of oils and solvents and lubes and oil-soaking rags. I only planned to use 2 or 3 of these, in order to unstick the button cams, but wanted the other stuff on hand in case I needed to go further.
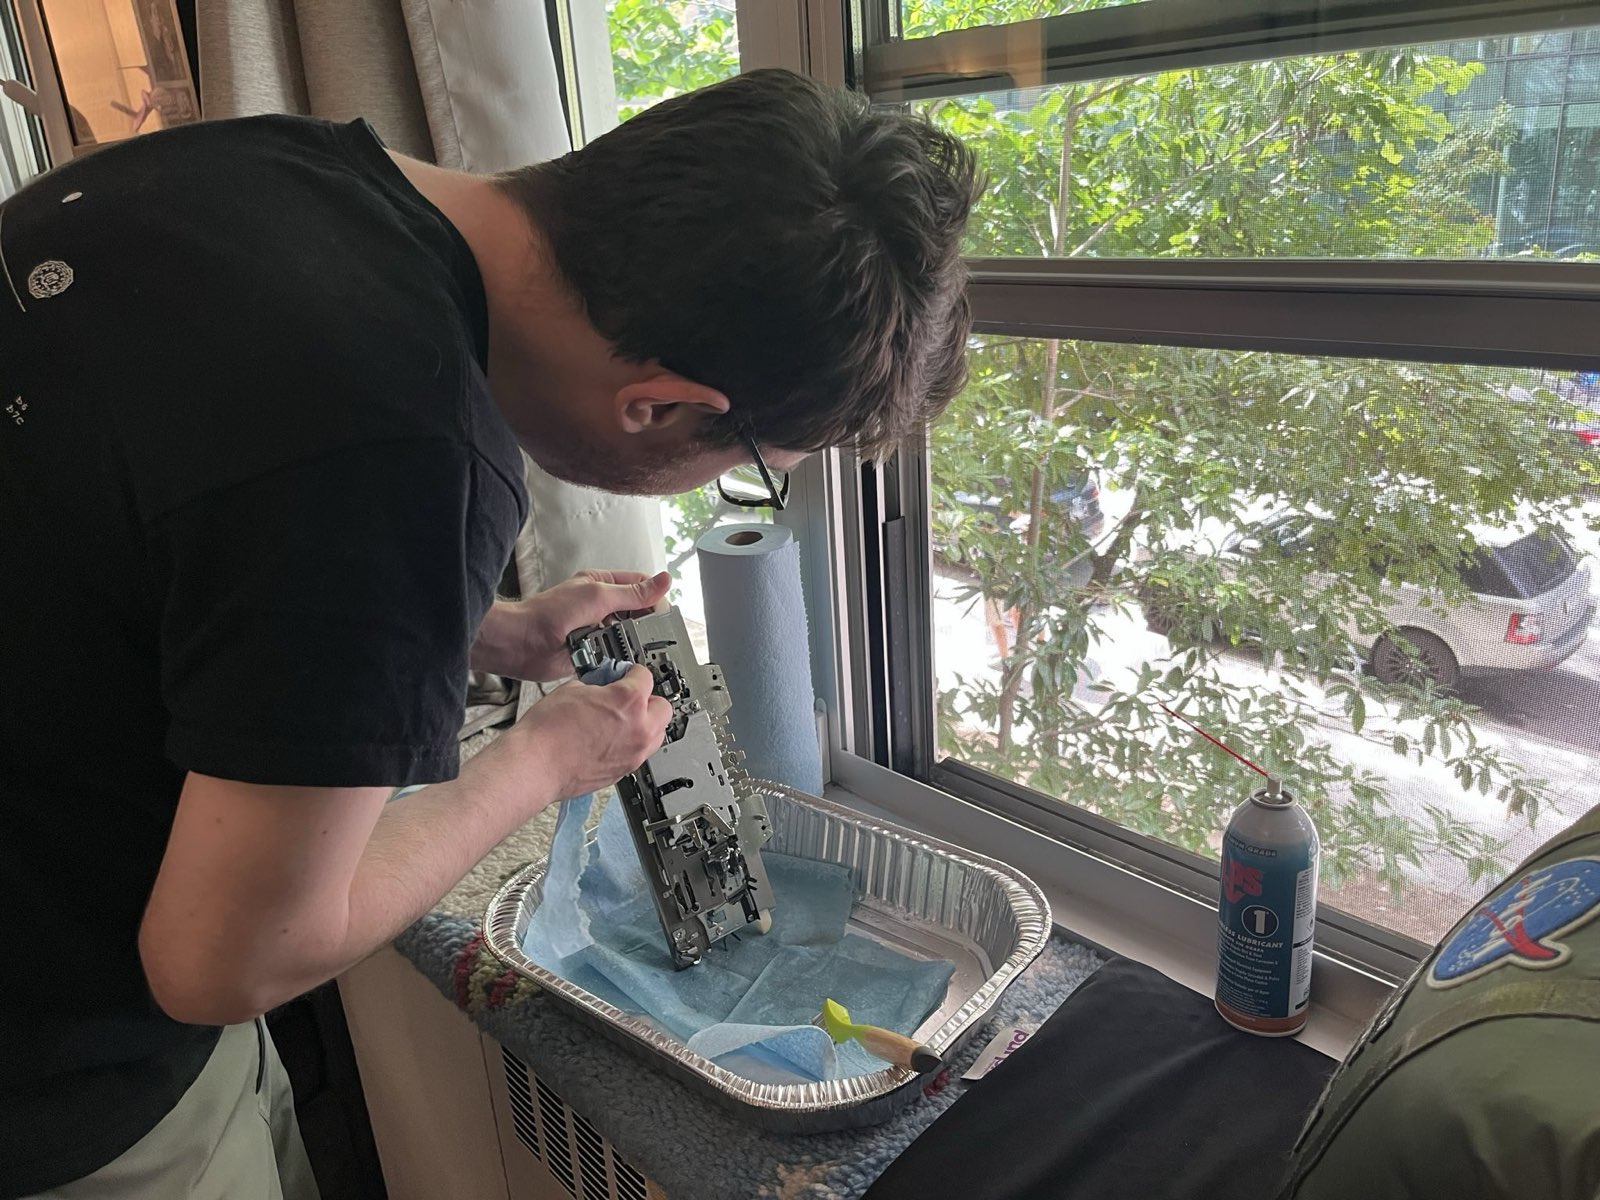
Once I had all the fluids, I picked up an aluminum turkey pan as a portable work tray. This served to keep all the oil and gunk away from the surfaces in our small apartment, let me spray next to a window for better ventilation, and store it out of the way as I let things soak.
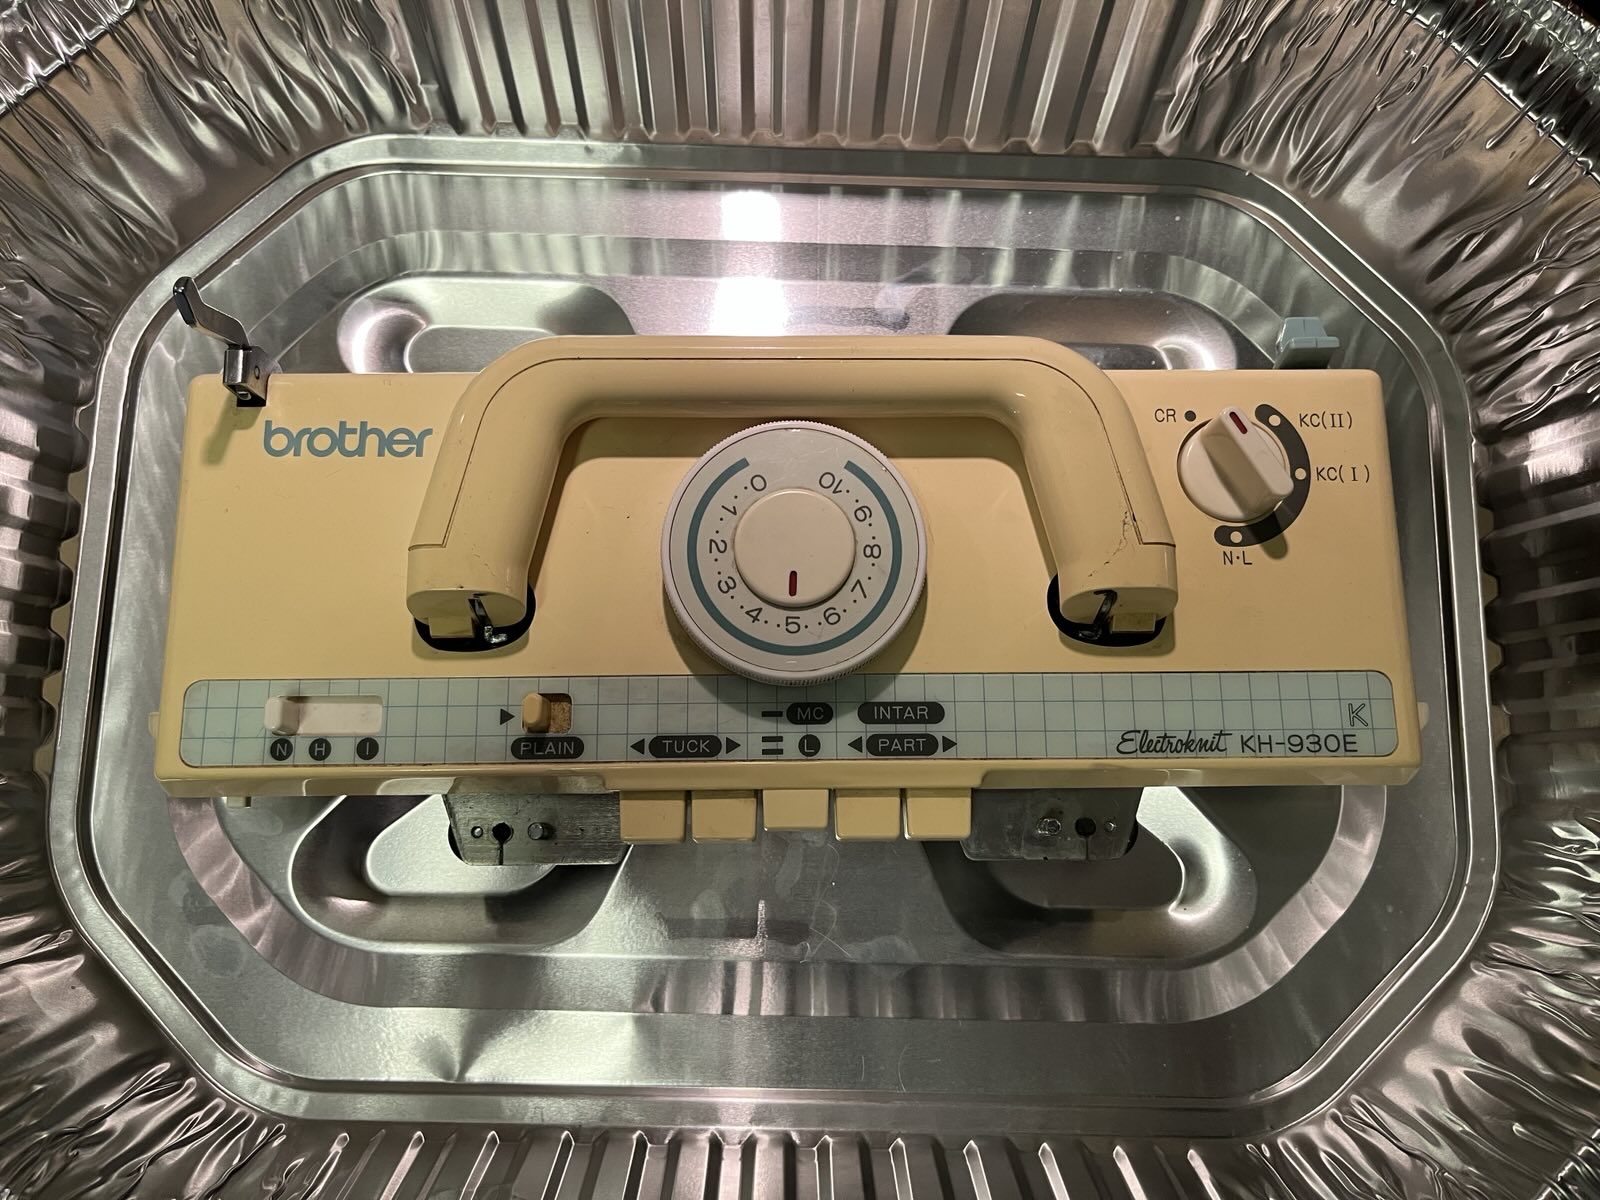

Our carriage was pretty clean, overall, but with old yellow-orange grease pretty visible. According to the videos on theanswerladyknits channel, this is old lithium grease, likely from when the carriage was first assembled. That suggests our machine had not seen much use since its early days.
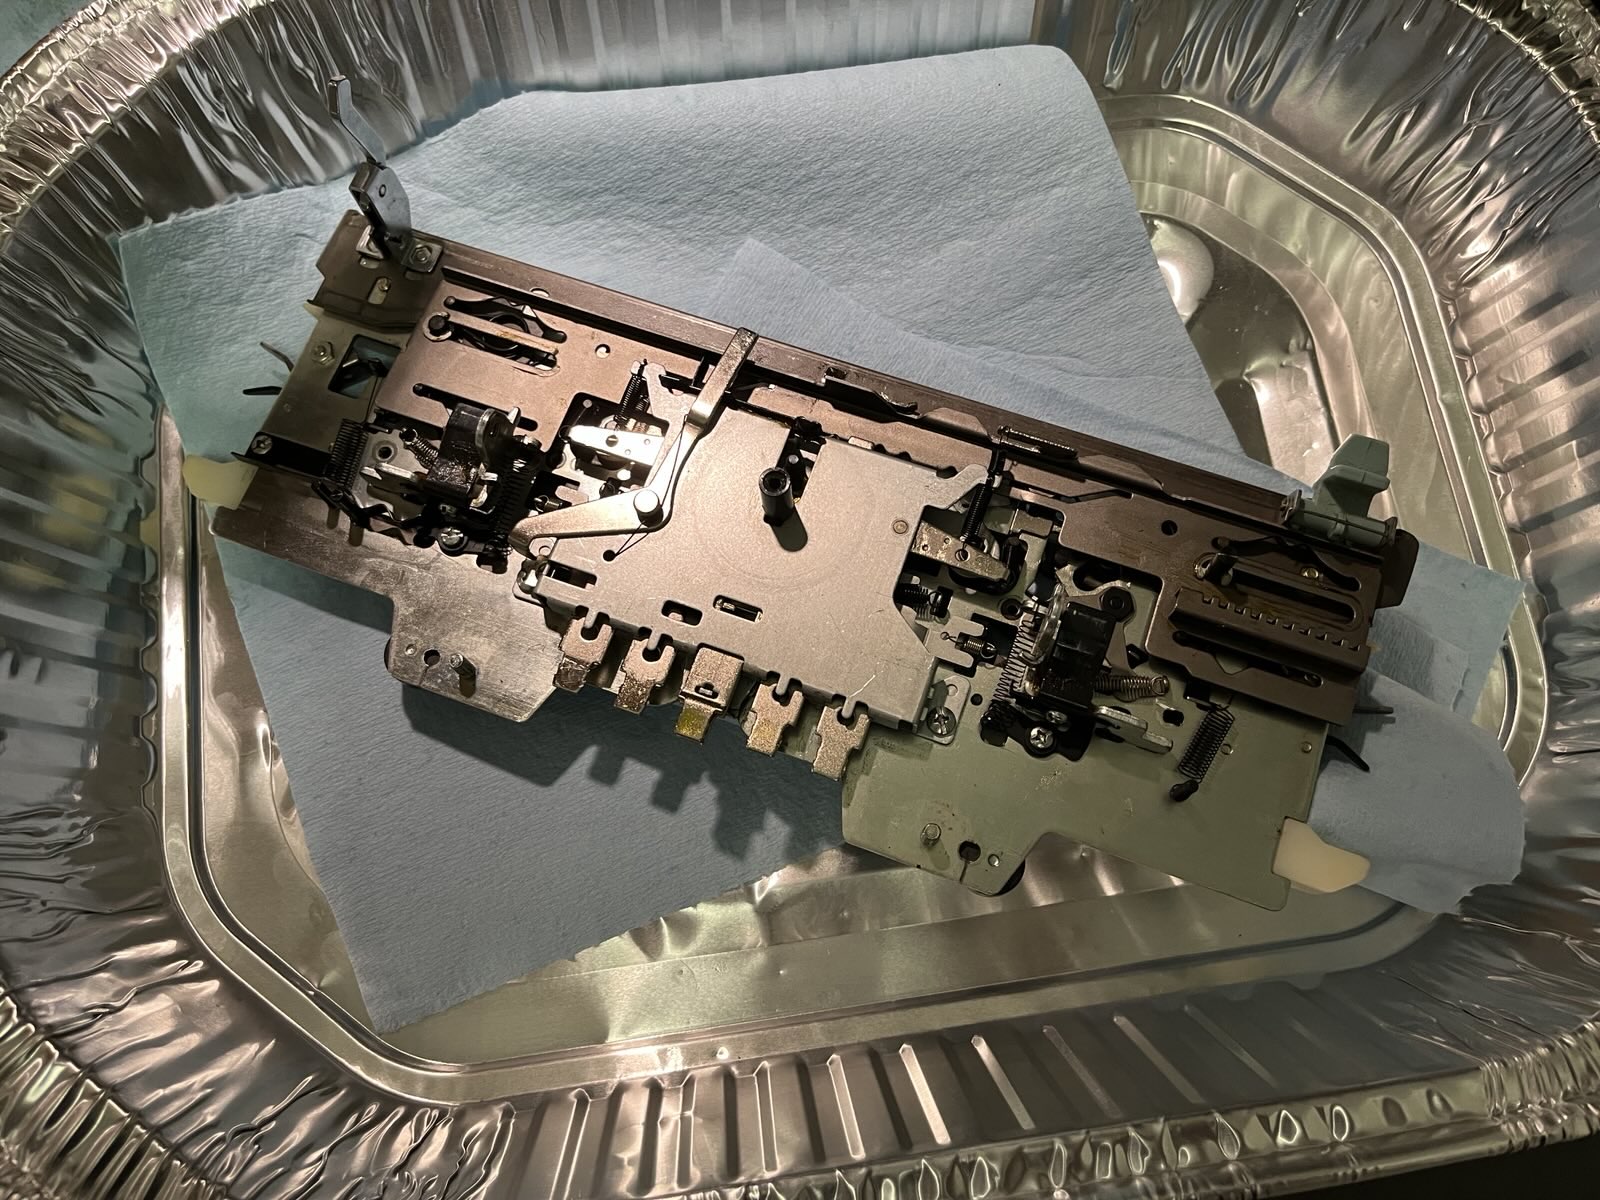
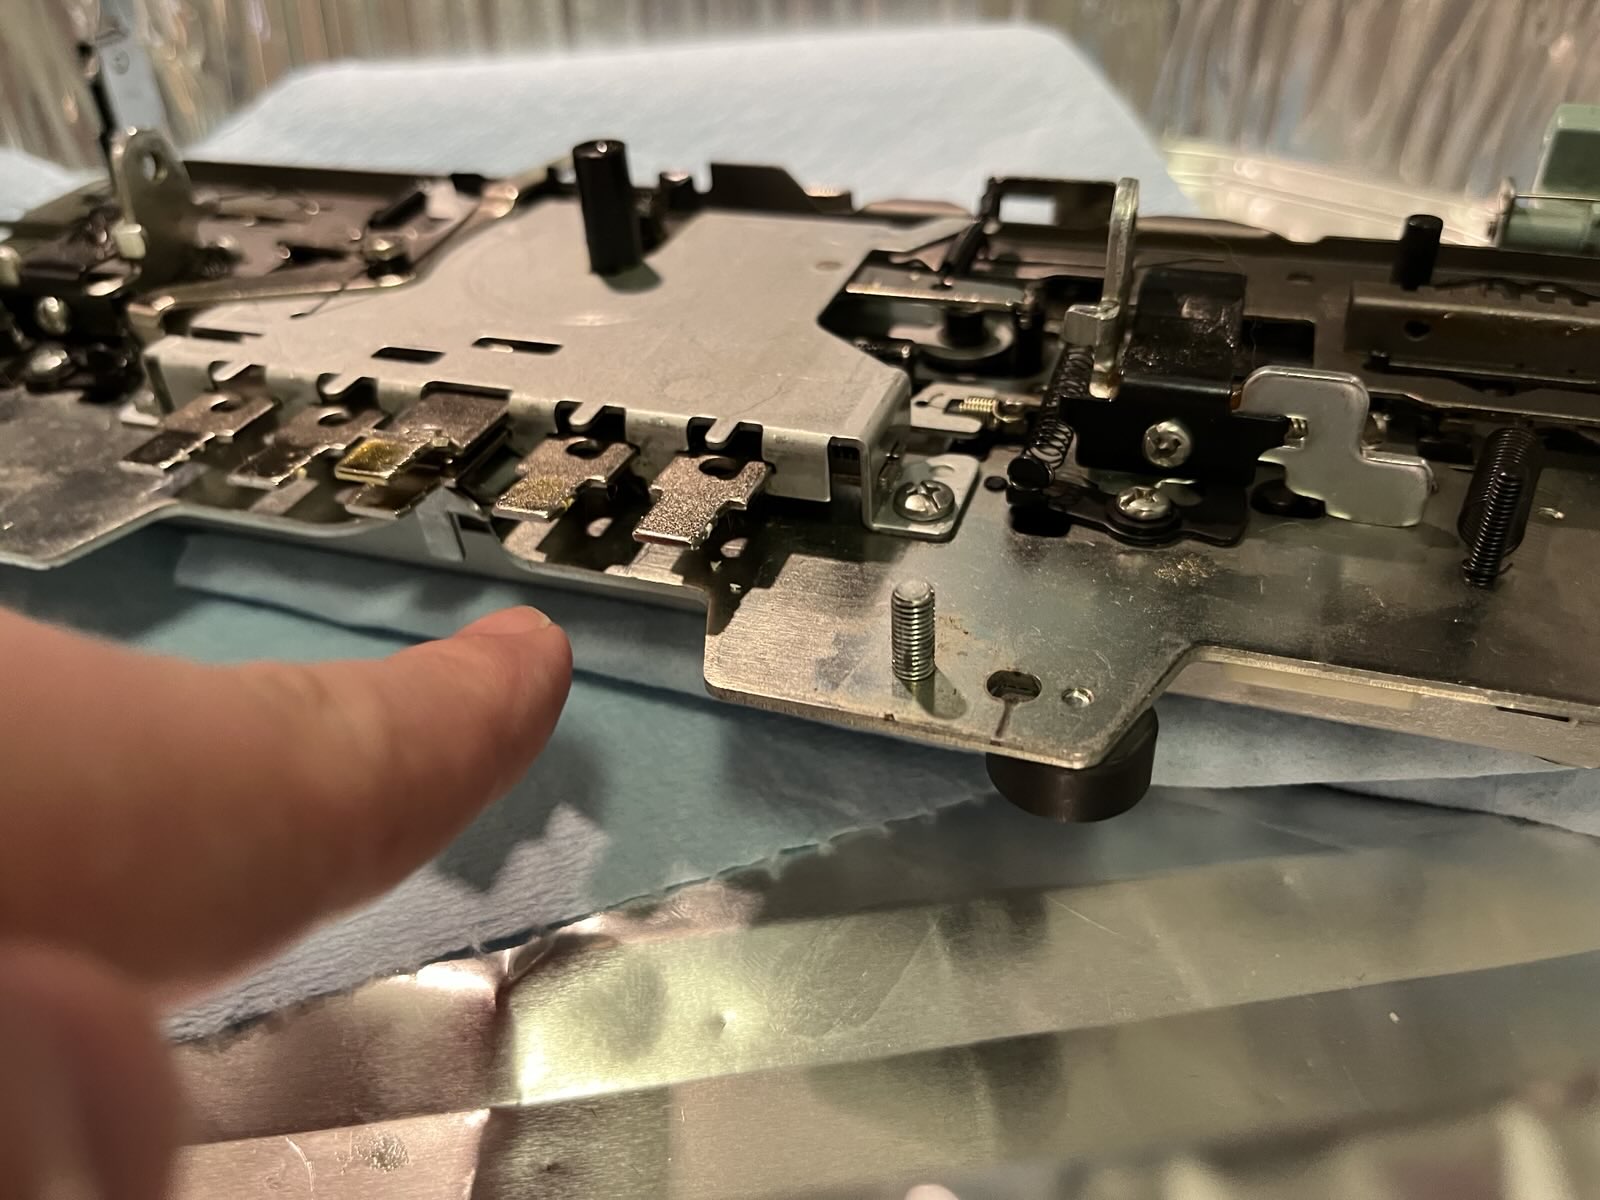
I removed the plastic parts for the buttons and knobs for hand-cleaning and wiped away the visible globs of grease that I could see, then sprayed "aero kroil" into the cam button assembly, especially focusing on the bottom area where the "tuck" "multicolor" cam plates need to slide past one another. Within minutes, the kroil had done its work and I was able to slide the two plates independently, hooray!
I let the kroil work overnight. As theanswerlady's husband "Ask Jack" tells it, kroil a "creeping oil" that works its way over and between metal parts, freeing them up, then also works its way out. However, he also says that we don't want to leave any hydrocarbon oils inside the machine.
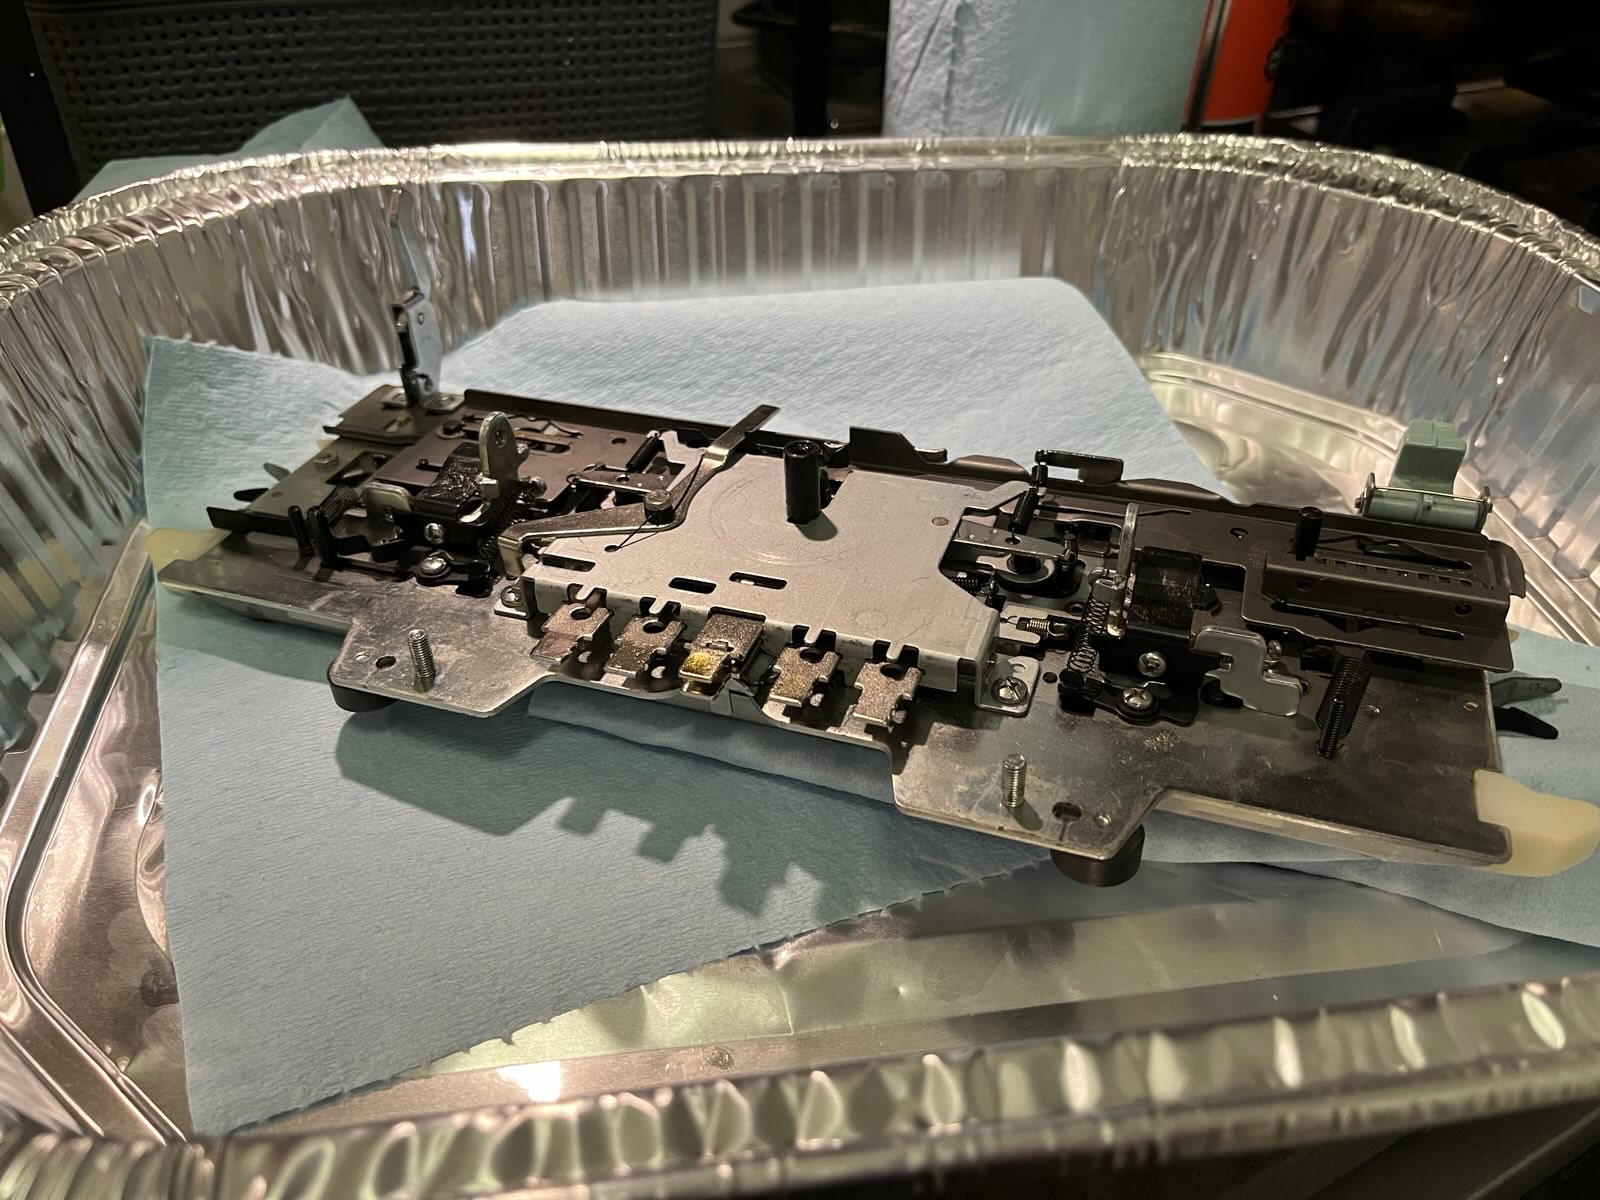
So the next day, it was time to chase out all the kroil, and as much of the old lithium grease and any other "crud" it had freed up. I used a can of LPS-1 to spray into and through all the nooks and crannies of the carriage that I could get to, using a stiff brush and blue towels to try and "mop out" all the gunk I could reach.
After the scrubbing I propped up the carriage for an hour or so to let the LPS 1 drip out before flipping it over to let it drip some more. I bagged and tossed the soaked shop towels and used some fresh ones to lightly blot away obvious pools and drips as I re-assembled the carriage.
Before testing things out, I sprayed the underside of the carriage, as well as the machine's needle bed, with "ask Jack"'s recommended "LPS FG" food-grade dry silicone lube, and gave everything a good wipe down.
After a couple of false starts I got things going and everything moved much more smoothly than before. I set up some waste cotton yarn across all 200 needles and knit a long swatch at varying tensions, working the mechanisms and soaking up any excess lube and junk that might come out.
Finally, I pulled out the hat pattern I had worked out for Producer Amy a couple of weeks before, knit the hem, and engaged two-color Fair Isle pattern knitting...
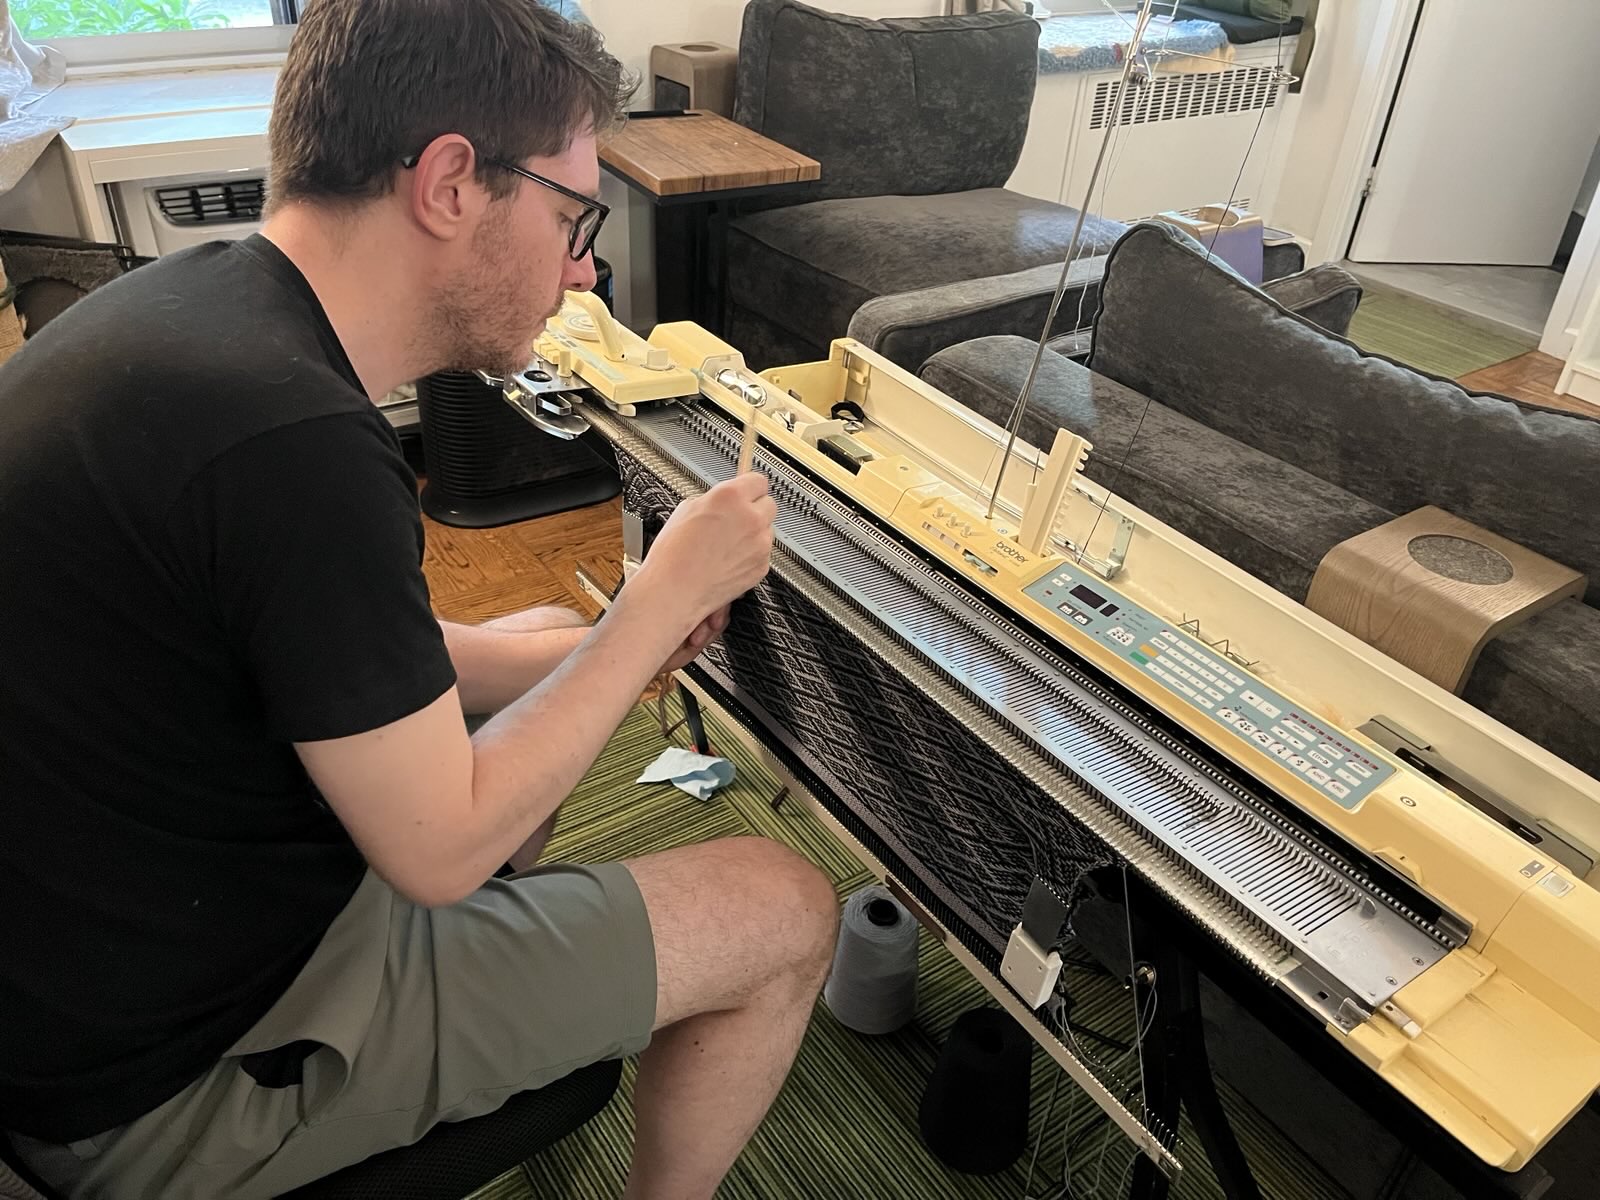
I think we're in business!!
Returning to my original "curriculum":
- ✅ Do some swatching
- ✅ Make a single-color hat
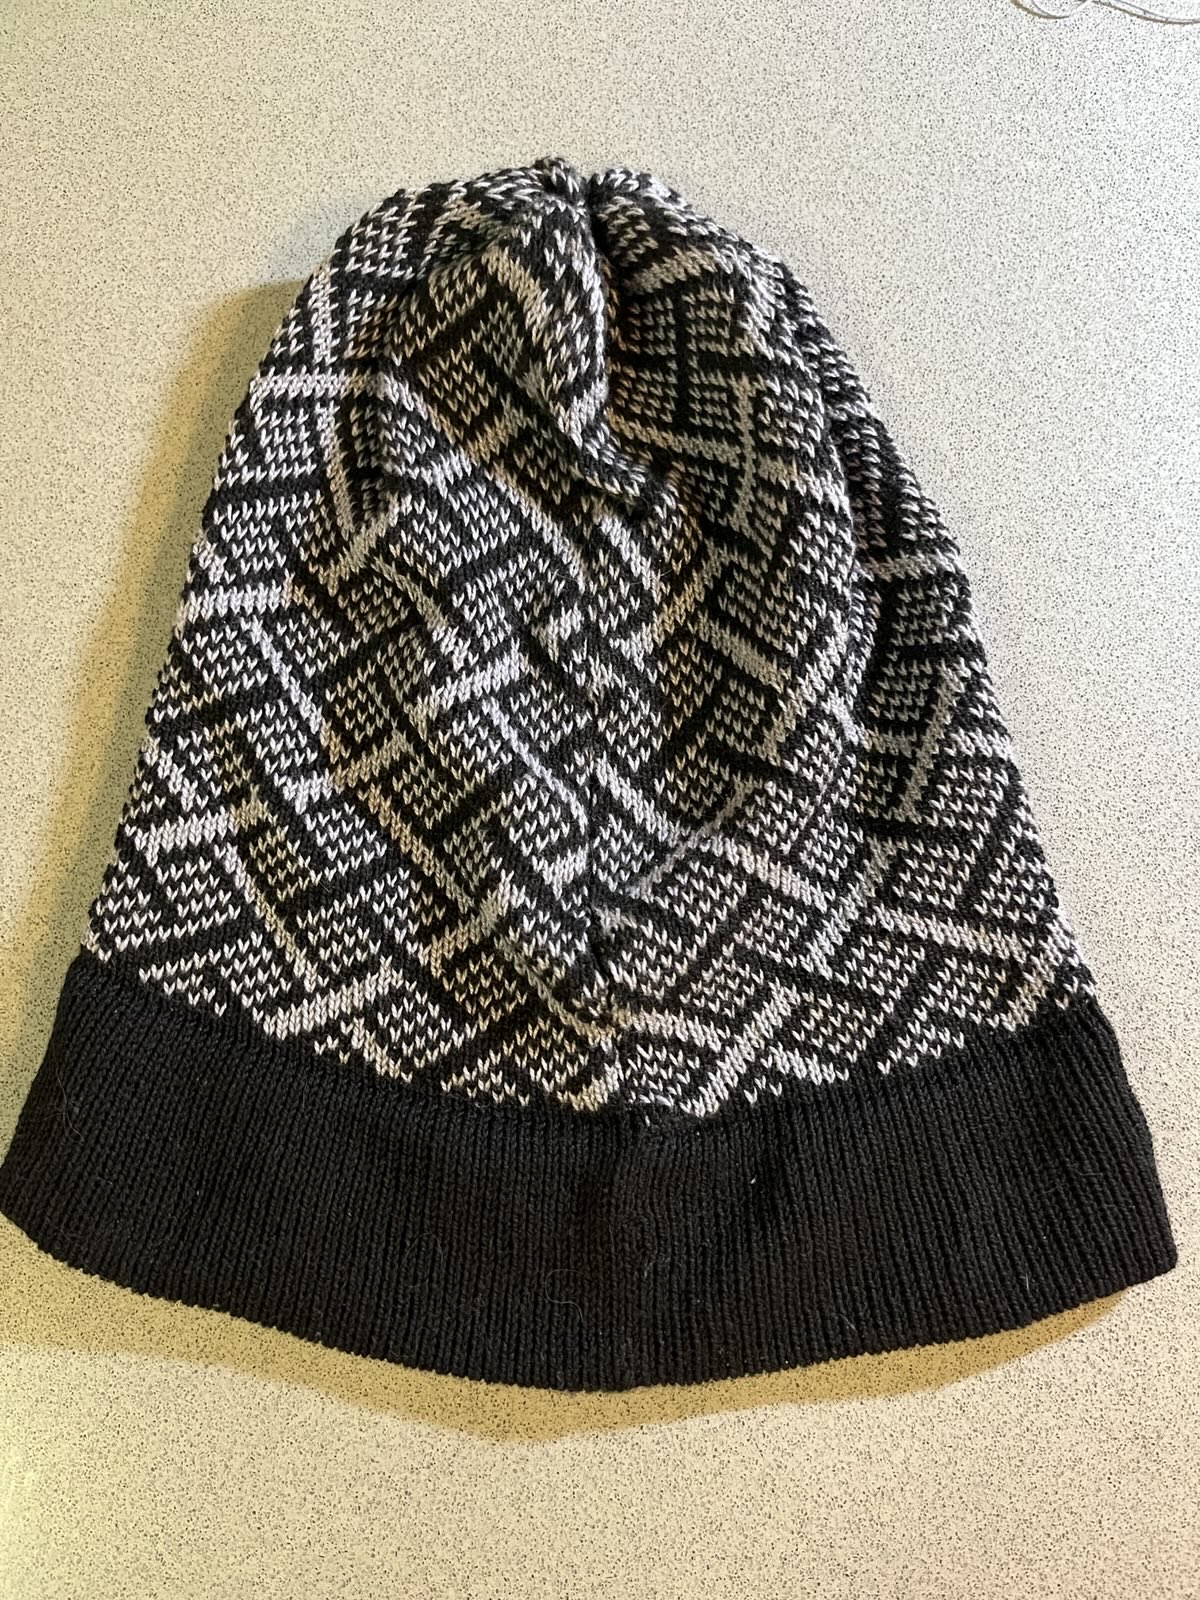
- ✅ Make a two-color hat with a Fair Isle pattern
- 🔜 AYAB time
Looks like I have "no excuses" left not to disassemble the on-board electronics to replace them with AYAB. 😳
In truth, I would like a bit more practice with Fair Isle using the "vanilla" machine. Specifically, the hat above is done with an overall repeating pattern, but there are different techniques if you want to do a "motif" that is constrained to just one part of the knitting. I want to make some swatches with isolated patterns and end-needle selection, practice managing floats, get used to the way pattern knitting row counts feel "off by one", see how Fair Isle affects the finished gauge of the fabric, etc.
Meanwhile, I've started a basic sweater with hilarious results. Stay tuned, like and subscribe, etc. etc. etc. 😎