Machine knitting: a (c)hattie
In 2025 the folks at machineknit.community did a 12 Months of Hats knitalong. I only joined at the end of the year, and am still getting my practice in with a lot of basics, so I was a bit too intimidated to jump into any of these in the actual year of 2025.
Based on an interesting hat design request from a friend, for my first knitting project of 2026 I chose Kurt Payne's "Chattie" design, which was the November 2025 knitalong.
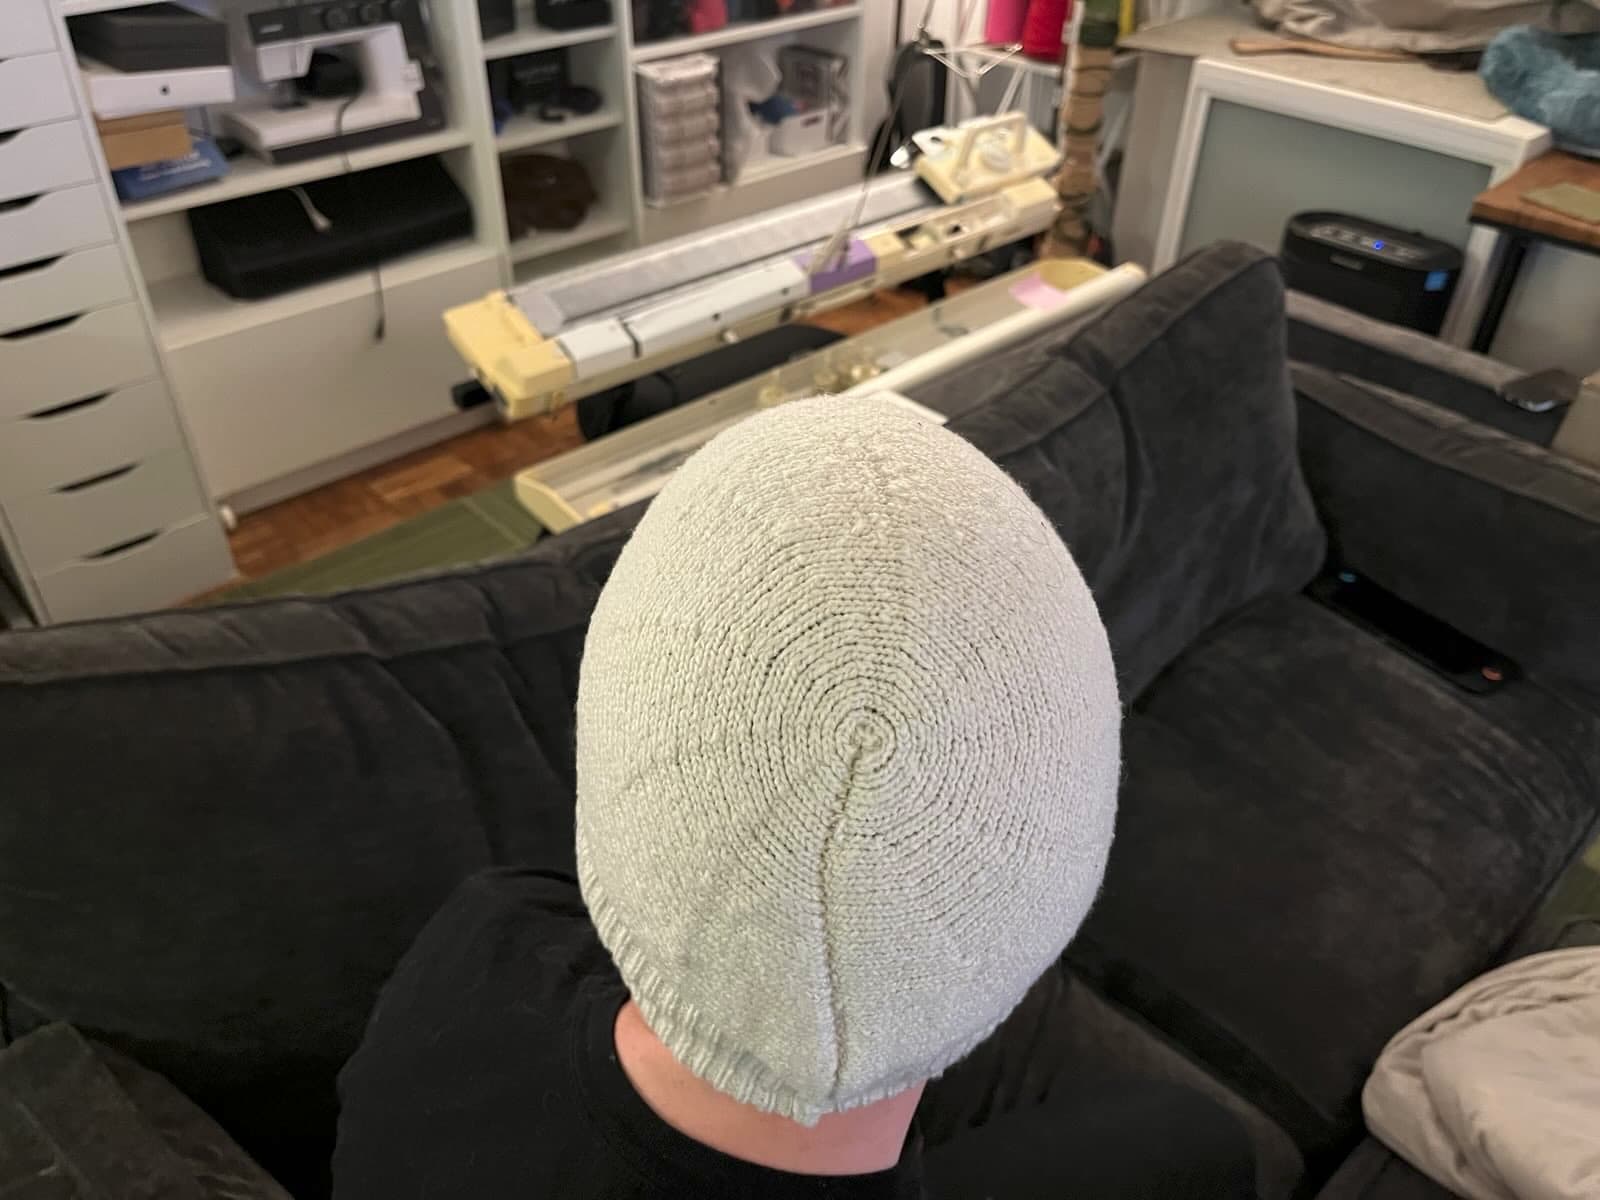
Unlike my first hats, which were basically rectangles sewn up and gathered at the top, the Chattie is knit sideways in 10 sections, using short rows on one side to form the rounded crown. This results in a neat sort of spiral look to the crown. Also unlike my first hats, the brim of the Chattie is added after-the-fact.
The Chattie is a very flexible design. However, before I get into any complexities like color work, I made this "quick" one out of plain white fuzzy cotton+polymer blend just to get practice with the techniques.
The good:
- Kurt's instructions were great. He starts with gauge swatches before walking you through taking measurements and using a chart to convert measurements to stitches and rows. Instructions were also included for different brim variants. I chose a single band of 1x1 rib for this test.
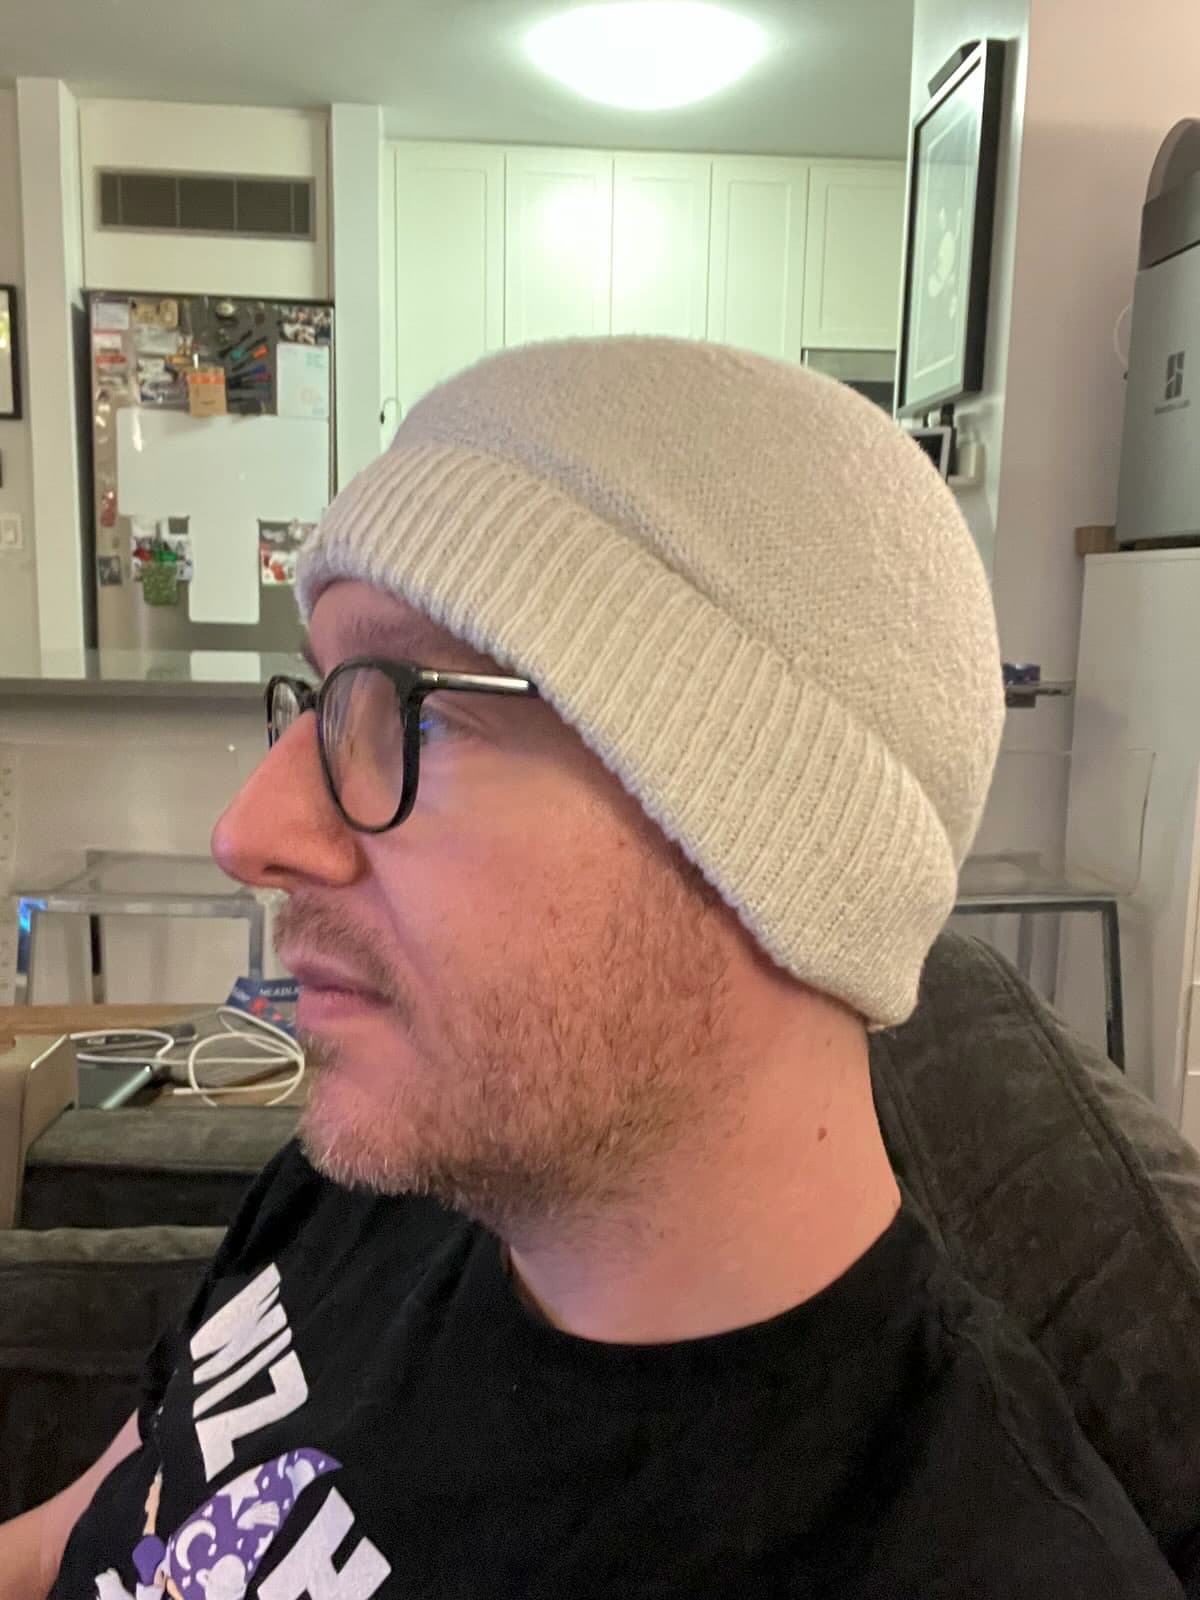
- The end result came out about the size I expected! At least, it sits snug on my head and just covers my ears when the brim is folded up.
- I like the look and the feel of the 1x1 ribbed brim and the overall shape, I think.
- I seamed the hat together on the machine and I think that went pretty well. There's a feeling of "certitude" I get when all the stitches to be joined can be counted and hung up on needles that I don't get when hand-seaming. I might be interested in getting a linker carriage for my machine to make this even faster.
- I made some mistakes (see below) but decided to power through and finish. This was a test hat, so I didn't need a pristine result, just a finished object that tells me what I might want to change for a future design.
The oops:
- My math worked out so the body sections had an odd number of rows, which was pretty chaotic when it came time to bring held needles back into work. I think in the future I will either make sure that I round that row count up or down to the next even number for all sections, or perhaps alternate round-ups and round-downs to end up with the same number of rows.
- I dropped two stitches in the body of the hat. That's really not bad. I think this happened because of weight management, or possibly pulling multiple needles out of work in a single row because I got distracted with said weight management.
- I decided to work the brim by re-hanging the hat body sideways on the machine, and I just couldn't seem to get the weights consistent. I had a lot of trouble with needles not knitting, or getting caught on the gate pegs and causing later rows to knit incompletely. This was a stressful, time-consuming mess. Surprisingly, the end result only had a couple of awful stretched out stitches, which I fixed up and pulled to the "inside" of the brim.
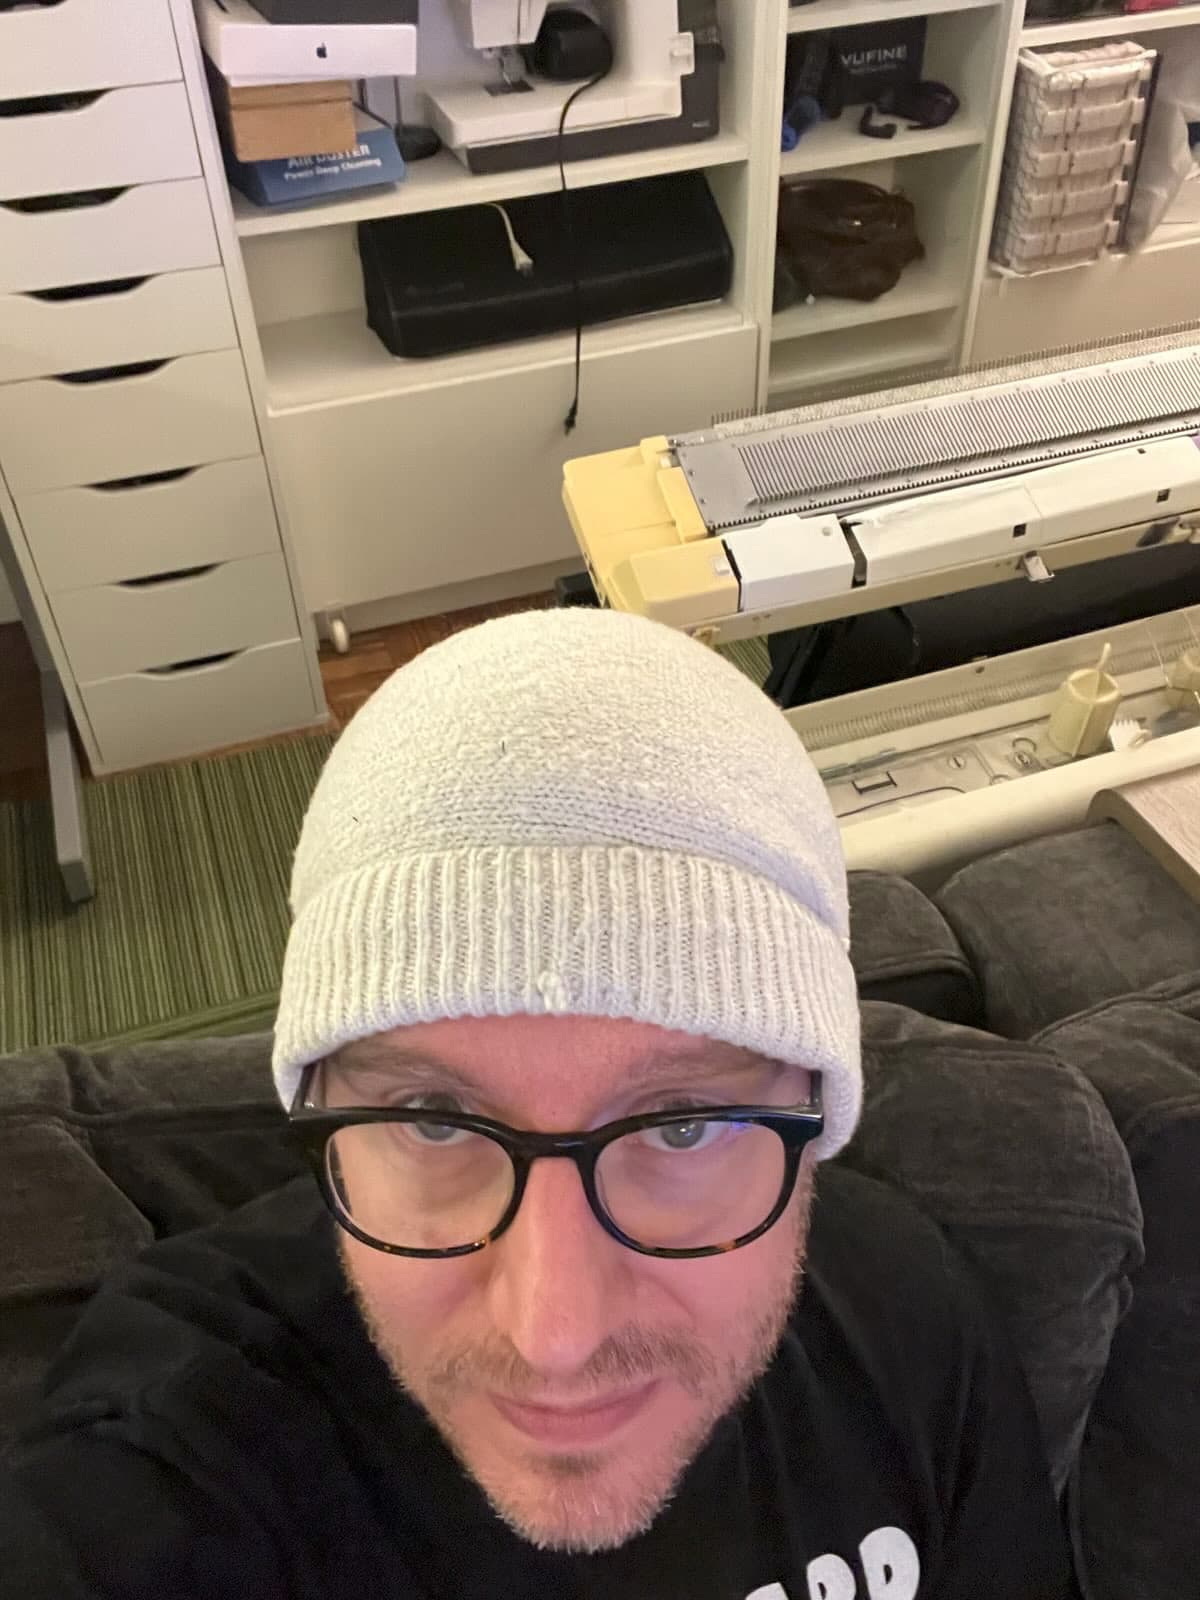
- Unfortunately, to fit correctly, the "inside" of the brim gets flipped up to become the outside, so you can definitely see my mistakes and my seaming, haha.
- I think I misremembered how to do a stretchy finish on 1x1 rib, or just plain pulled it too-tight as I went, resulting in the brim edge being too tight. This is just enough to be noticeable and annoying, but not quite fatal for the hat as a wearable object.
For the future:
- I'm interested in doing color work on a design, but a great deal of the visible parts of the hat have short rows such that the number of stitches per row is constantly changing. Simple patterns in cool contrasting colors should tolerate that fine, but doing nice all-over patterning like I want may end up being tricky!
- I'd like to skip sewing up 1x1 rib edges for a bit. I think for a future hat I will start the ribbing on the machine, the graft the live stitches onto the hat body directly, which should leave me with a nice stretchy edge without testing my still-poor hand finishing skills.
That's it for now. Thanks for reading!
Mentions
 Marty McGuire
at
said:
Marty McGuire
at
said:
Play bad title pun games, win bad title pun prizes. The Chattie hat continues to tempt and taunt me. After my first test Chattie came out OK despite some major issues during construction, and my second Chattie didn’t work out. Producer Amy has ultimately adopted the “test” Chattie as her own, wearing it through this strange NYC winter, and even held onto it when a friend and colleague politely but firmly attempted to transfer ownership. Consequently, I received a commission request for a new …
I made this test-version of a chattie hat, learned some lessons, and decided I was ready to try a "real" one for producer Amy. I have this pretty-weird cotton-blend yarn that I got from Fab Scrap some months ago. It's green, it's got slubs, some kind of elastic core maybe, I dunno. Every time I make something with it I think "this feels like a dish cloth". Mirror-assisted selfie showing the front and back of the beanie known as the dishcloth chattie.The main body of the hat was made the same as …