Machine knittin': moar mittens
I am pleased to report that producer Amy approved of the mittens I posted a couple of weeks ago, which were a bit too small for me.
"How nice," I thought, "to have made something functional and enjoyable. Now to make a new pair for me. I'll use this different sock yarn, that Amy bought me in Berlin, so we can easily tell them apart. This should be nice and straightforward!"
Ha ha ha! Ha-ha! Ha.
Readers to enjoy a tl;dr: this worked out fine, but not before multiple failures and some wrestling with broken self-confidence.
This is still a variant of the Fingerless Mitt to Knit by Diana Sullivan (from Austin, TX). Here were the changes that finally worked for me, with this yarn:
- Body of the mitt is 55 stitches wide. Thumb is 4 stitches wider, using needles from 14L to 15R.
- Knitting tension is T7 on both carriages. Near (but not at!) the loosest possible tension for my ribber carriage.
- Manually loosen the yarn in the tension mast before knitting each row. The carriages screeched and often jammed, but I was able to jiggle them across with great anxiety about breaking my machine.
- For the top of the mitts, I learned how to do a proper 1x1 rib bind-off. I liked Diana's "Simpler Smiles & Frowns Bind-Off" video for this.
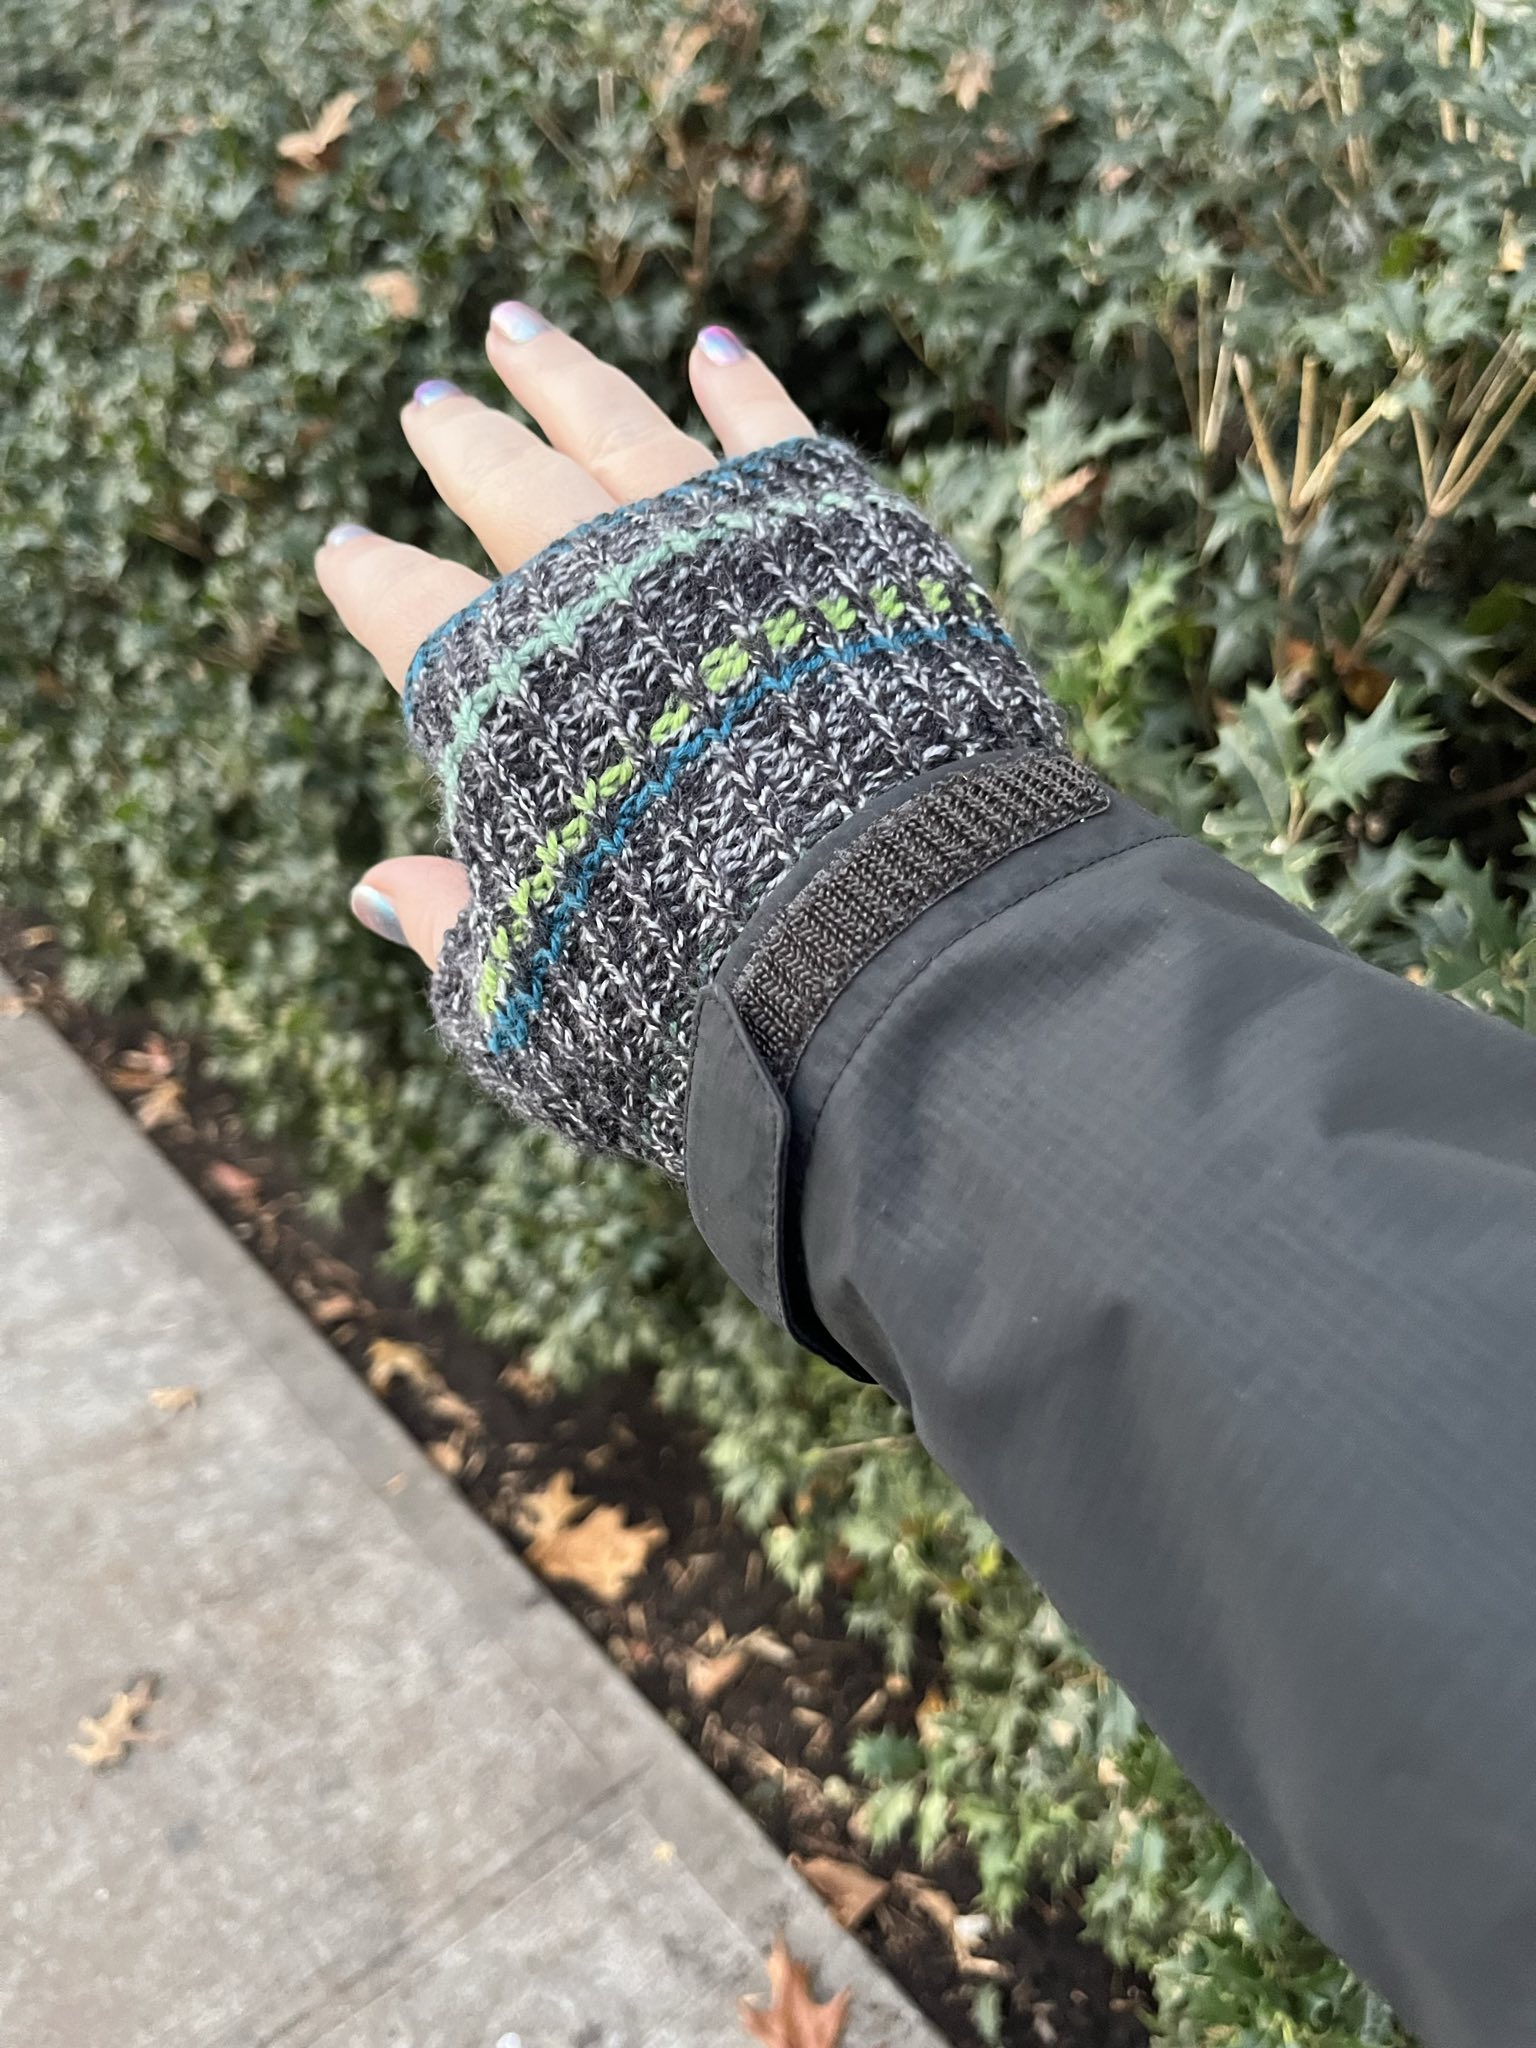
I really like how they turned out! I'm excited to put them to the test in the cold season!
Now, for the strong-willed reader, let's talk about some challenges!
Like most machine knitting projects, my issues can mostly be traced back to skipping the swatching step(s). This design relies on the stretchiness of two types of rib. The mitts "at rest" appear quite small, then stretch to snugly cover the hands. I'm not confident I would have been able to consistently measure gauge in a way that allowed comparing the stretched size of different yarns and tensions. But I should have tried!! I might have decided early on what I believe now, which is that this particular sock yarn is too thick to work well with my standard gauge machine.
Instead, I jumped right into a first attempt with extra stitches and rows, but holding everything else the same, including the tension. This was a miserable experience, with the carriages jamming constantly. The machine was basically telling me "no no no, stop, no" the whole time. Would that I had listened! I managed (through sweat and anxiety) to finish it, but the resulting fabric was uncomfortably thick and tight. The loop-through-loop bind-off at the top of the mitt was also still too tight to spread my fingers while wearing it.
For attempt number two, I decided to up the tension to T6, but otherwise go back to the original stitch and row counts. This went a little better in terms of process and the fabric, but it was still too tight to wear.
I got a lot of practice doing the hand sewing to make-up the pieces into the mitts. This was starting to feel like a lot of work for two disappointments. So I ended up taking a break for several days. I spent some of that time researching properly stretchy bind-offs and focusing on non-knitting projects, but mostly I was just feeling the sting of failure, haha.
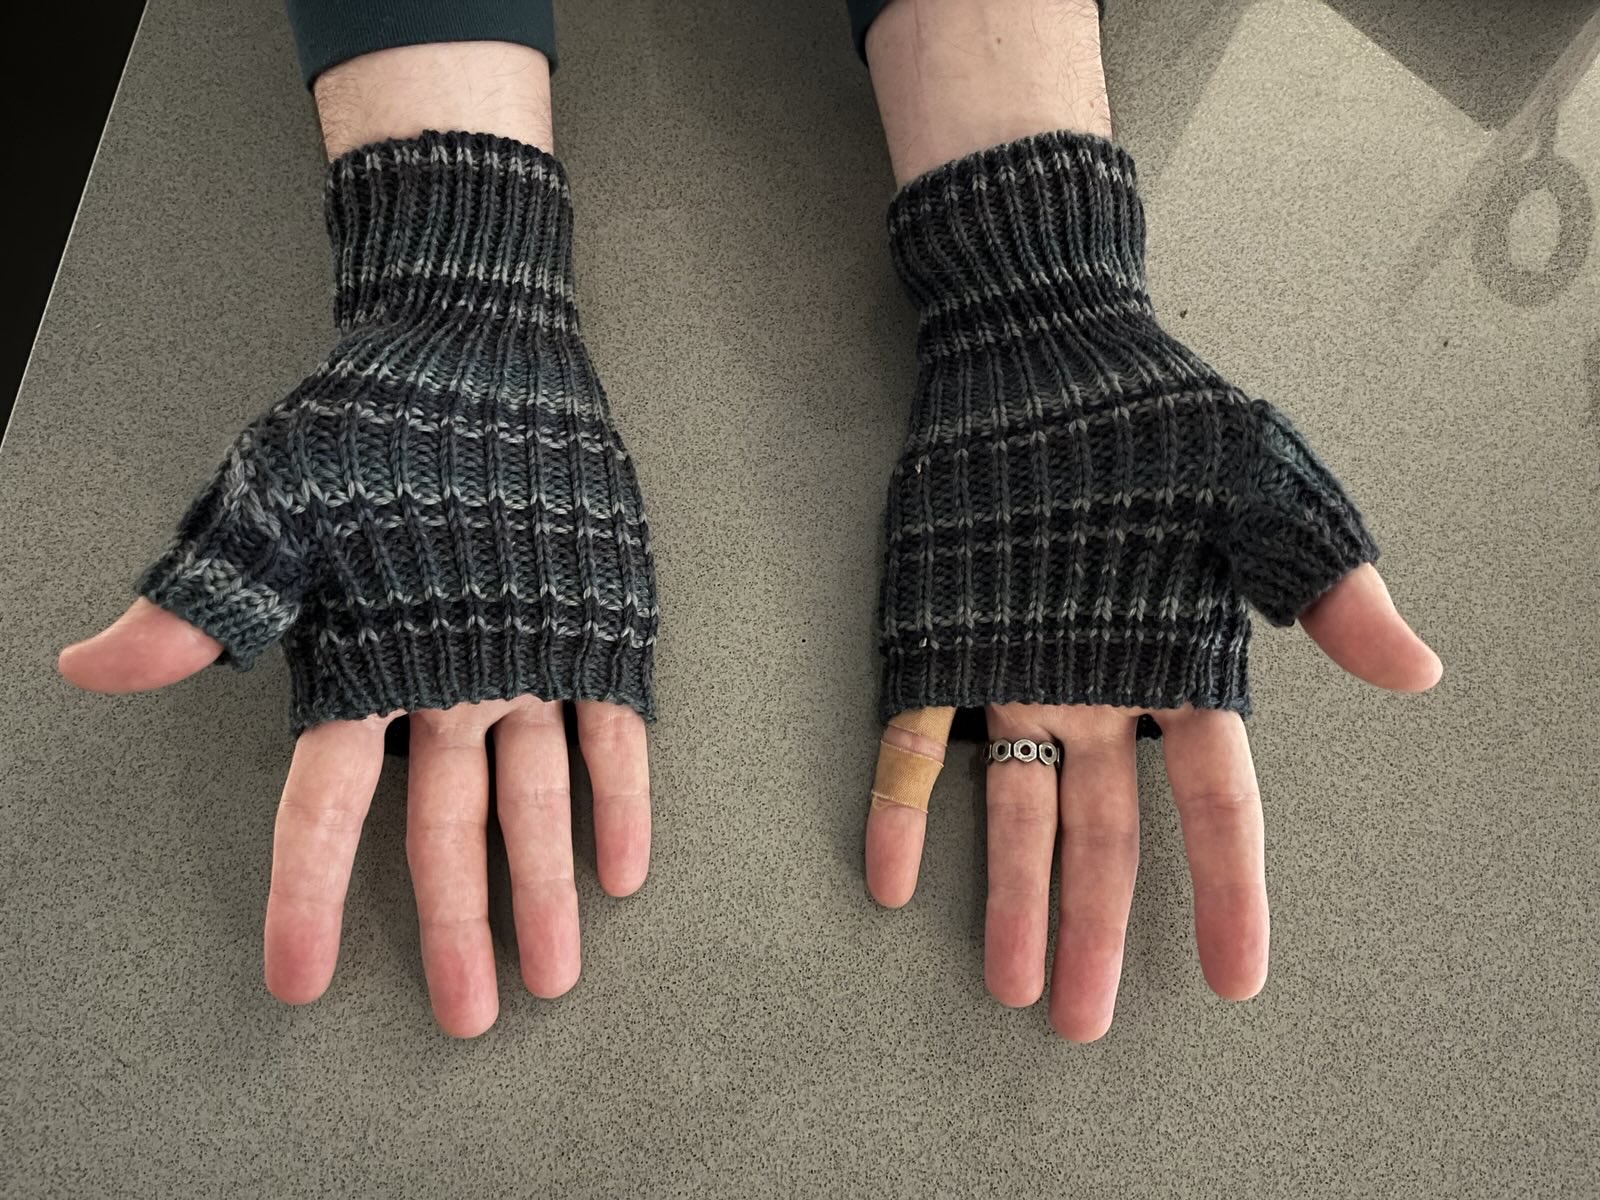
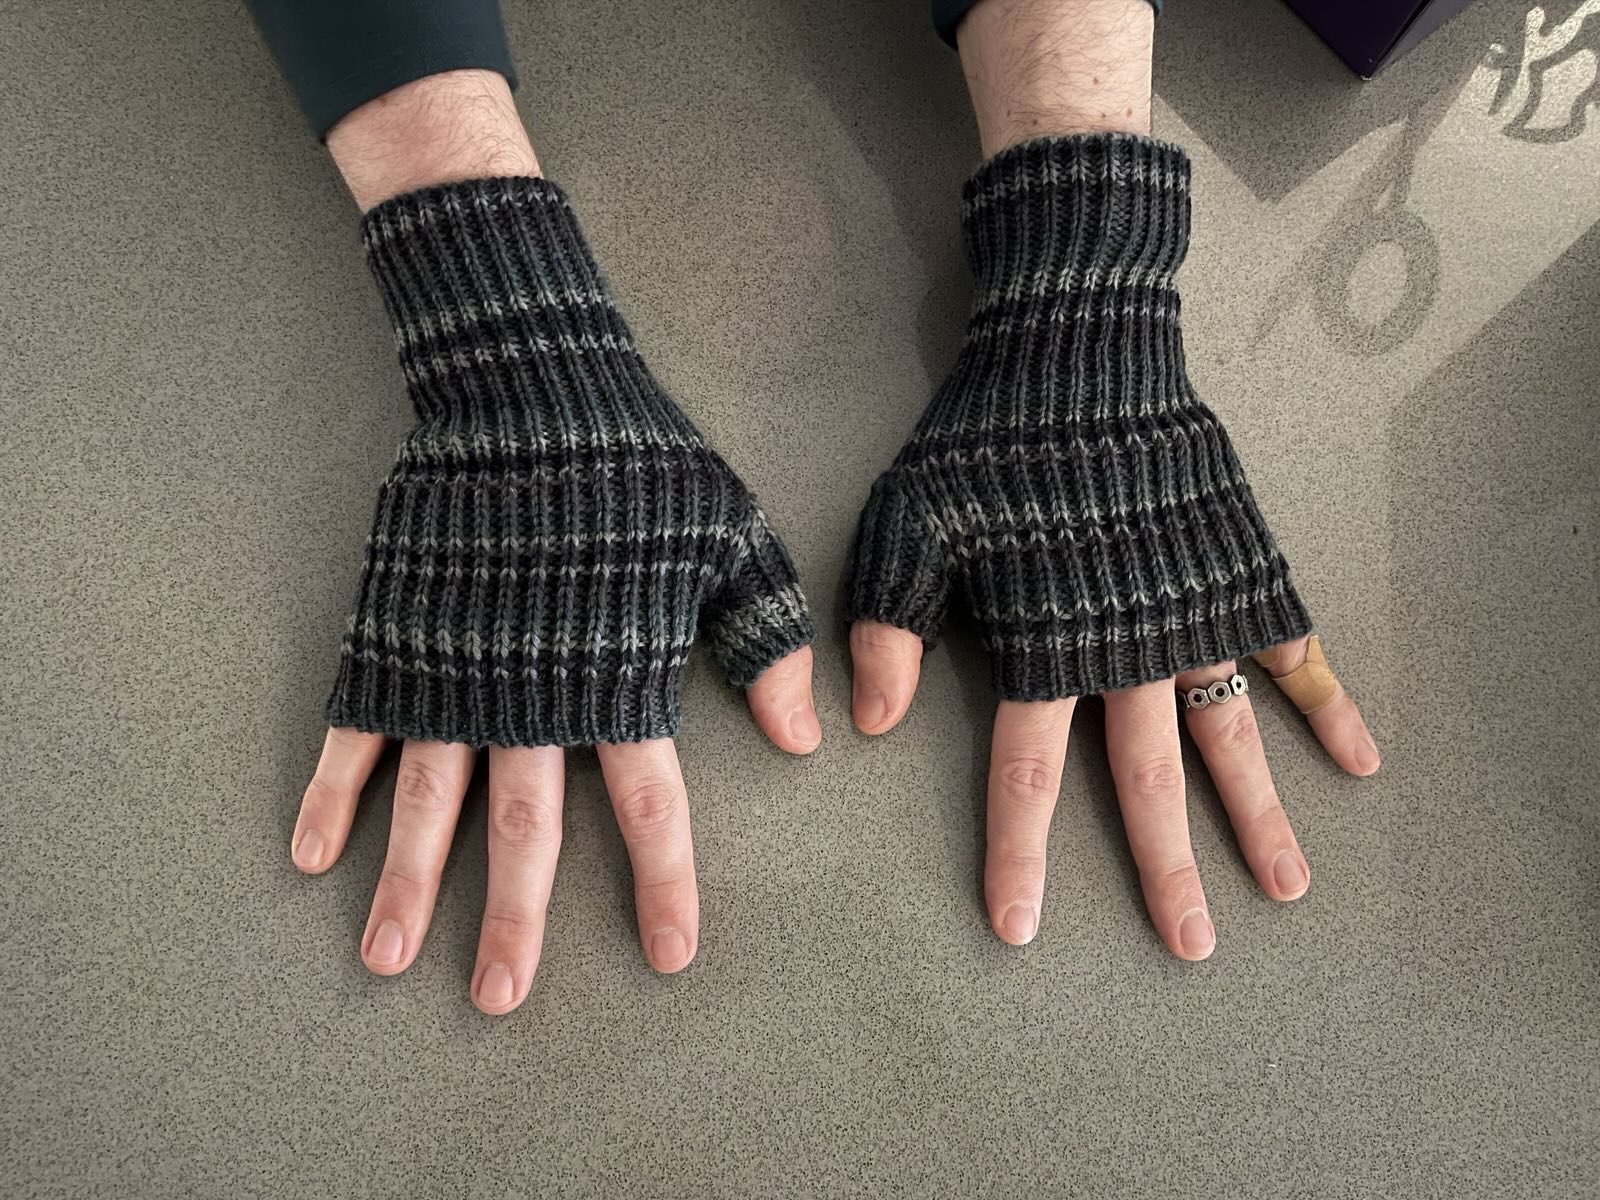
Finally, I did some practice at looser tensions, doing a few rows at T7 and T8 to see if I could find a technique that would actually knit smoothly with this yarn. I couldn't! But I did found that T7 was the least likely to bind up. I finished the body of the mitt at T7 well enough. I decided to "do an easier version" of the bind-off, skipping the step of casting off onto waste yarn and stitching it up on the machine, freeing each stitch from the machine as I sewed it up.
It was during a break in this process with many needles out in hold position, that I carelessly waved my hand and impaled my left pinky finger on 2 or 3 needles. With some help from producer Amy, I got bandaged up and returned to work.🩸🩹
The result was... fine? It looks very inconsistent when the mitt is at rest, but it's very nice and stretchy and, when stretched out on the hand, I think it looks OK. Hooray, mobility!
For the last mitt, I combined all my hard-earned knowledge so far, and did a proper waste yarn bind-off to finish the top ribbing. The added steps felt more time-consuming, but I think the sewing up went a lot faster. It certainly looks a lot better!
I'm not sure what I'll do with the failed mitts and the as-yet-unused portion of sock yarn. The machine definitely does not like it. Probably it should be used for someone else's hand knit or crochet project.
Thanks for reading! I have more knitting projects I'm looking forward to posting soon.
Mentions
 Marty McGuire
at
said:
Marty McGuire
at
said:
This is a retro-post. Jump scare! I sure have read a lot of 2025-in-review posts recently! I am impressed by all that you have accomplished. Here's my 2025 wrapped (in yarn), in 20 photos about my machine knitting this year! Descriptions and links below.1, 2, and 3: my machine and samples from my first workshop at the Brooklyn Textile Arts Center (TAC). Workshop day 1. Workshop day 2. 4 and 5: my first hats. 6: a Fair Isle patterned hat, made after disassembling and cleaning my machine carriage. …
Yeah, I'm retro-posting. Hello from the future, ding-dongs! This post is part of a series, as I play catch-up on KnitFactoryImpl's knitalong of a set in sleeve crew neck sweater for channel members. In the previous installment, I wrote about failing to get a good neckline for this sweater. Well, I decided to try sewing it up as-is, rescuing dropped stitches as I went. After my hand-warmer adventures, I was a little more confident about how to sew up a ribbed edge. Yes, that's a dropped stitch in …