Machine Knitting: A Bag for Bricks
There are so many techniques to learn (and practice!) when learning to machine knit. I thought it would be fun to solicit some smaller projects, so I “opened” “commissions” by asking some friends if they had any small project ideas after showing them a successful hat.
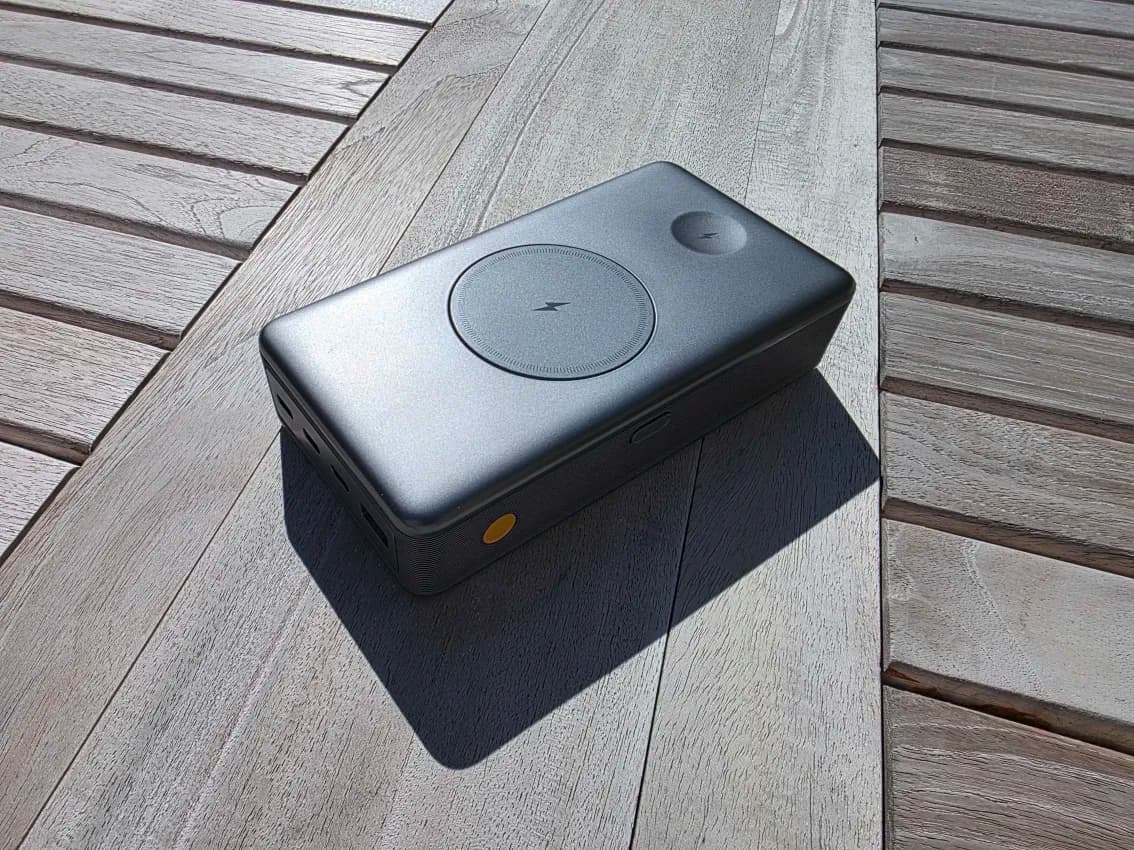
By buddy Chris took me up on it! He has a large power brick that he found was getting scratched up in his luggage and asked if I could make a cover for it.
This sounded like a totally doable project, so I decided to take it extremely seriously.
I asked Chris to send me some measurements and a reference photo.
I used the measurements and photos to 3D print a test-dummy brick.
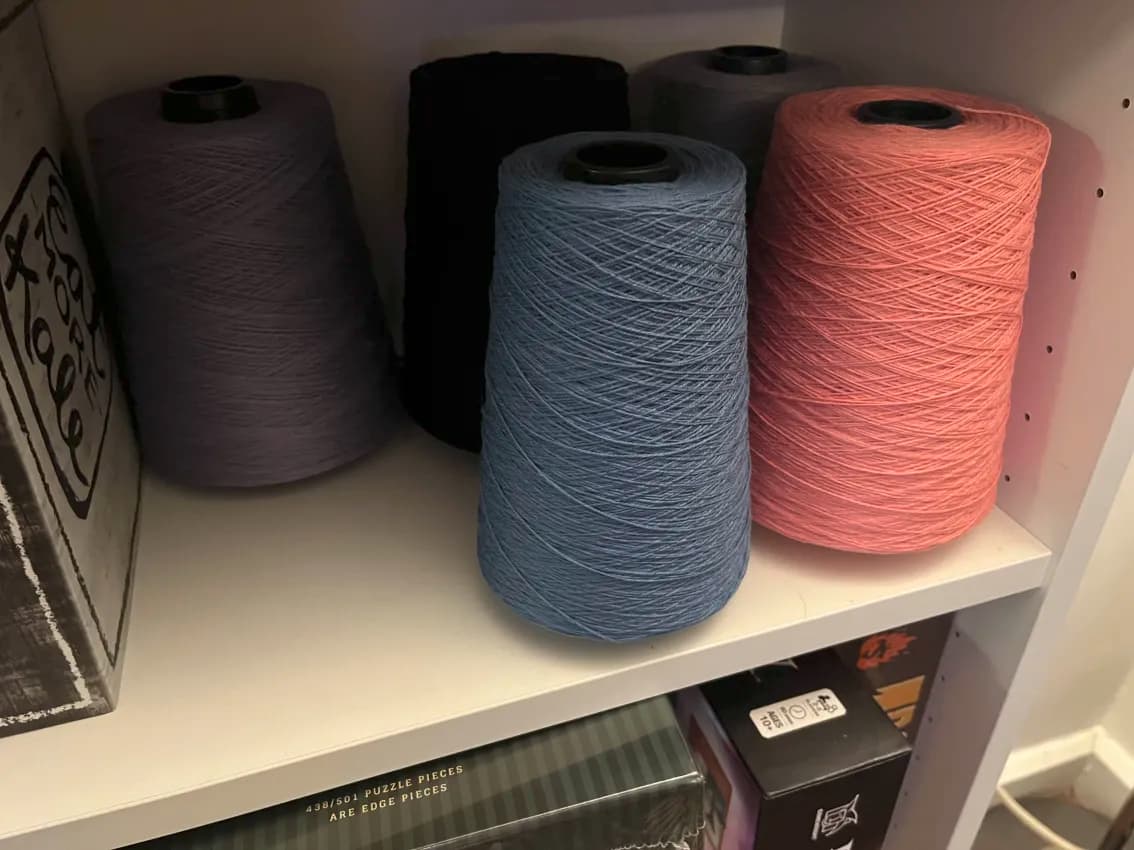
I offered up some terrible photos of my yarn stash to pick colors, and some patterning options to cover the bag.
I used these selections to make a gauge swatch at a few different yarn tensions.
With the gauge chosen, I measured out the number of stitches and rows per inch. Then it was time to write up a pattern.
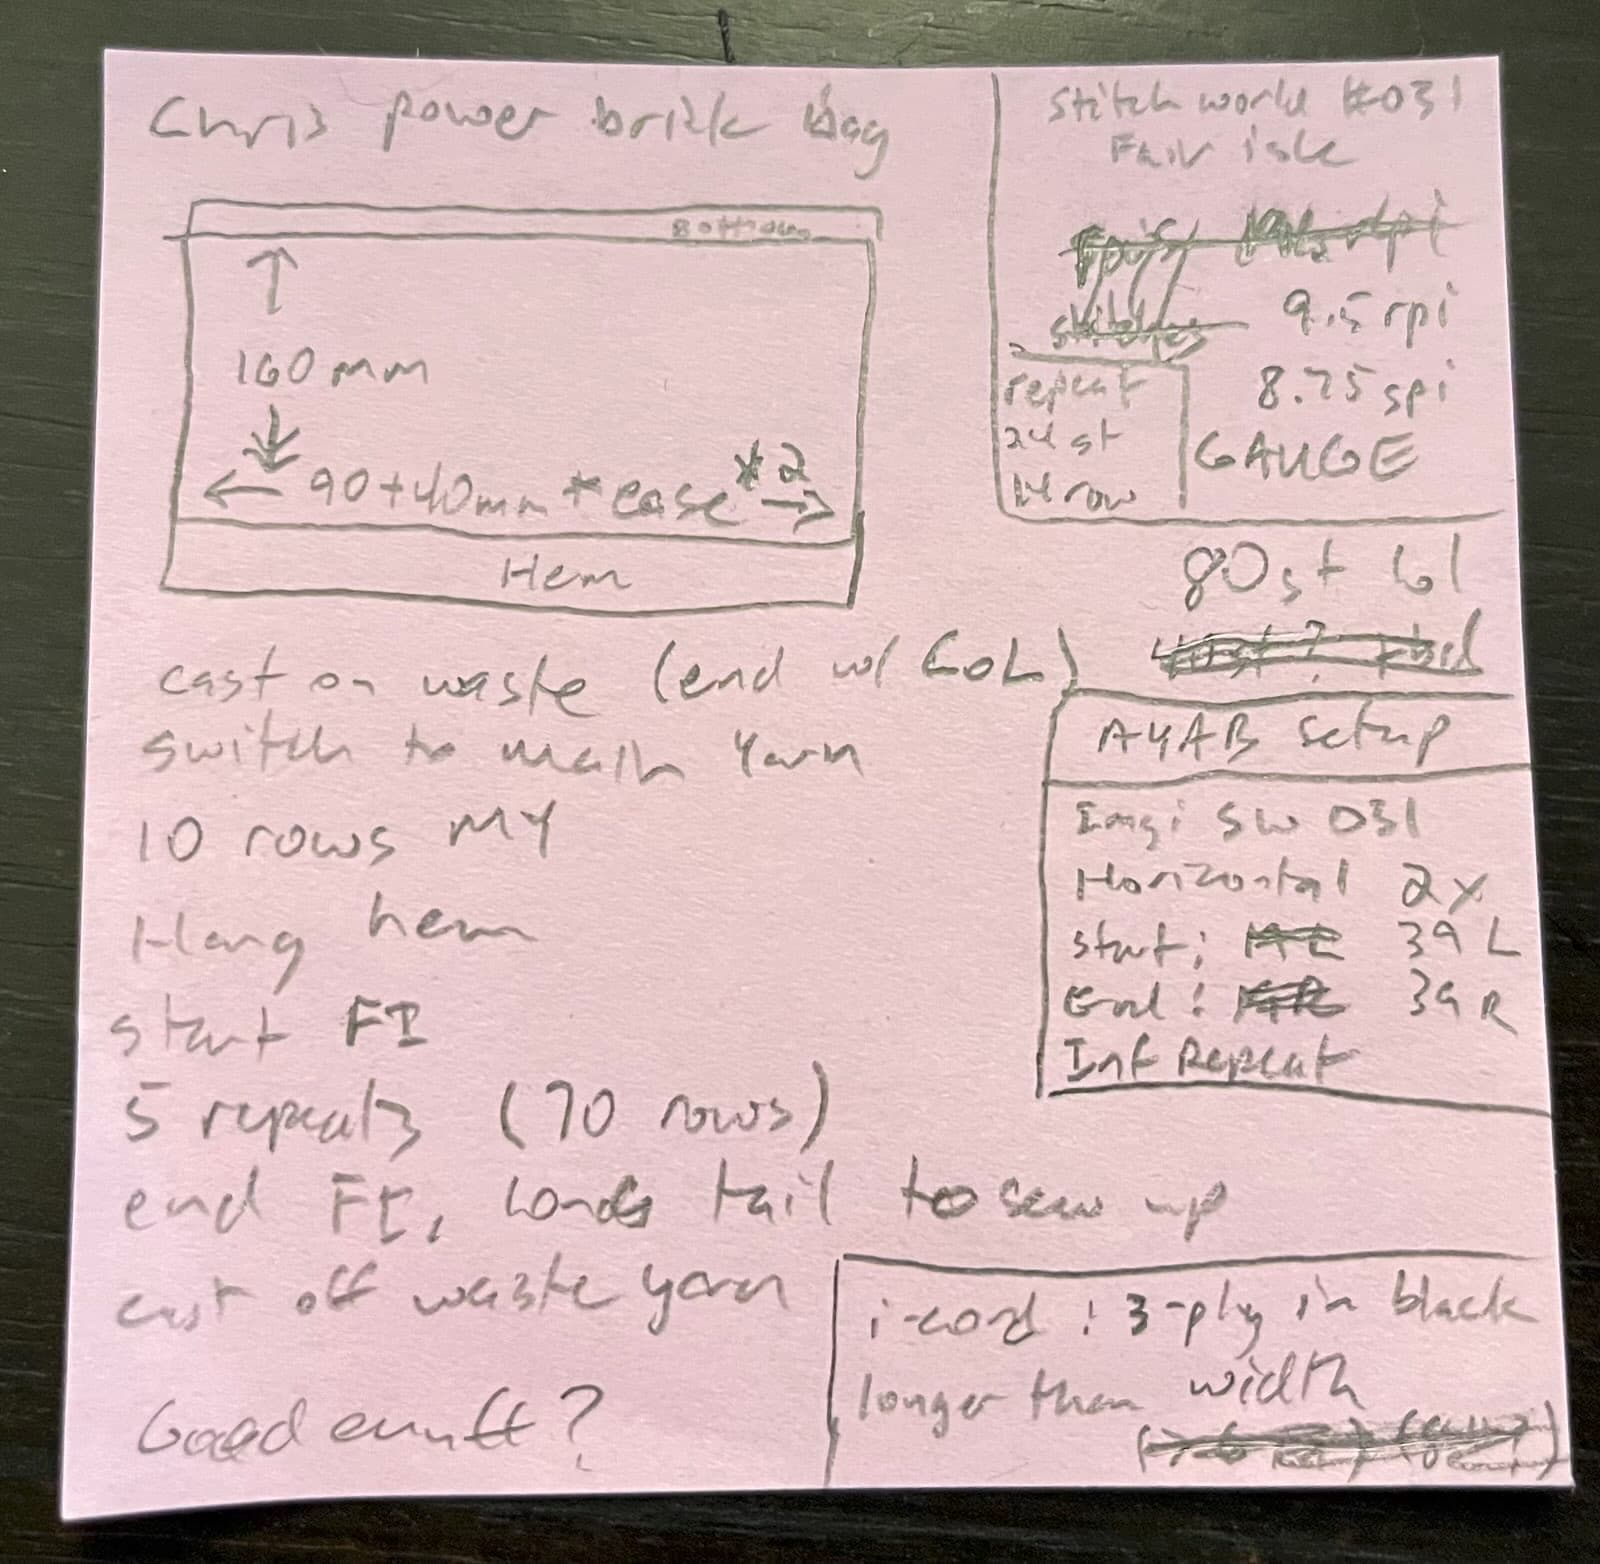
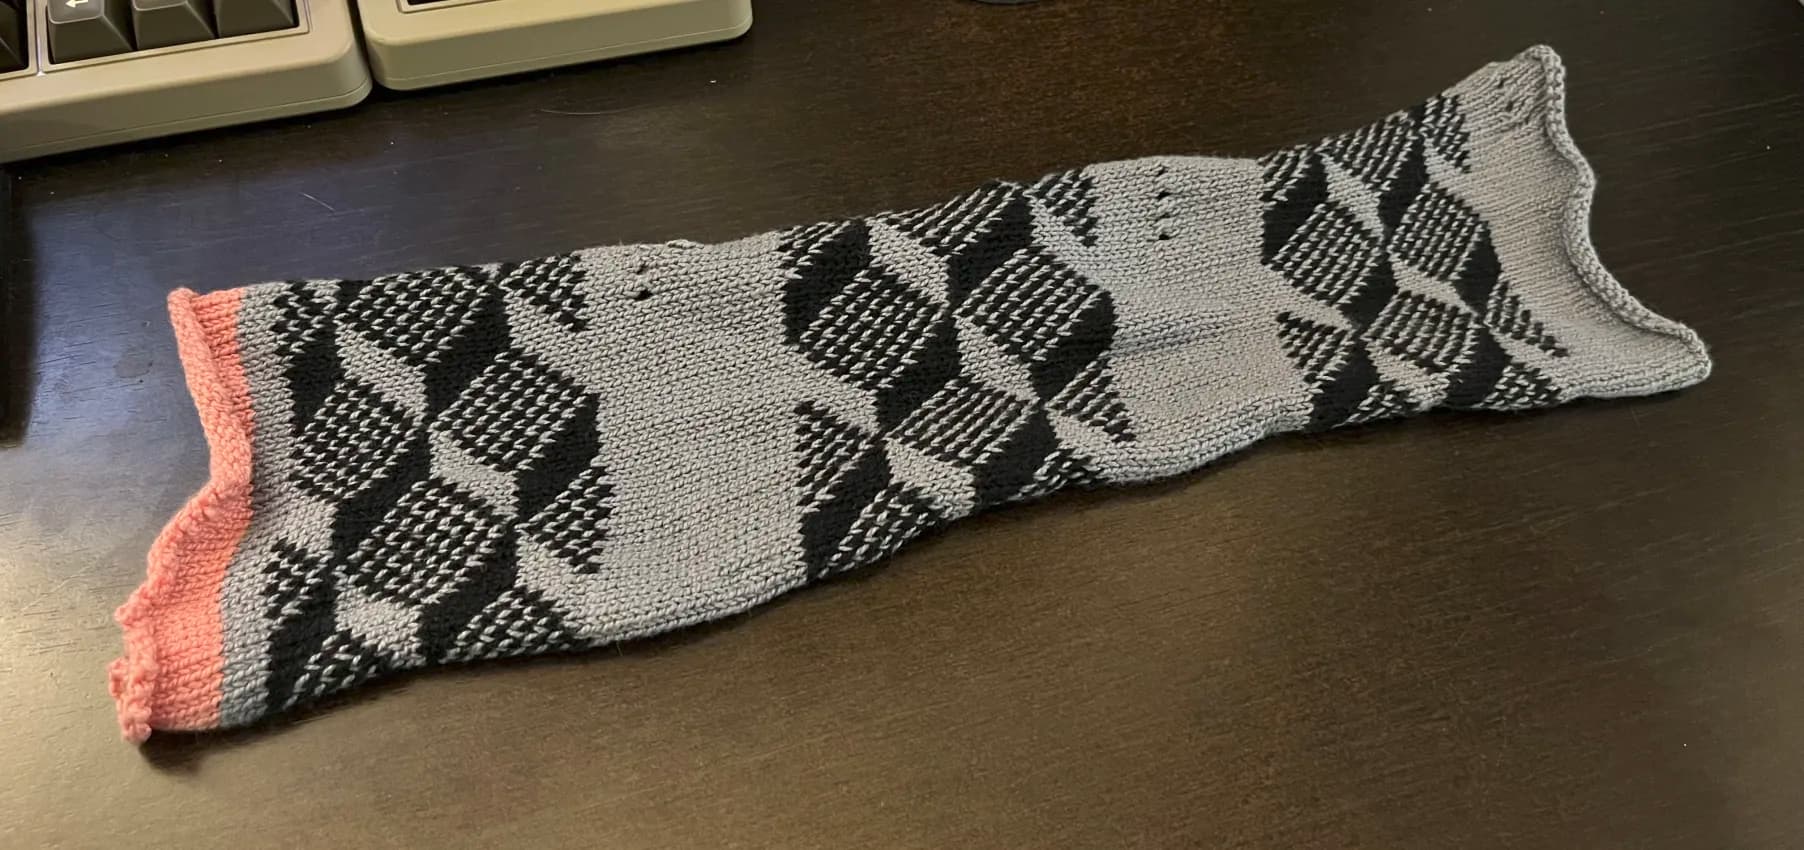
This bag is knit as a rectangle from the top down.
- Start by casting on enough stitches to go around the two short sides (actually, a little less, since we want it to be snug).
- A half-inch hem is made by starting with an inch of knitting, then folding it over and re-hanging the initial stitches to form a tube. A cord will go through this hem to let us pull the bag closed.
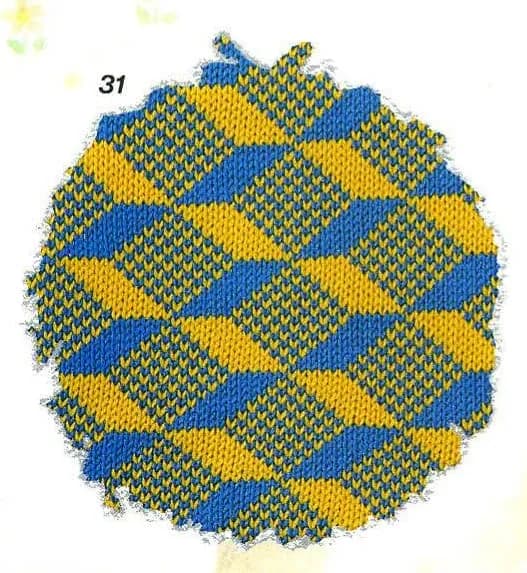
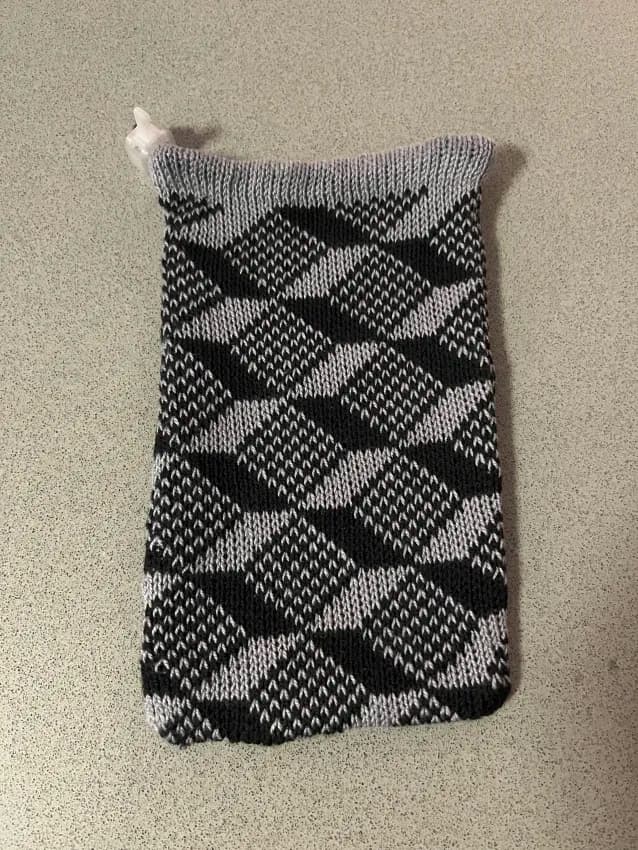
- The main body of the bag is then knitted in two colors using Fair Isle pattern number 031 from Brother’s Stitch World. It’s as long as the long side of the brick, plus a little extra for the bottom, which will be stitched shut.
The bag is formed by sewing up the rectangle on two sides. I found this a little tricky on the bottom, as I had the pattern go all the way to the edge, so it’s a little lumpy!
The cord for the bag is knit on the machine by casting on 3 stitches, setting the carriage to tuck in one direction, then knitting a bunch of rows until it seemed long enough.
I added a 3D printed lace lock to hold the cord in place when the bag is pulled tight.
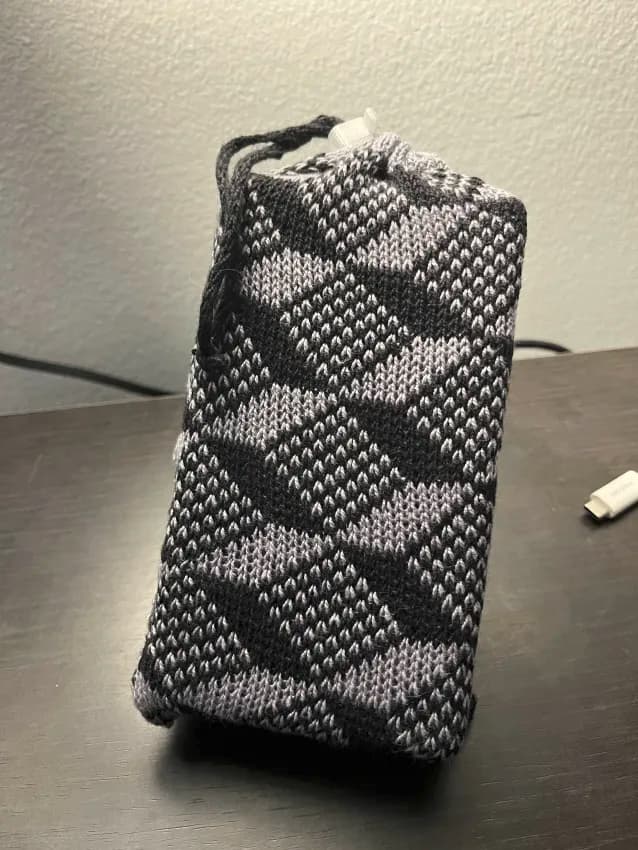
I did a bit of a knit-finishing crime, here. Specifically, I had washed my guage swatches before measuring them, but I did not wash the finished bag. By the time I had sewn it up and added the cord I was ready to be done with the project. So, the final bag is slightly larger than intended, unless and until it gets washed or steamed to let the fibers relax and shrink up.
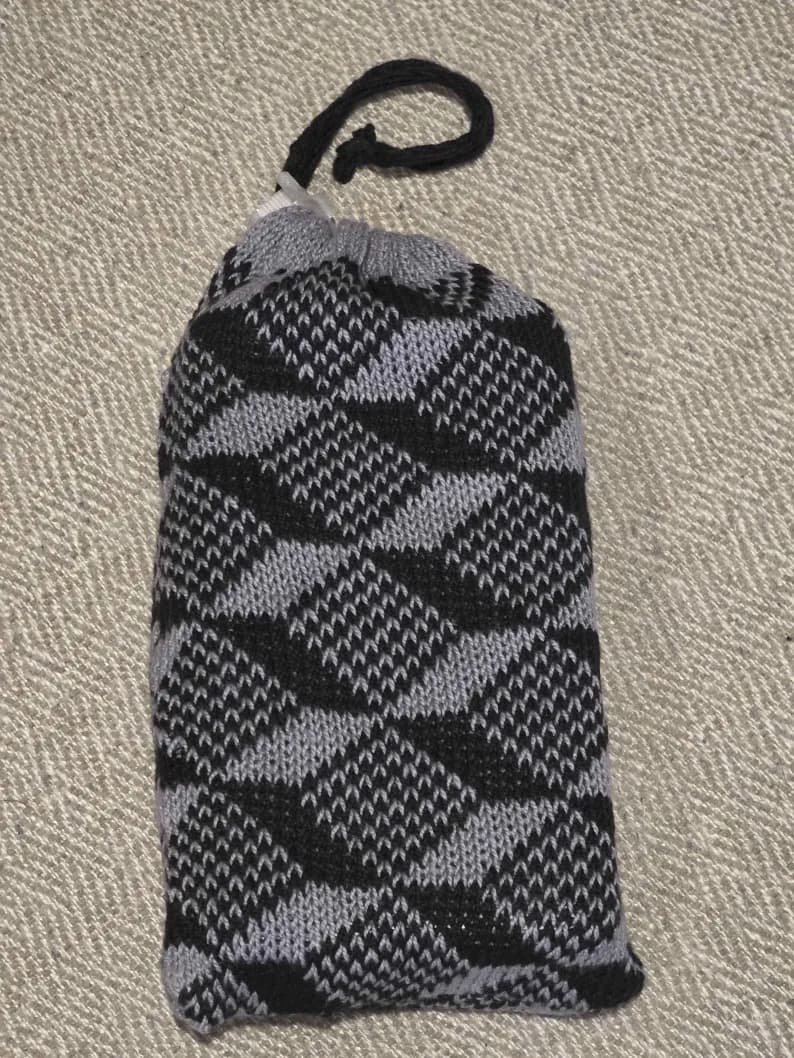
But, whatever, it’s a finished object! I sent it to Chris, who sent back this photo!
It was super fun to go over the top on this project. While it might feel like a “simple” one, it gave me good practice thinking about each step and not cutting corners. Well, not cutting corners until I decided not to wash and block the finished bag!
Many thanks to Chris for humoring me on this project, sending encouragement as I overshared process photos and video, and giving me permission to share this project on my site!
My knitting commissions are closed at the moment, as I have a good number of things I want to work on. Stay tuned in case they open up again, though. 😉
This is a retro-post. Jump scare! I sure have read a lot of 2025-in-review posts recently! I am impressed by all that you have accomplished. Here's my 2025 wrapped (in yarn), in 20 photos about my machine knitting this year! Descriptions and links below.1, 2, and 3: my machine and samples from my first workshop at the Brooklyn Textile Arts Center (TAC). Workshop day 1. Workshop day 2. 4 and 5: my first hats. 6: a Fair Isle patterned hat, made after disassembling and cleaning my machine carriage. …