Machine Knitting Continues
Heck yeah, I’m retro-posting. Hello from the future!
It’s August 3rd, 2025 and time for more machine knitting!
I started the day practicing some of the techniques from day one of the class.
I have forgotten the first technique Elaine taught us for the day, but it let us work in a second yarn by hand as each row is knit. Seems like maybe a cool way to work in wires or conductive thread??
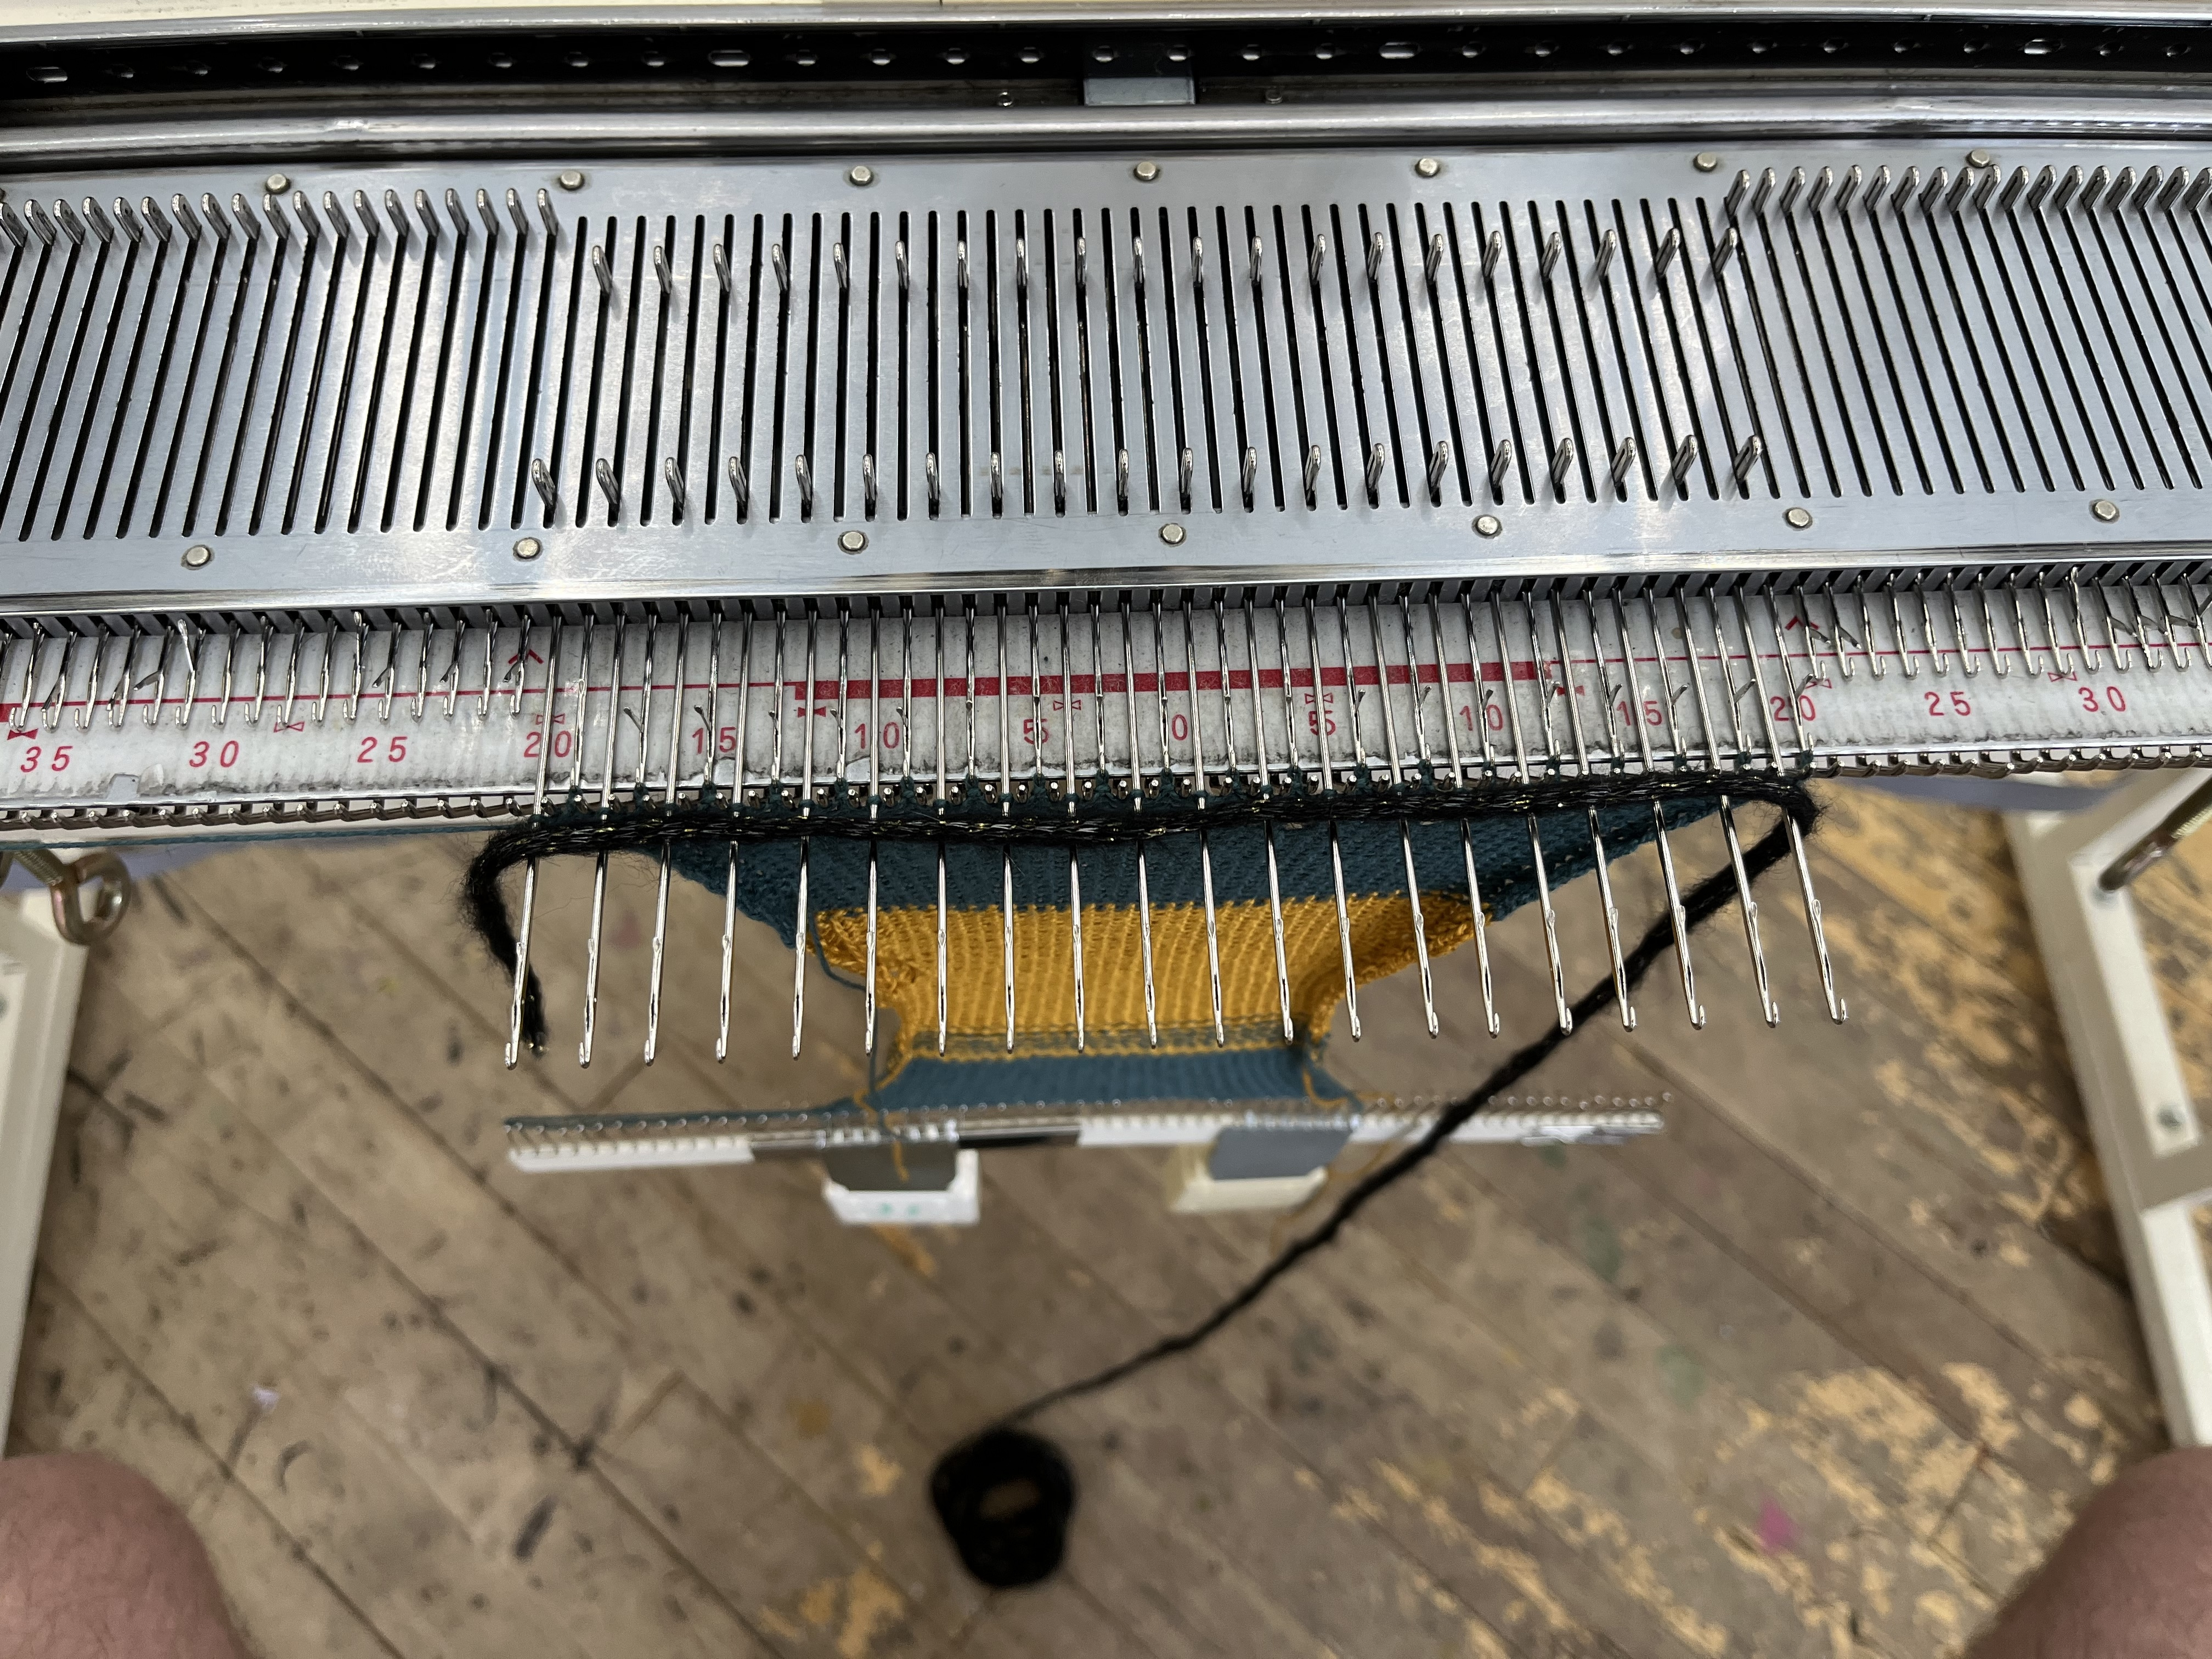
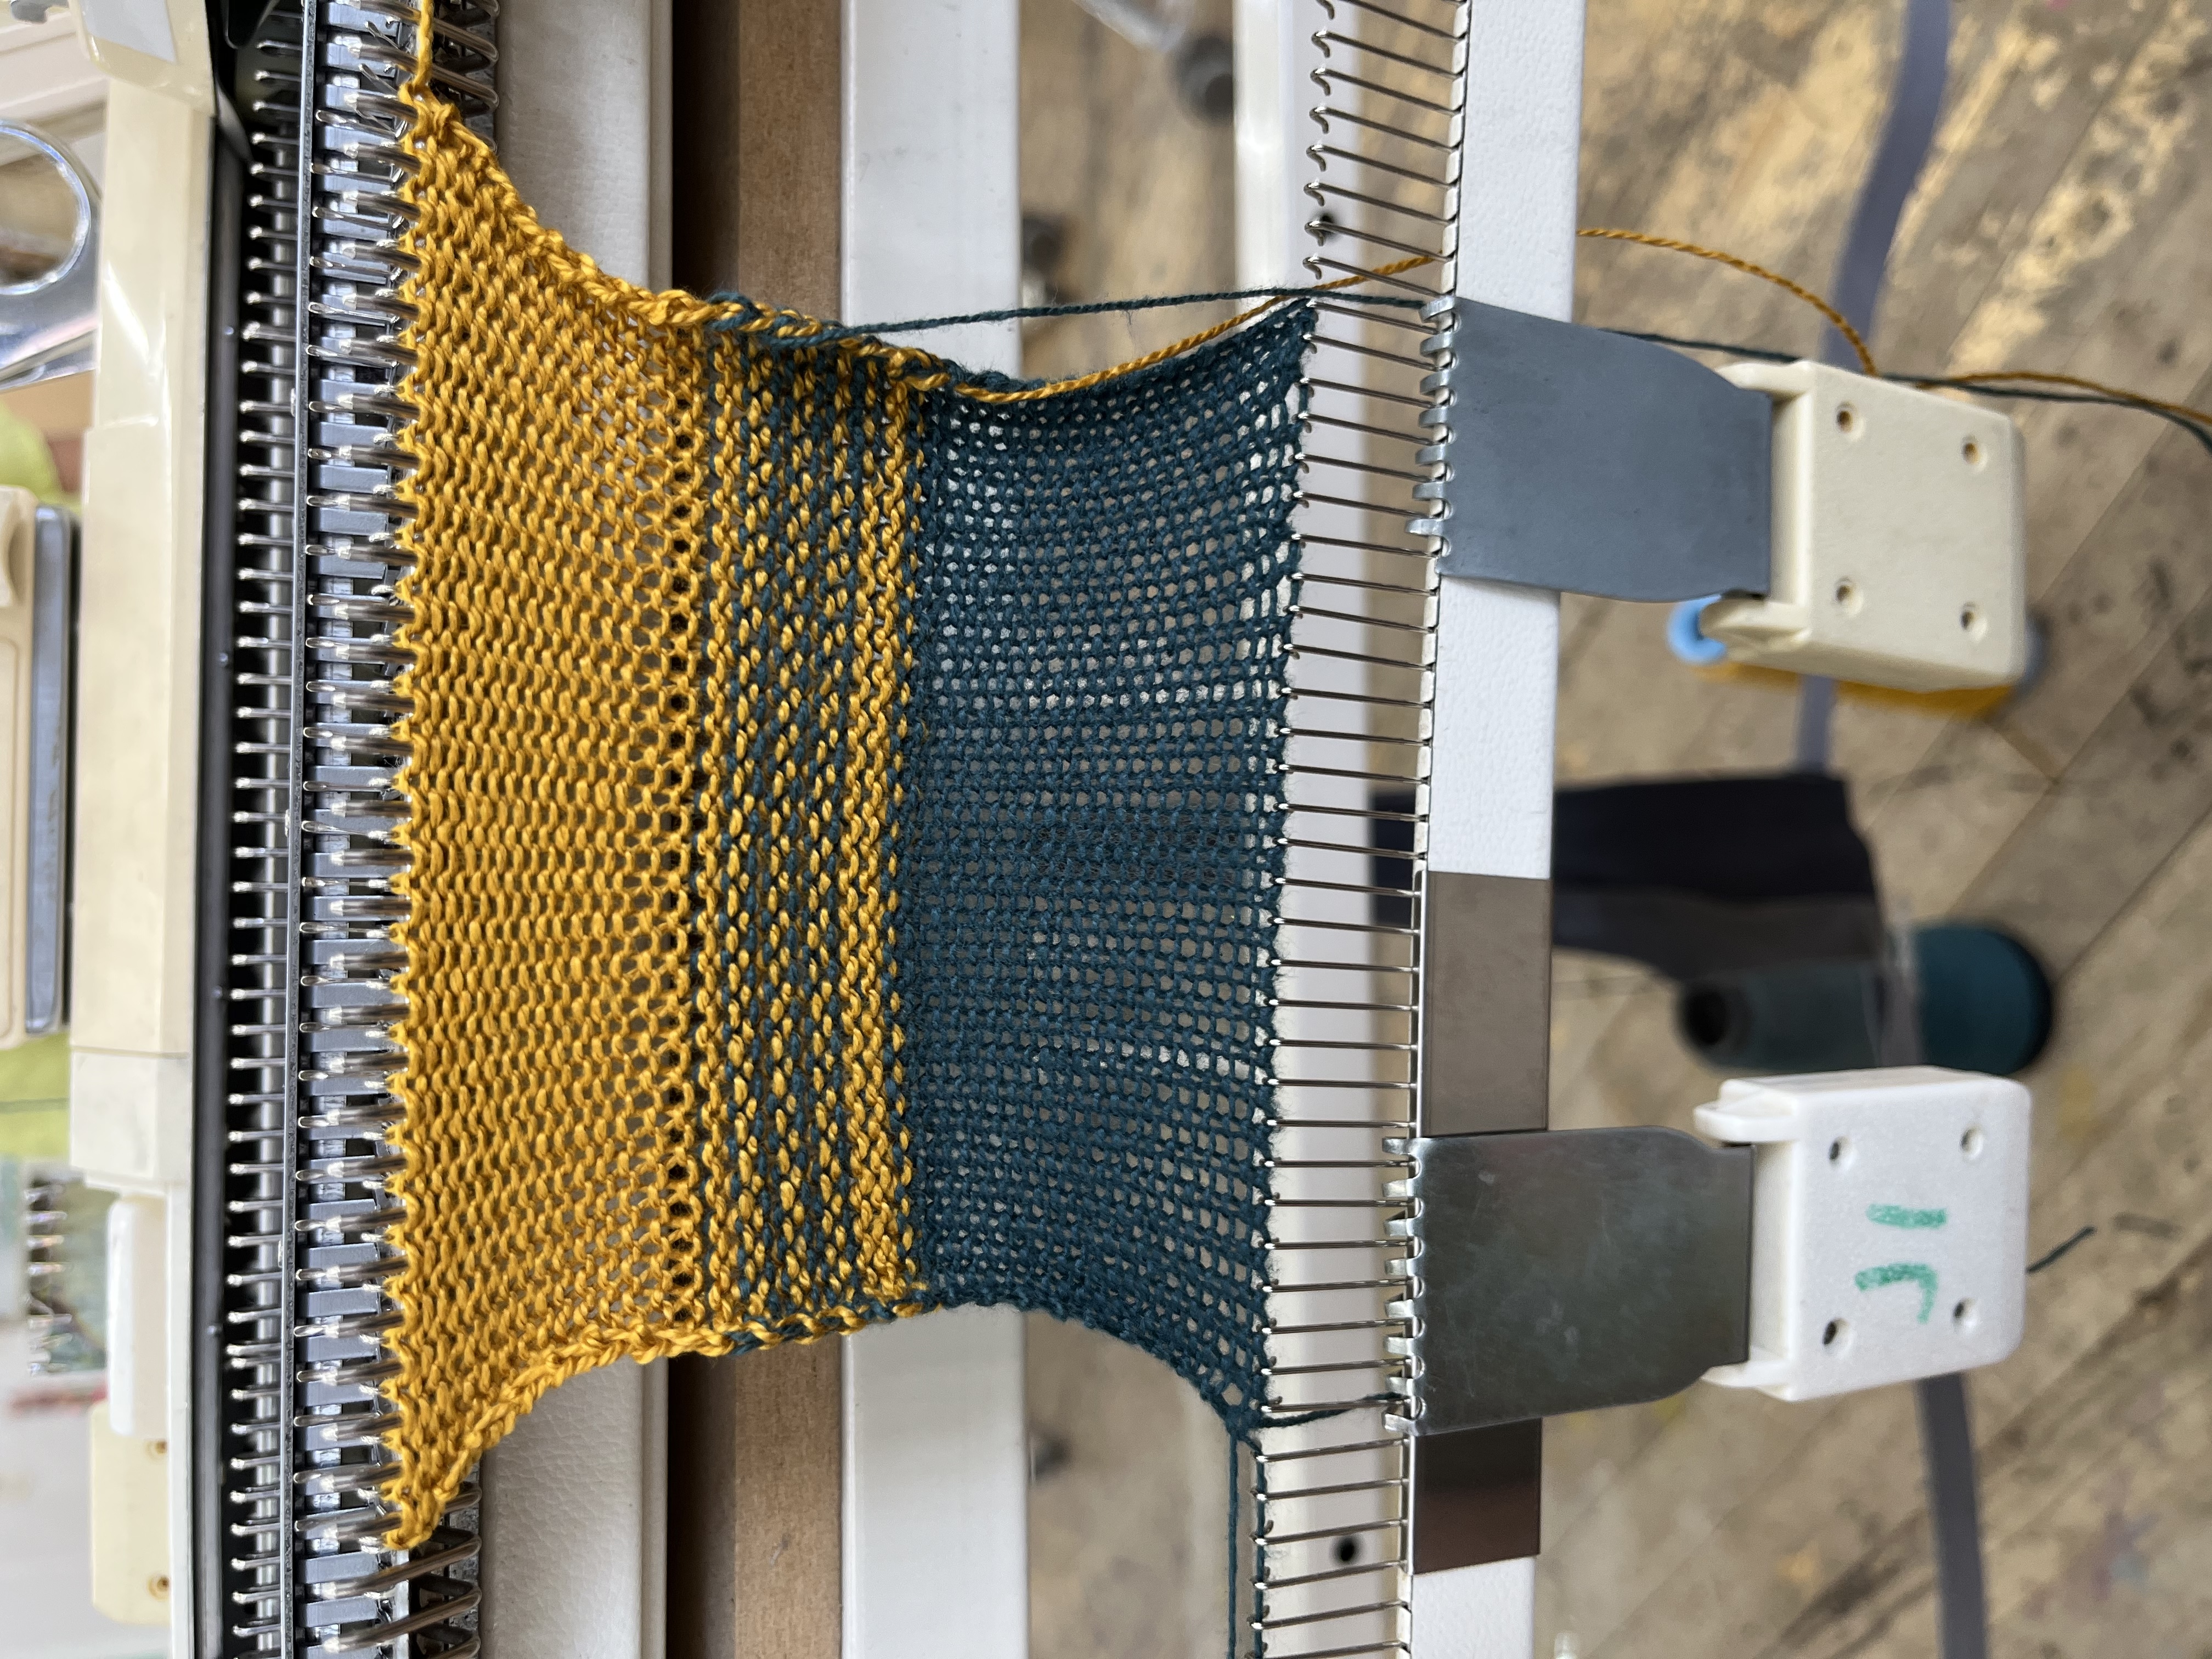
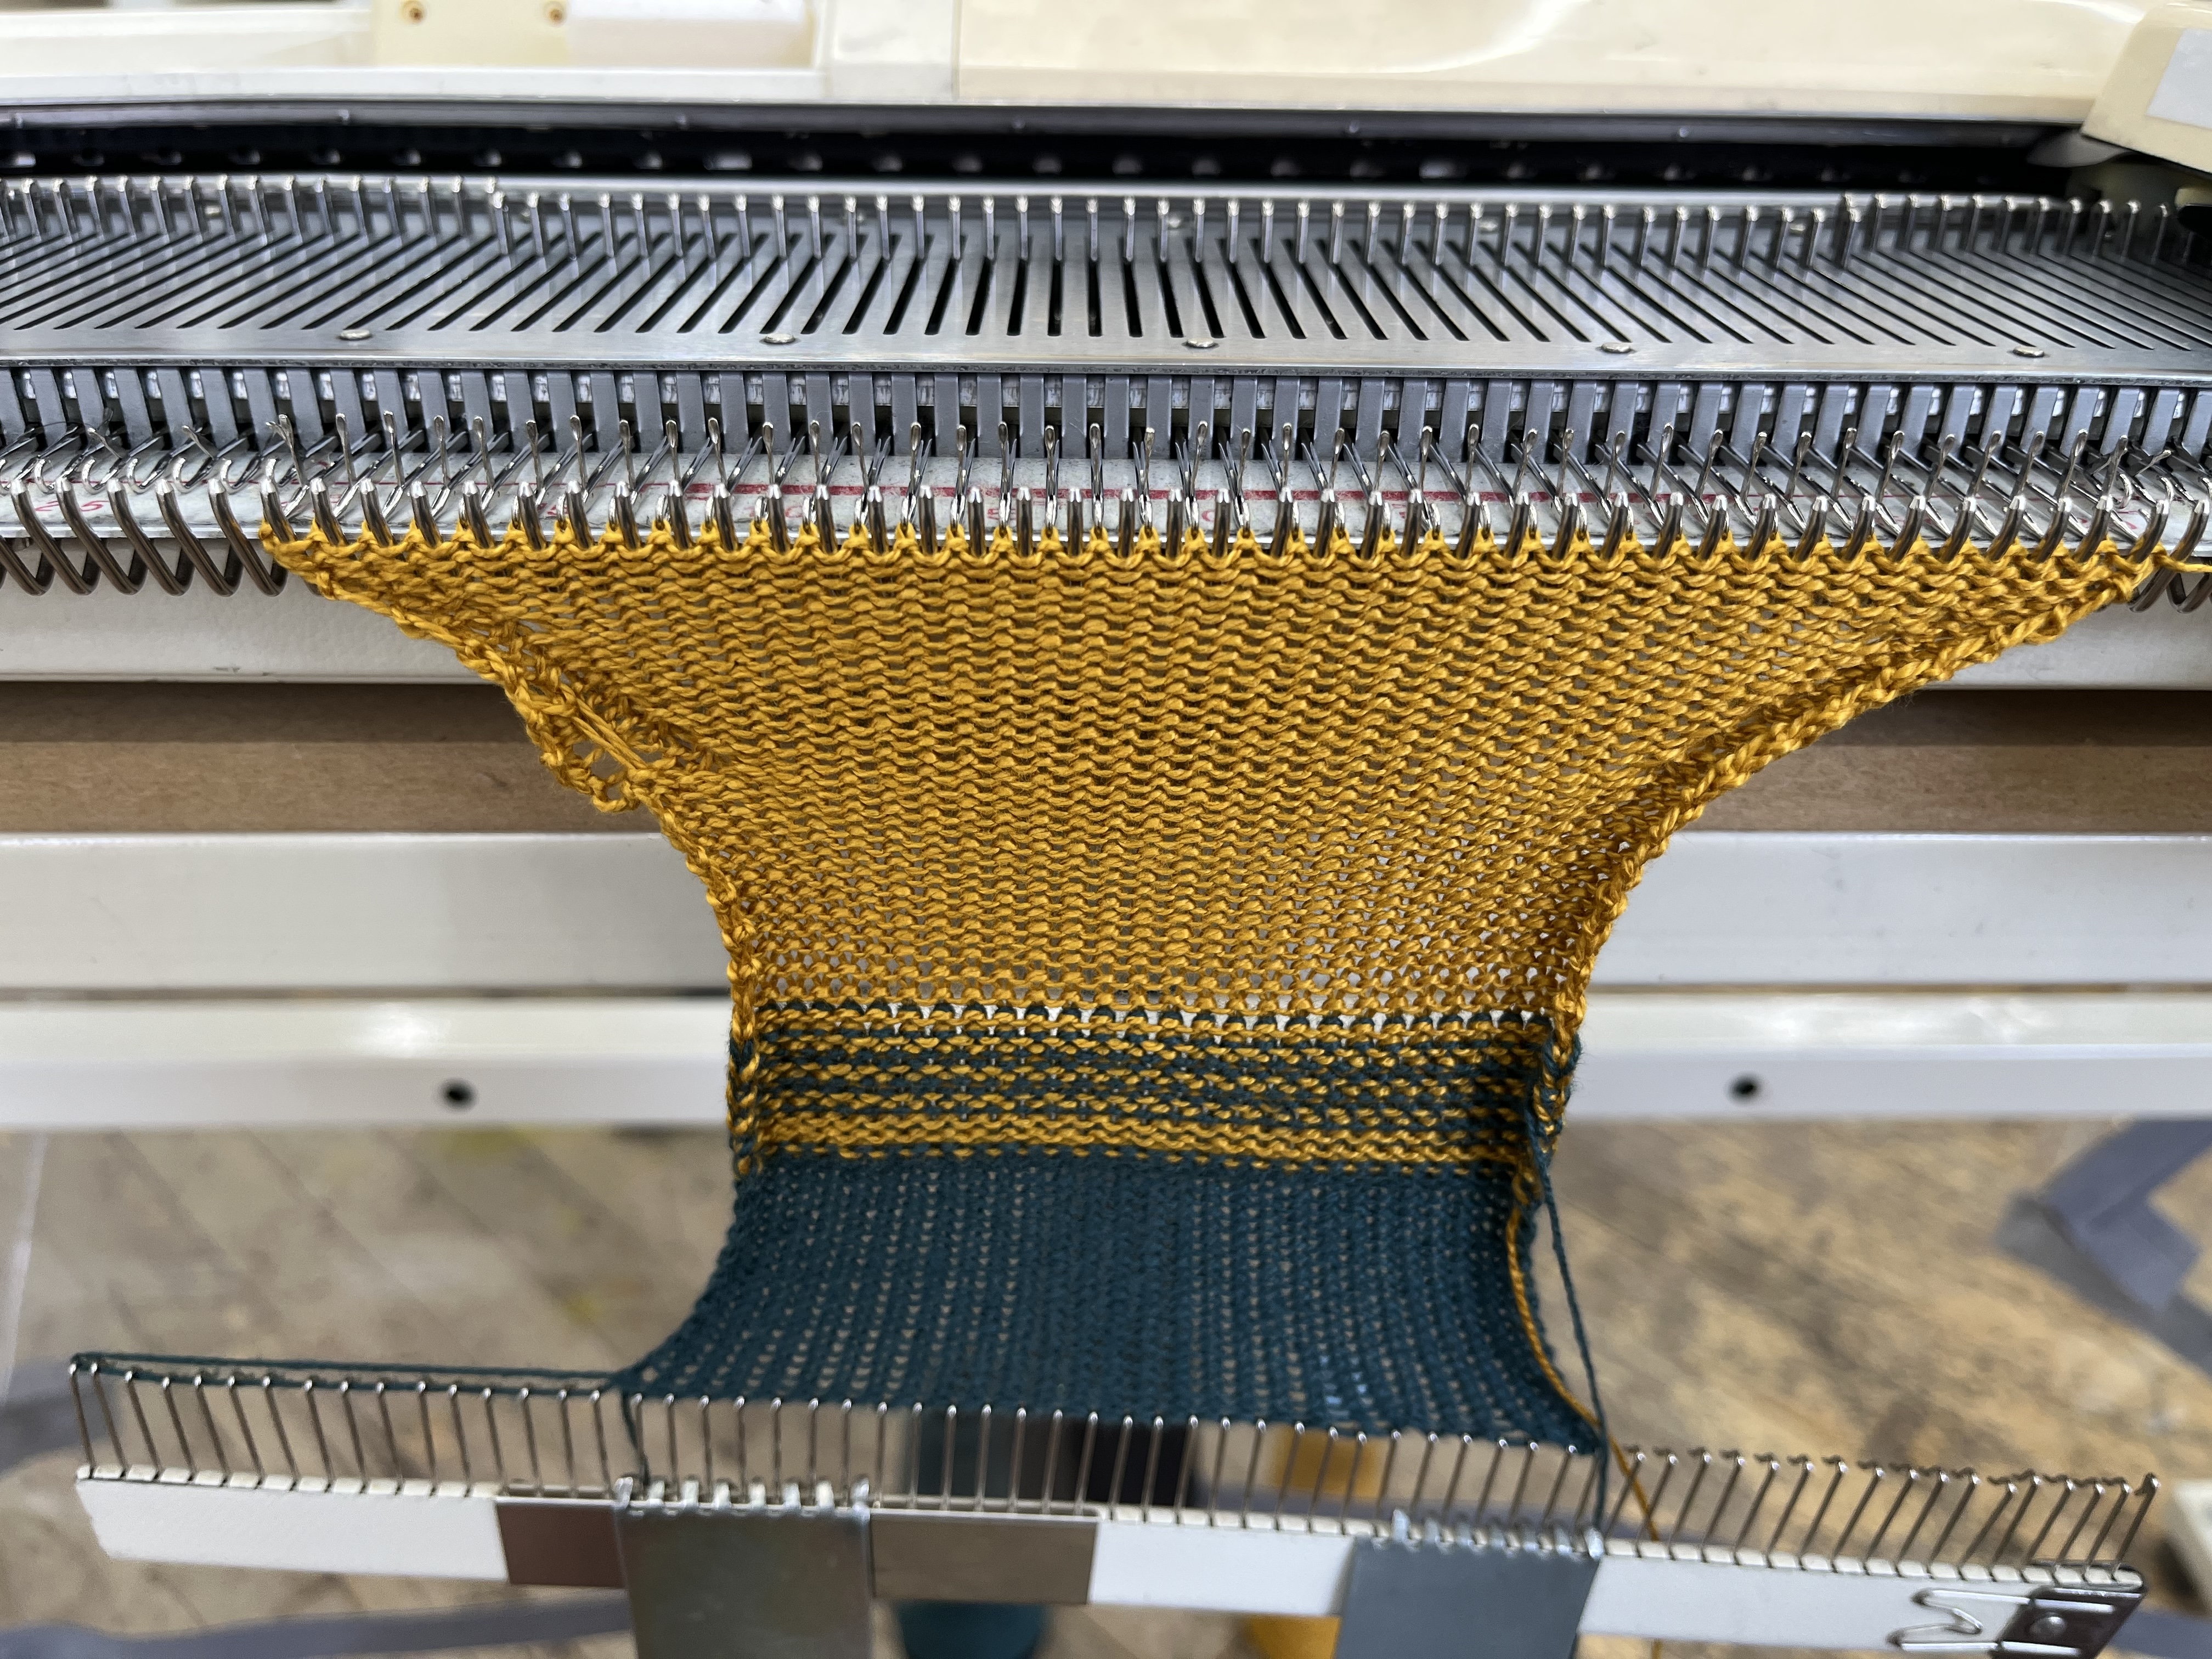
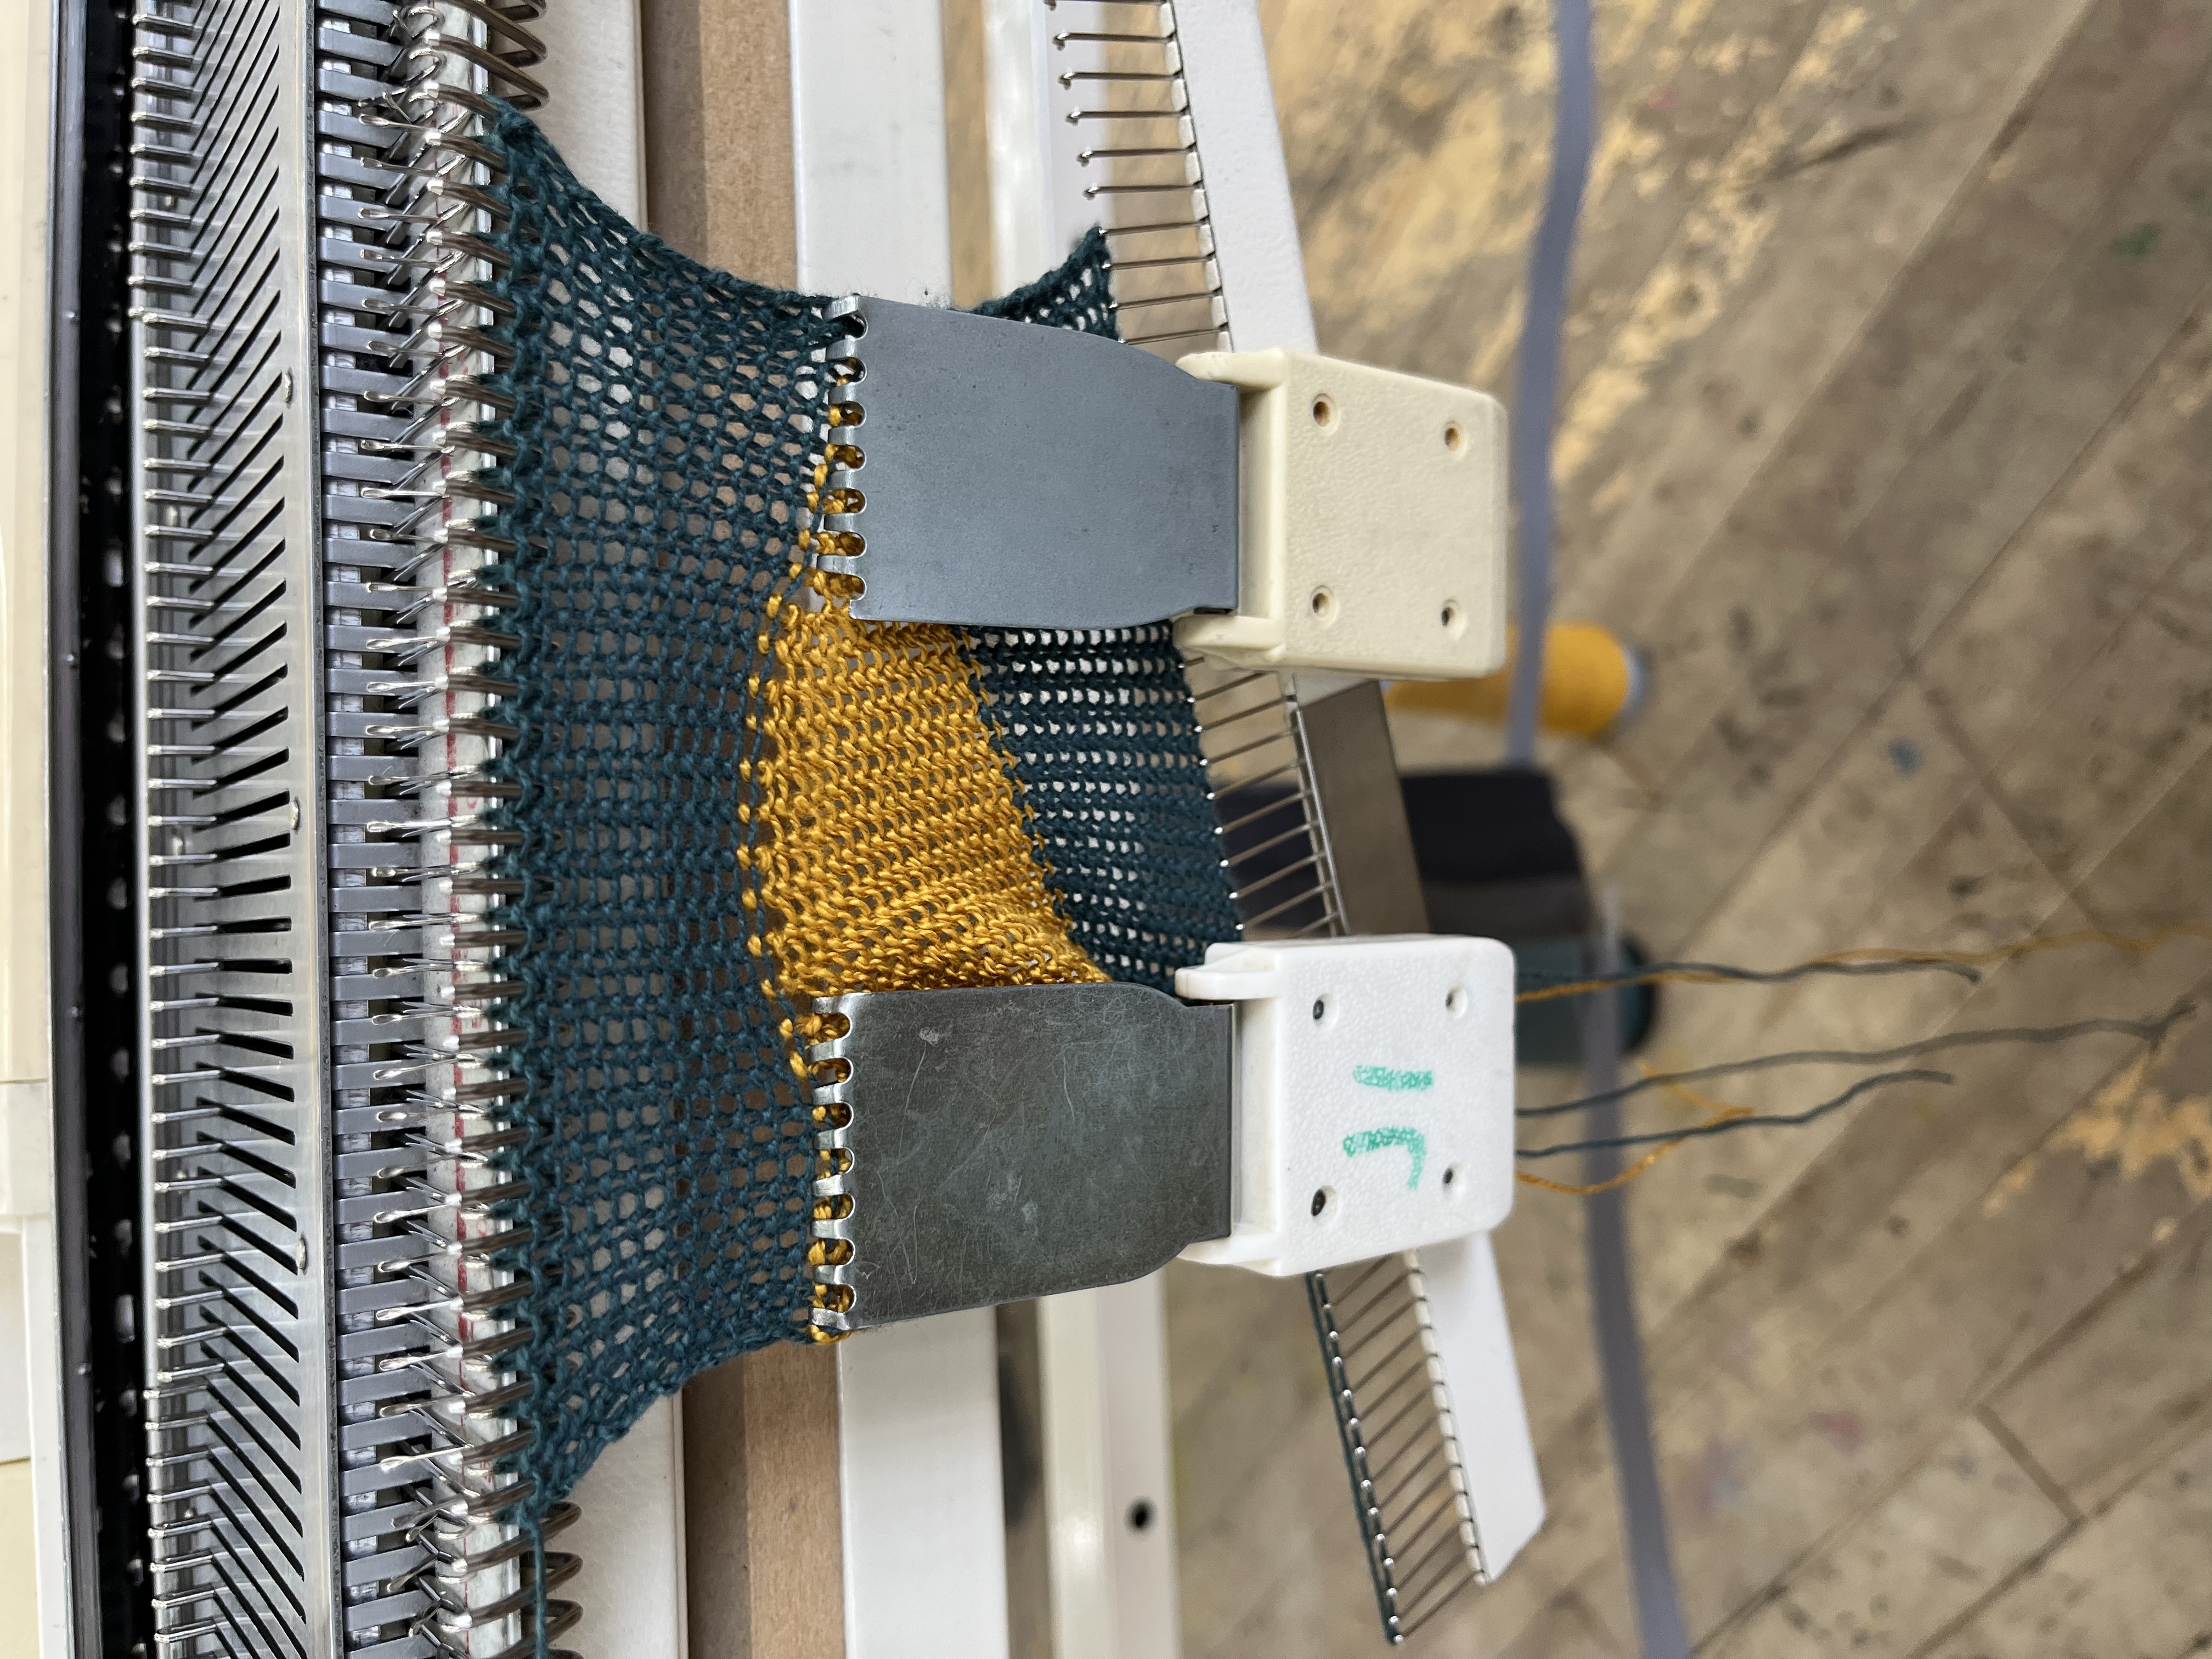
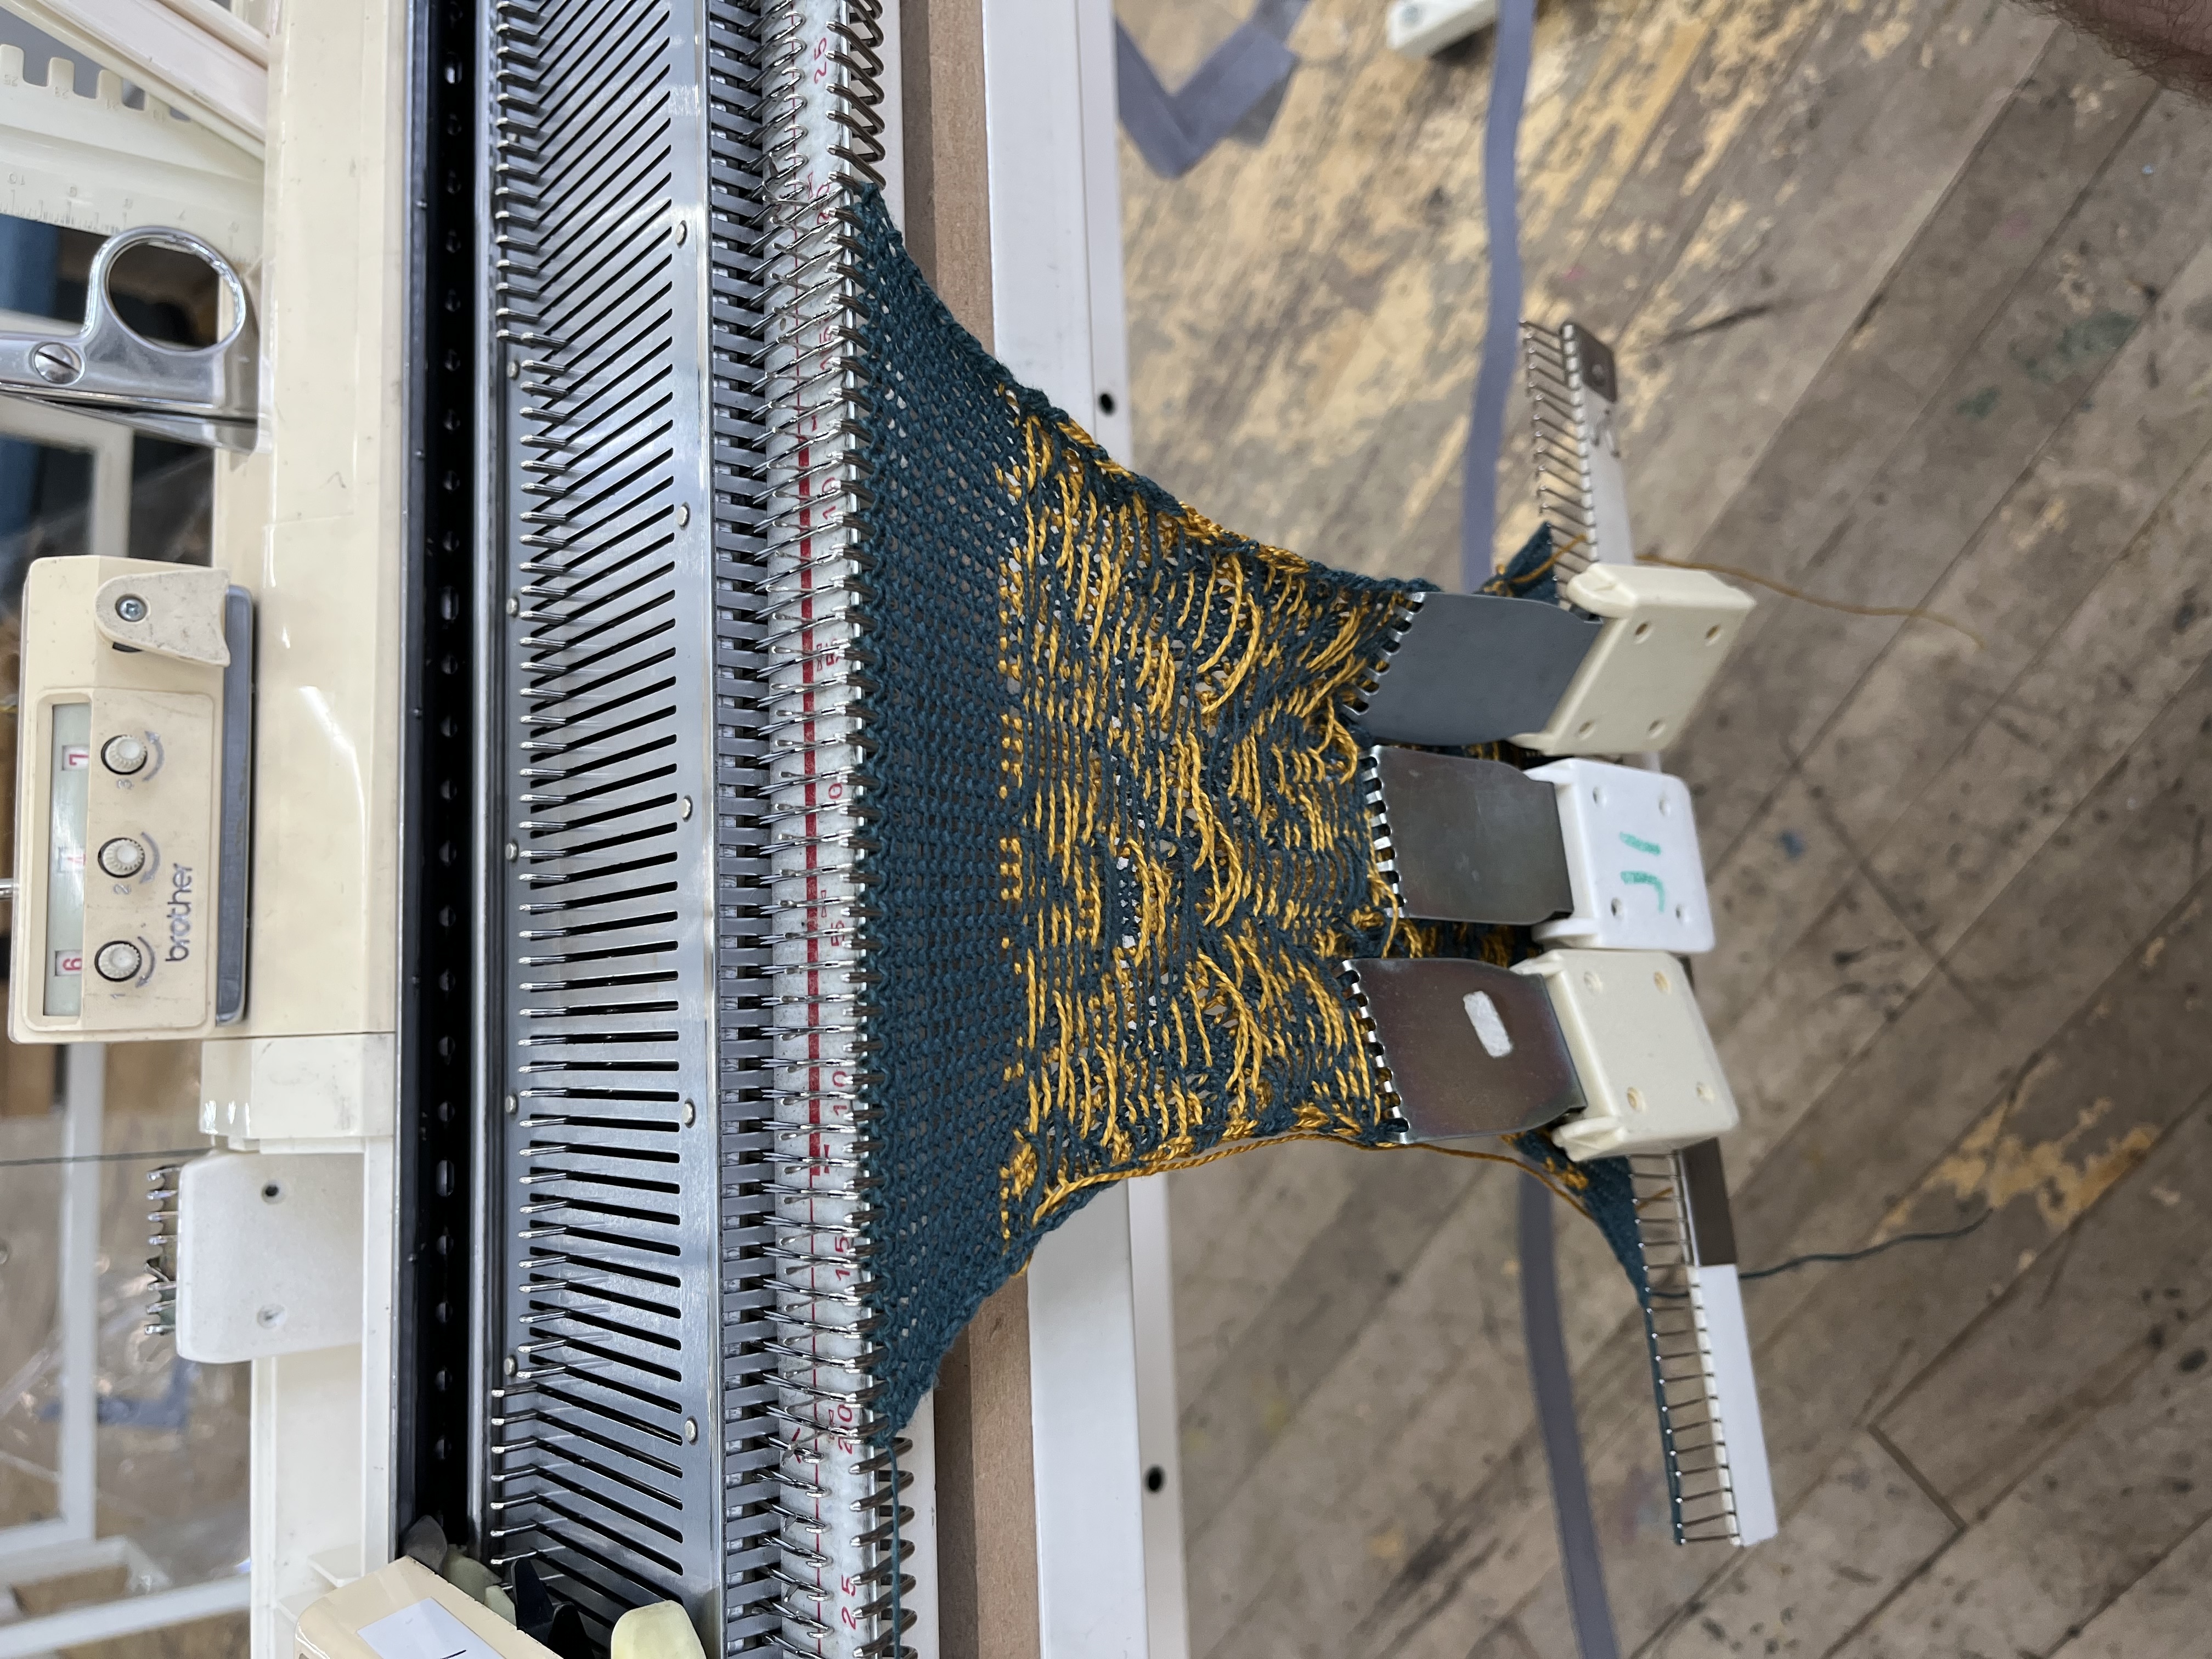
Next up, we learned about putting working needles in hold, aka short-rowing, which allows you to “grow” sections of the knitting by adding rows just to one section, while other parts of the work stay put.

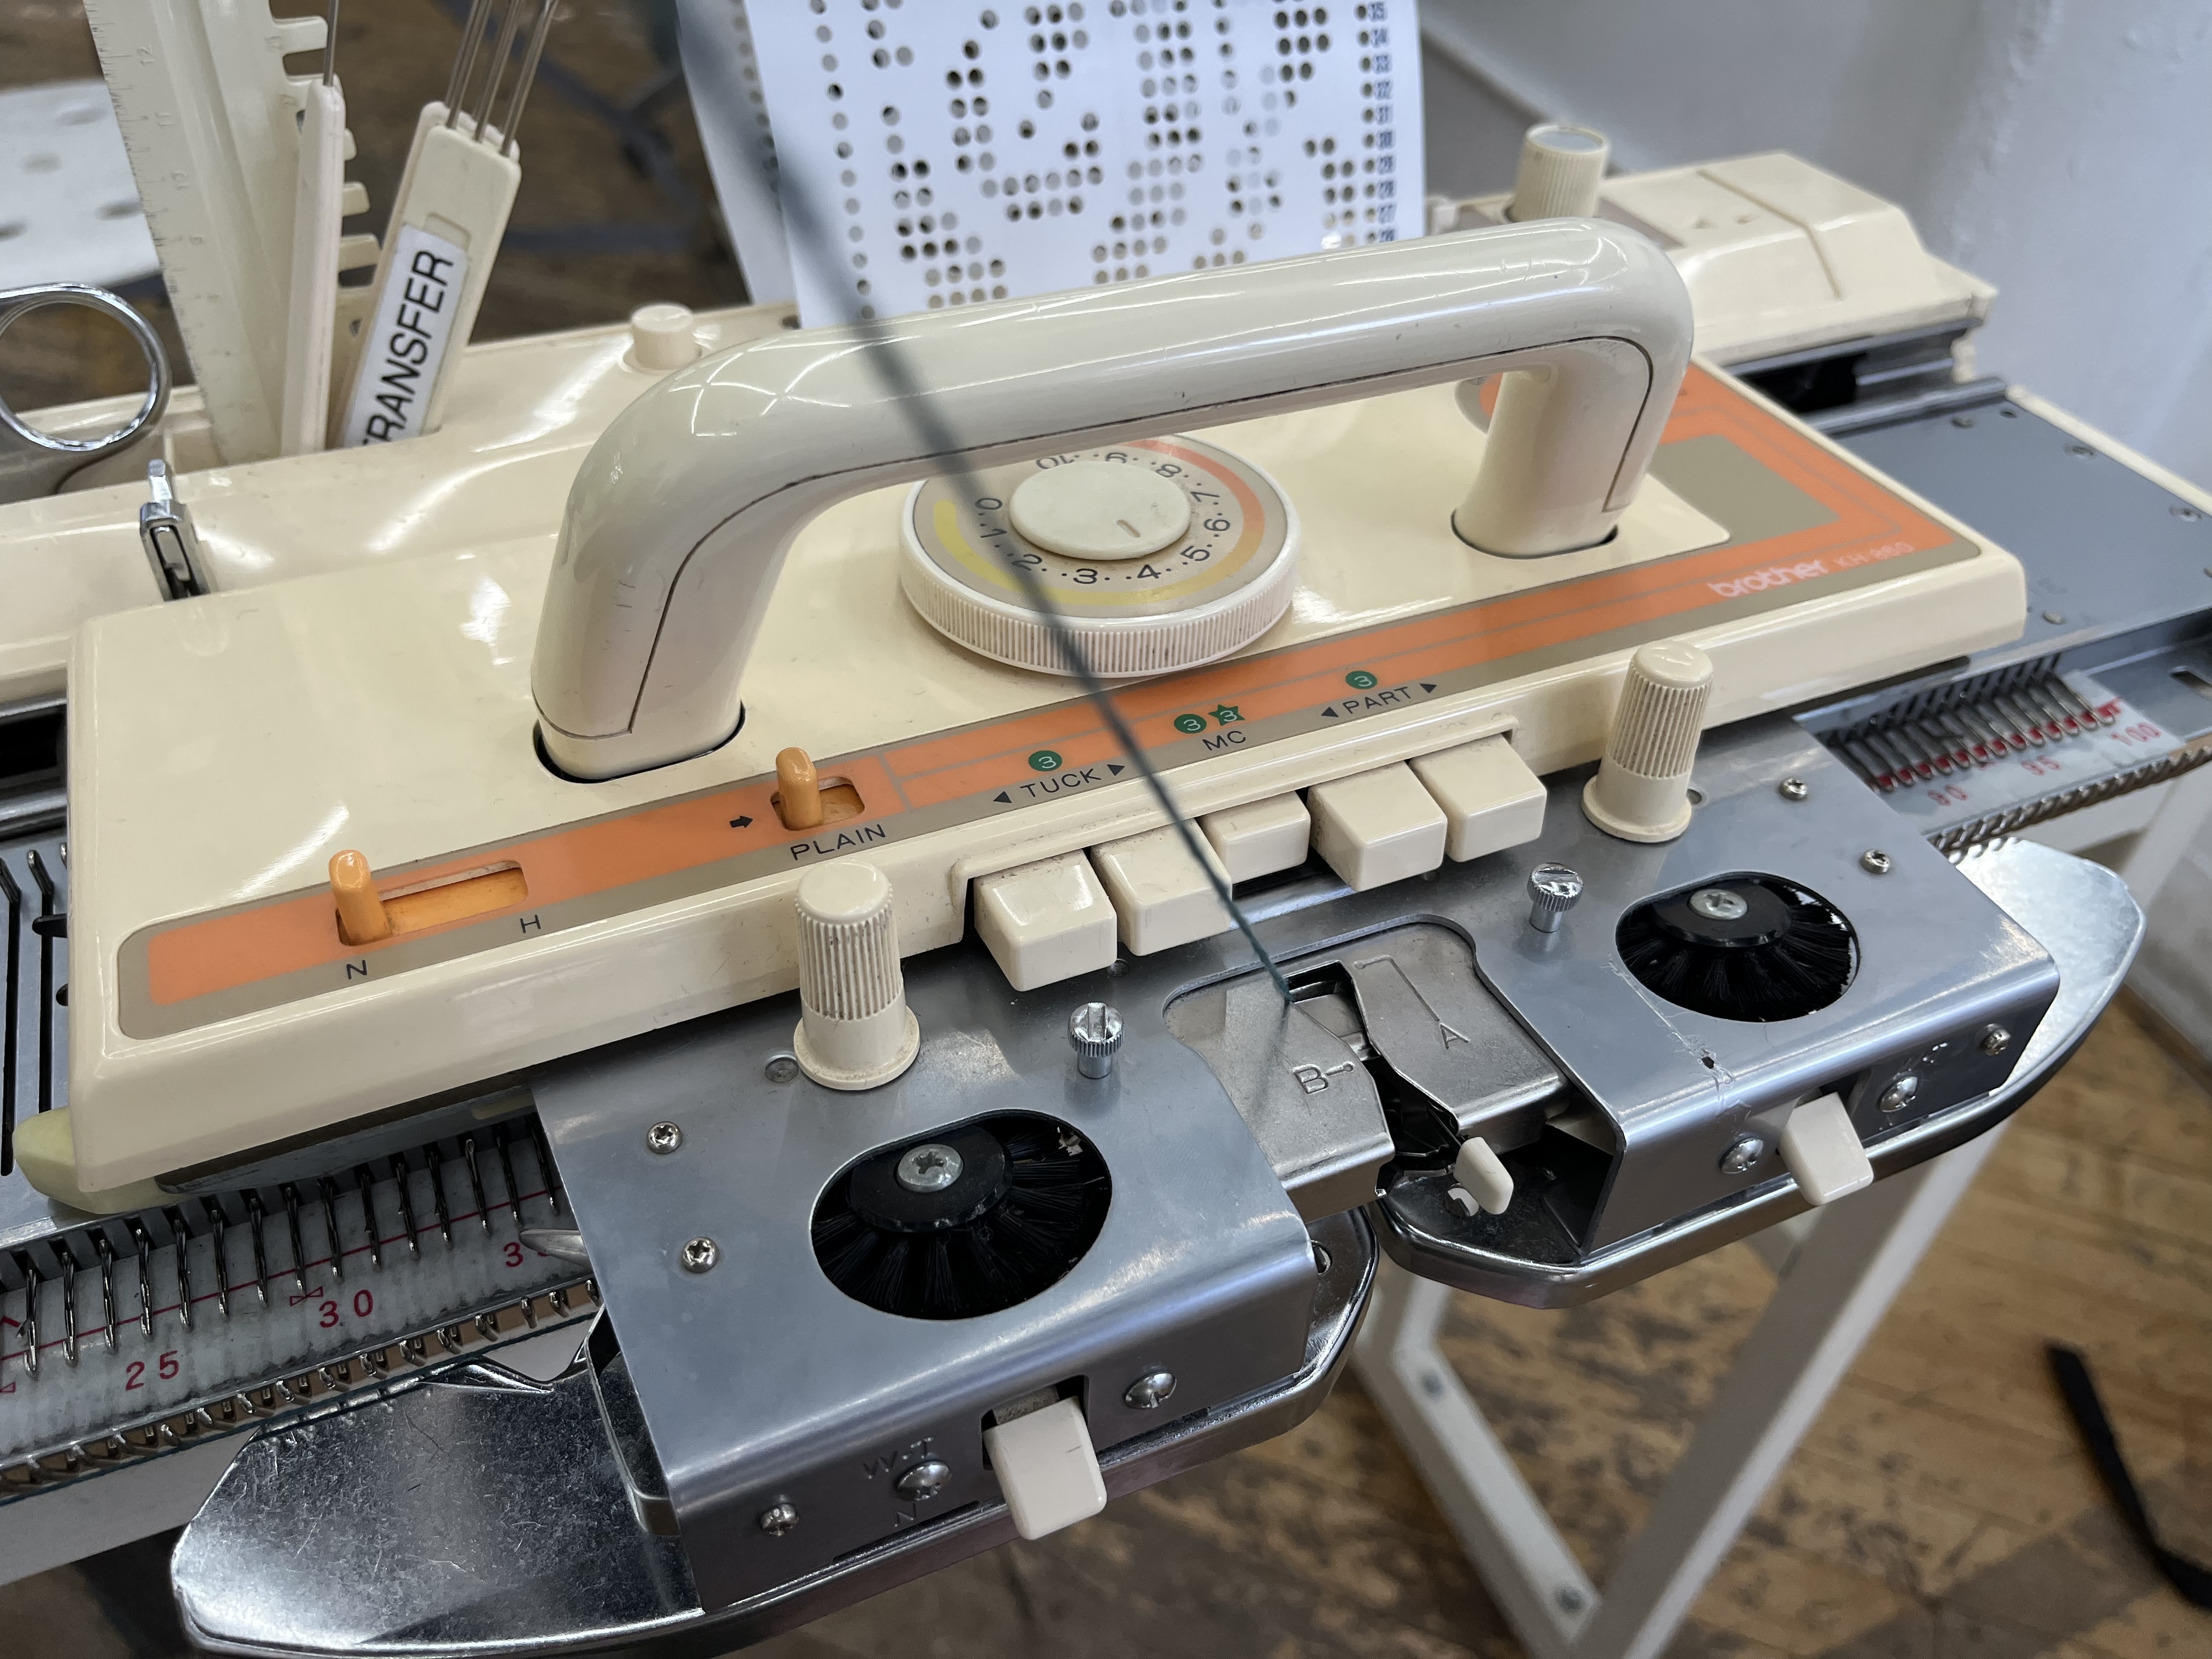
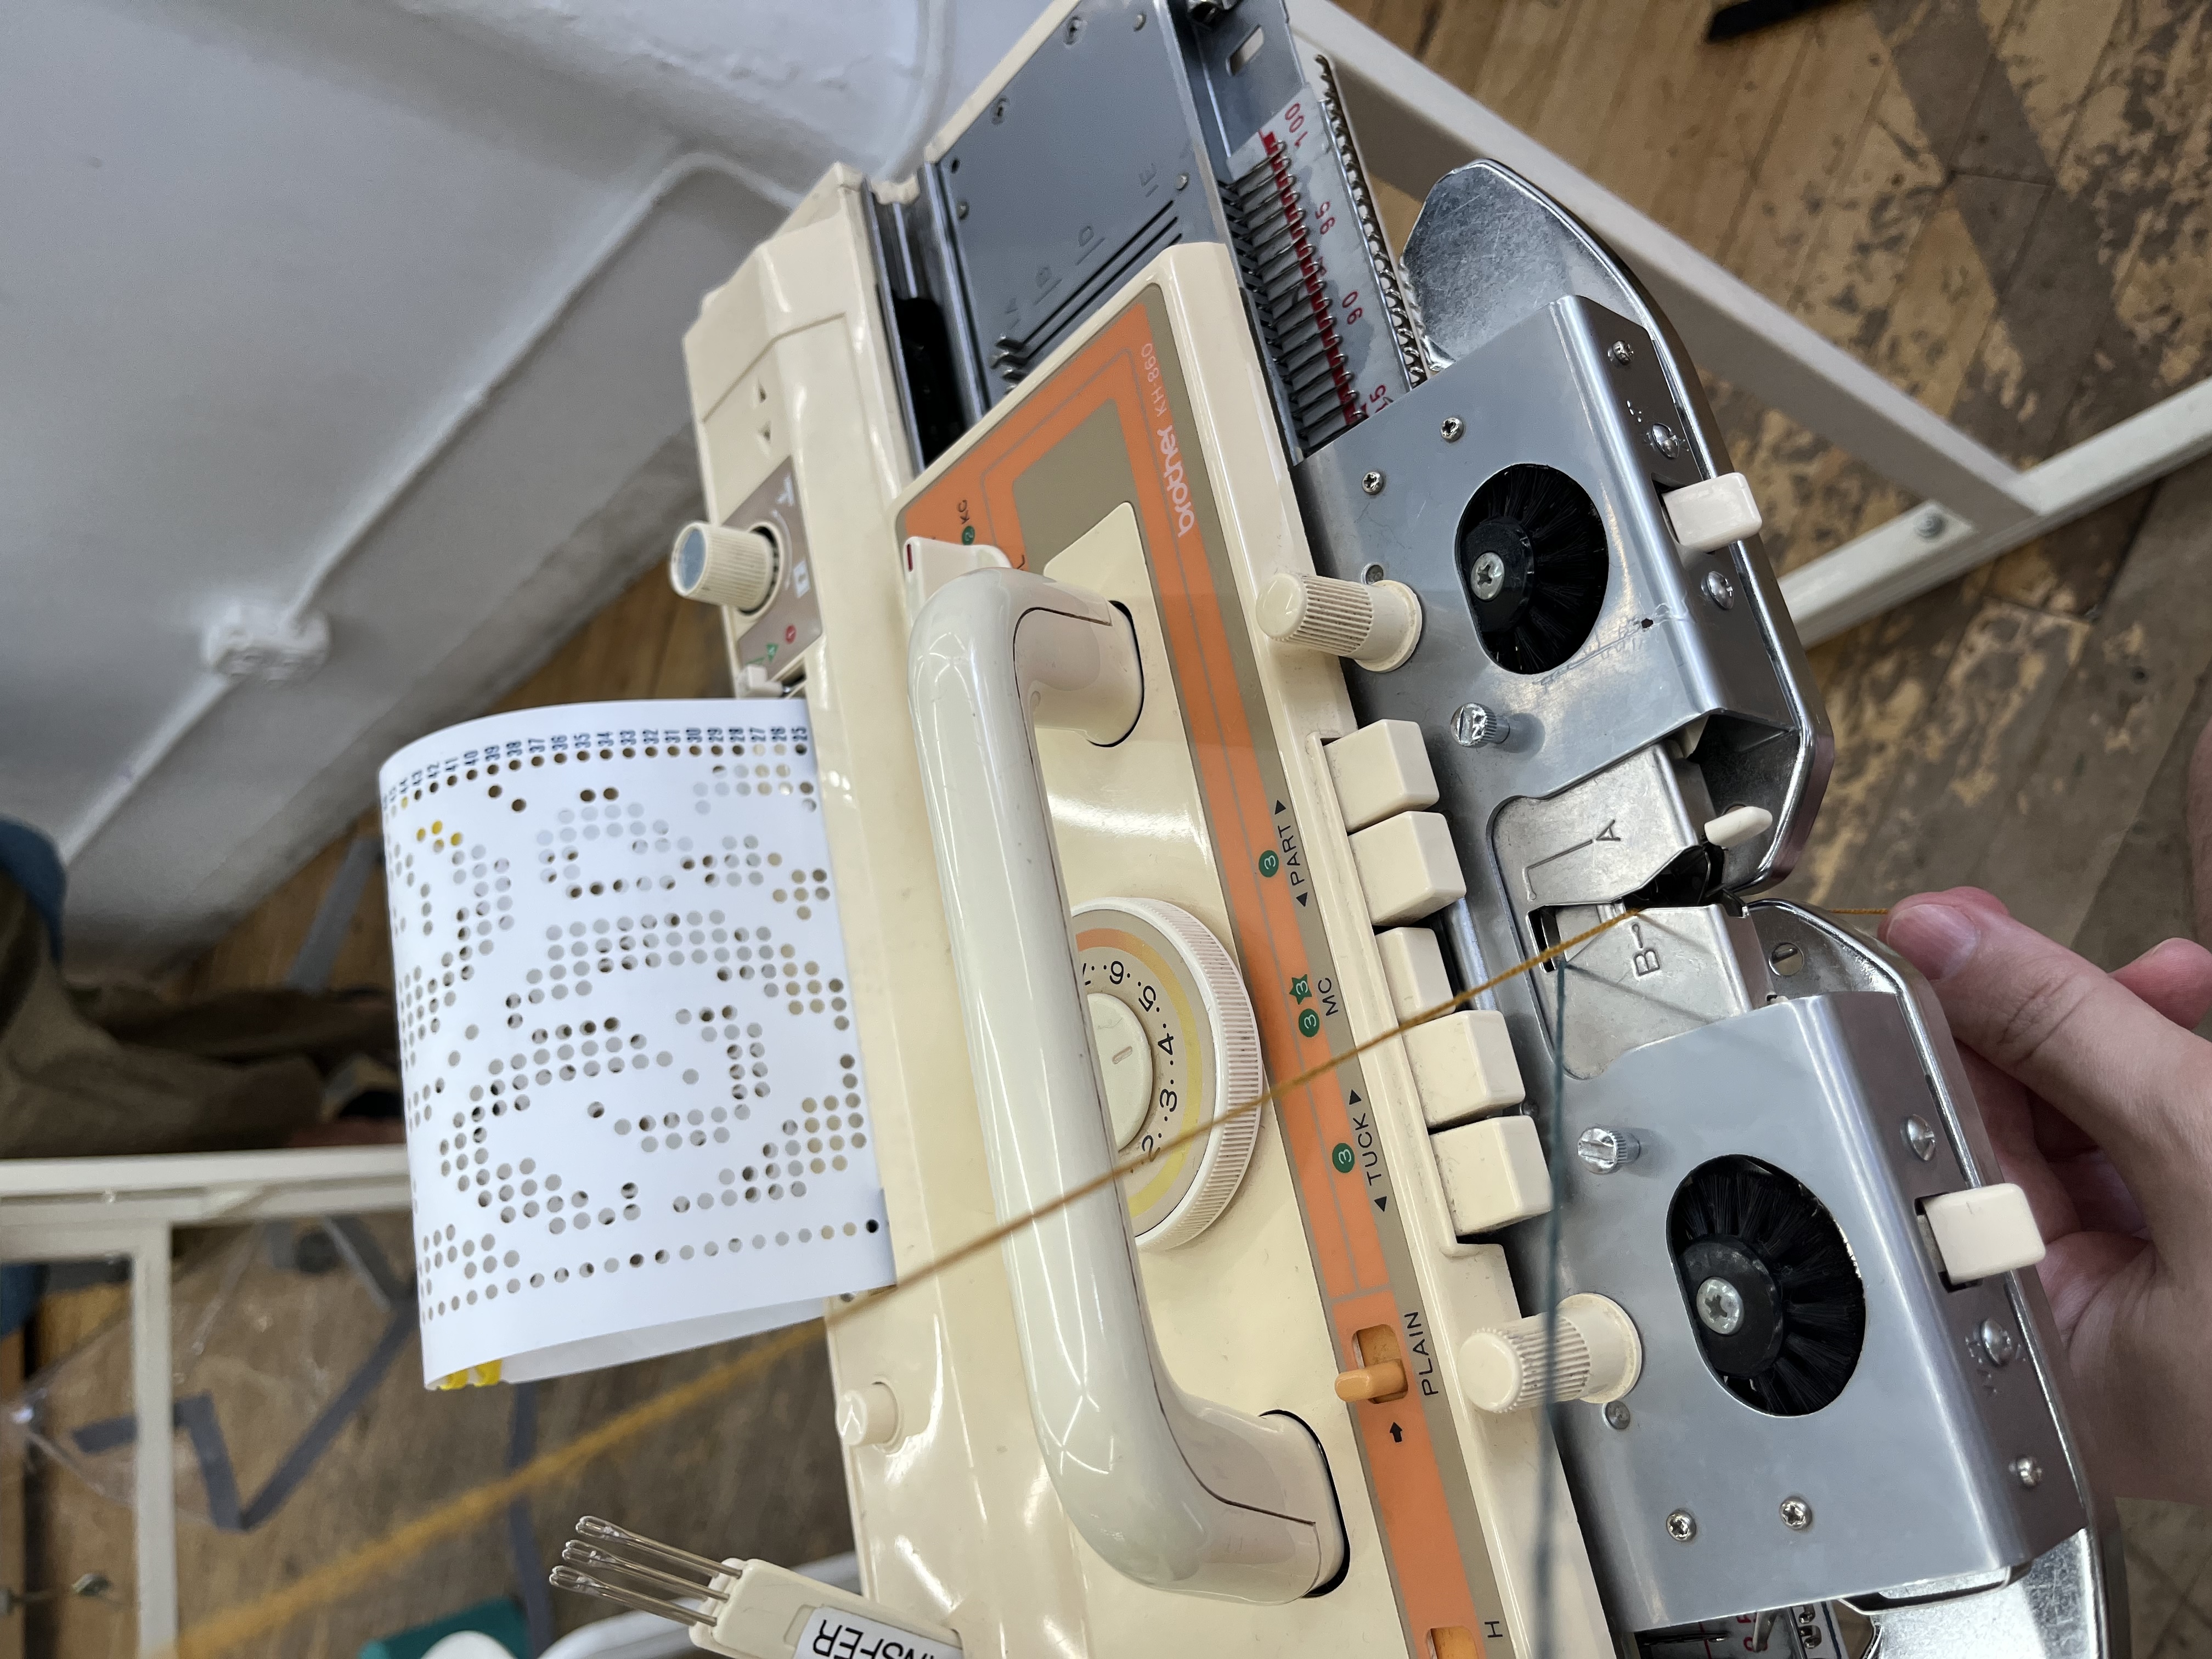
Next it was time for two-color patterned knitting with fair isle, powered by punch cards!
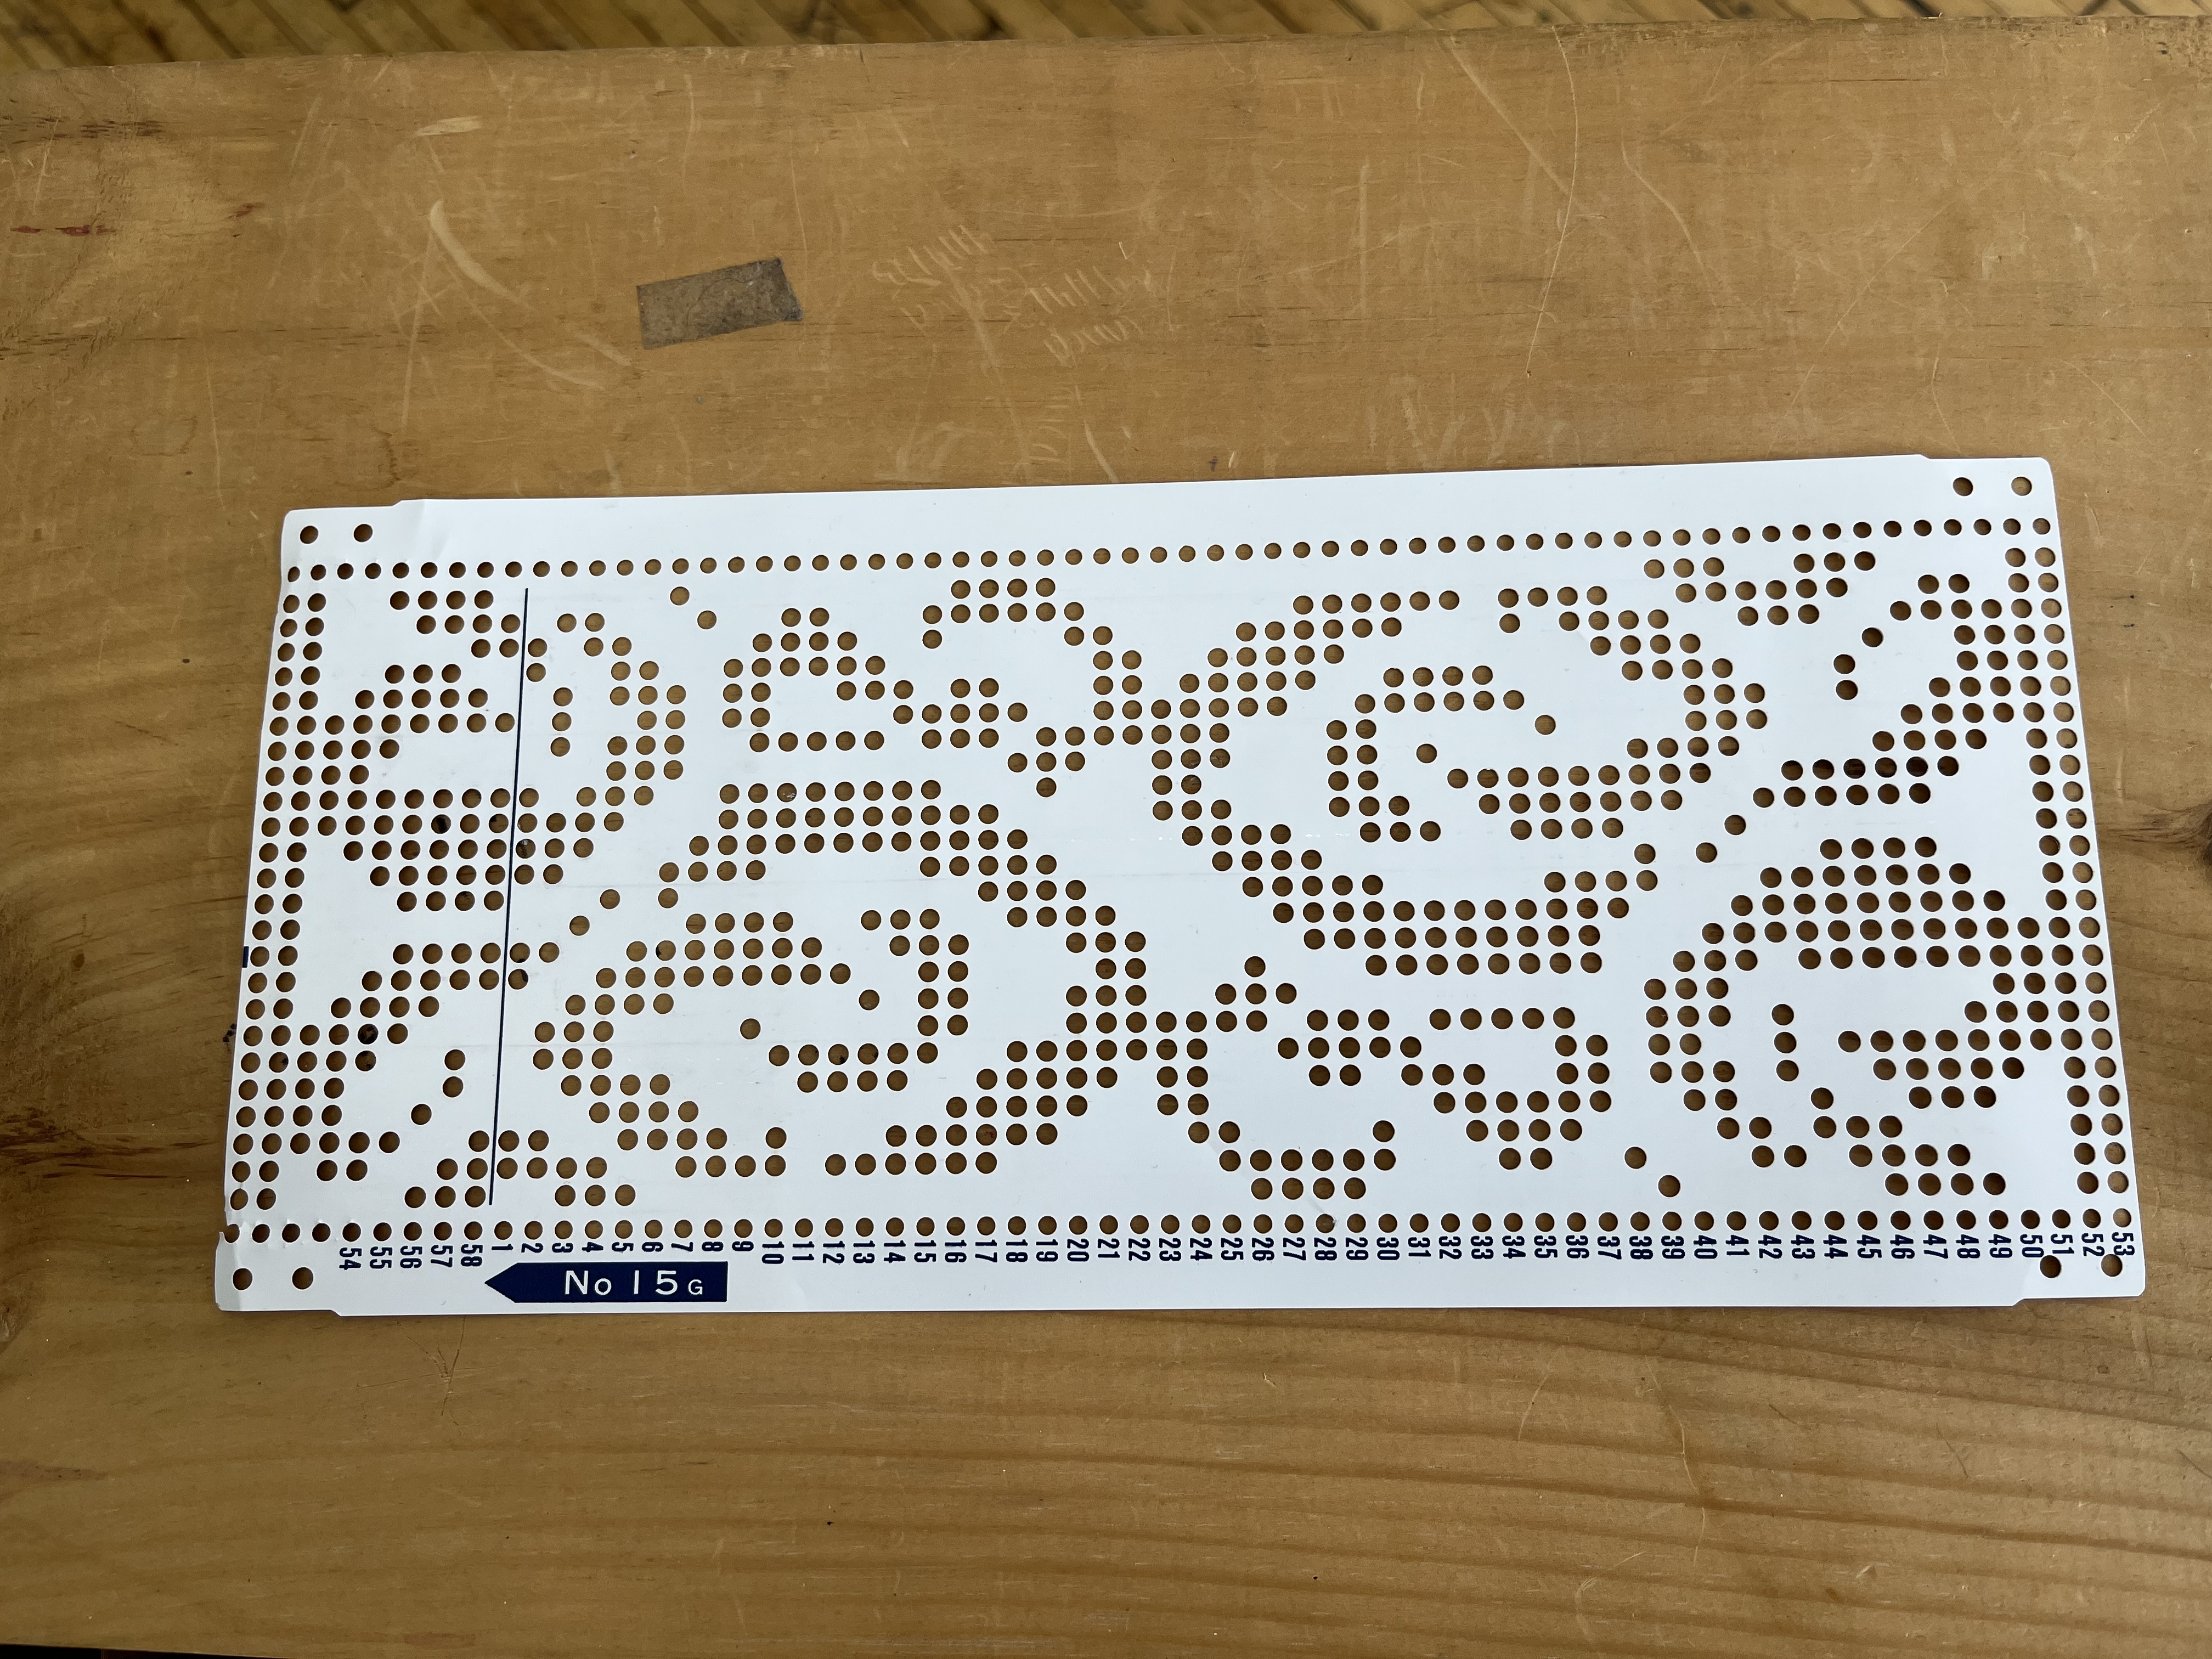
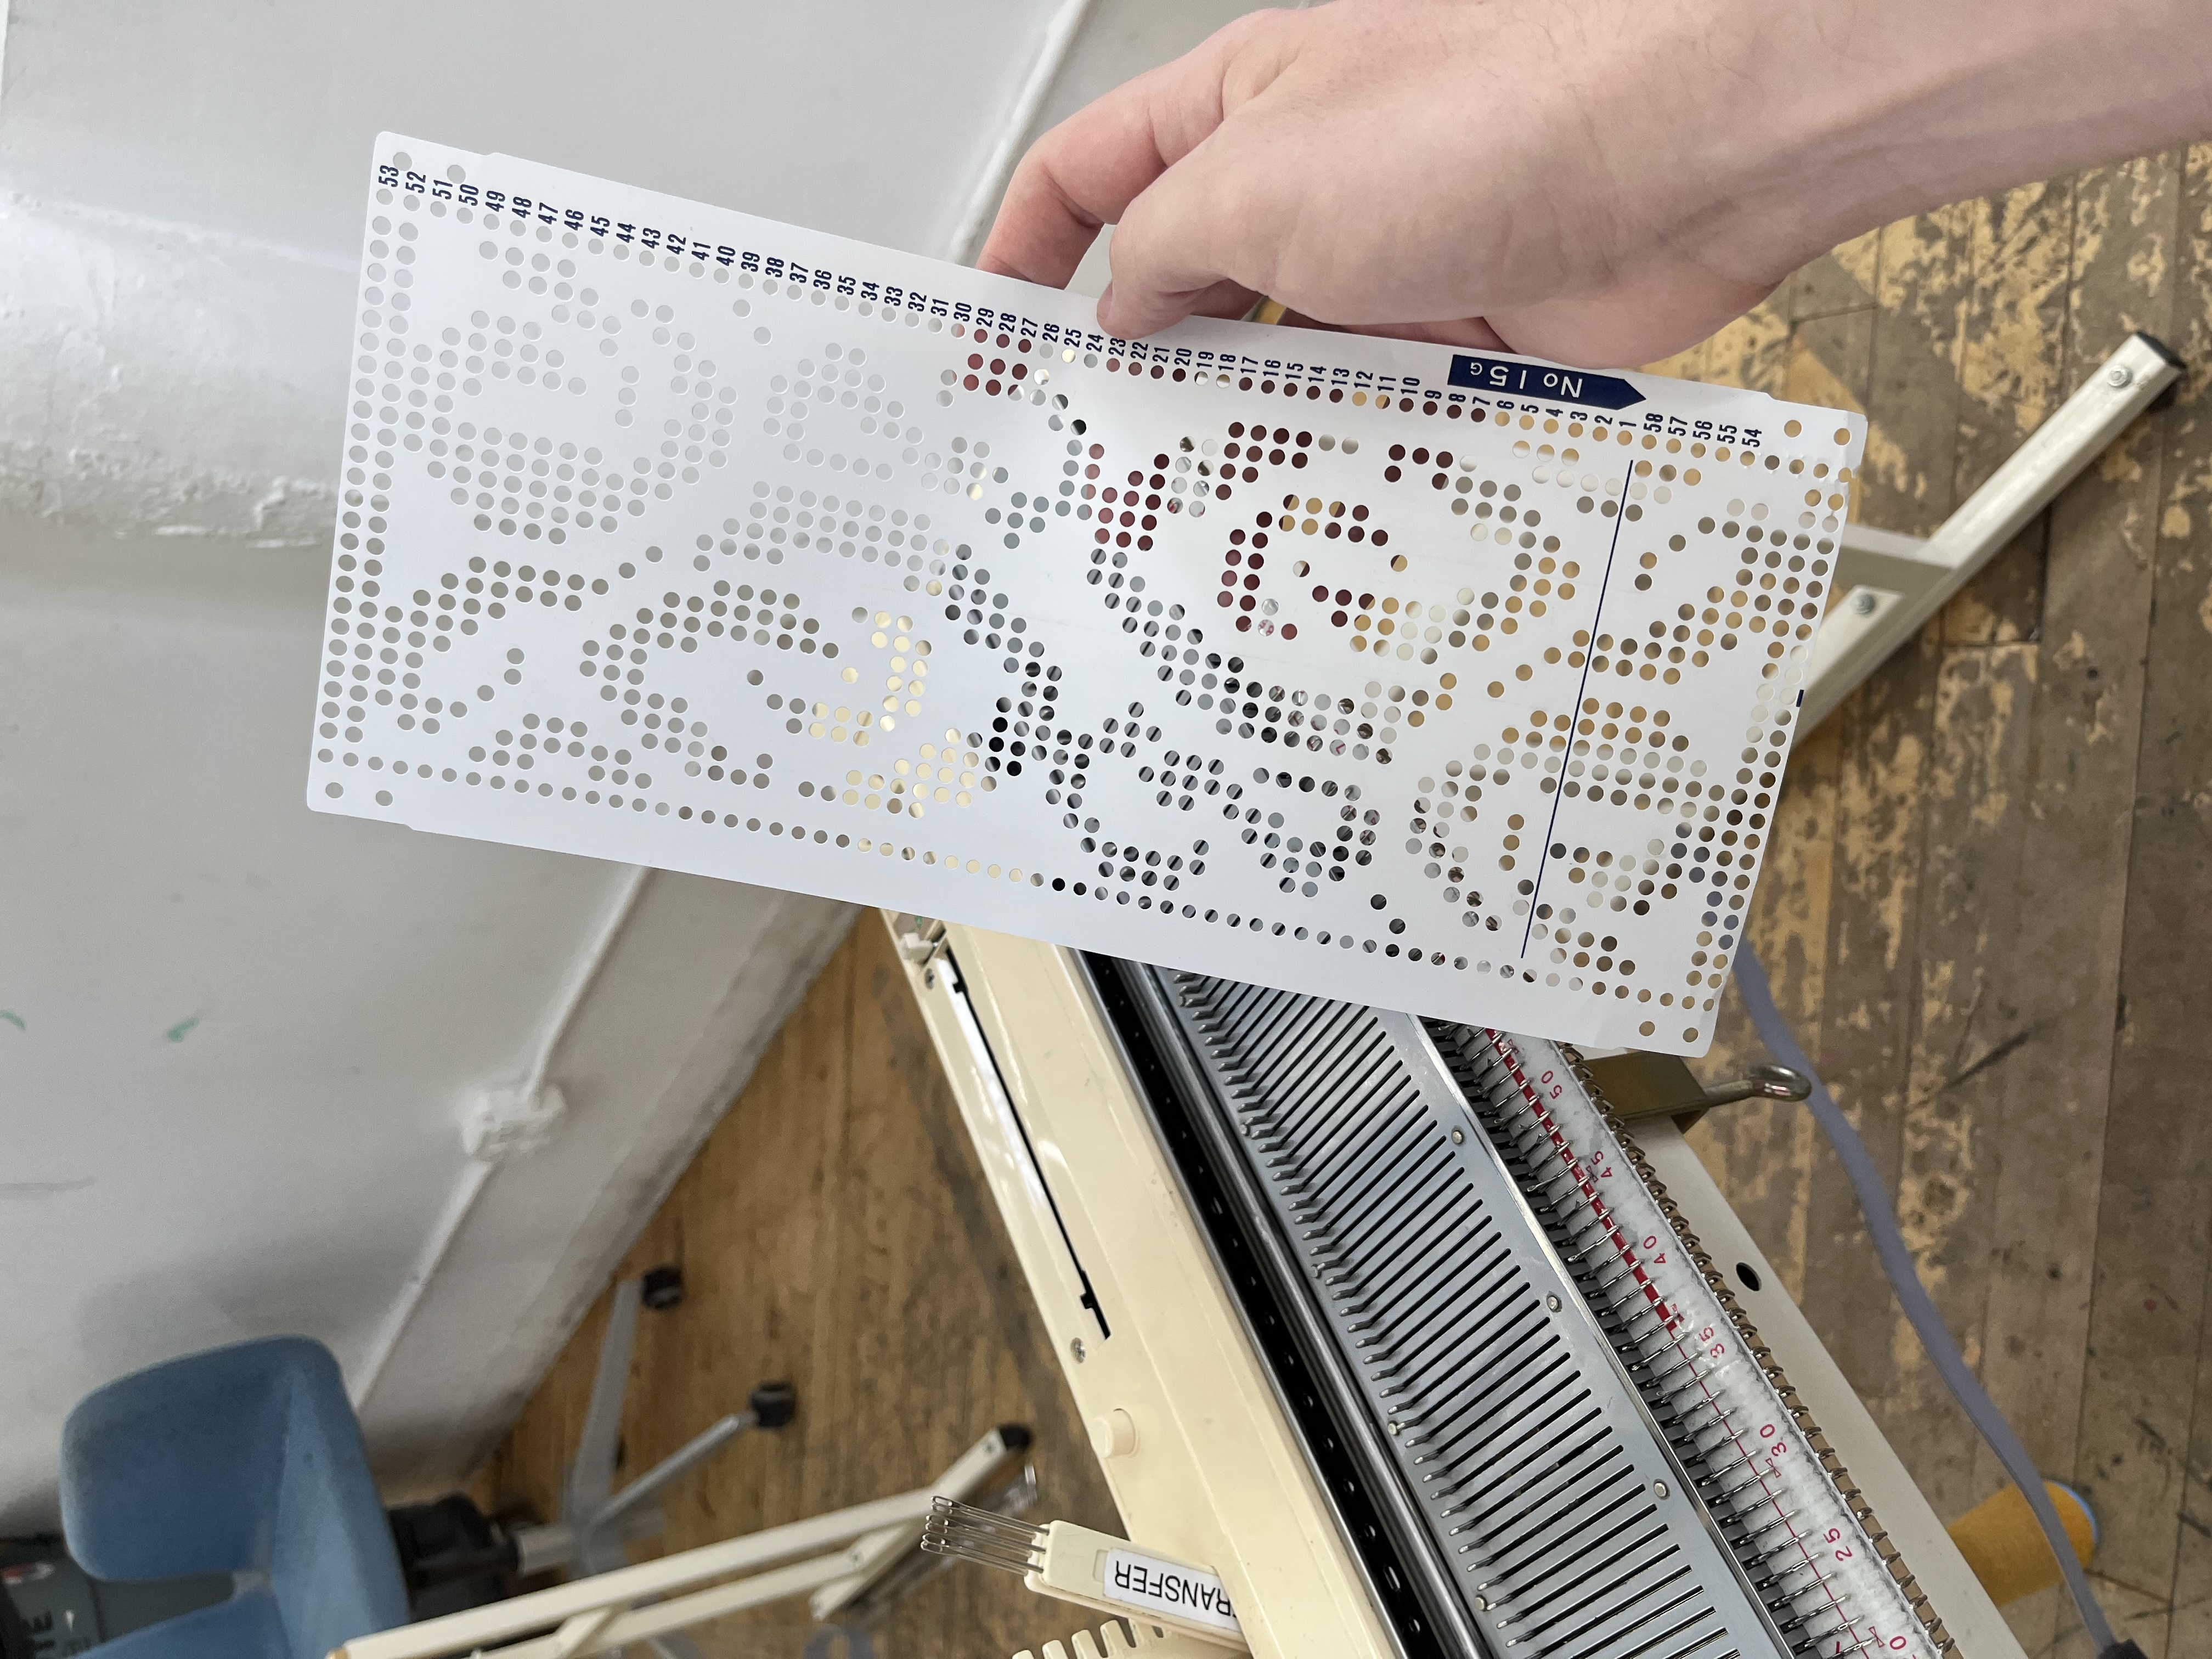
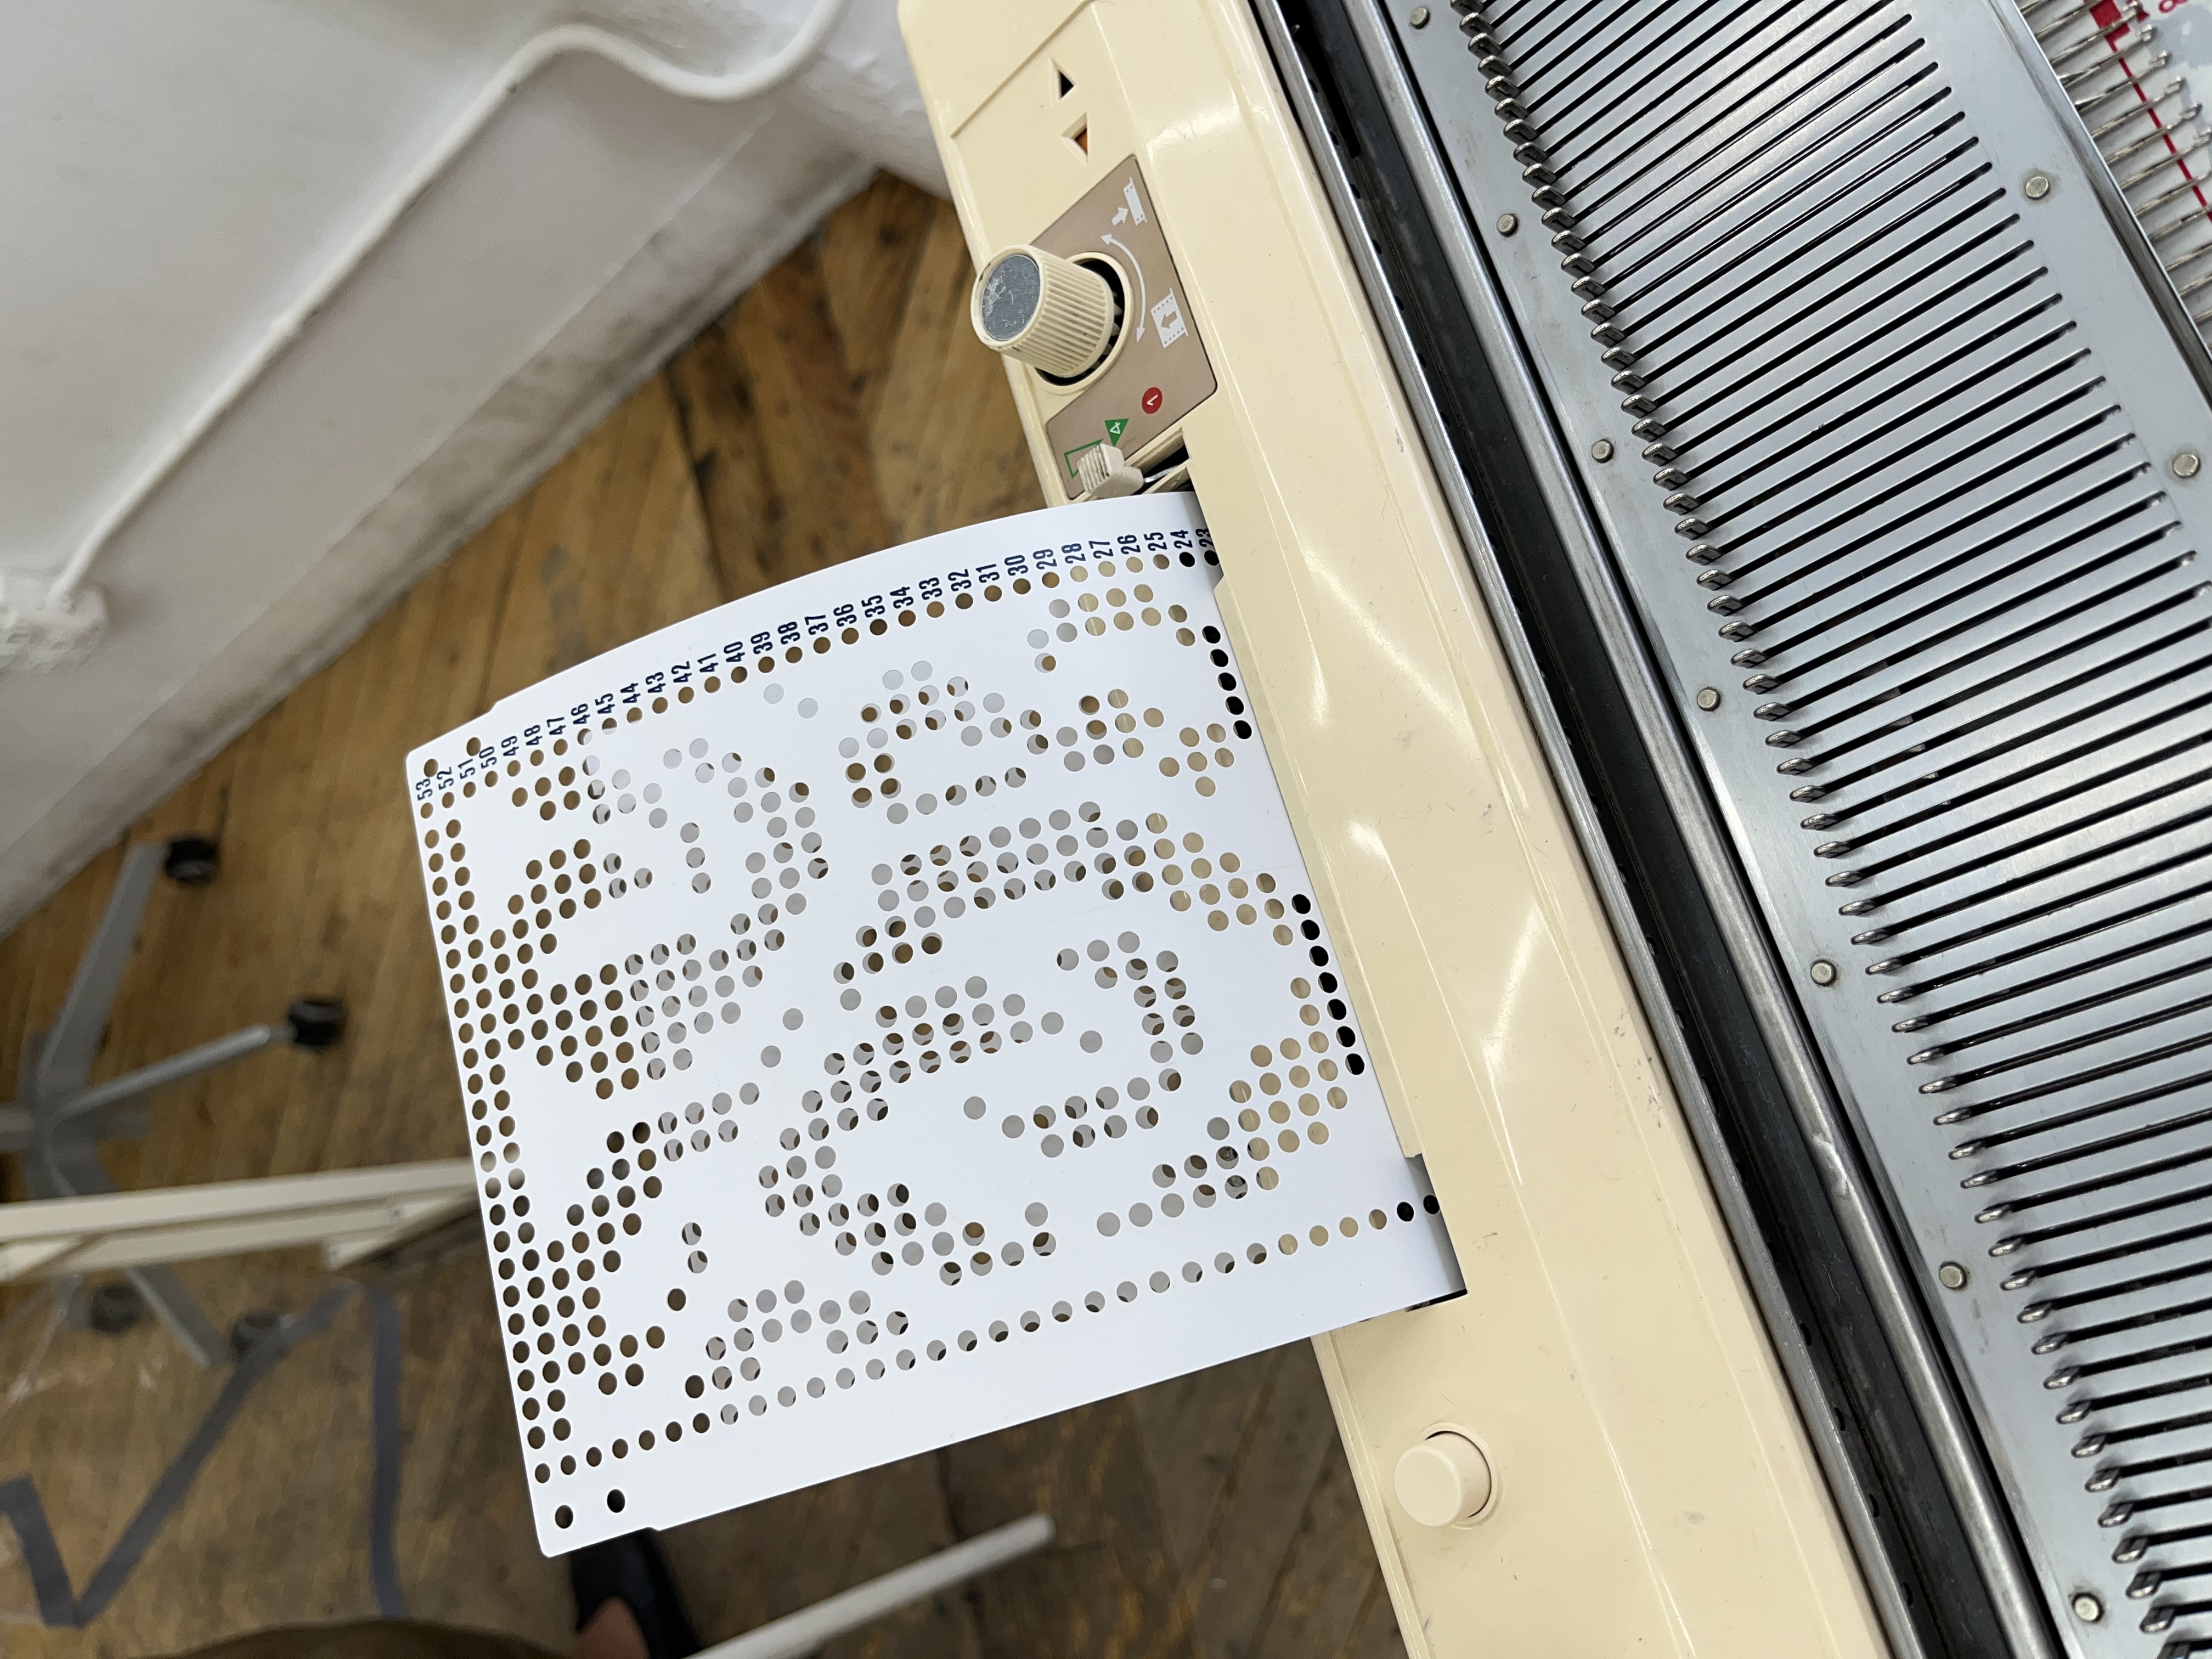
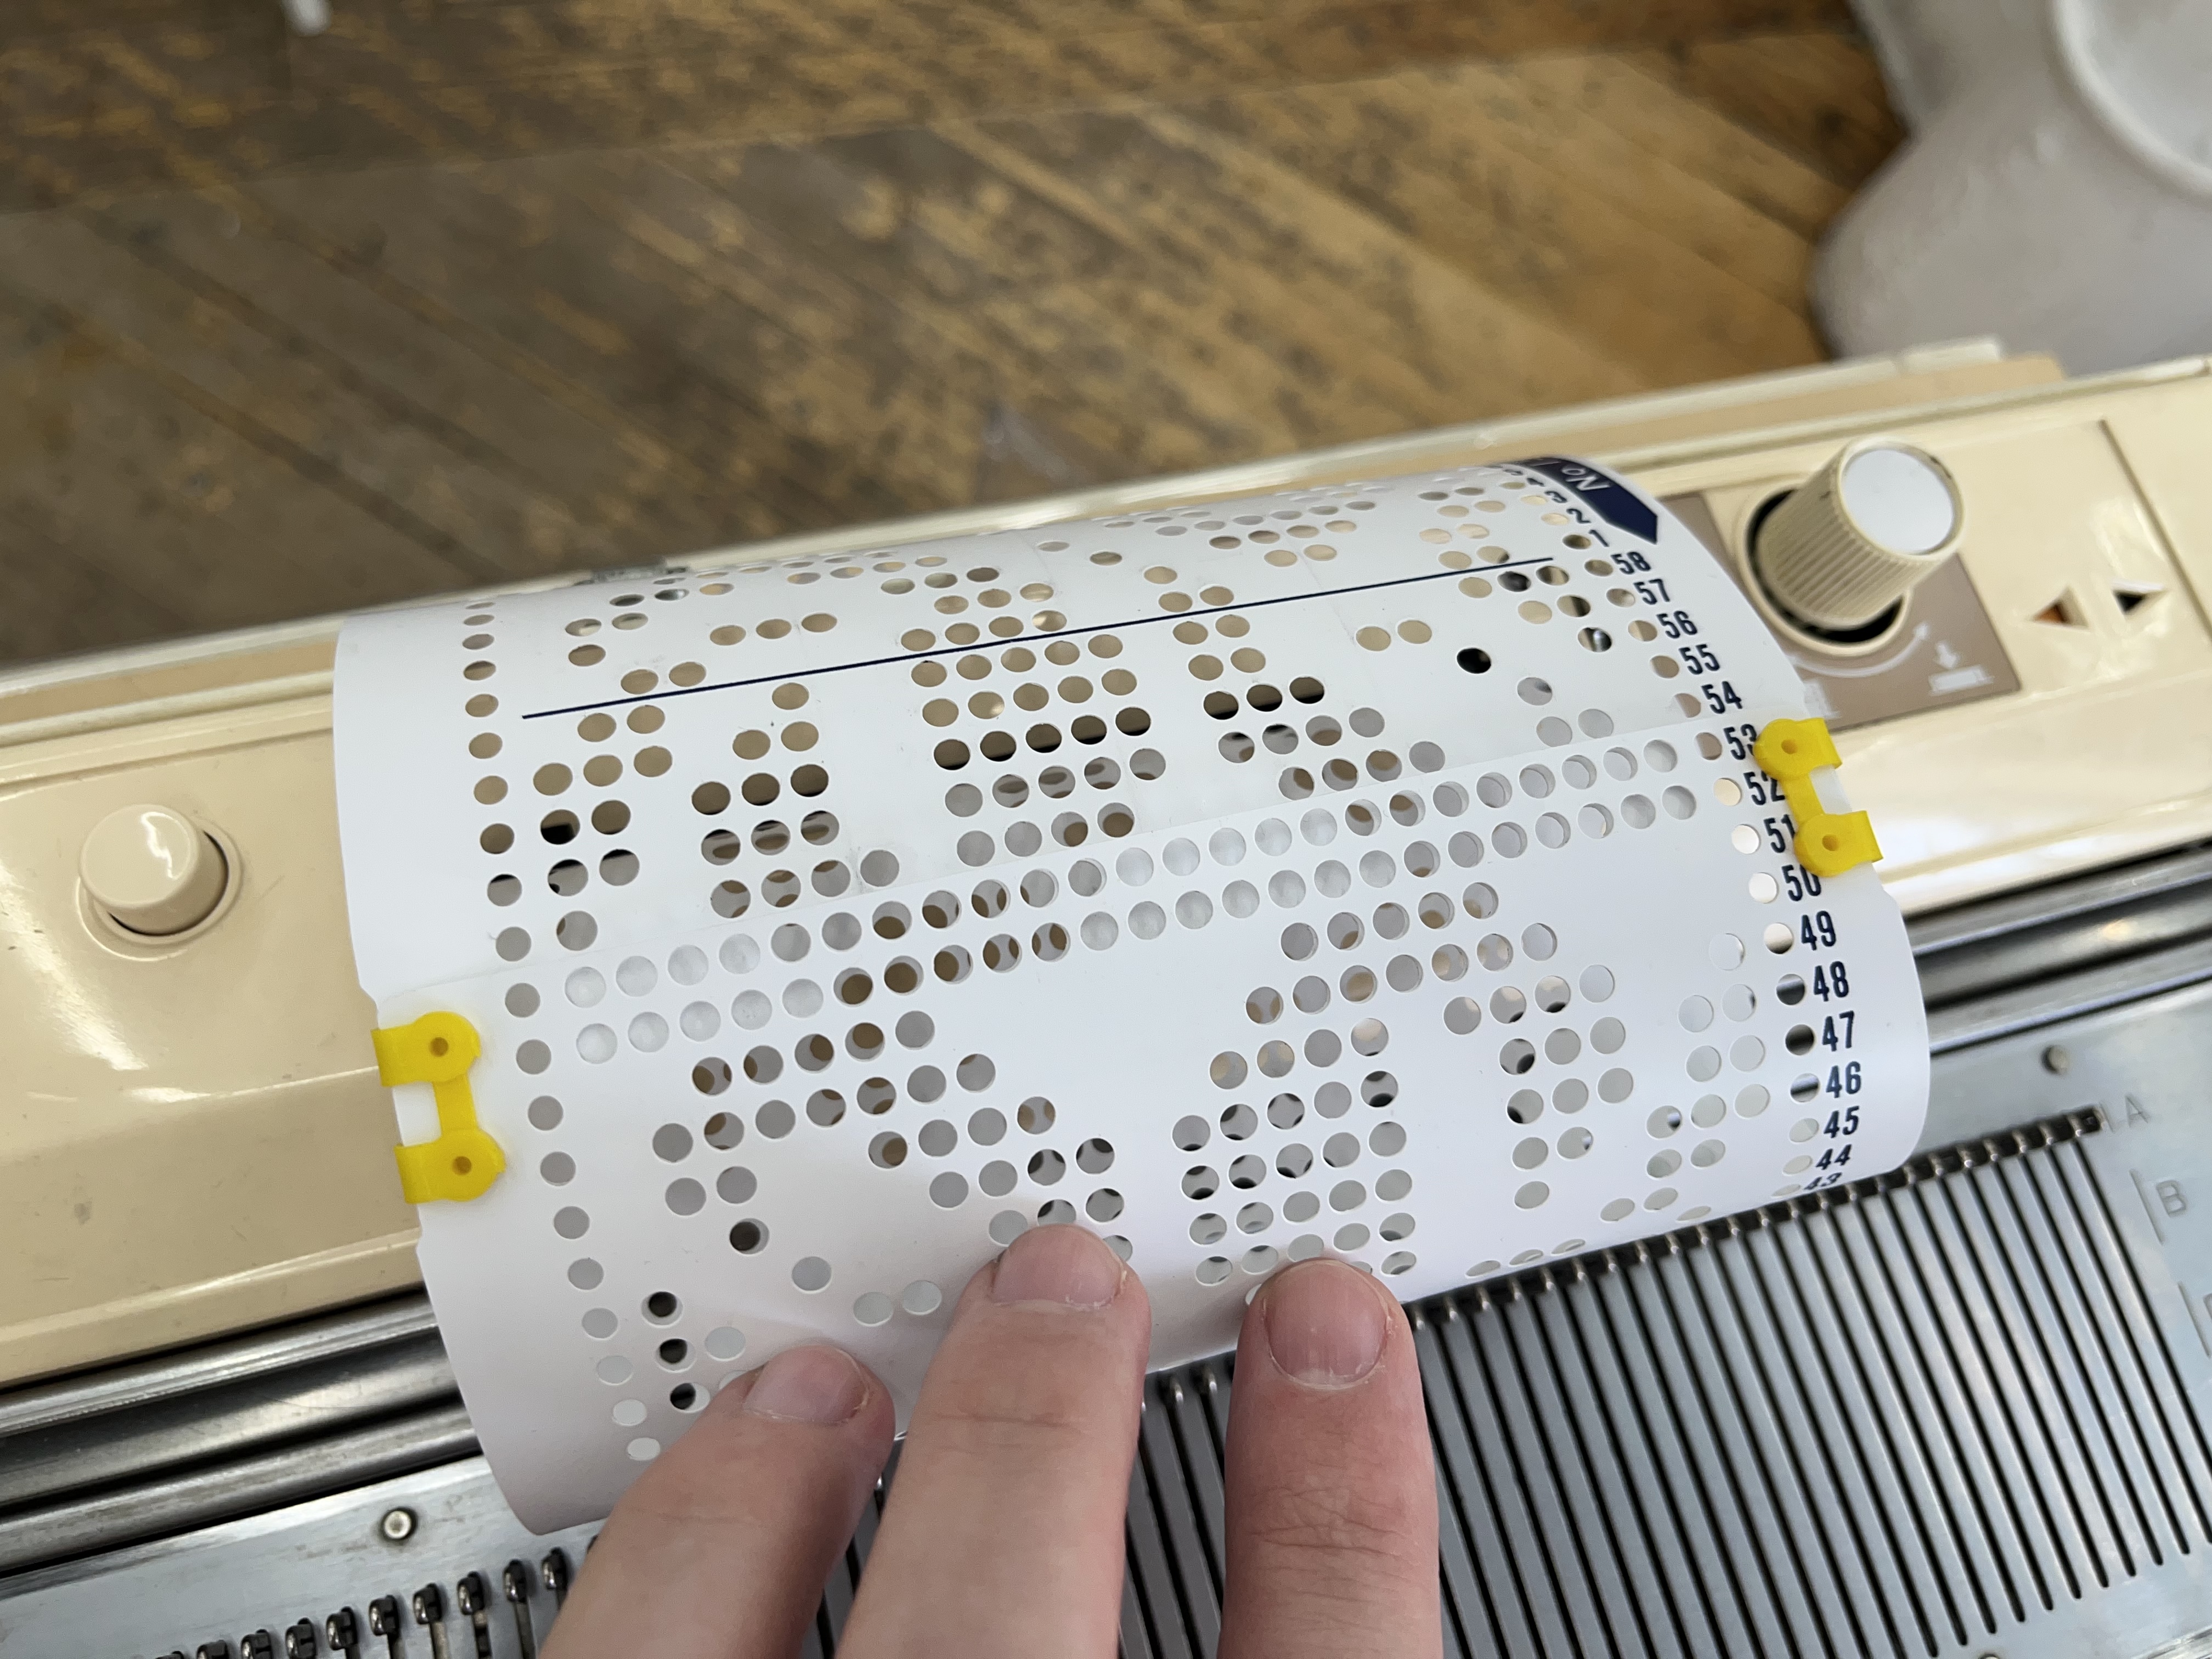
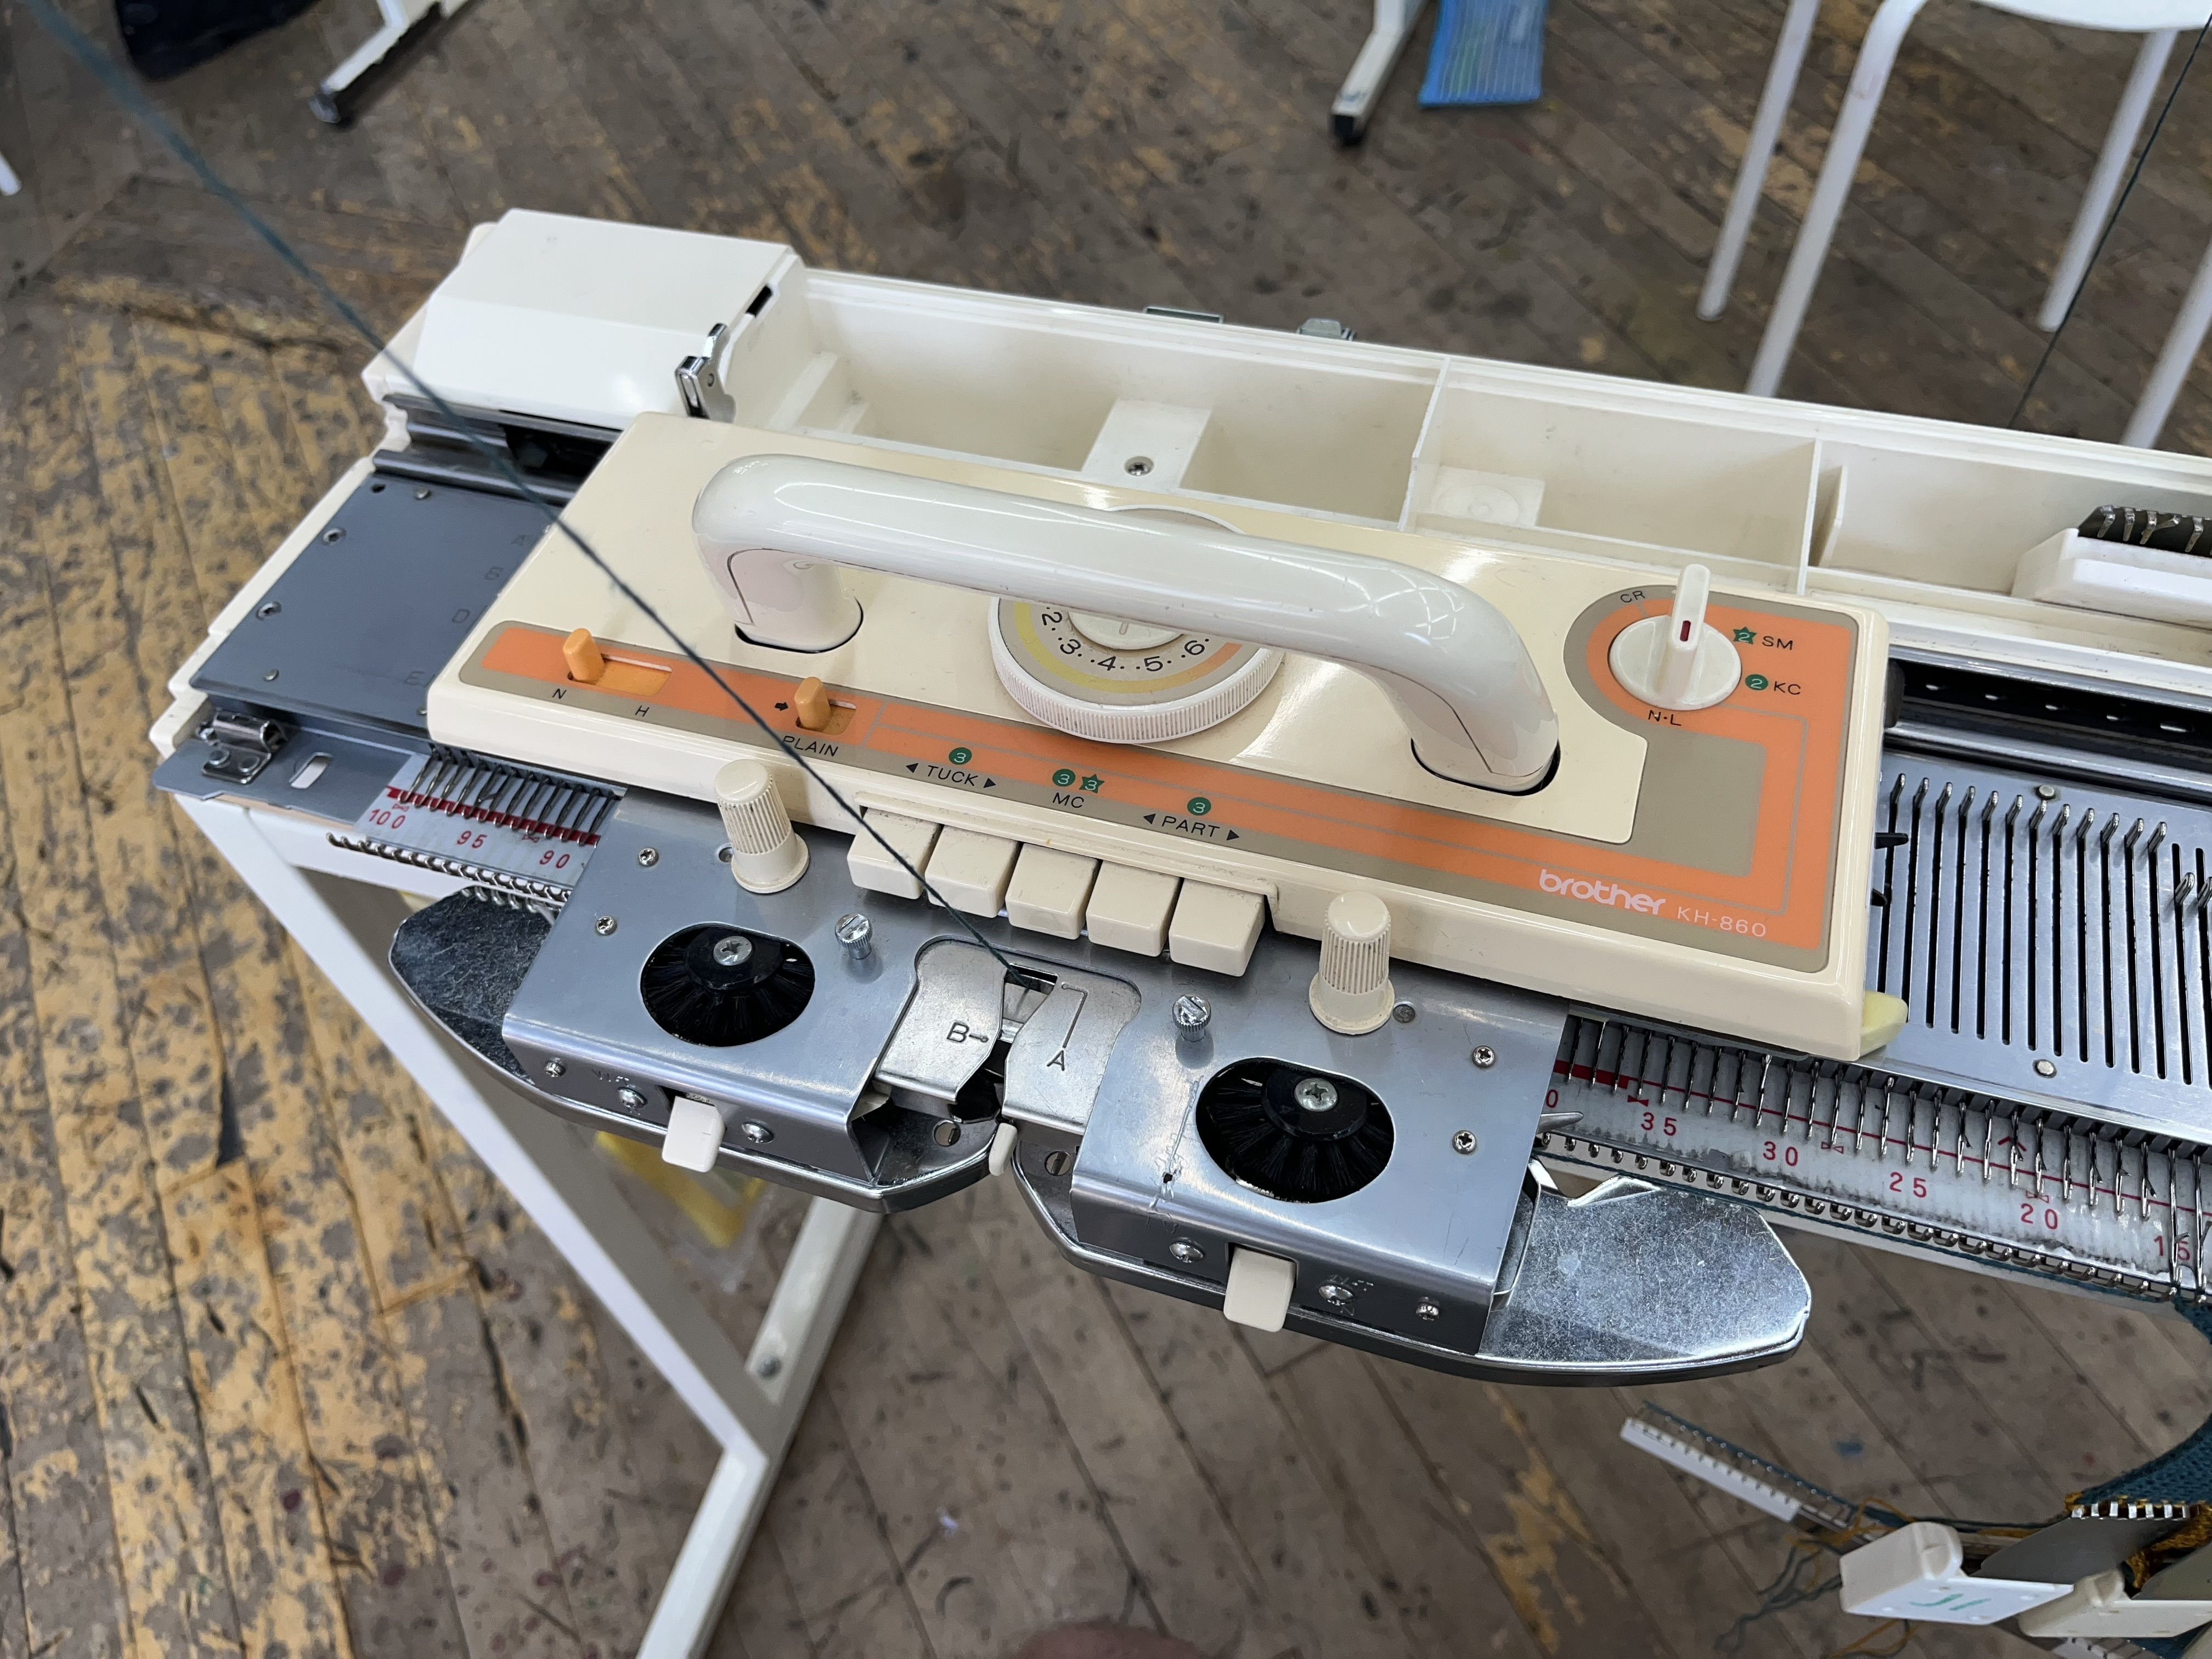
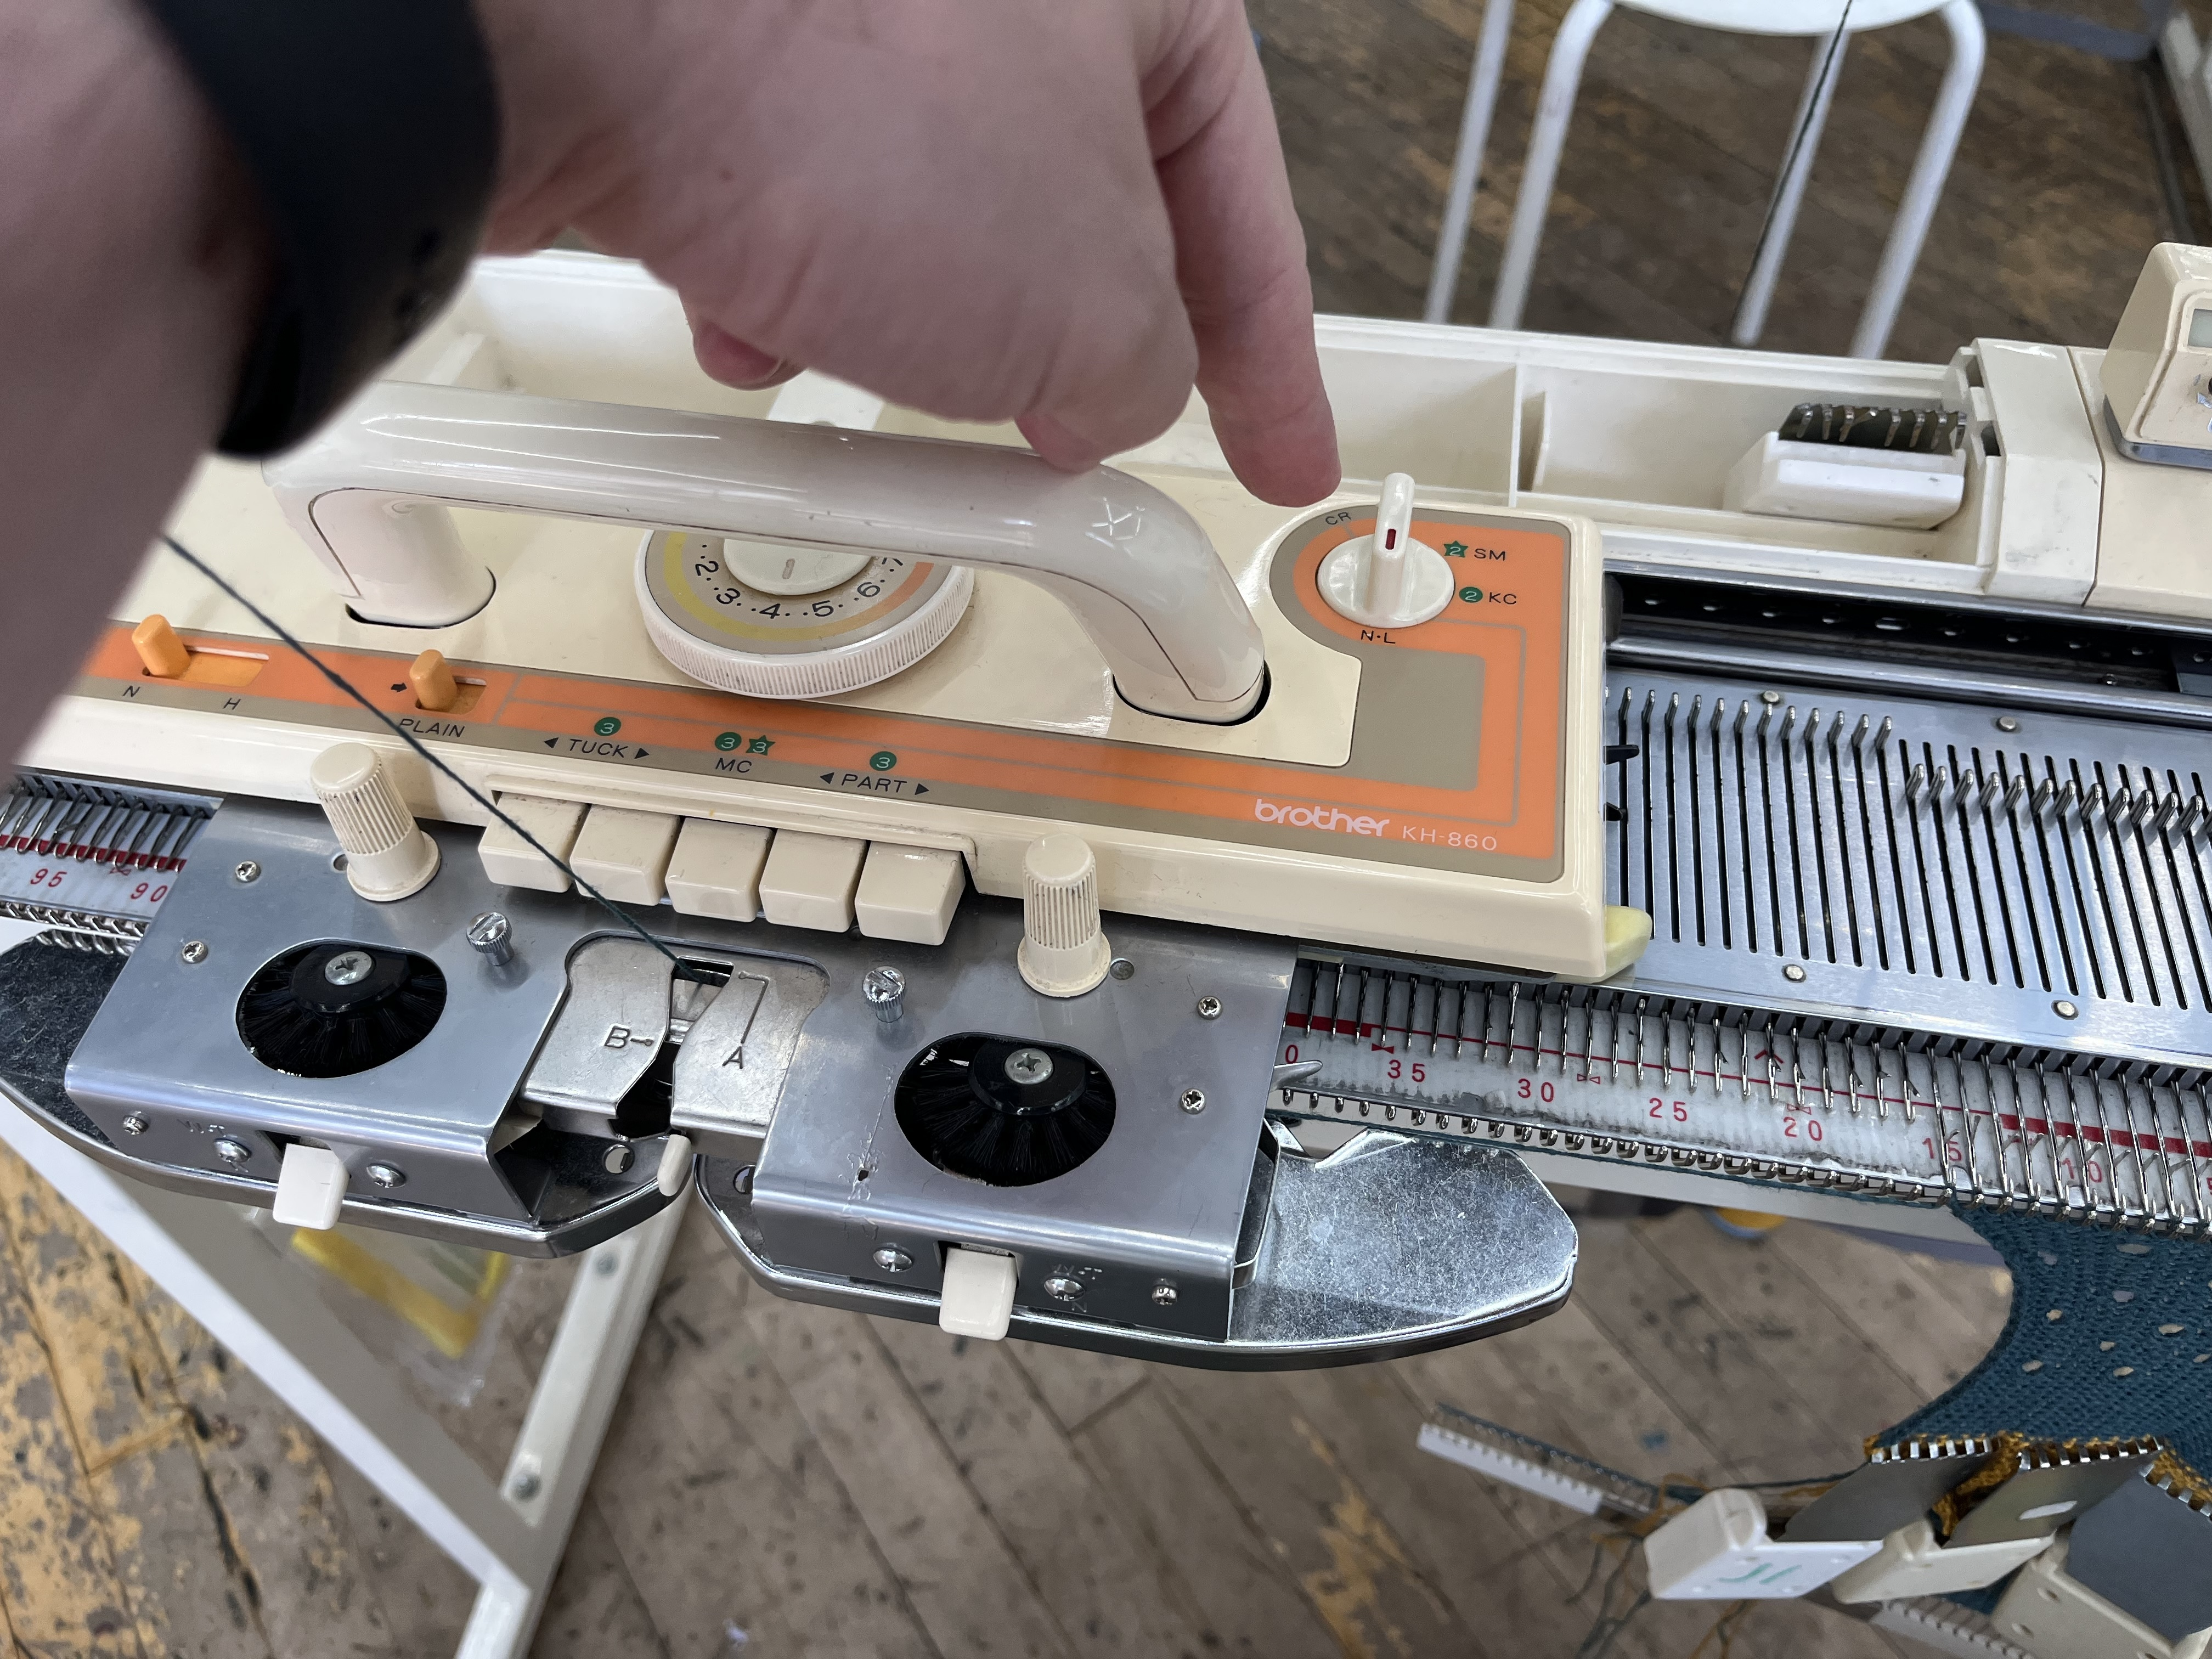
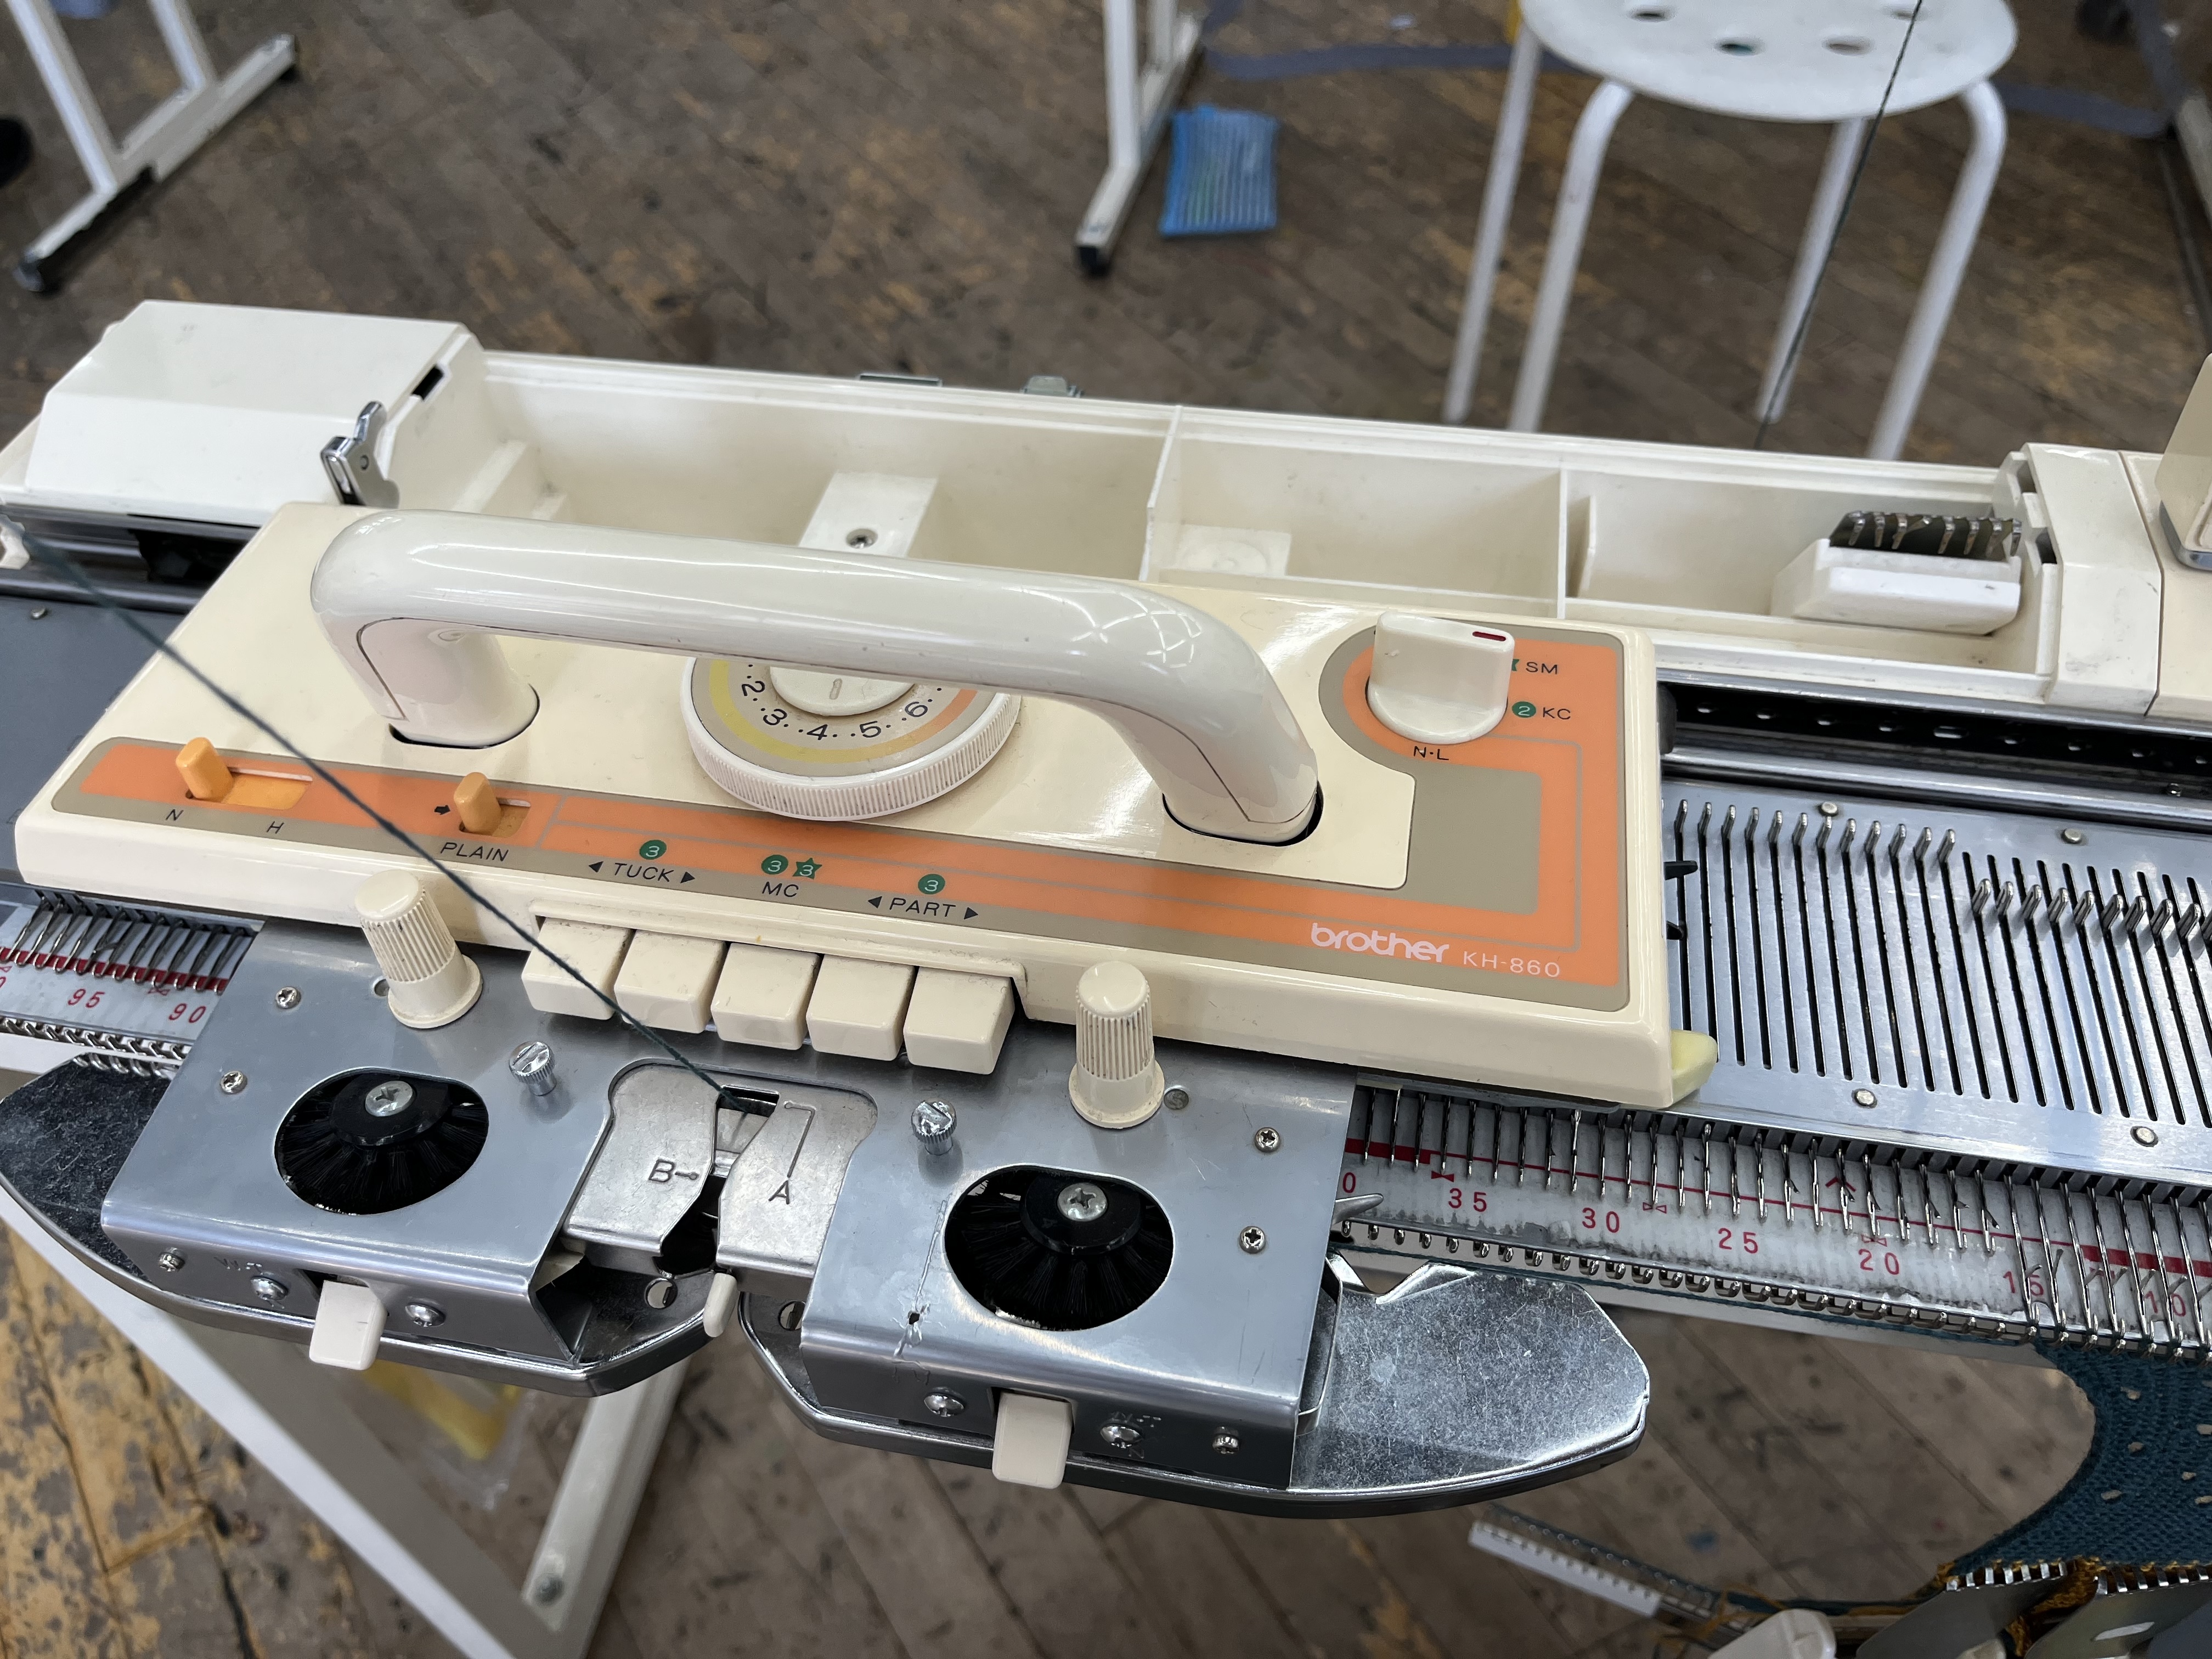
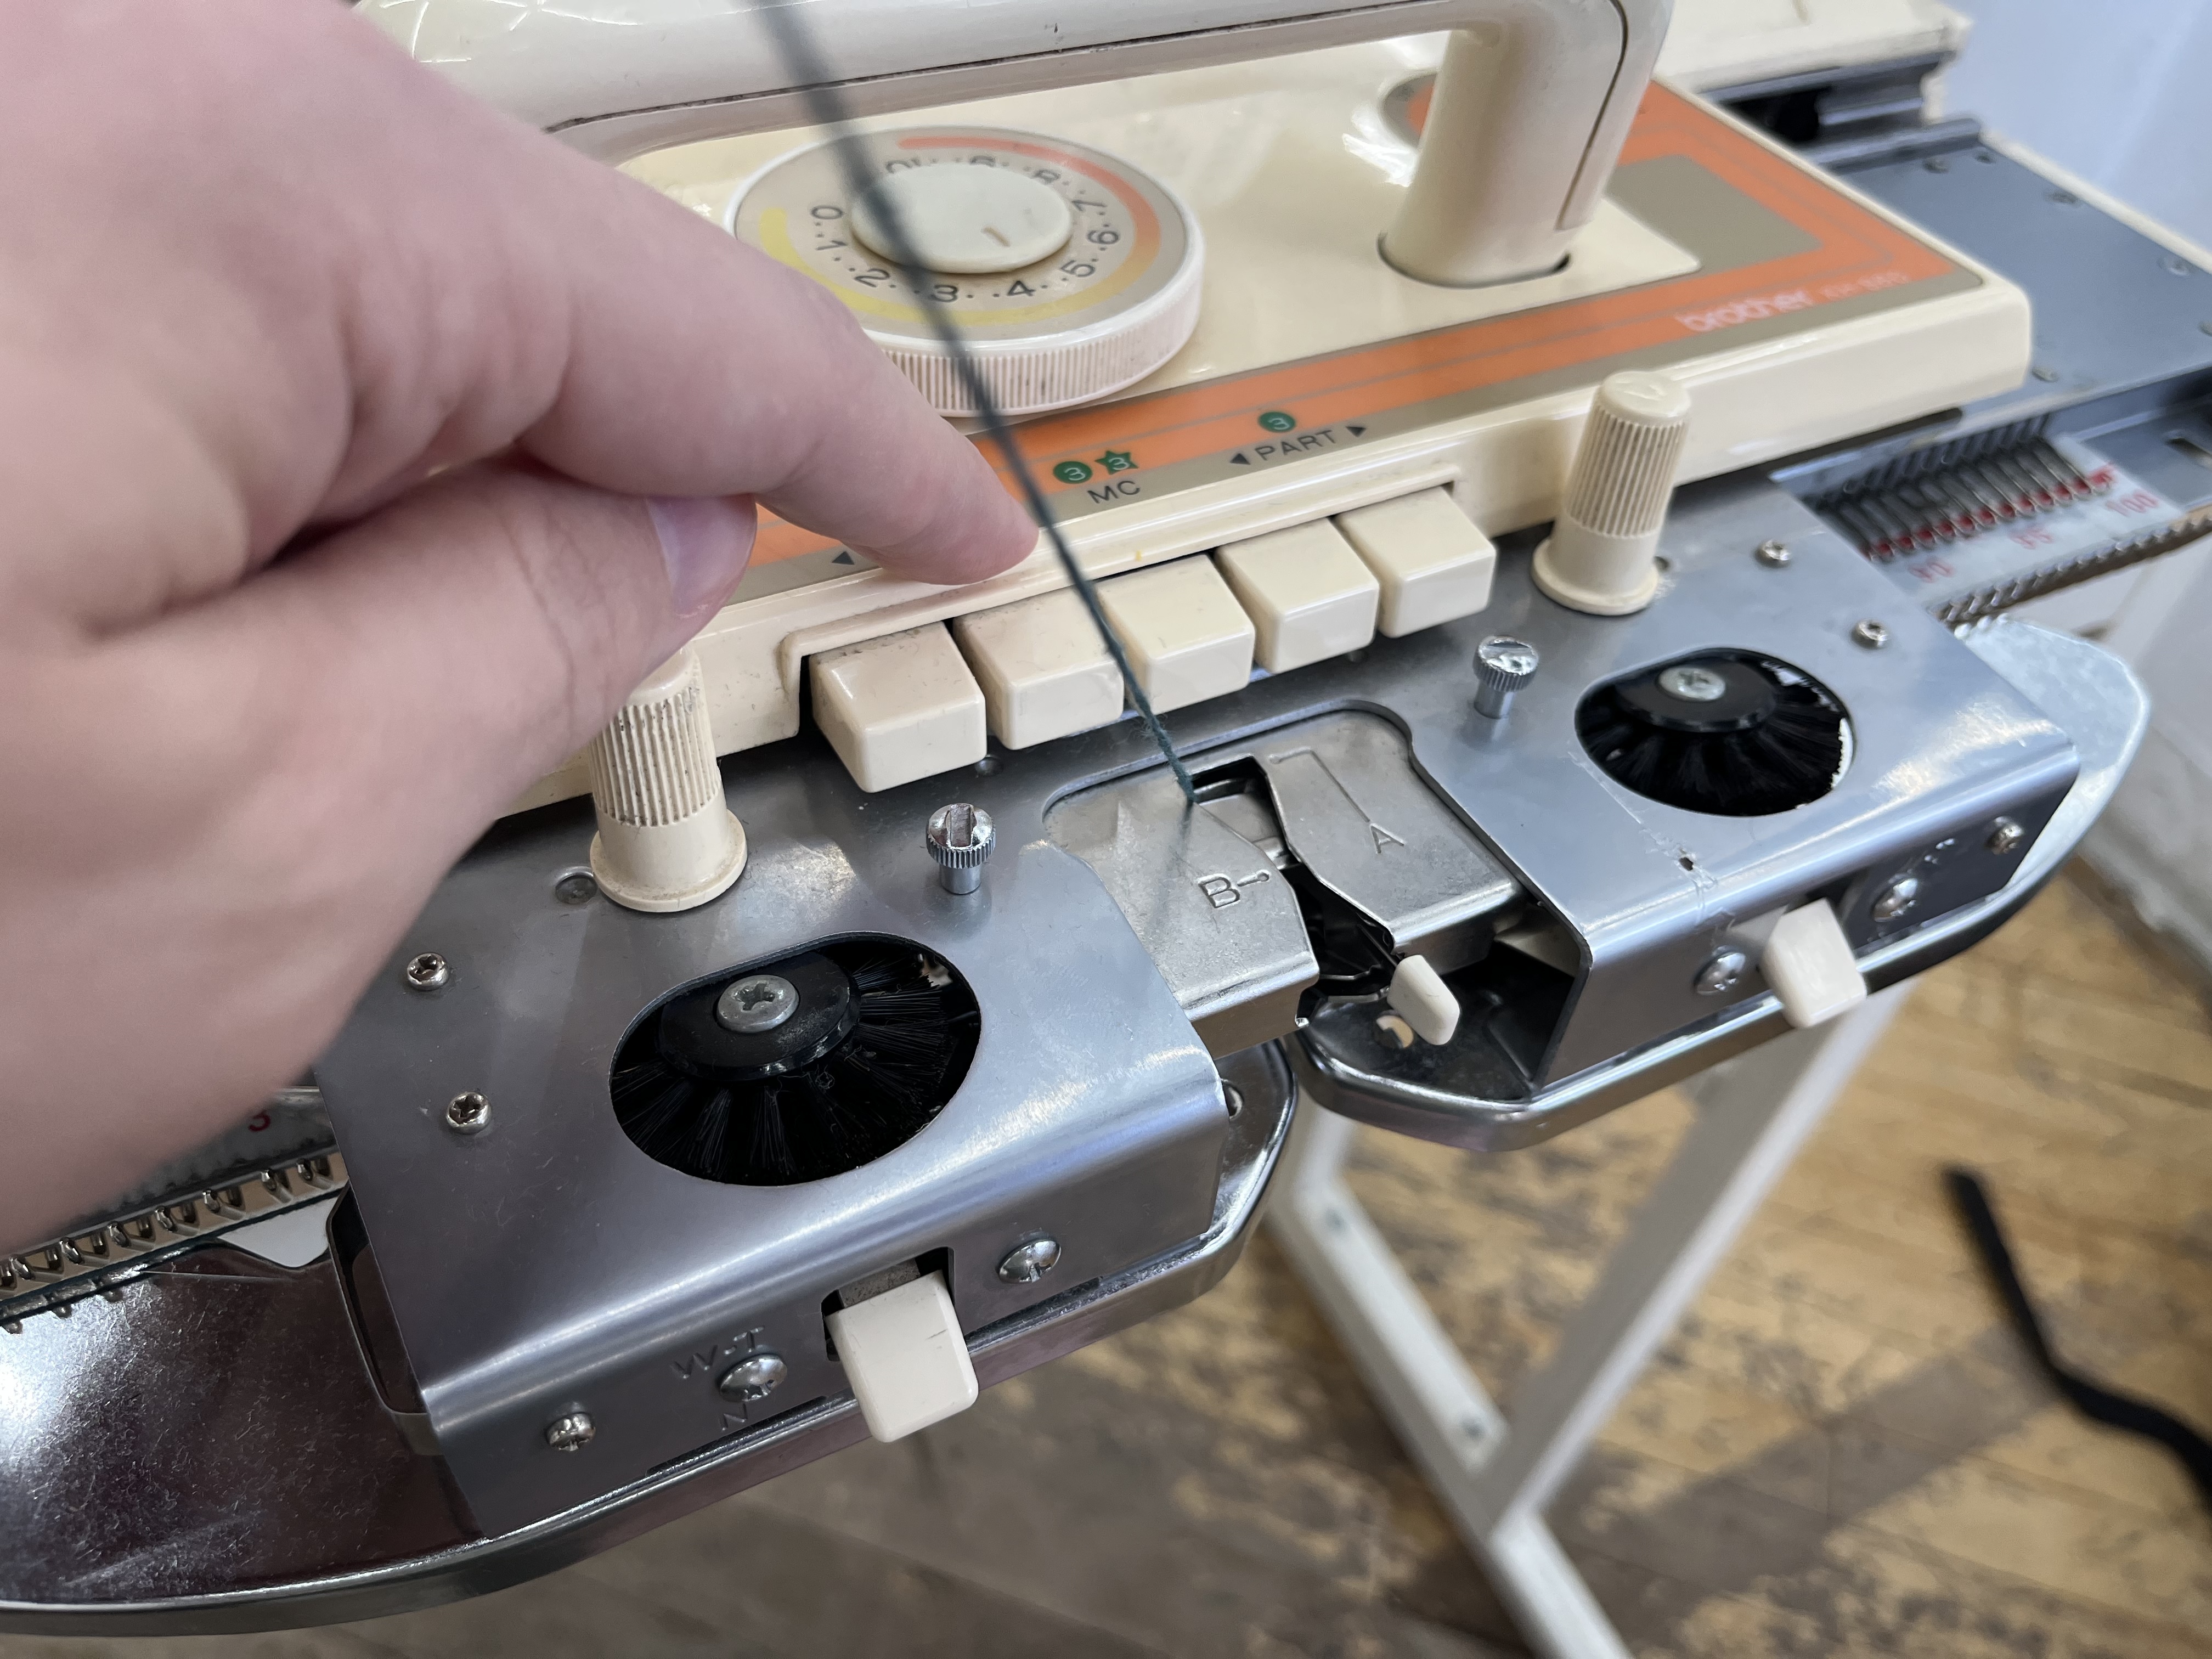
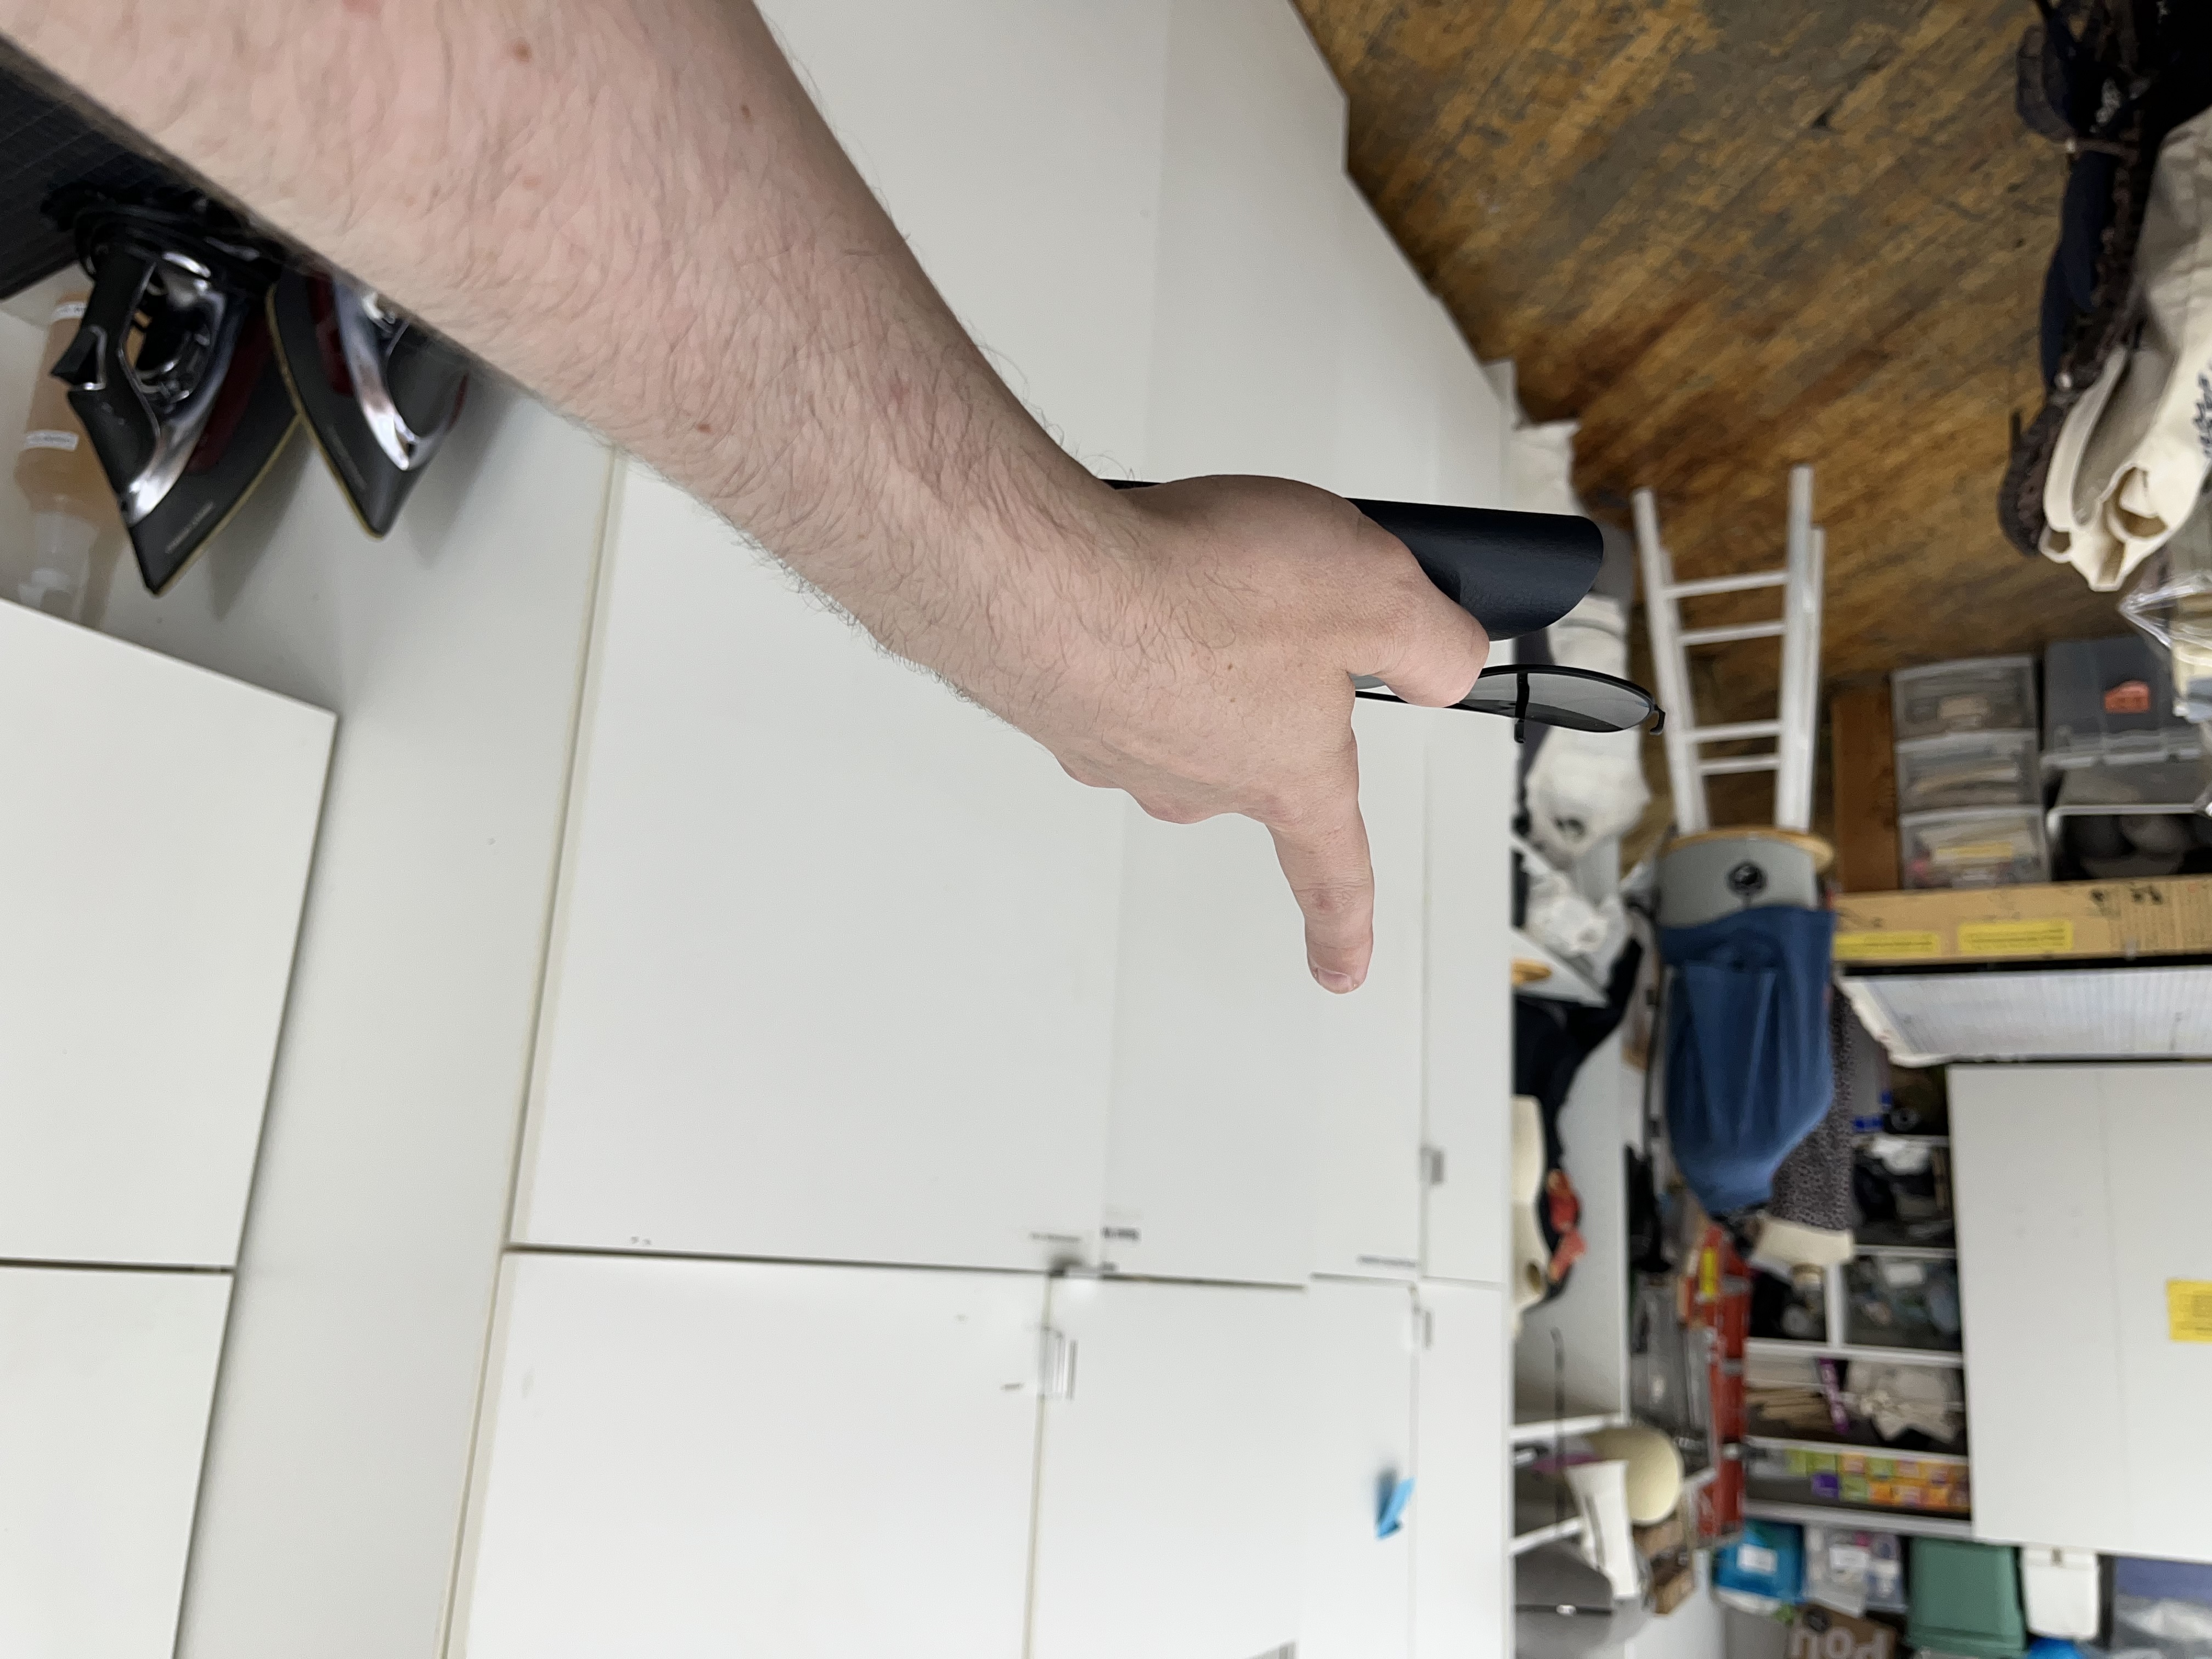
The knitting carriage needs several adjustments to begin following the punch card pattern.
Then… knit a bunch of rows! Here’s a little video.
When you’re done patterning, you can snip the contrast yarn, turn the carriage back knob back to ‘NL’ and disable the ‘MC’ button, then proceed knitting in your main yarn color as normal.
After a lunch break, we spent most of the rest of the time practicing what we’d learned so far. Near the end, Elaine taught a few important techniques that you do off the machine.
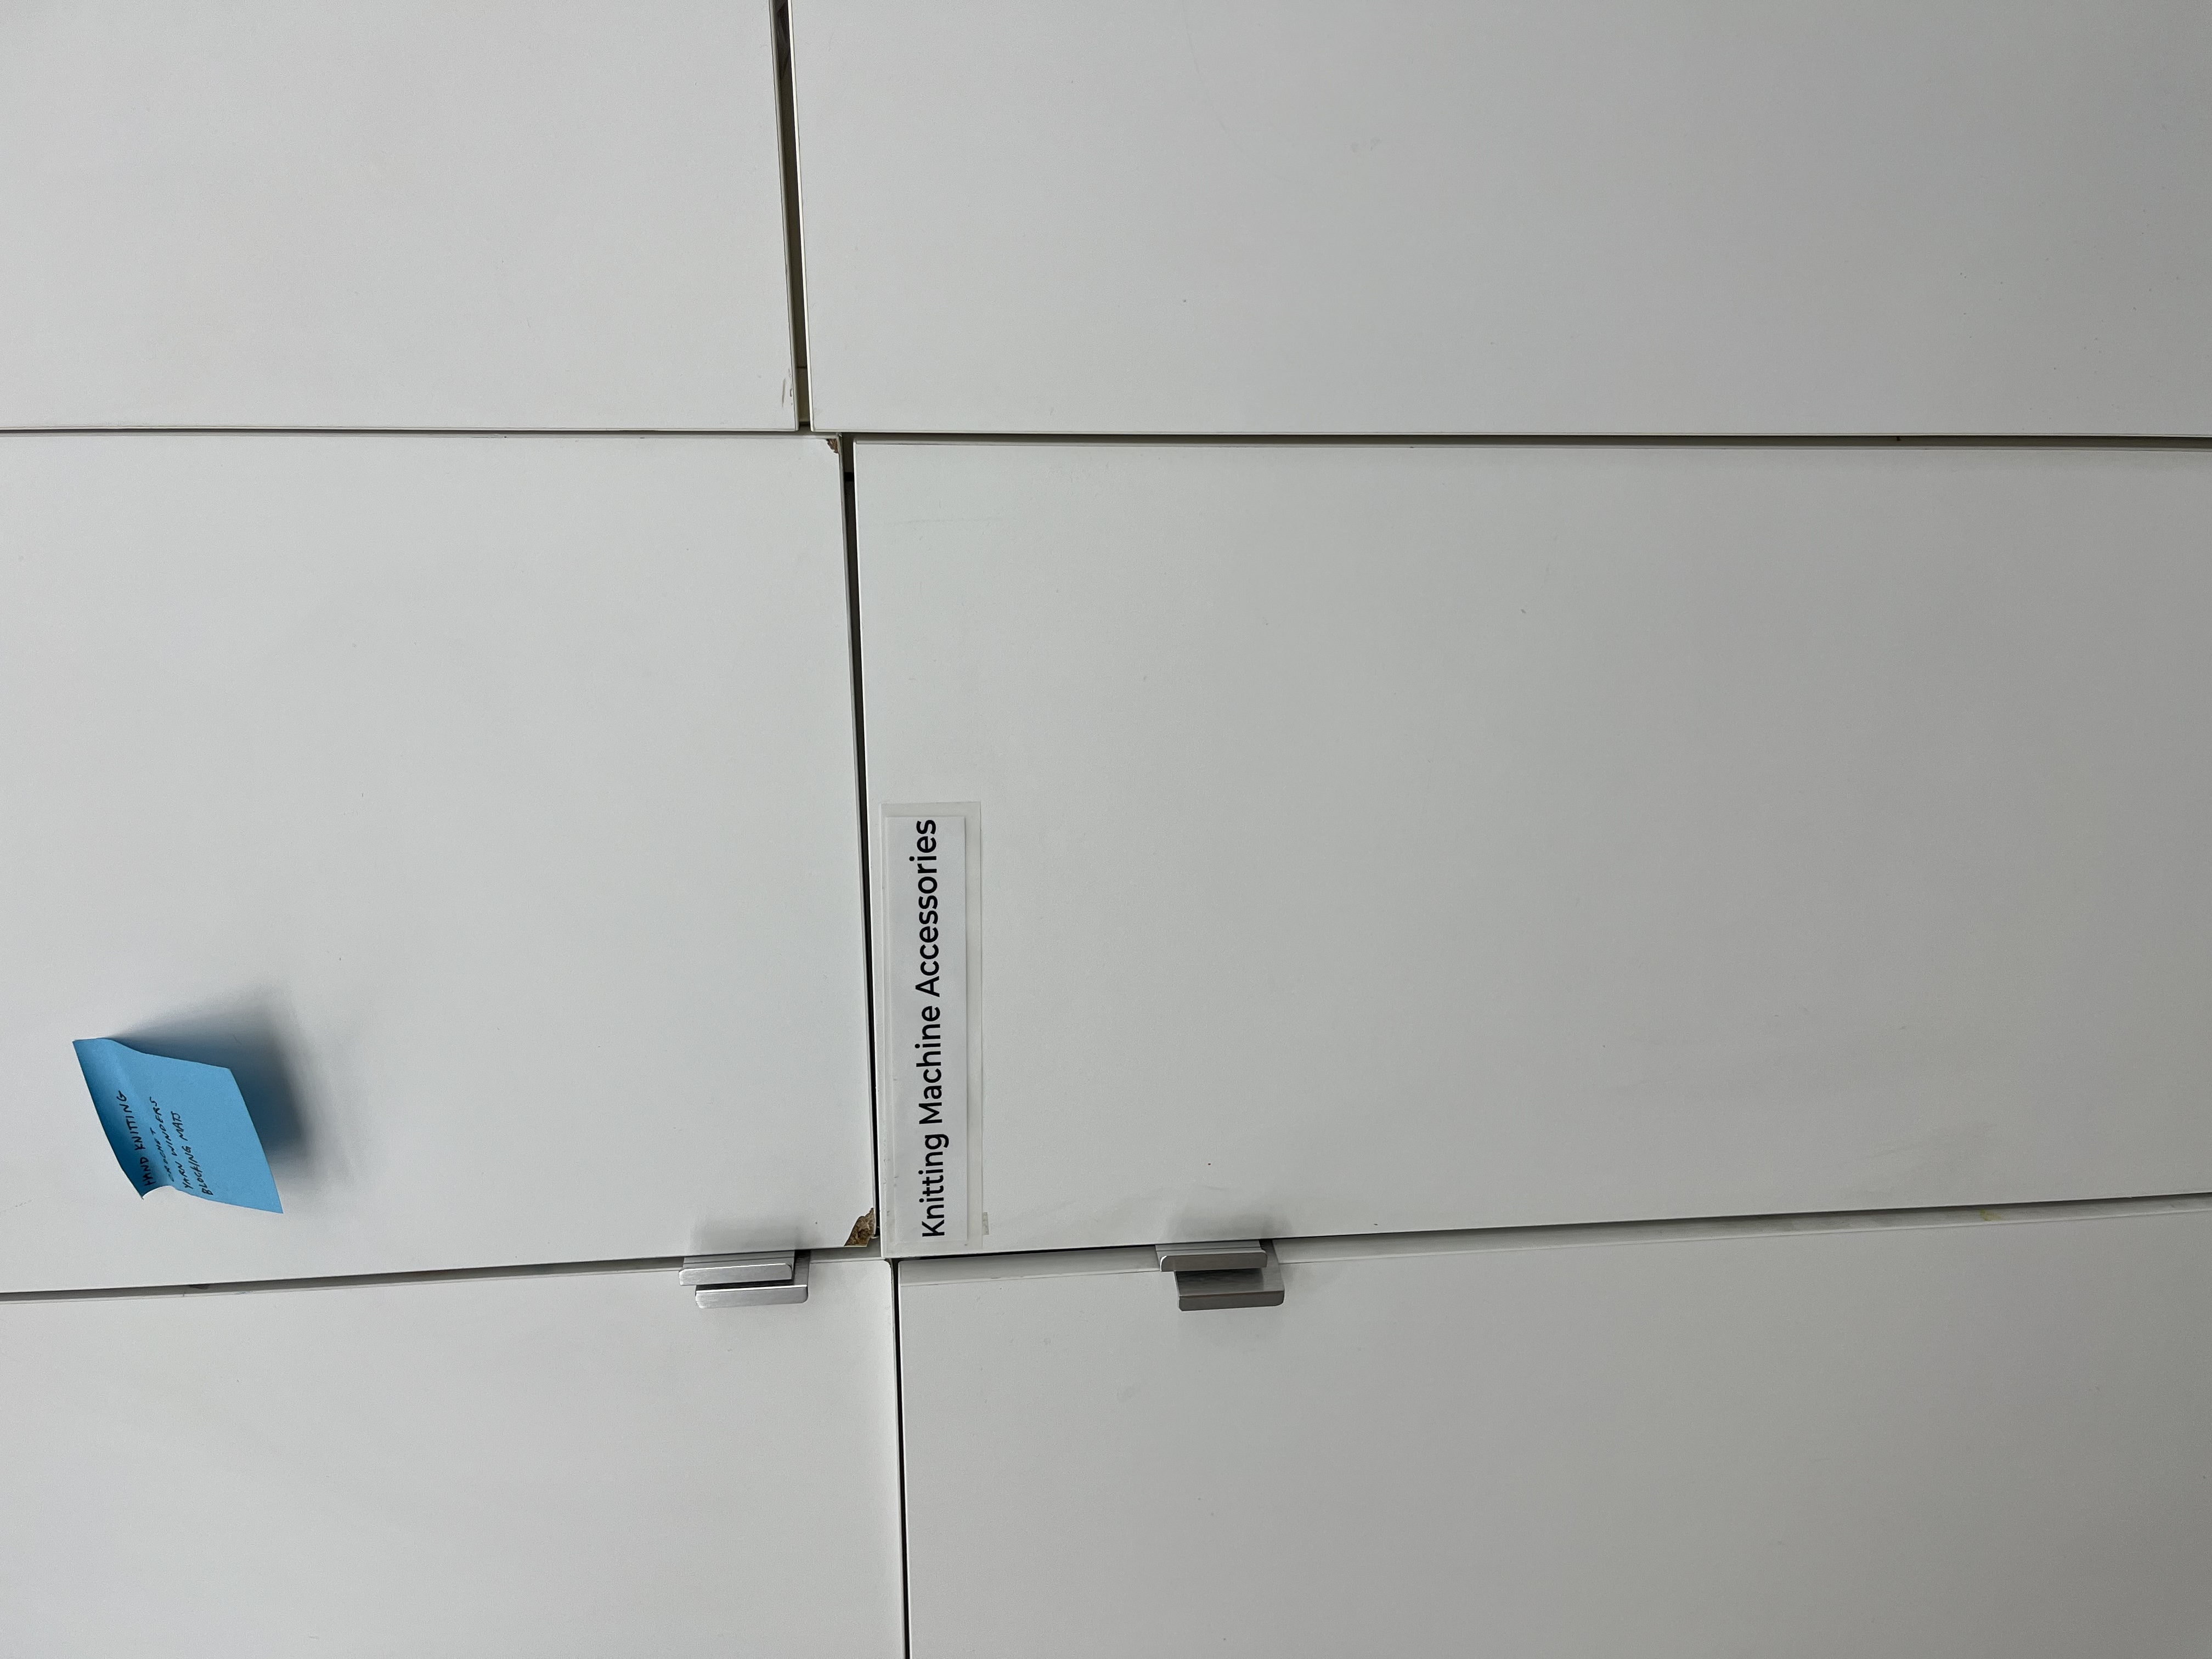
Note to self, or anyone who wants to book some studio time to do some machine knitting at the TAC:
And that was the end of the class! I learned so much, but mostly that I have so much yet to learn.
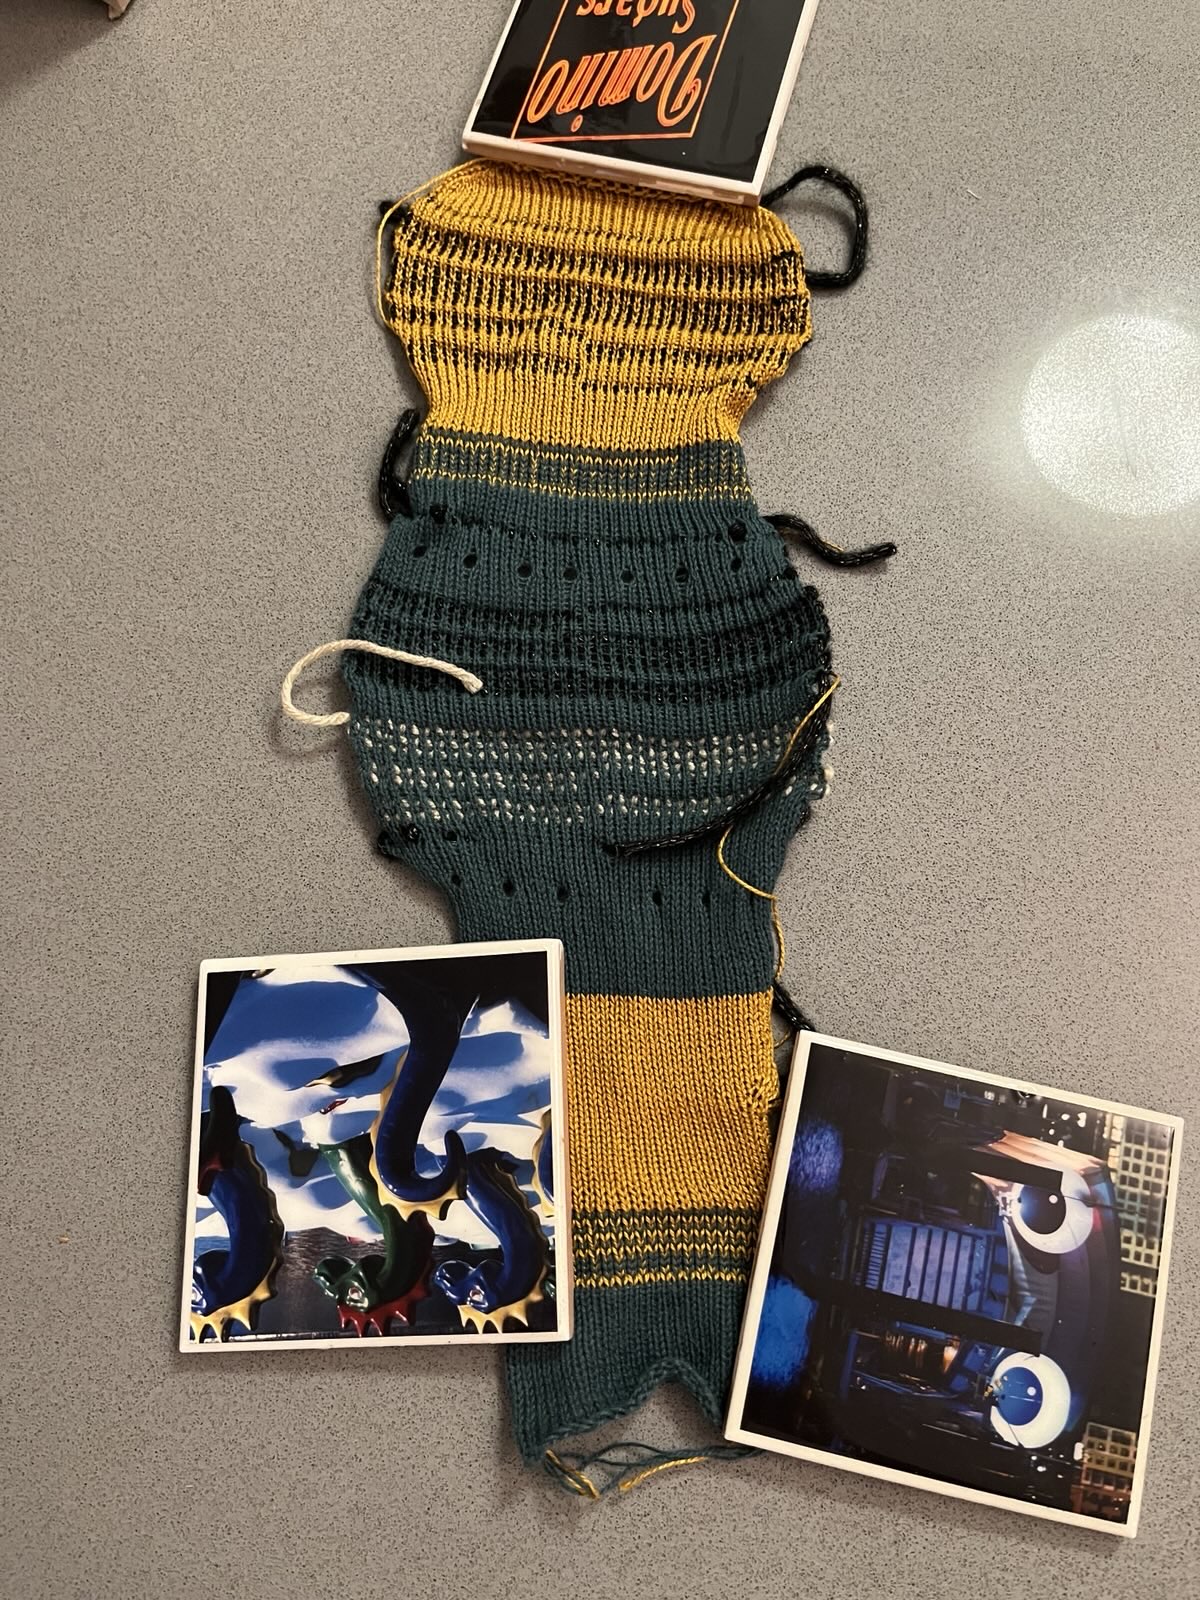
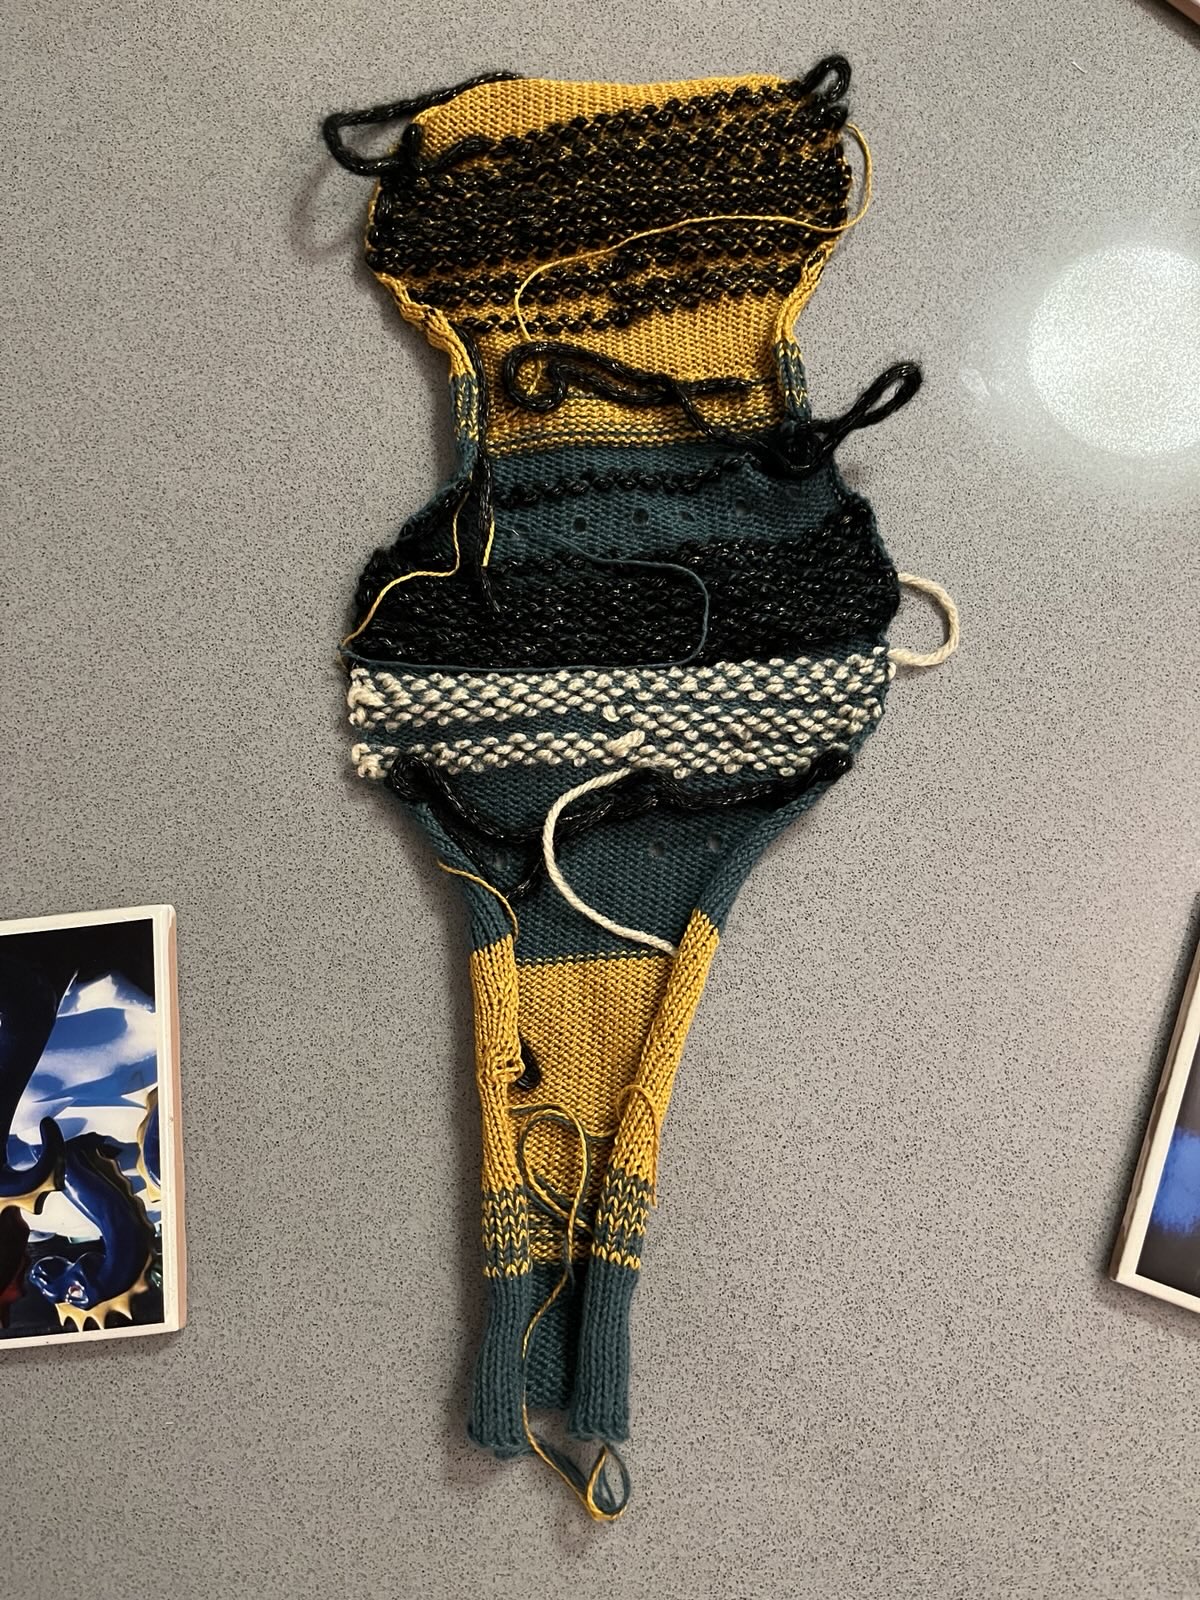
Besides the big swatch of worked-in yarn, here’s the rest of my swatches for the day!
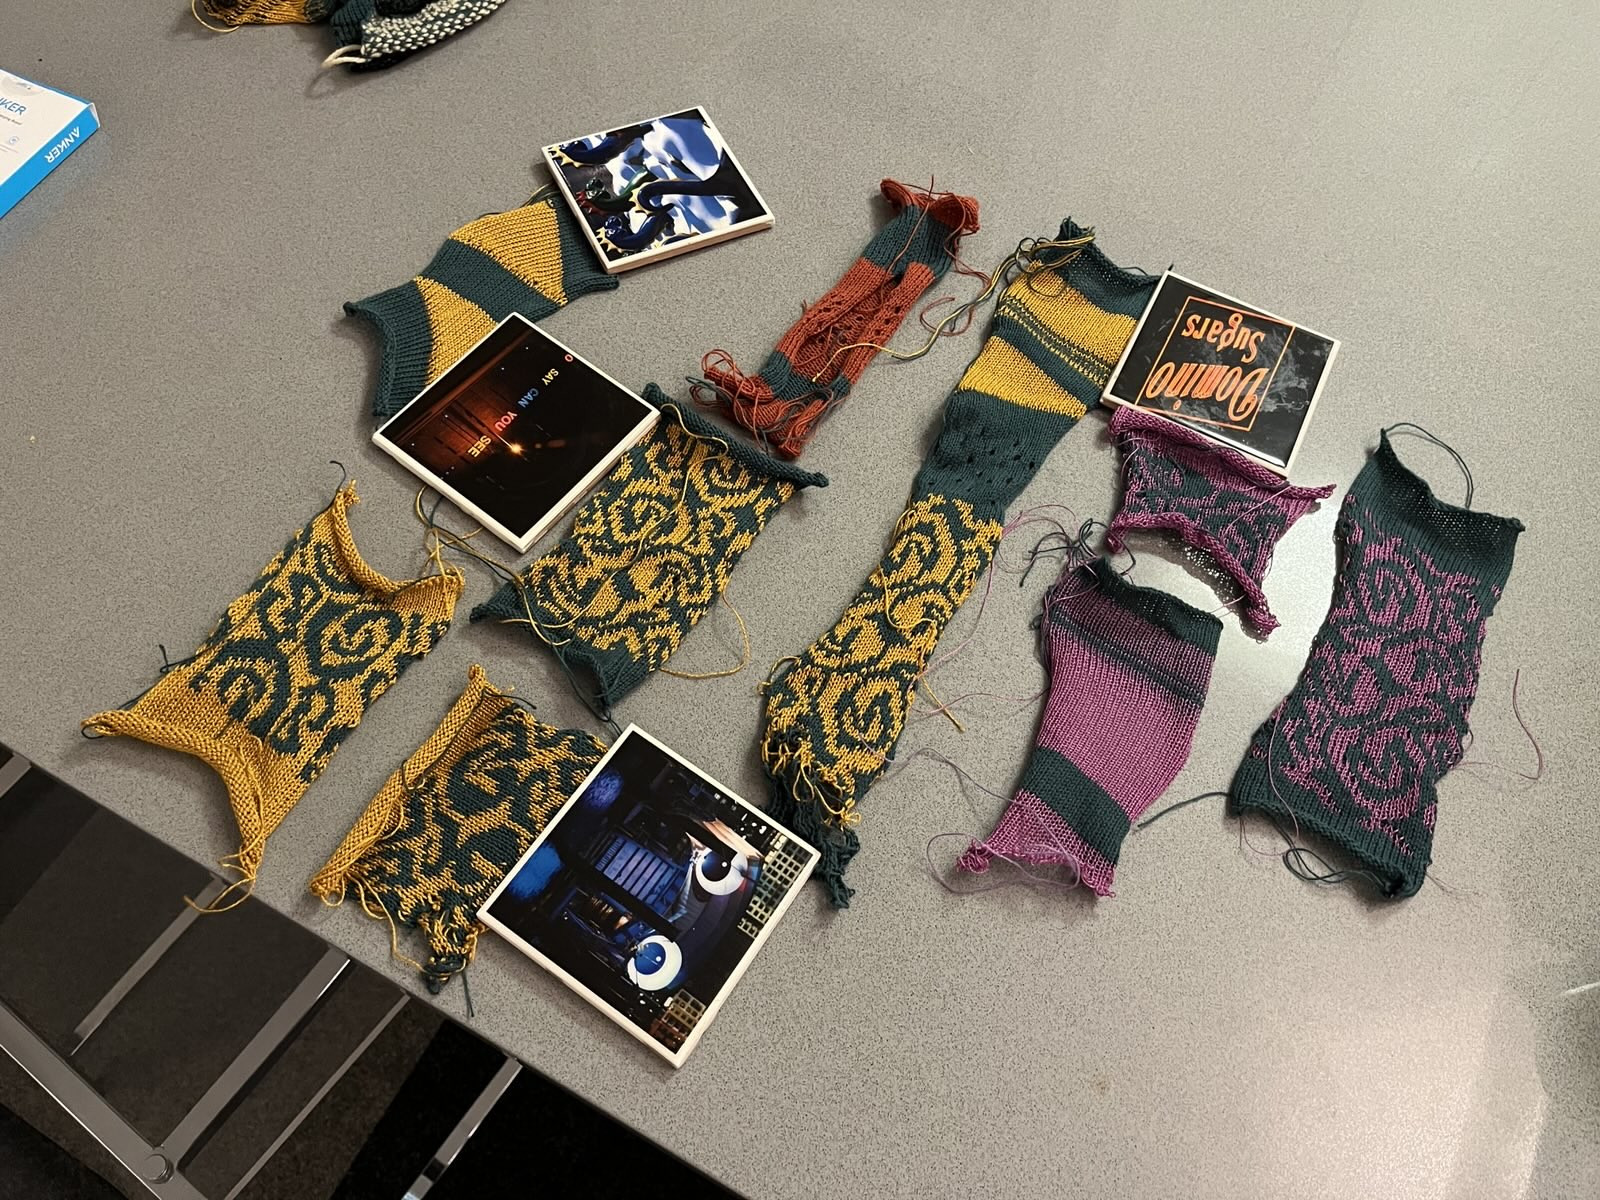
From top-to-bottom, left-to-right:
- Blue swatch with yellow short-rowed triangle sections.
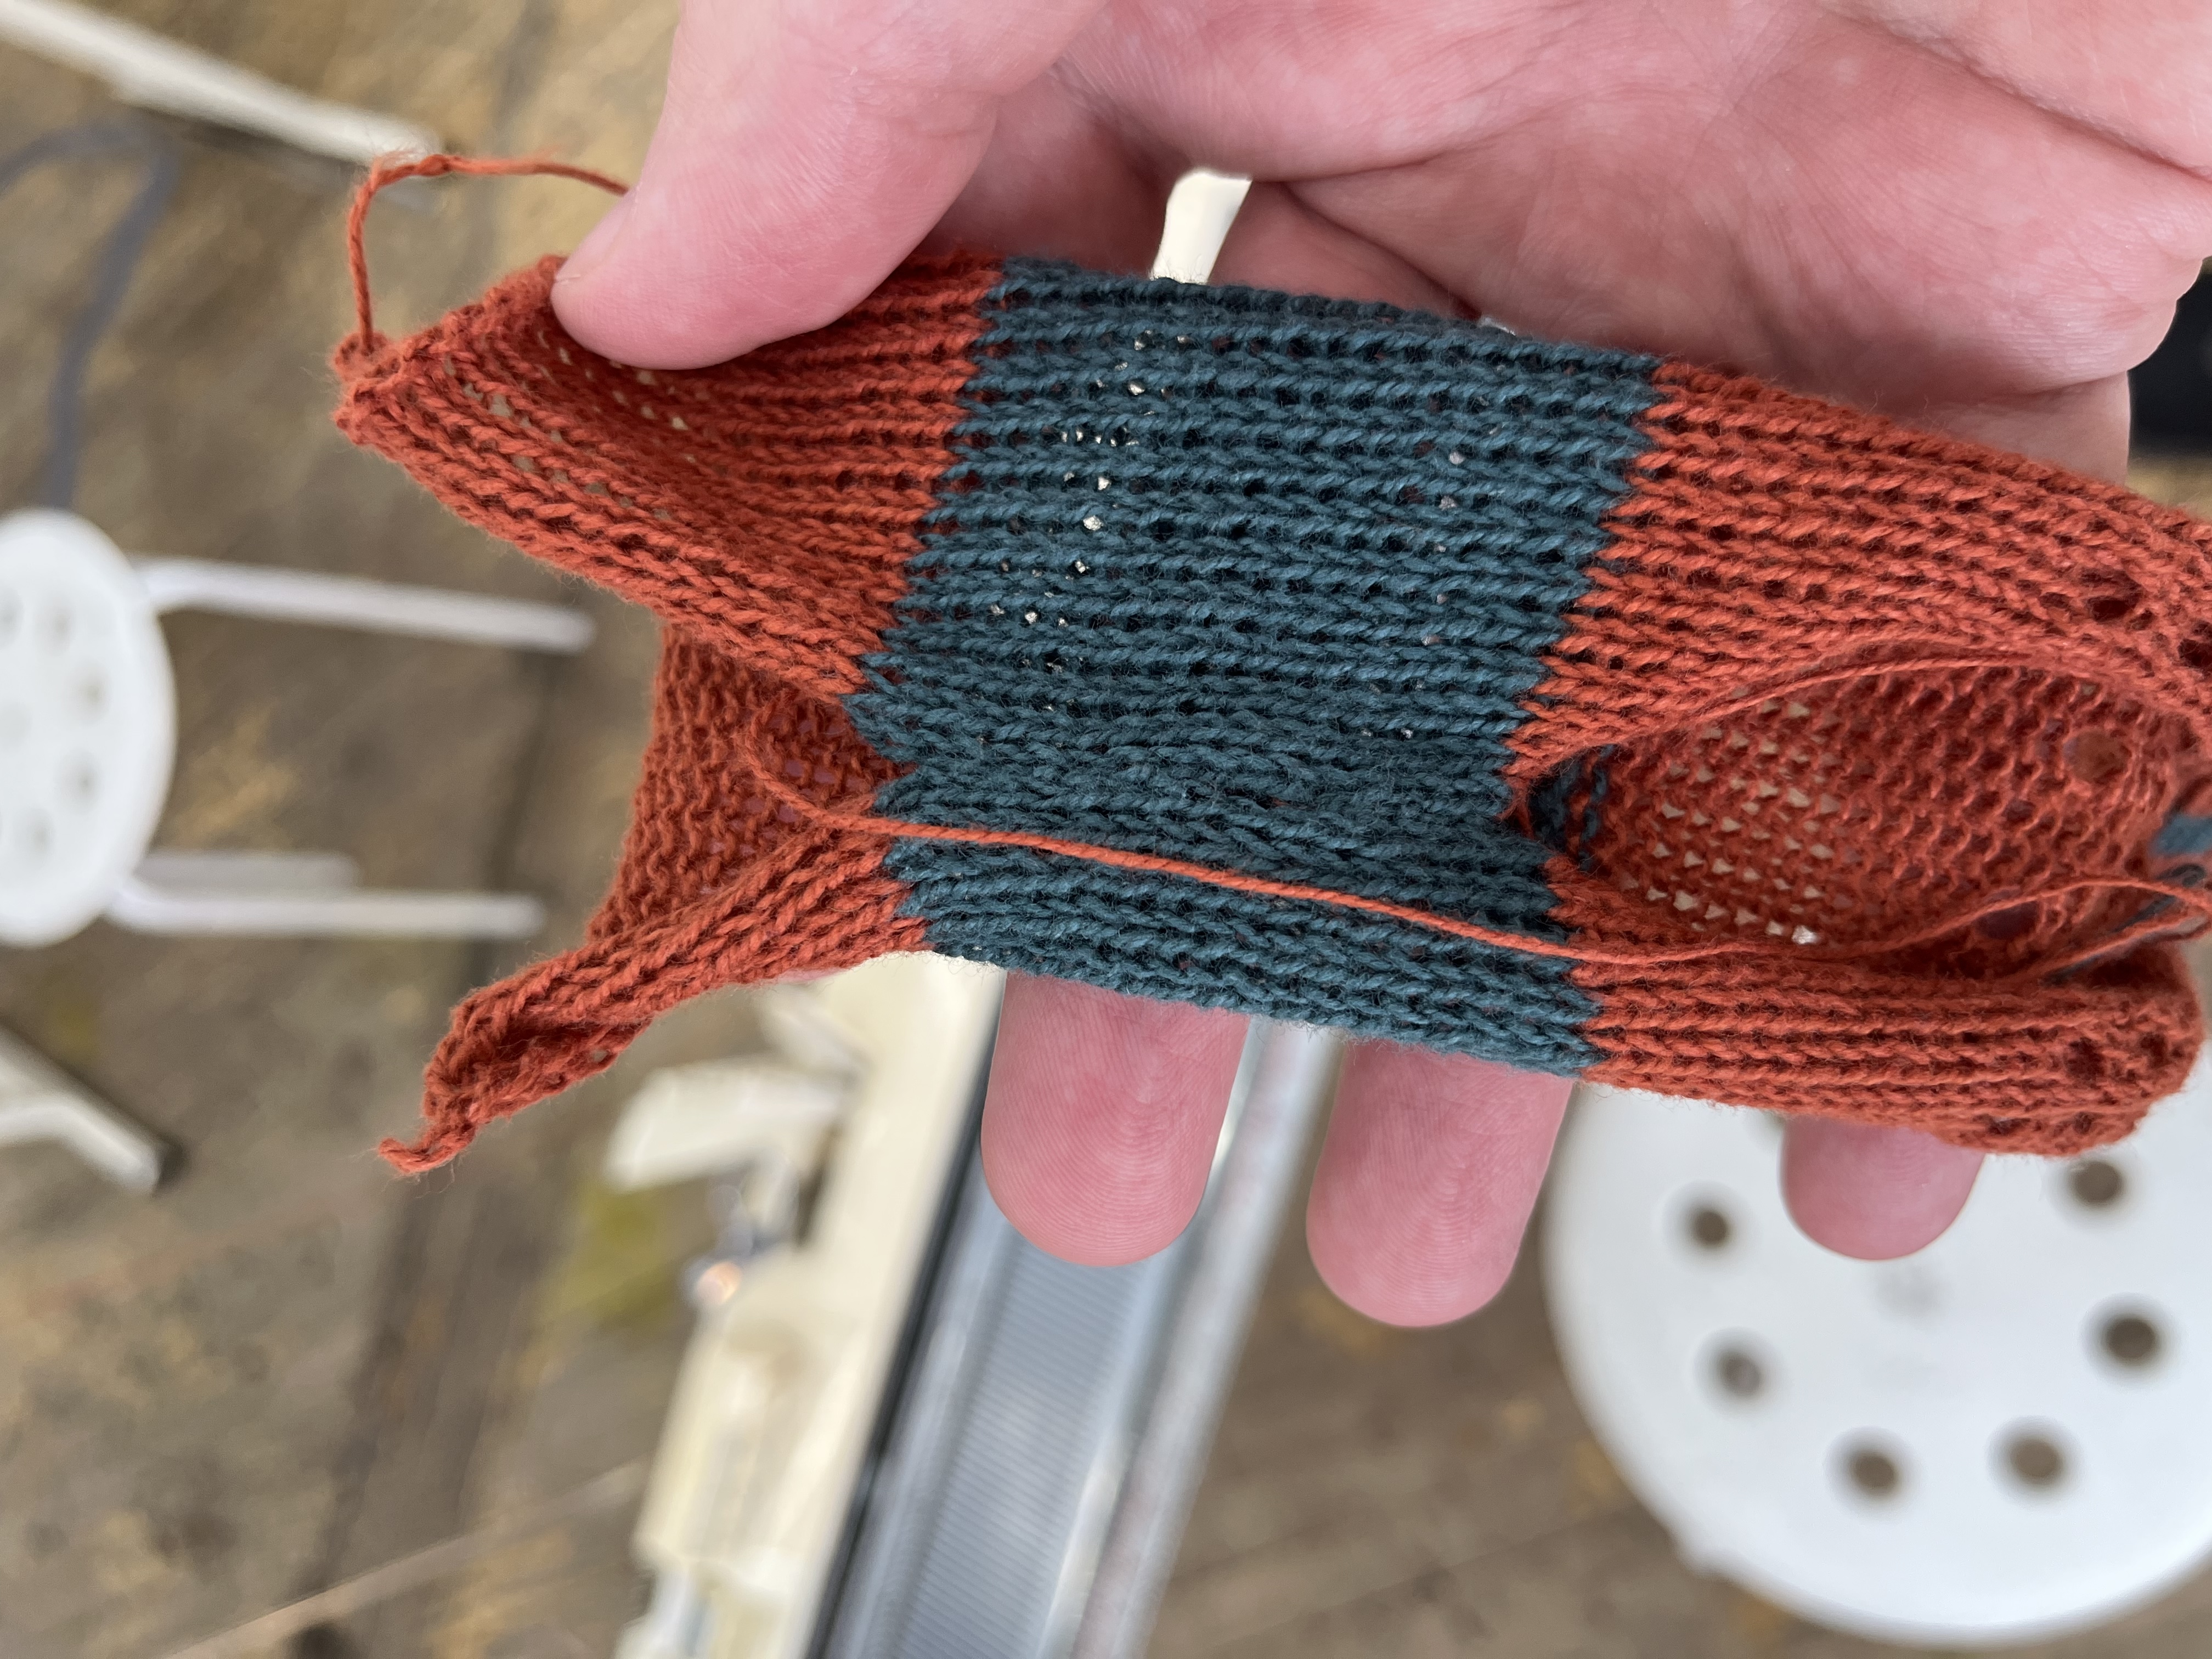
- Blue and red swatch partially mattress-stitched into a tube, with several lace holes.
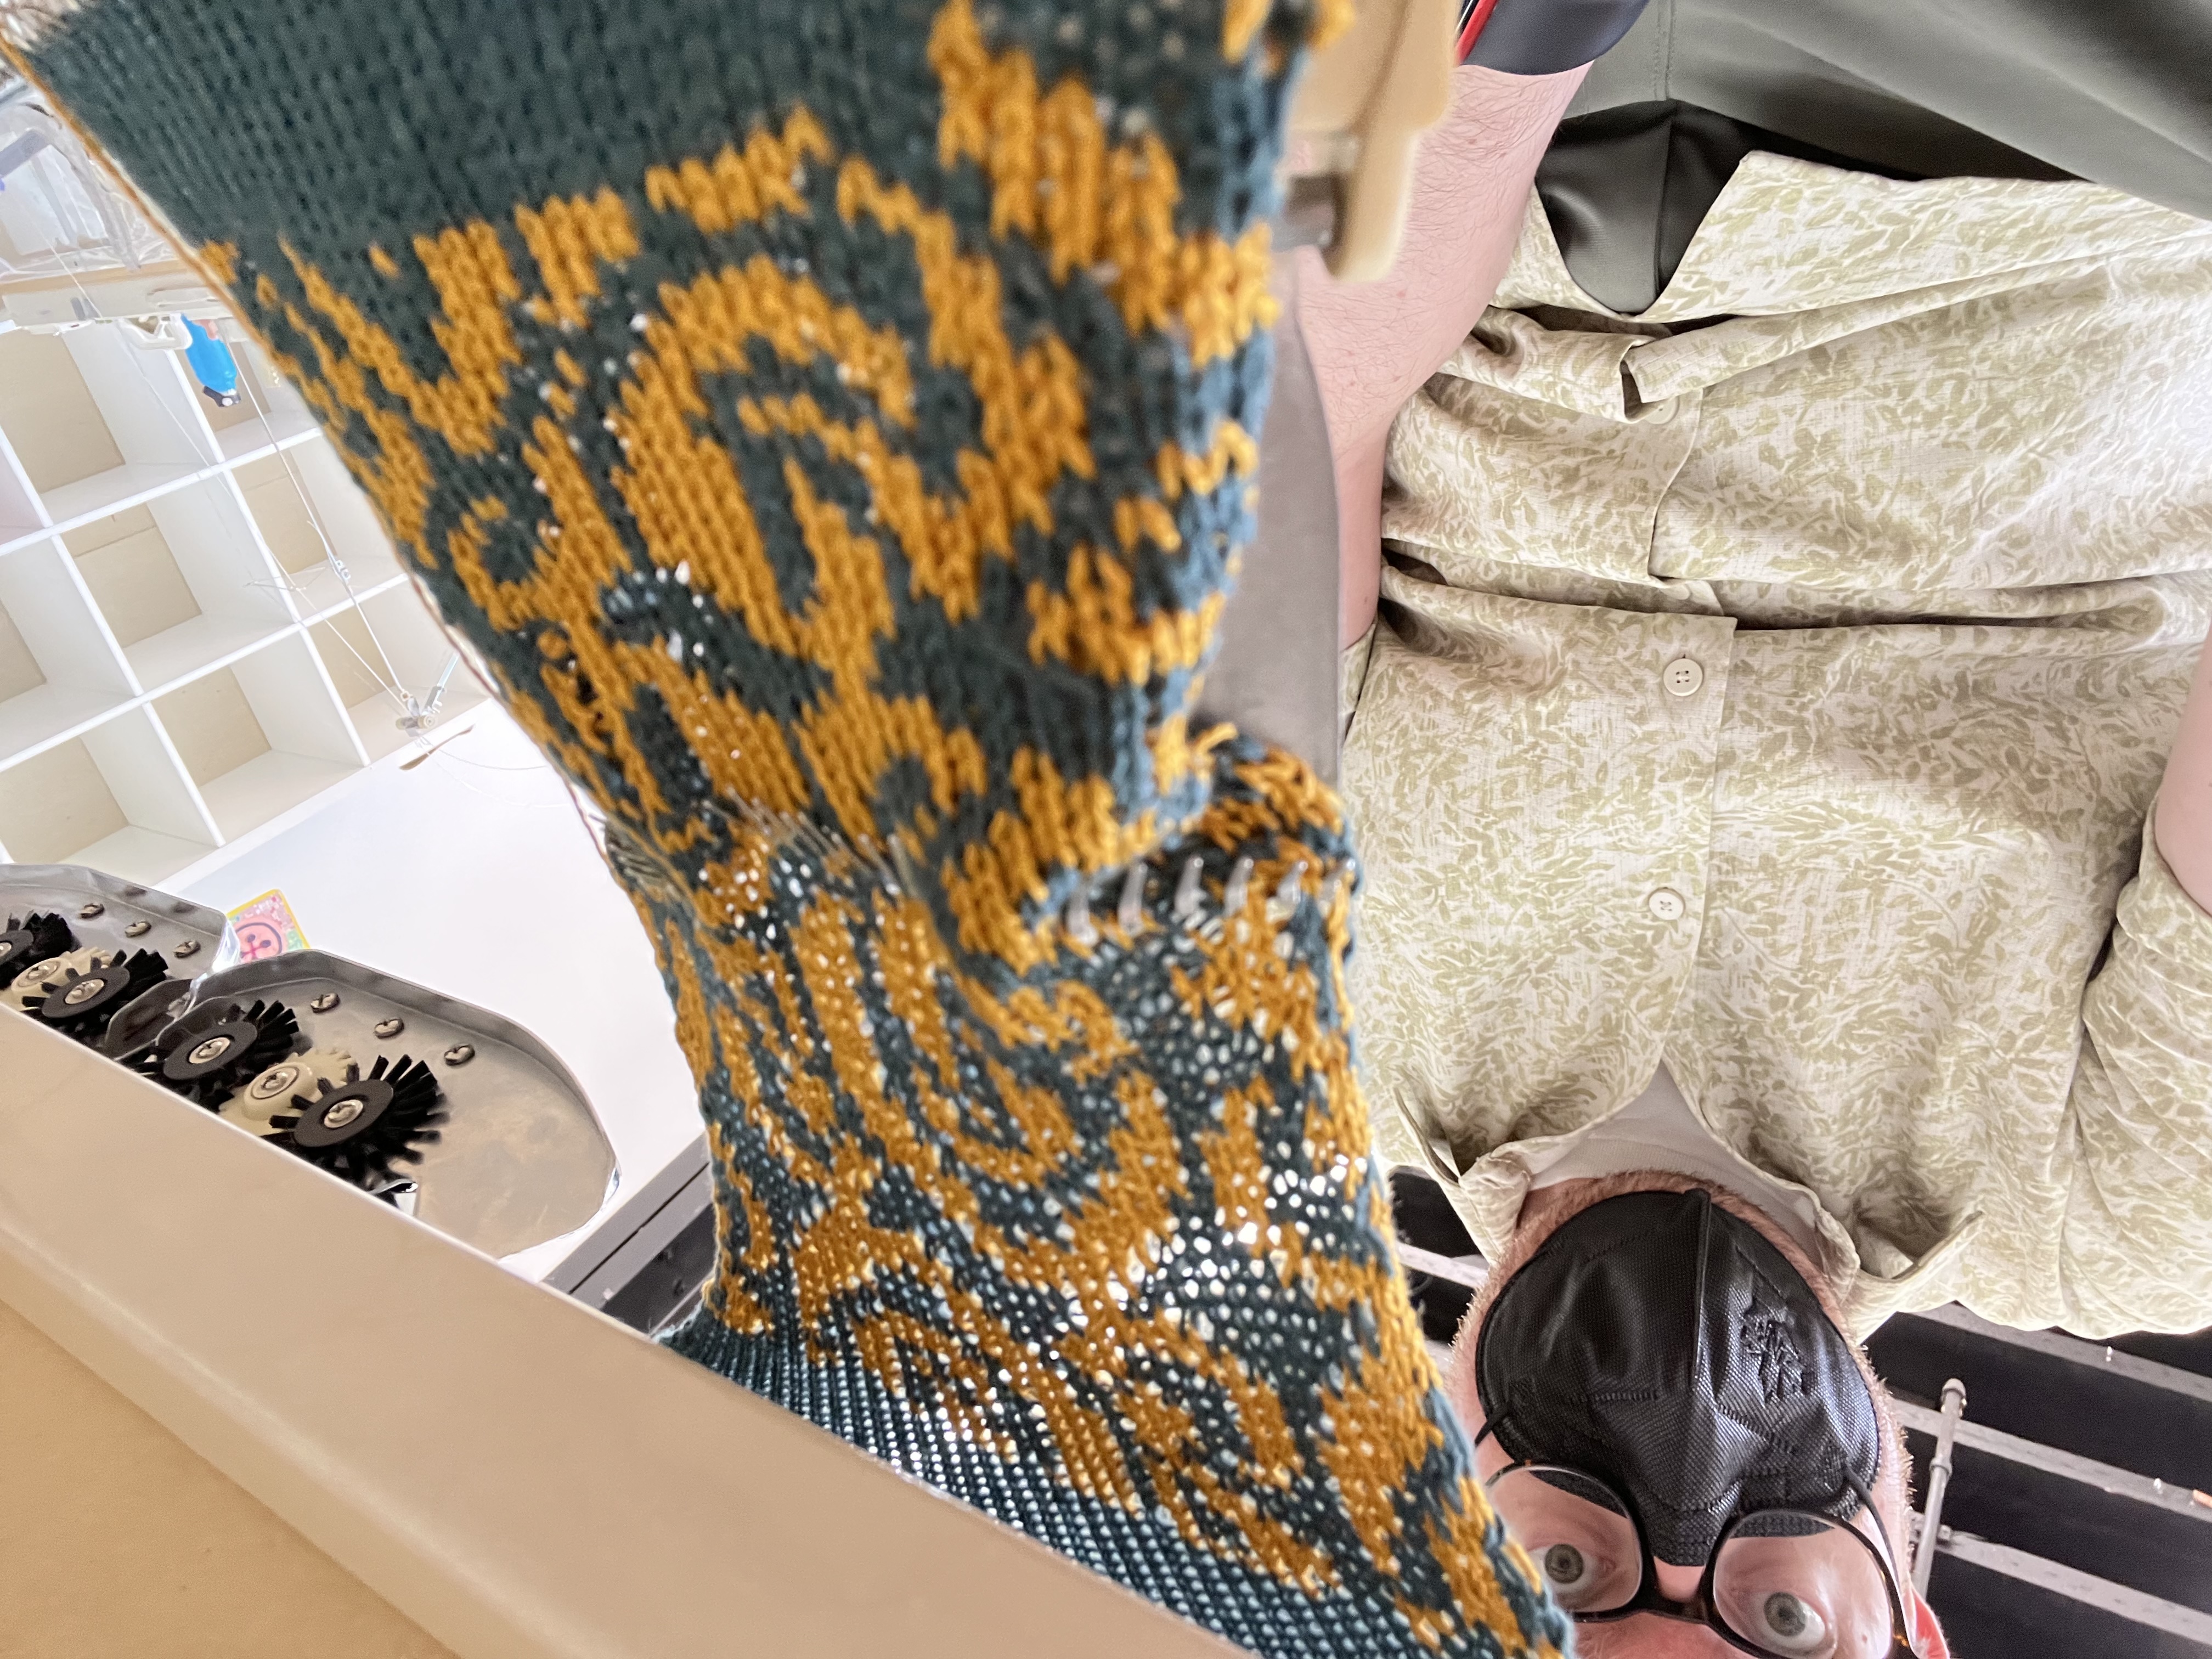
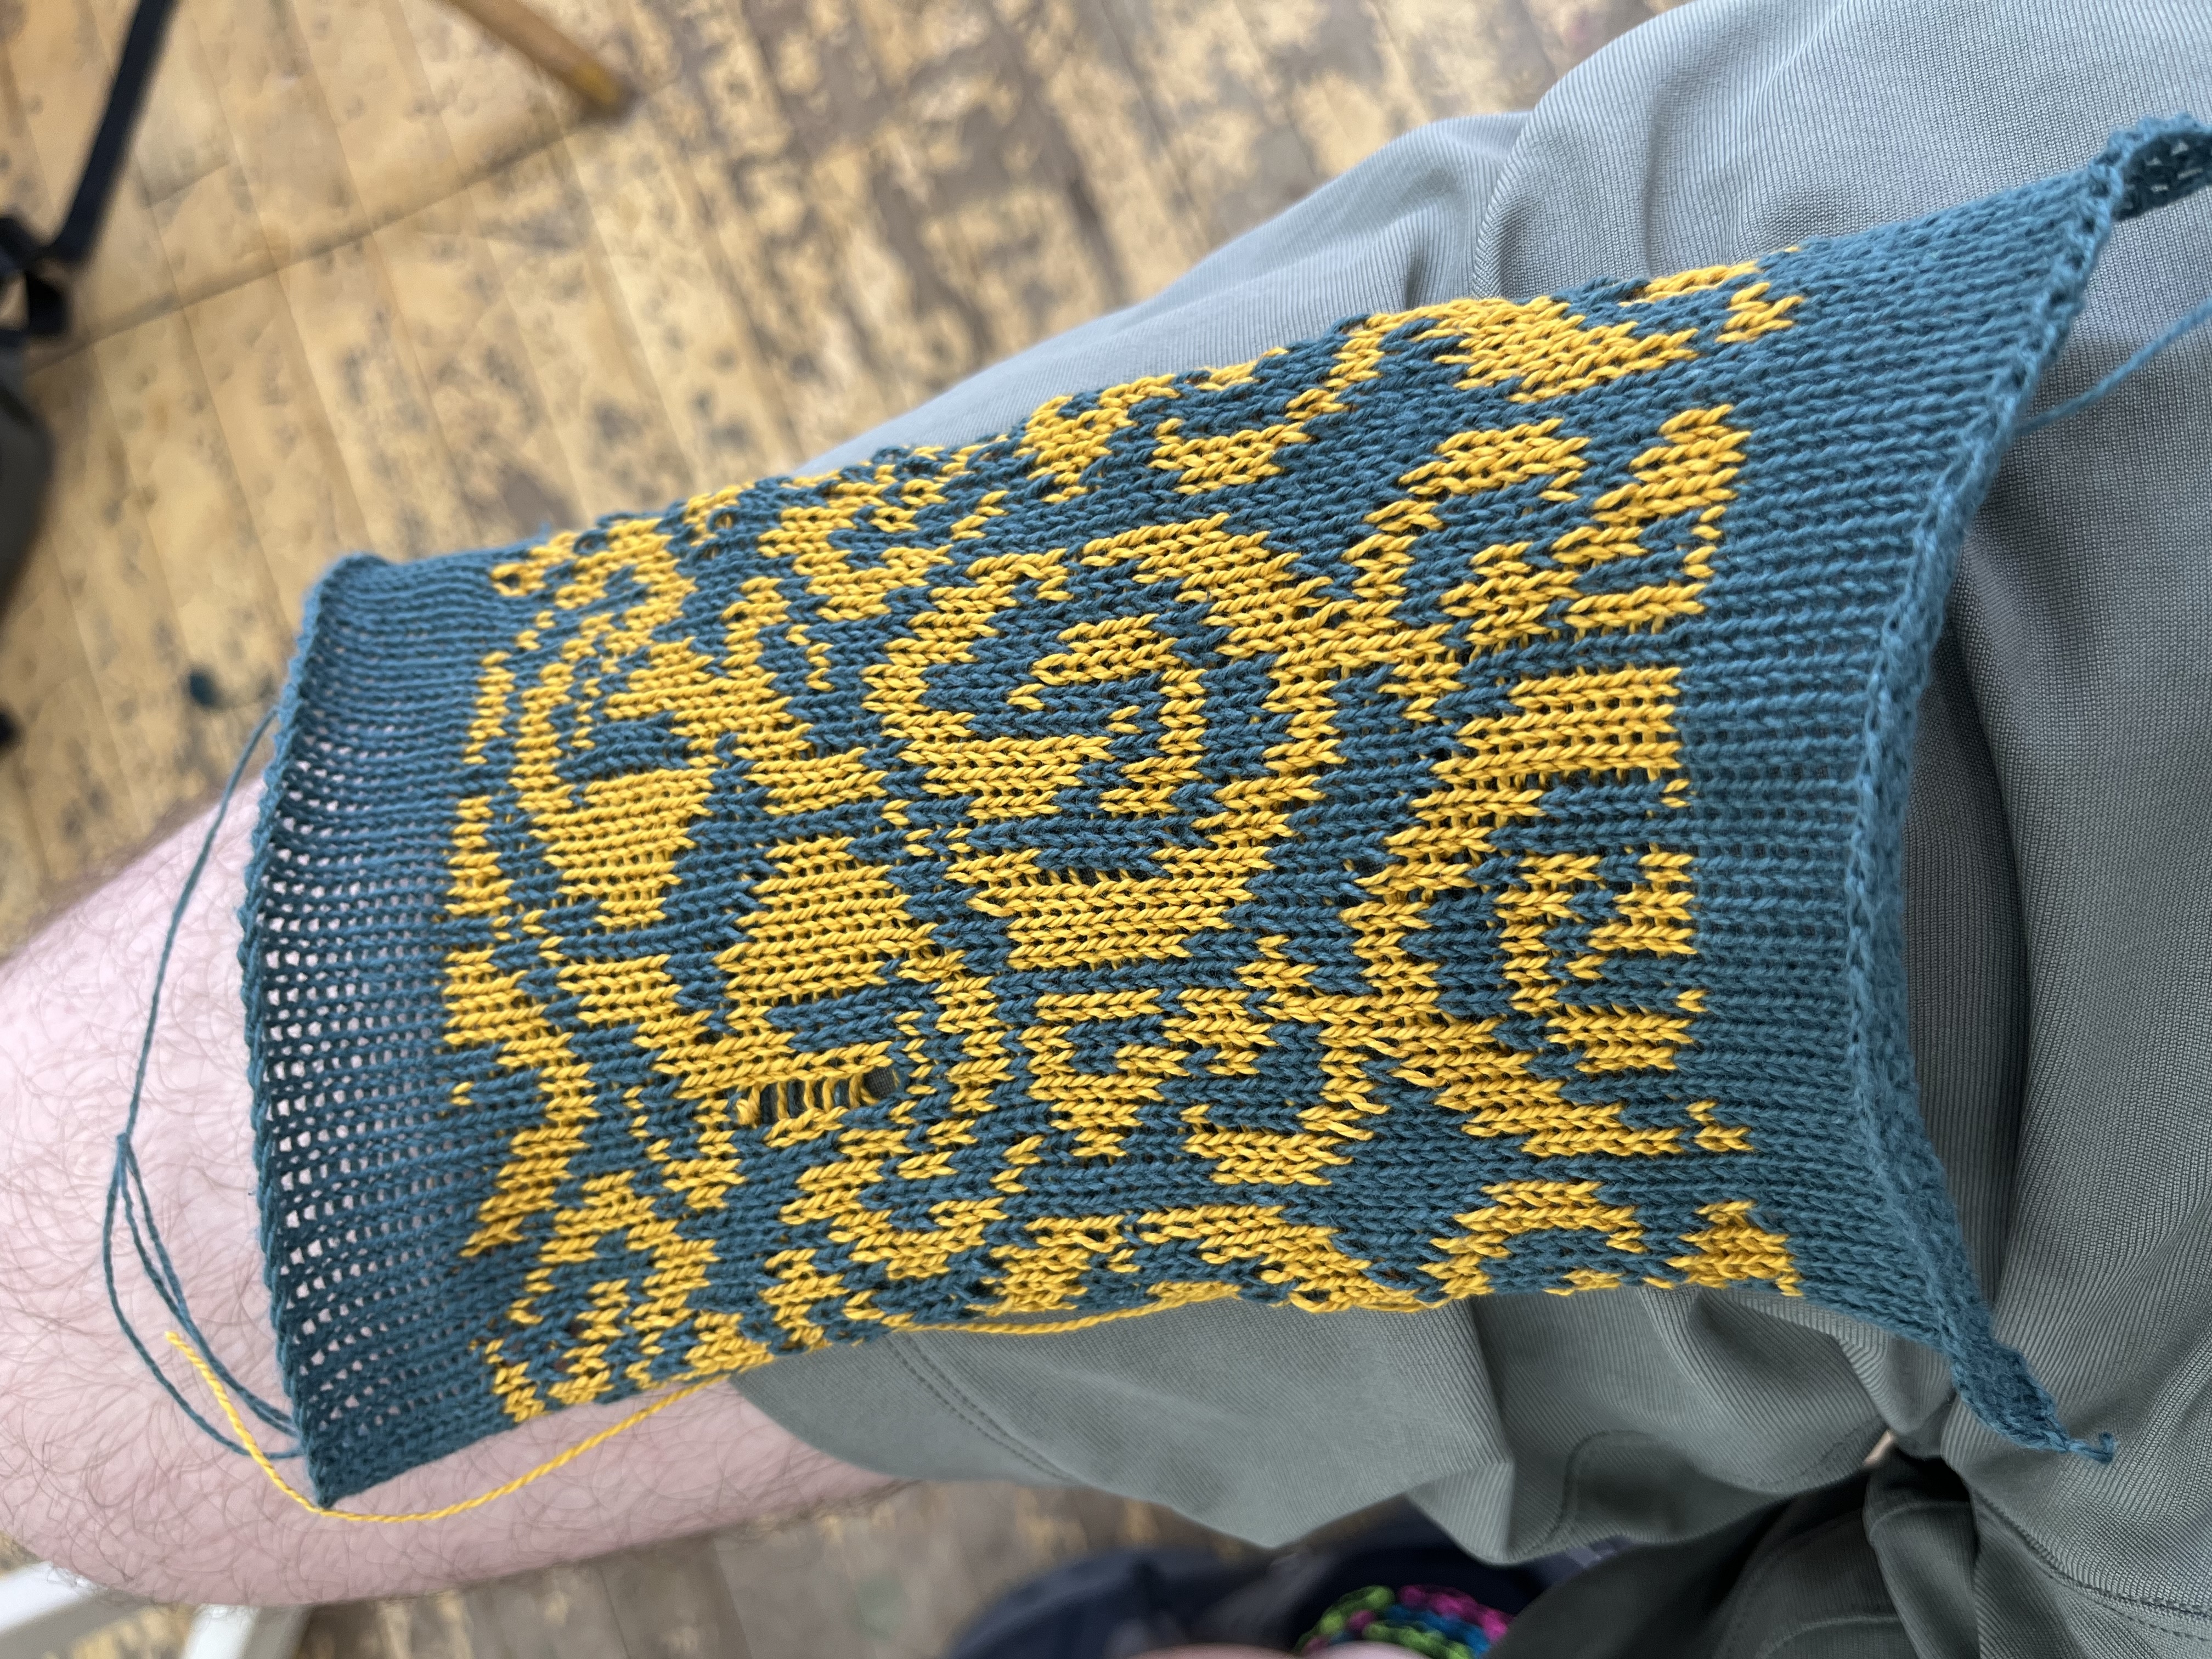
- Long blue and yellow swatch with practice sections of short-rowing and lace, as well as a long section of floral fair isle pattern. The end of the piece is ragged from a failed bind-off.
- Fair isle swatch with blue-on-purple.
- Fair isle swatch with purple-on-blue.
- Long purple swatch with sections of blue.
- Blue-on-yellow fair isle swatch.
- Yellow-on-blue fair isle swatch.
- Short blue-on-yellow fair isle swatch with two ragged edges: one from removing the swatch without binding off, and one (I think) because I had a "weird" number of stitches compared with the pattern, leading to some edge stitches being dropped.
Will I continue my machine knitting journey?? Stick around to find out! Subscribe in your favorite feed reader, and so on, and so forth!
Mentions
 Marty McGuire
at
said:
Marty McGuire
at
said:
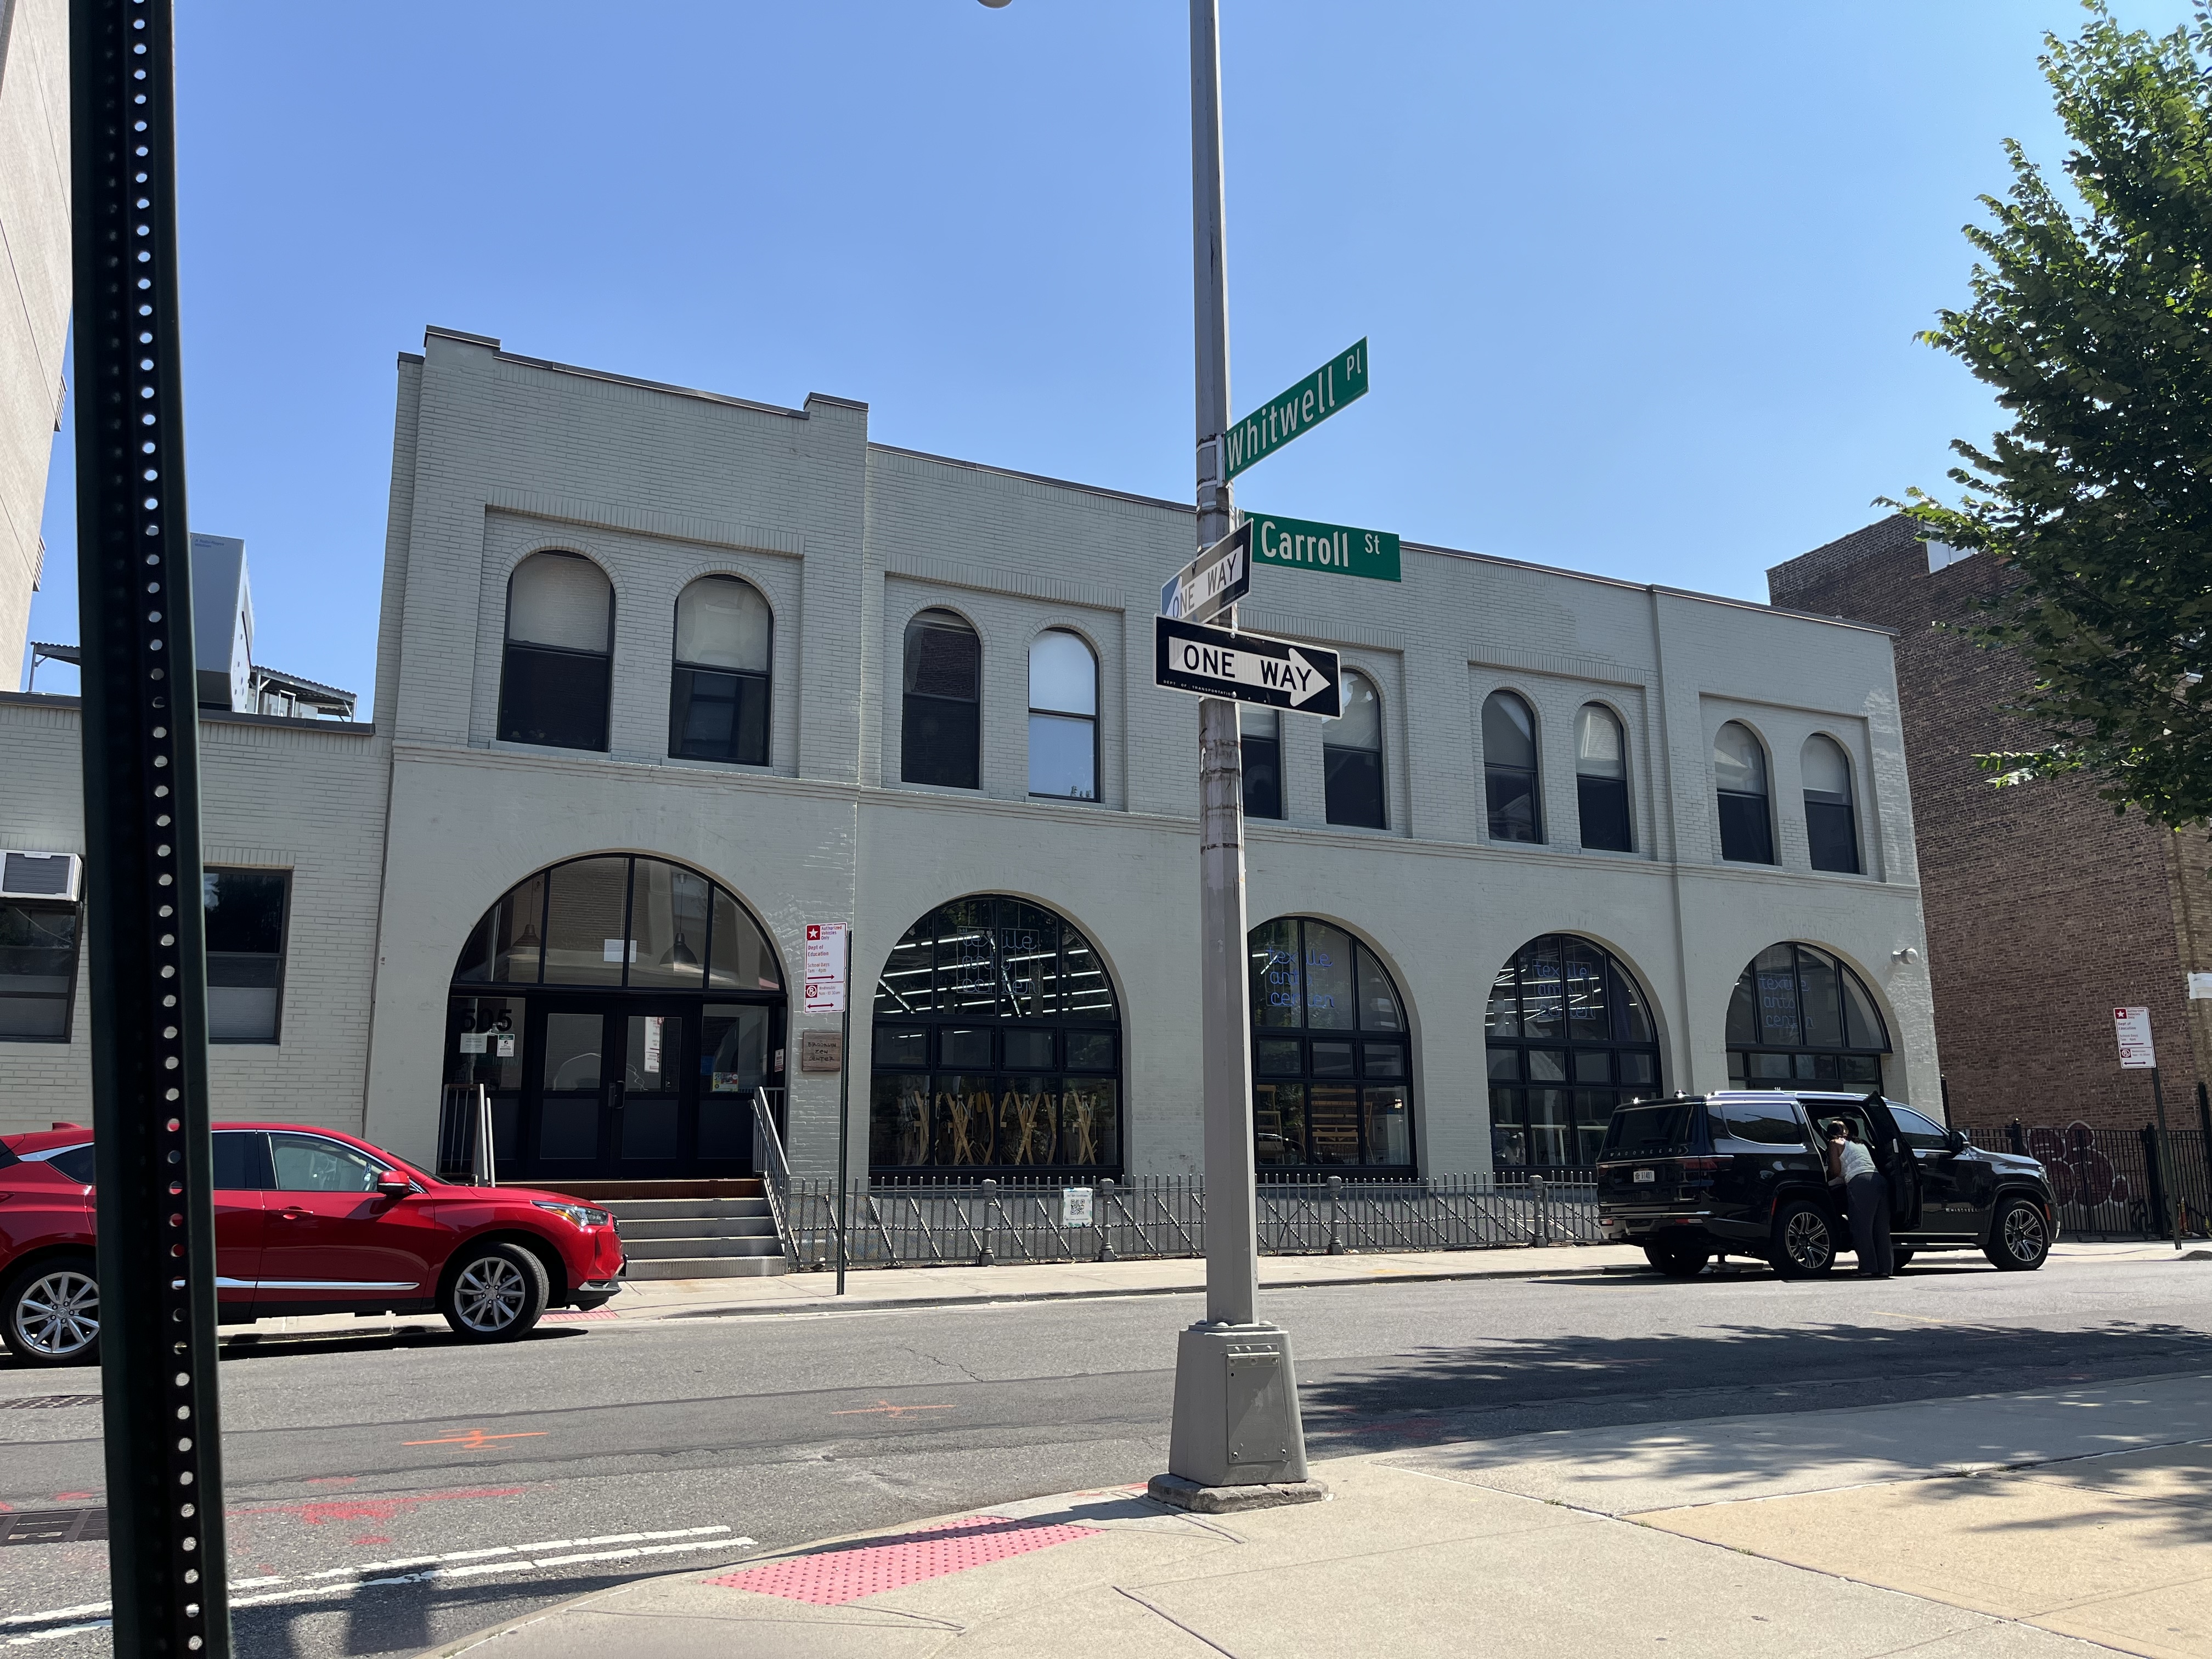
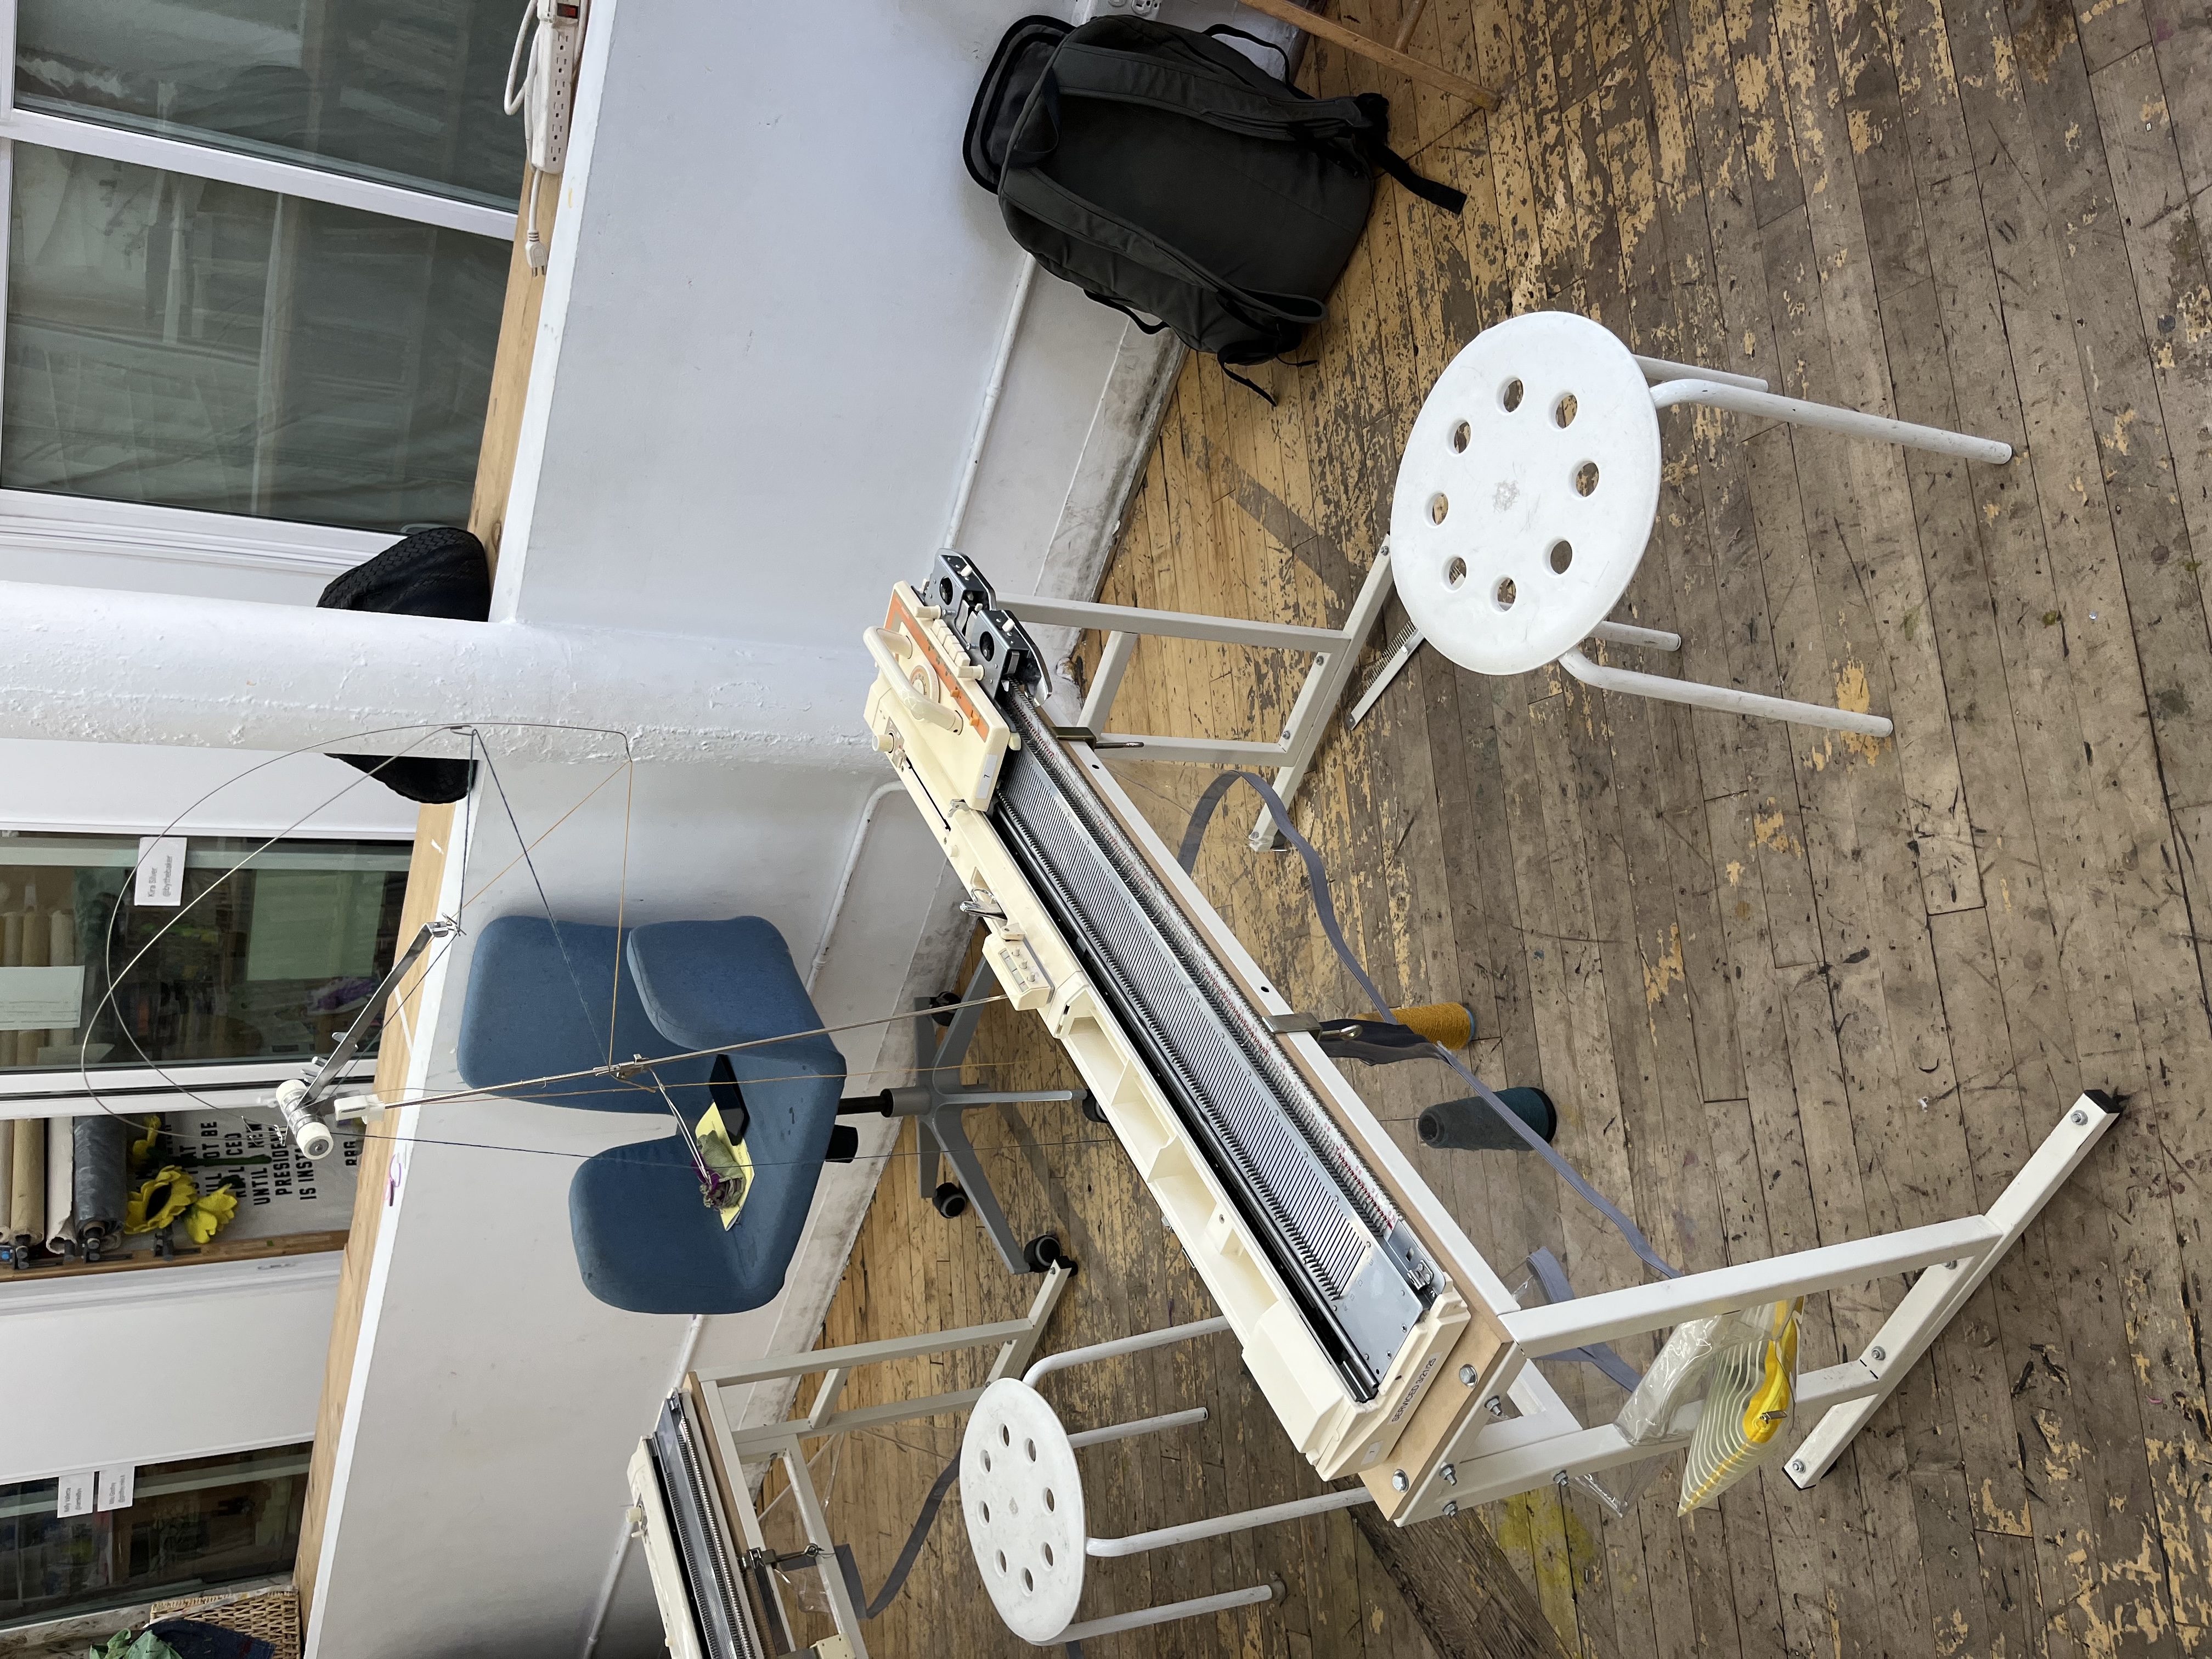
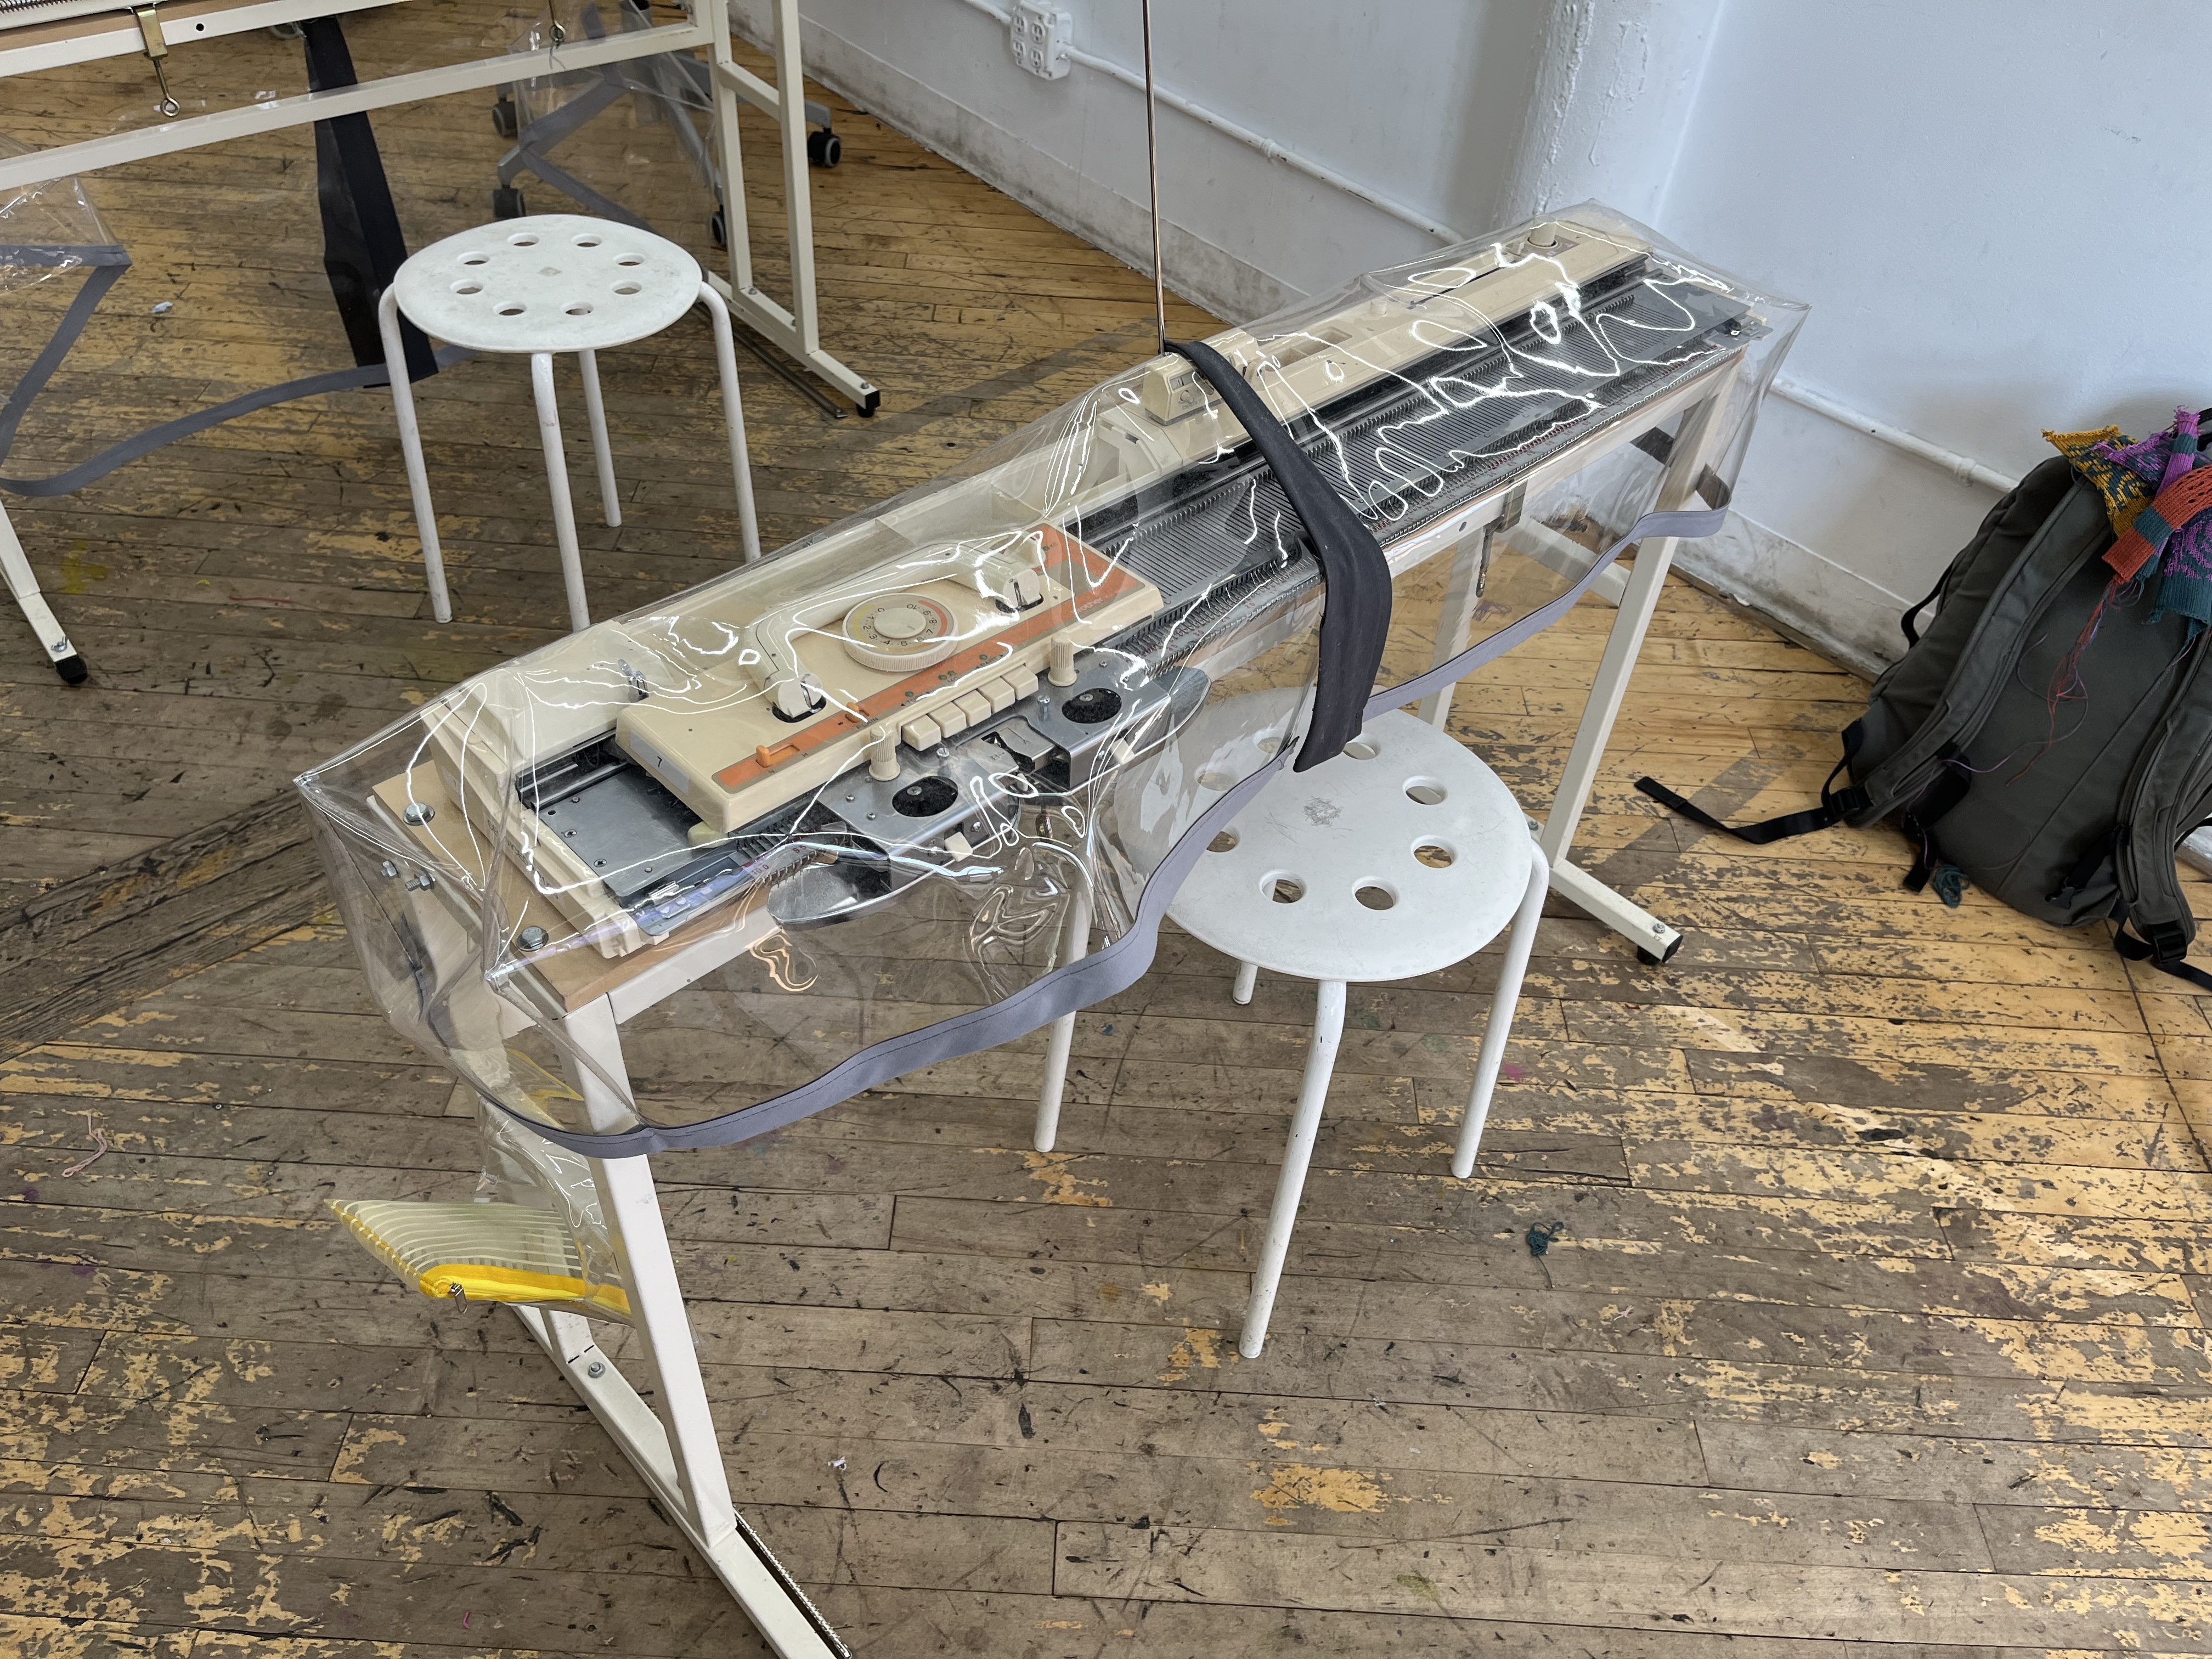
This is a retro-post. Jump scare! I sure have read a lot of 2025-in-review posts recently! I am impressed by all that you have accomplished. Here's my 2025 wrapped (in yarn), in 20 photos about my machine knitting this year! Descriptions and links below.1, 2, and 3: my machine and samples from my first workshop at the Brooklyn Textile Arts Center (TAC). Workshop day 1. Workshop day 2. 4 and 5: my first hats. 6: a Fair Isle patterned hat, made after disassembling and cleaning my machine carriage. …
One of my main goals with learning machine knitting is to replace the electronics on my Brother KH-930e with AYAB (All Yarns Are Beautiful) to create multi-color patterned knits of whatever sicko stuff comes to mind. But home knitting machines aren't a fire-and-forget type of machine. They require a lot of manual effort - from fine stitch work to good core strength - a lot of which requires practice for technique and feel. So, after taking a machine knitting workshop at Brooklyn's Textile Arts …